Weathered Text

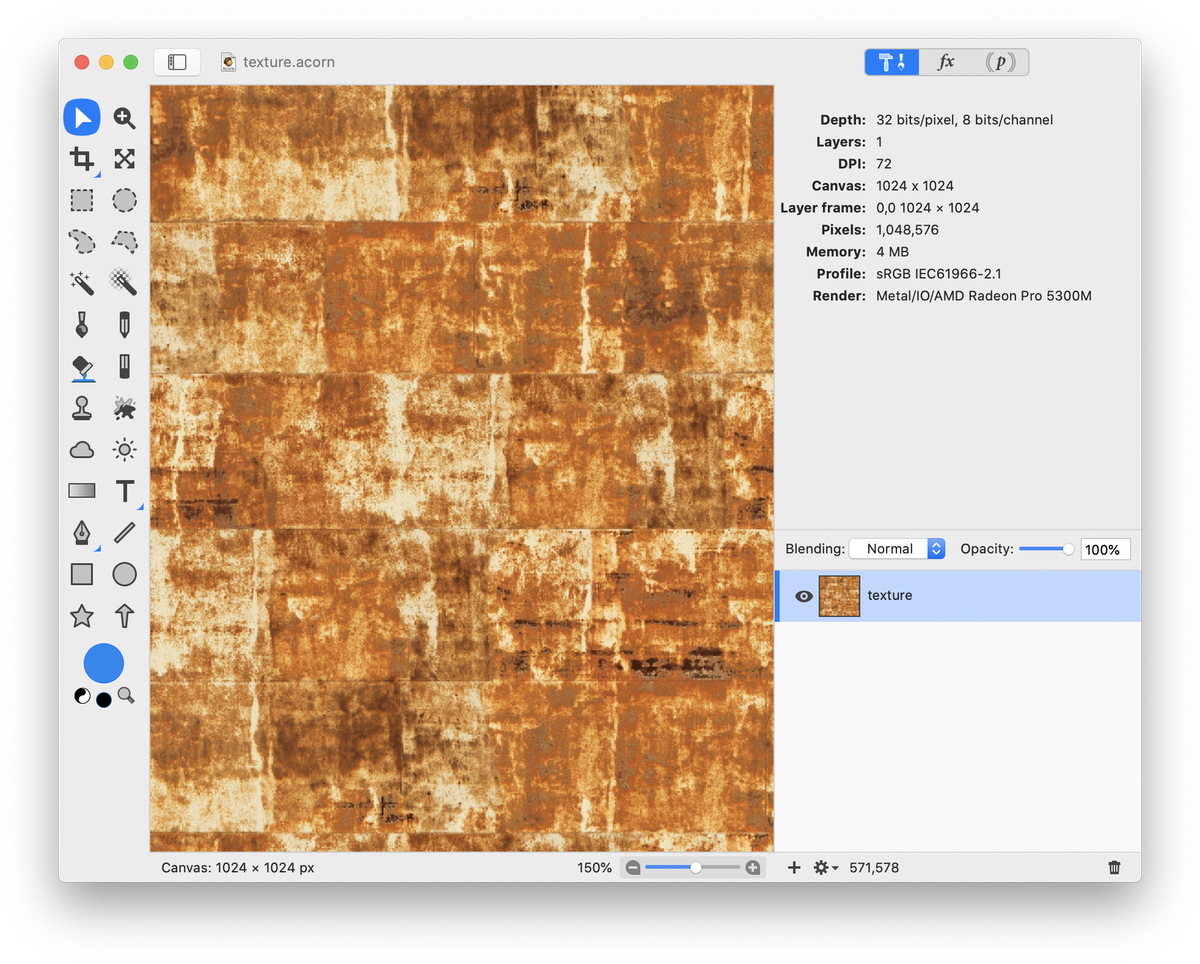
This tutorial will outline how you can create the appearance of weathered or distressed text. Open an image in Acorn that contains a lot of vertical and horizontal lines, File ▸ Open. The image used here can be found at CGtextures.com.
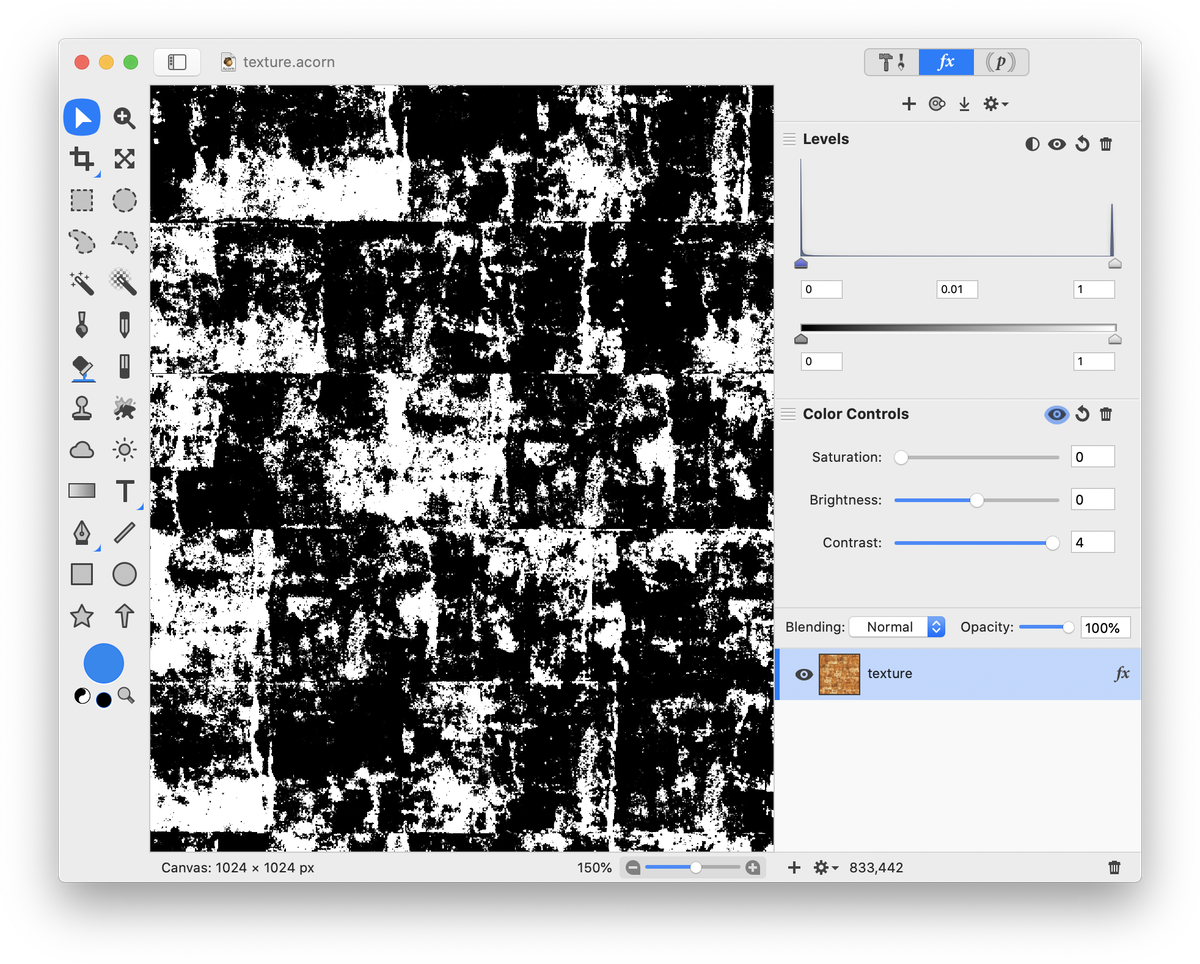
Go to Filter ▸ Color Adjustment ▸ Color Controls. Click on the '+' at the top of the inspector and choose Color Adjustment ▸ Levels. Set the saturation to ‘0’, crank up the contrast, and adjust the levels so the image is mainly white with little chunks of black.
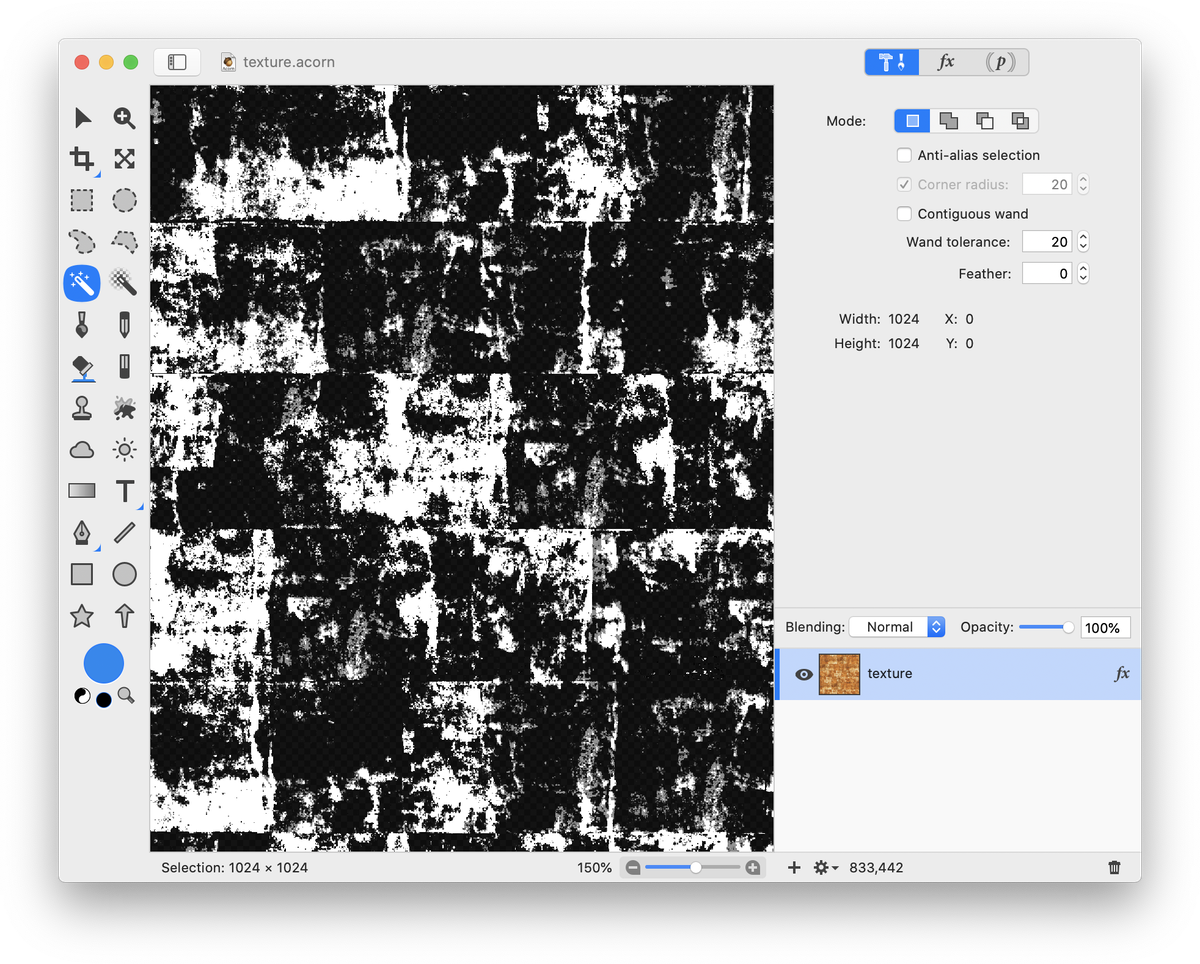
Select the magic wand tool. Make sure ‘contiguous wand’ is unchecked in the inspector palette. Click and drag on a white area of the image to select it. Choose Edit ▸ Copy.
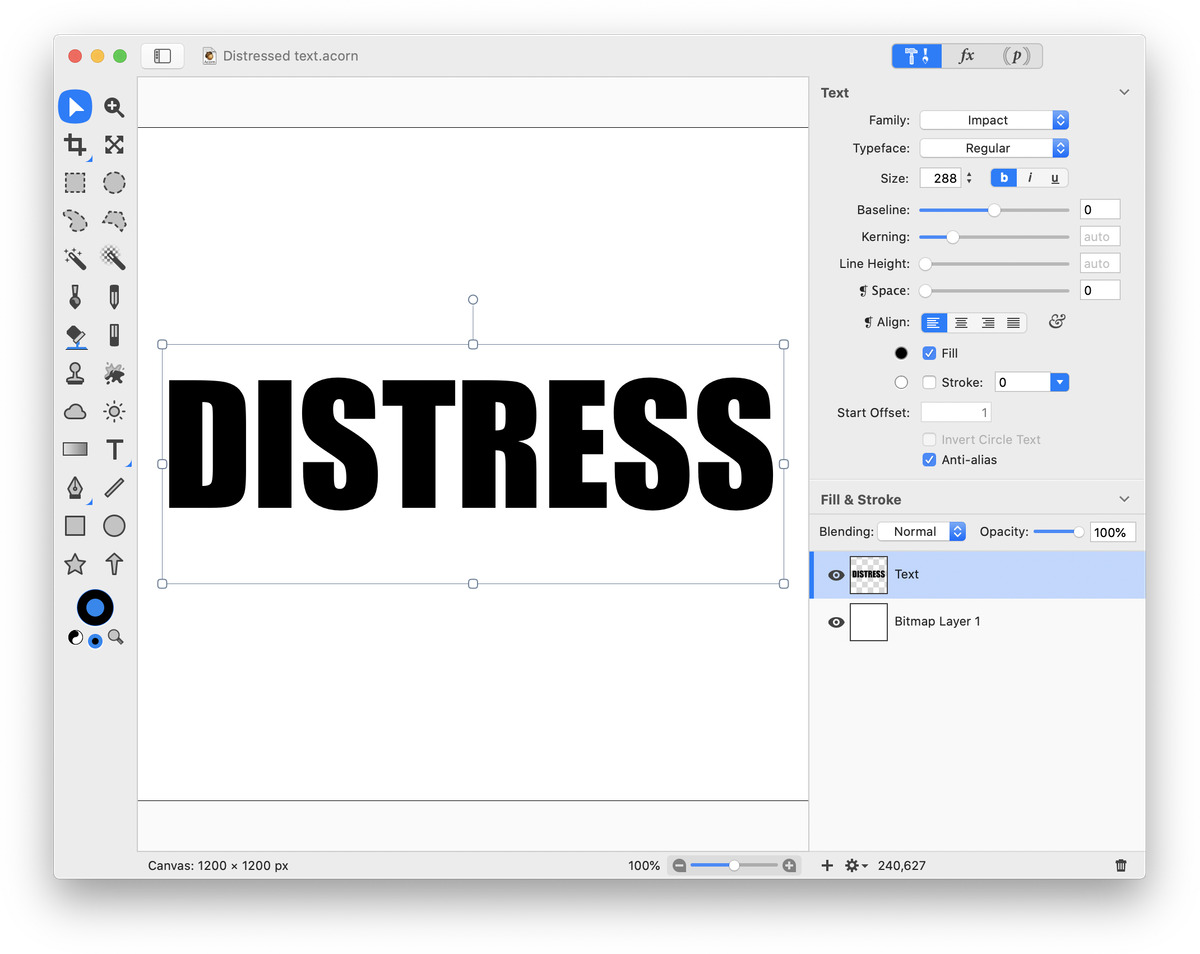
Now create a new image for your text, File ▸ New. The image used here is 1200 x 1200 pixels with a white background. Type out your text.
Add a layer mask to your text layer, Layer ▸ Add Layer Mask. Click on the text thumbnail in the layers list to select it. You will see a black line on the lower portion of the thumbnail to let you know it is selected.
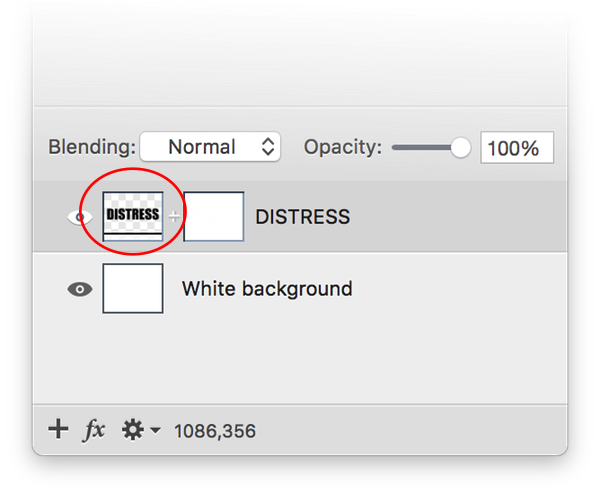
Then choose Edit ▸ Paste.
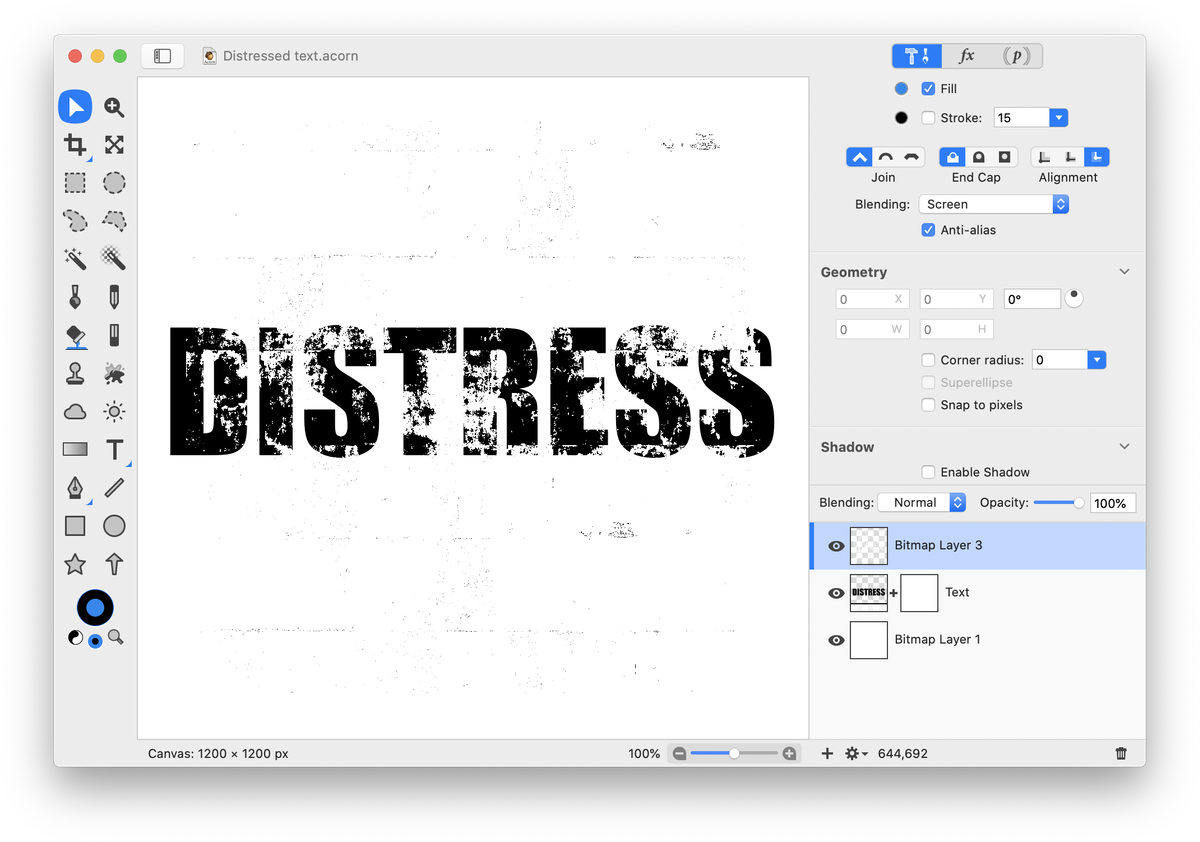
If you need to make the weathering effect larger, go to Layer ▸ Rotate and Transform ▸ Scale and Rotate.
Then, go to Select ▸ Make Selection from Layer. Choose Edit ▸ Copy. Now hide the visibility of the layer.
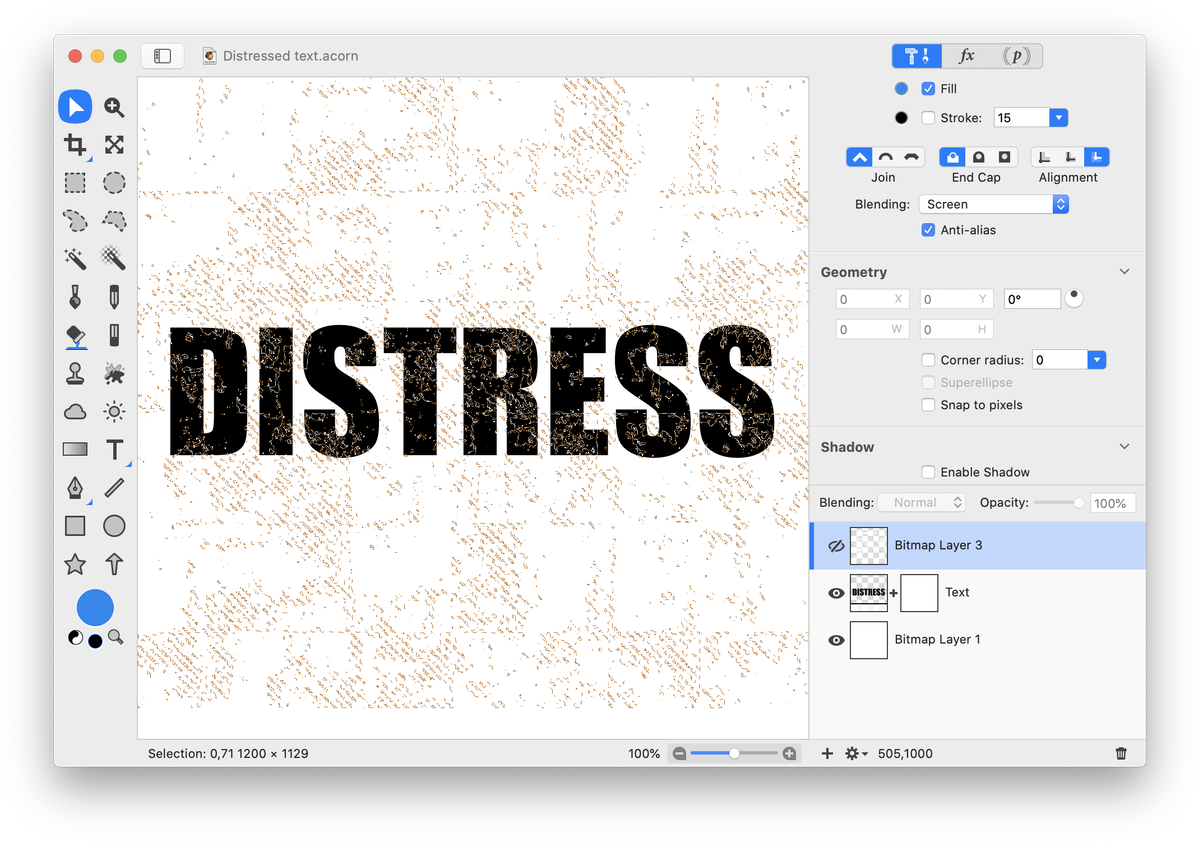
Click on the layer mask thumbnail and choose Edit ▸ Paste. Then hit the delete key, and deselect (keyboard shortcut ⌘D).
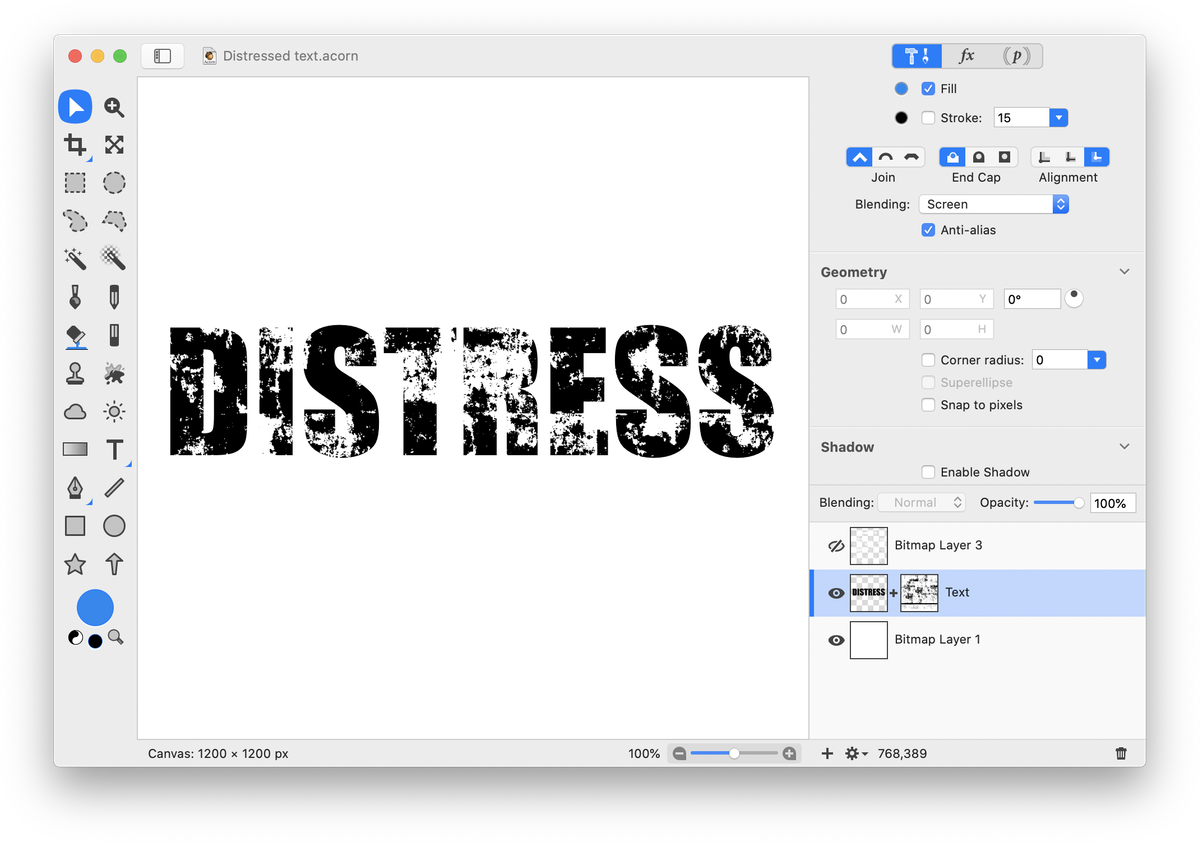
Use the move tool if you’d like to change the location of the effect in the layer mask. You can also use the eraser tool to erase areas of the effect that you don’t want.
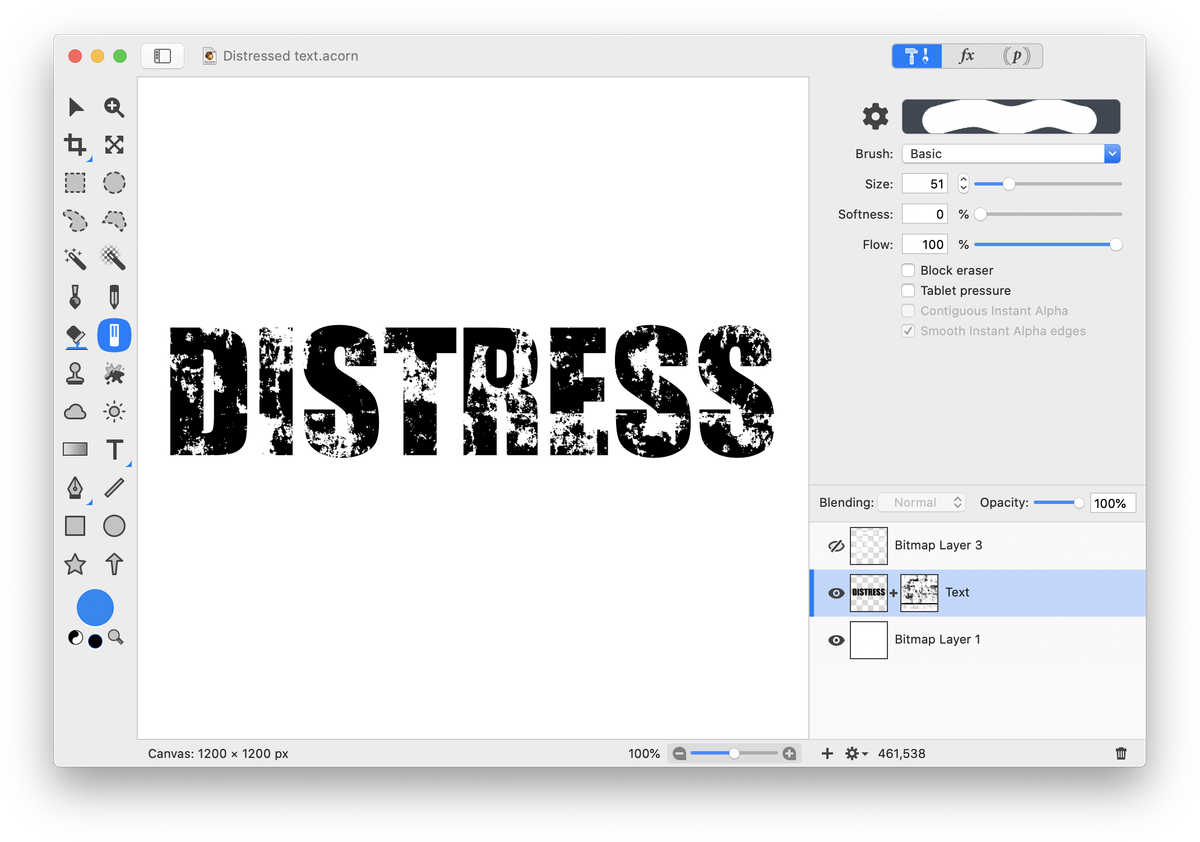
Since layer masks are nondestructive, you can continue to edit your text!
