Resizing, Rotating, Transforming, & Aligning Layers
|
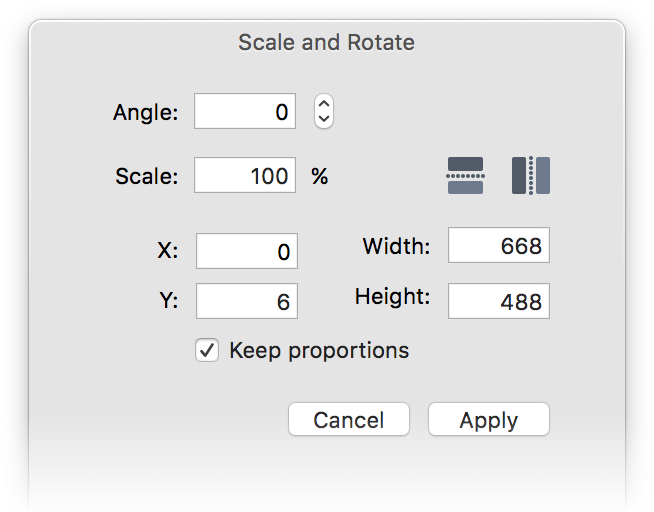
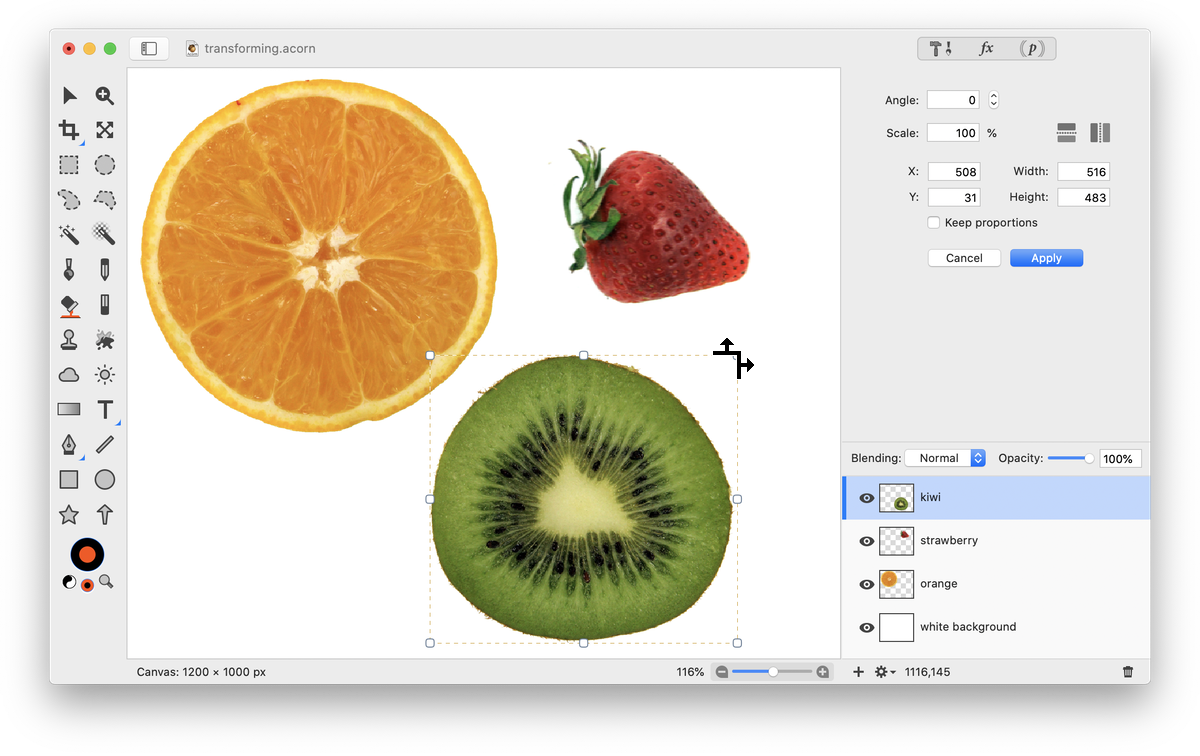
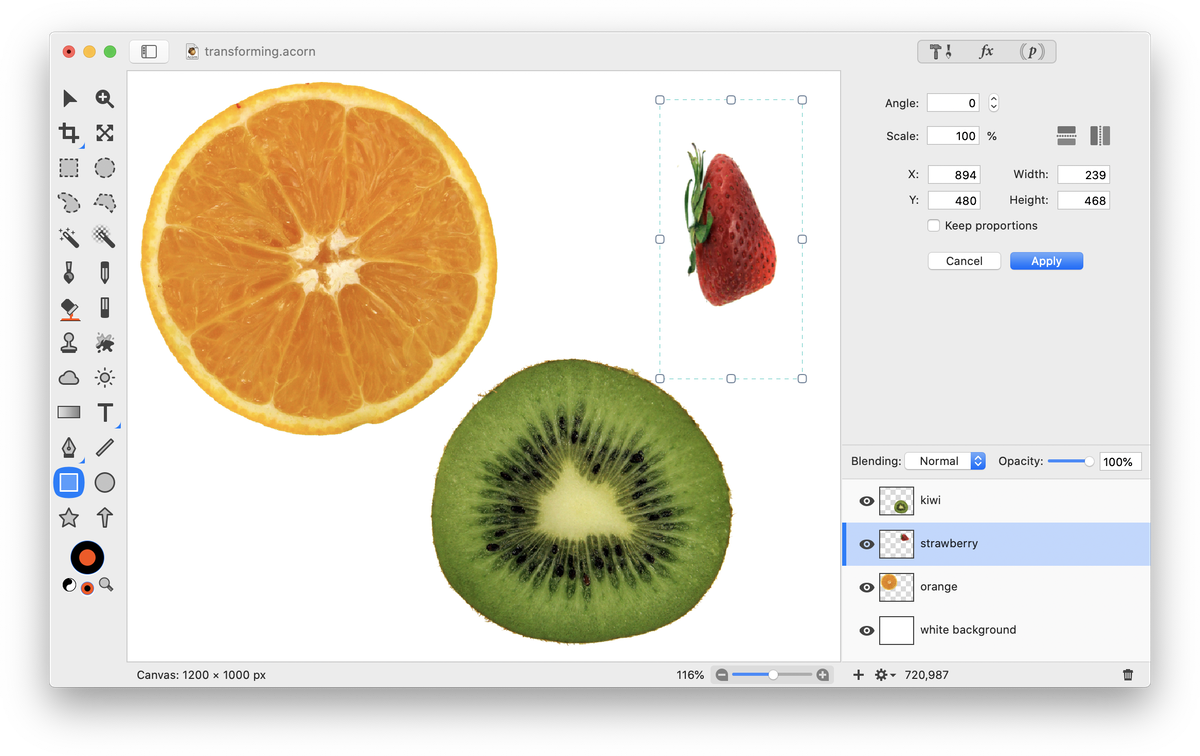
Resizing a Layer If you wish to resize a layer in your image, select the layer in the layers list. Then use Layer ▸ Rotate and Transform ▸ Scale and Rotate (⌘⇧T). The inspector palette will display all the scale and rotate options. You can change the scale percentage, enter a specific width/height value, or you can hover over any corner of the layer and outward facing arrows will appear. Click and drag the cursor towards the inside of the layer to make it smaller, and to the outside to make it larger. Alternatively, double clicking on a bitmap layer with the move tool will begin a scale and rotate transform for the layer. This also works with selections. To keep the width and height proportions of the layer intact, check the ‘keep proportions’ box. |
|
Rotating a Layer
You can easily rotate a single layer in your image in 90º increments by selecting Layer ▸ Rotate and Transform ▸ Rotate Layer 90o Clockwise (or Counter-Clockwise). If you want more control over the angle of rotation use Layer ▸ Rotate and Transform ▸ Scale and Rotate (⌘⇧T).
Unlike the other rotate commands, Scale and Rotate allows you to set the layer at any angle in the canvas. Place your cursor outside the layer on the canvas and a rotating arrow icon will appear. Click and drag your cursor until you achieve your desired rotation.
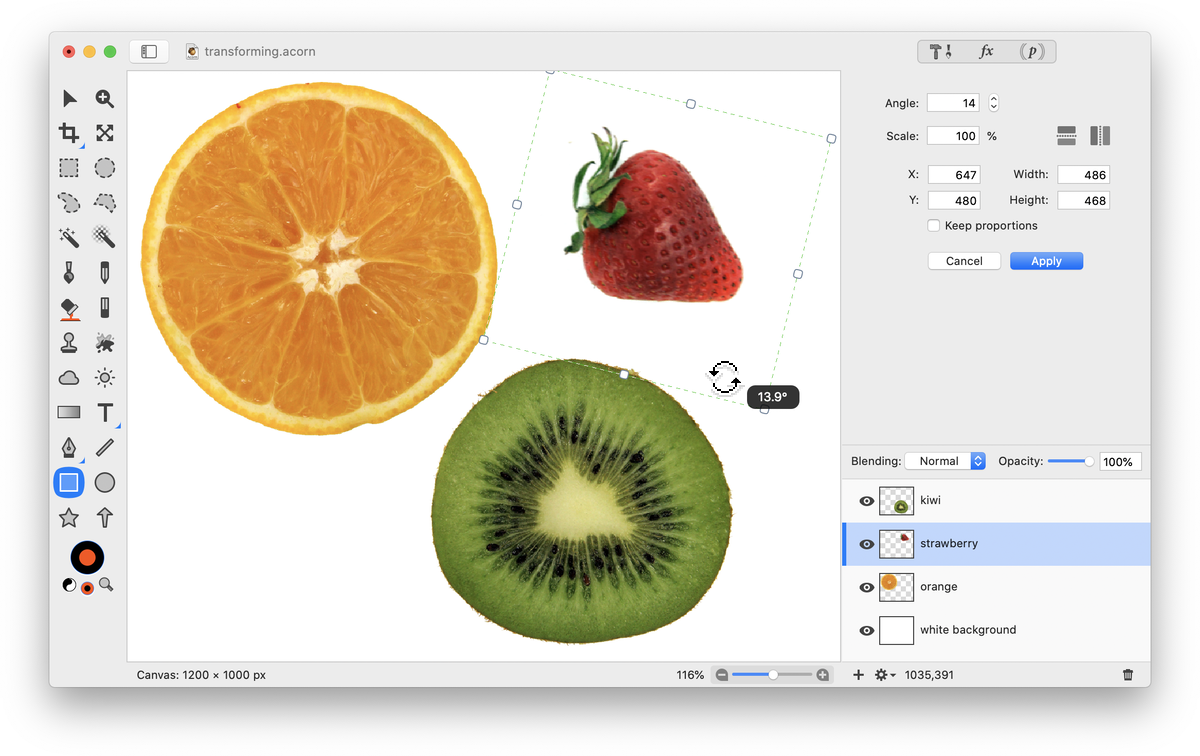
You can manually type in the rotation values you want as well. Click on the angle field to enter your exact number or use the up/down arrows.
Once you are finished rotating, double click on the layer to release it or click ‘Apply’ in the palette.
Free Transform
To free transform, use Layer ▸ Rotate and Transform ▸ Scale and Rotate (⌘⇧T). Uncheck the ‘keep proportions’ box in the inspector palette. You can now change the width and height of your layer independently of one another in the inspector or using the on-canvas controls.
Perspective Transform
Select the layer you wish to modify in the layers list. Choose Layer ▸ Rotate and Transform ▸ Perspective Transform. A box will appear around your layer. With perspective transform you will not be able to rotate your layer, although you will still be able to move it around by clicking and dragging. Drag any corner of the layer using the on-canvas controls.
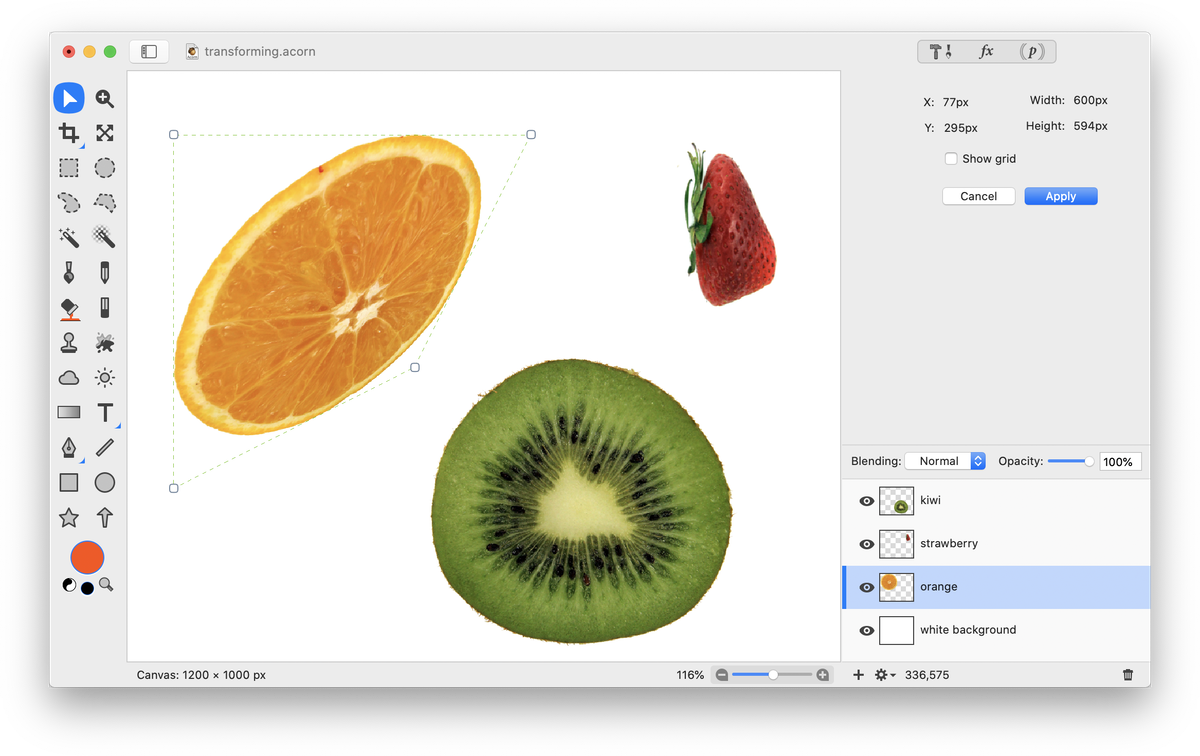
Instead of the points moving with each other, they will move independently creating the look of perspective. This is useful if you want your image to look like it is pasted onto a curved item.
|
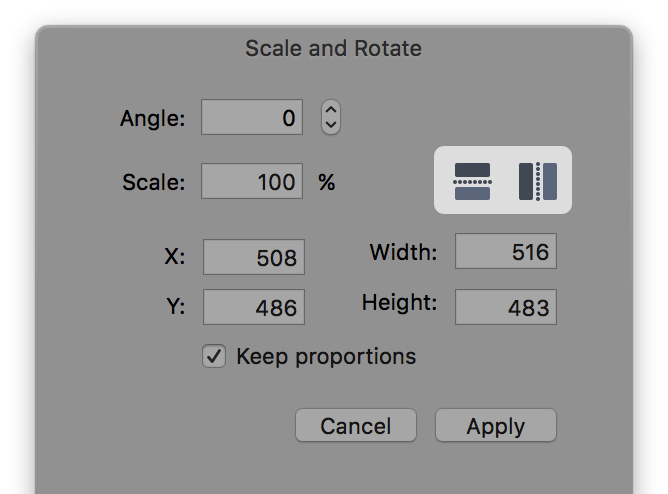
Flipping a Layer Horizontally & Vertically Layers can be flipped horizontally or vertically by selecting Layer ▸ Rotate and Transform ▸ Flip Layer Horizontal or Flip Layer Vertical. If you go to Layer ▸ Rotate and Transform ▸ Scale and Rotate (⌘⇧T), there are buttons in the inspector palette. This will flip the individual layer on either the 'x' or the 'y' axis. Offset and Wrap Layer The offset and wrap layer menu item is useful for making seamless tiles. To learn more about this, read 'Creating a Seamless Tile'. |
|
Aligning Layers
Multiple layers can be aligned with one another. Select the layers you want to align in the layers list. To select multiple layers you can either hold down the command key while you click on the layers, or hold down the shift key to select all the layers within a range. Go to Layer ▸ Rotate and Transform ▸ Align and select the function you wish to perform. Hold down the option key when you bring up the Align menu to show further options for aligning layers to the canvas.
Additional Relevant Documentation
Using Layers Part 2 (video tutorial)
