Outer and Inner Glow

This tutorial will outline how you can give your text an outer and inner glow effect using both a simple method and a more complicated one.
Outer Glow
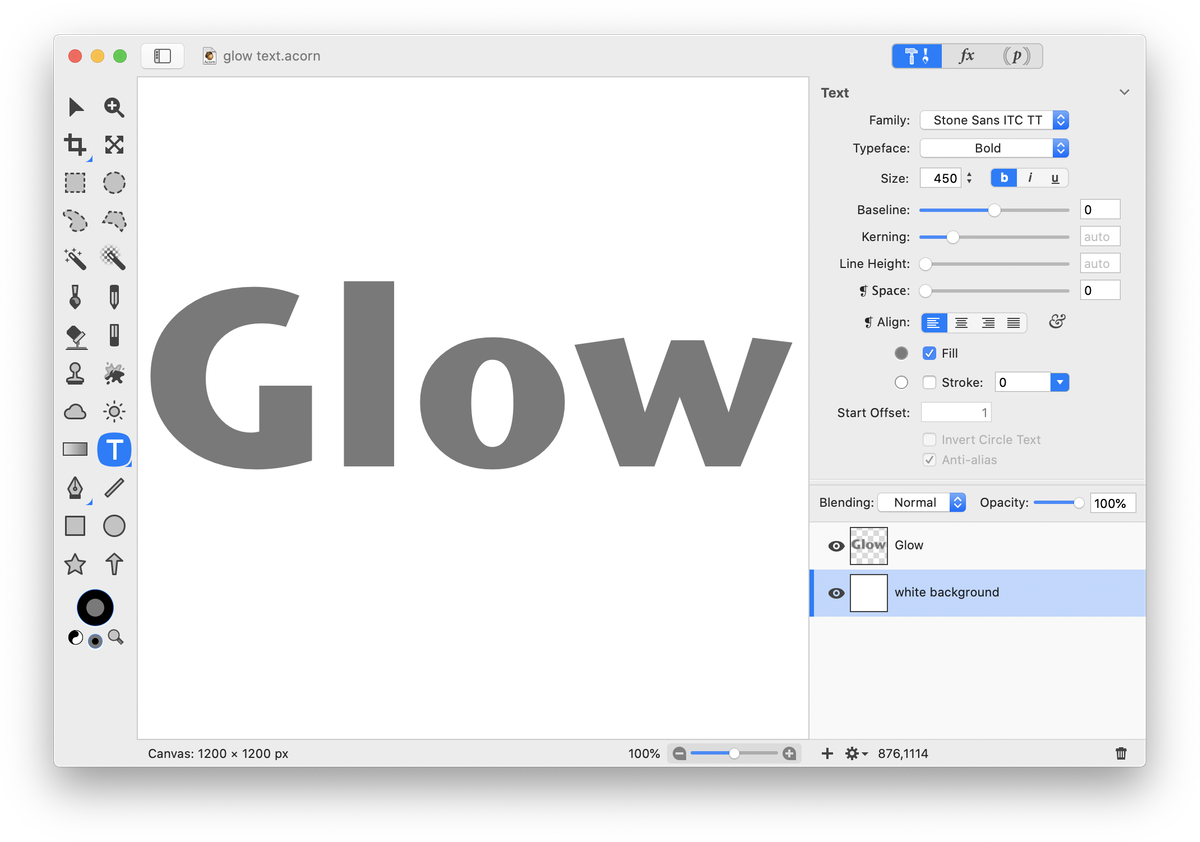
First, create a new image in Acorn, File ▸ New (⌘N). The dimensions used here are 1200 x 1200 pixels with a white background. Type out some text. The font style, and size can be seen in the palette below. A dark gray color is chosen in the fill color well in the tools palette.
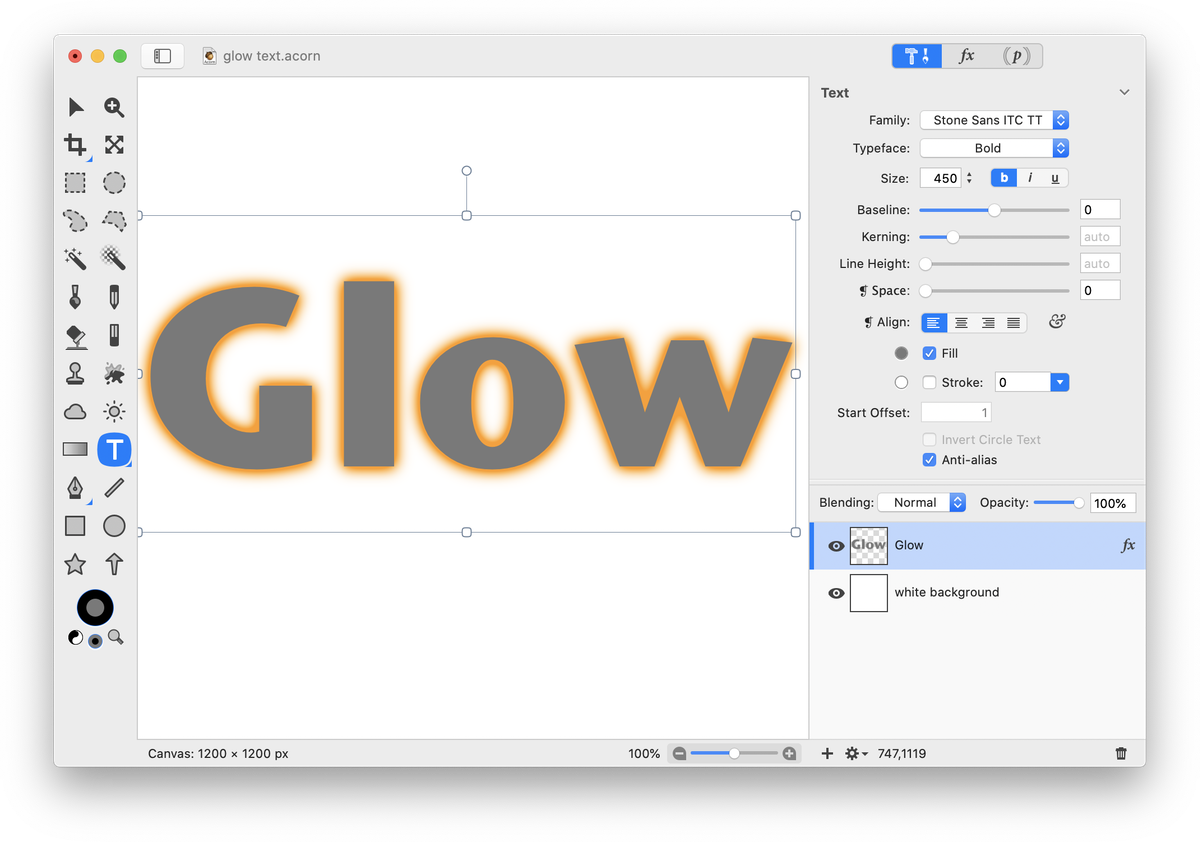
Choose Filter ▸ Stylize ▸ Fuzz Stroke. Play around with the settings, the ones used here can be seen below. Click on the 'Stroke Color' box in order to change the color of the outer glow in the colors palette. Your text should now appear to have a glowing outer edge! If you want to go back and change the settings of the outer glow, just double click on the 'fx' to the right of your text layer in the layers list.
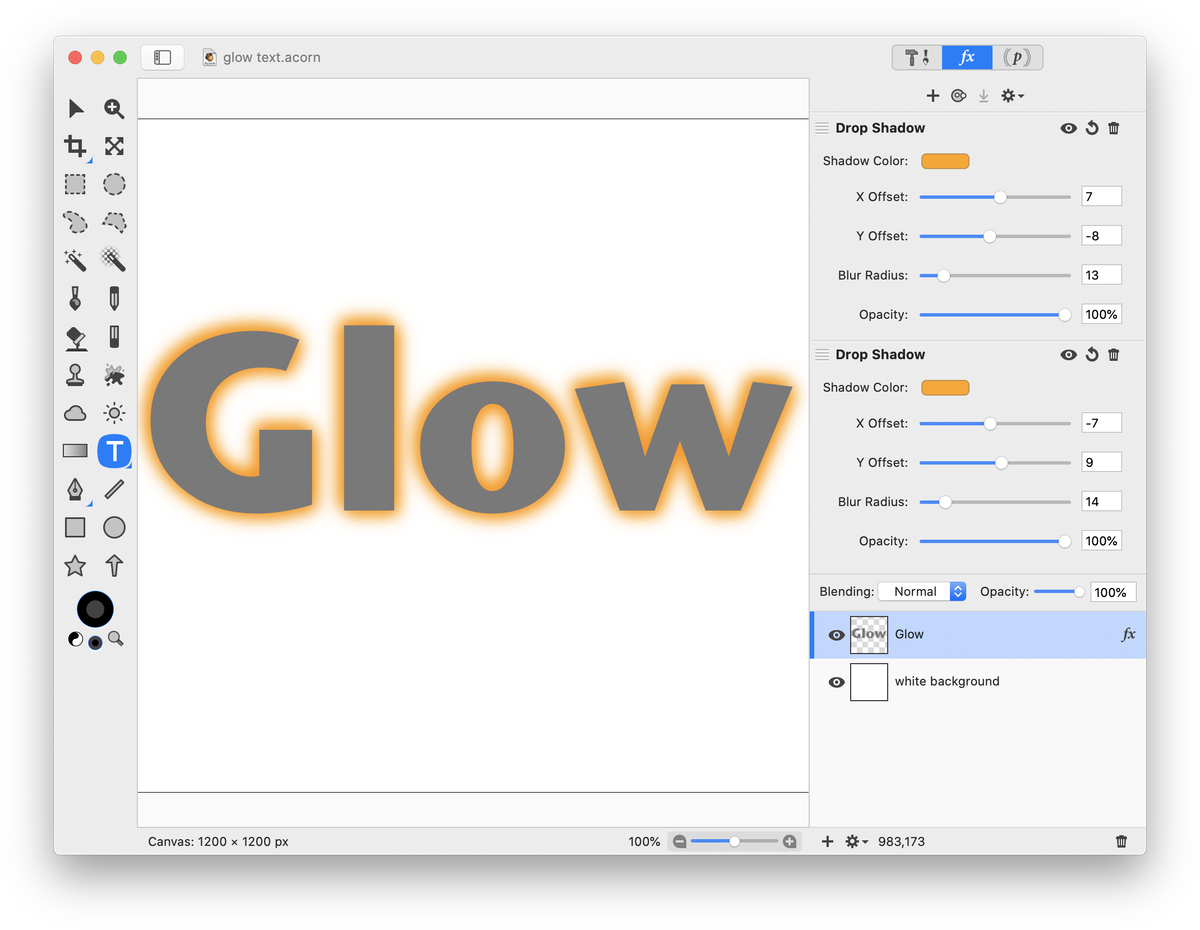
An additional method to achieve an outer glow is to add two drop shadow filters to your text layer. You can then adjust the offsets to have the glow appear along all the outer edges.

Inner Glow
Type out some text. Go to Filter ▸ Stylize ▸ Inner Shadow. The settings used here can be seen below. To easily duplicate the Inner Shadow filter, hold down the option key while clicking and dragging on the filter. Place the duplicated filter above or below the current one in the filters list.
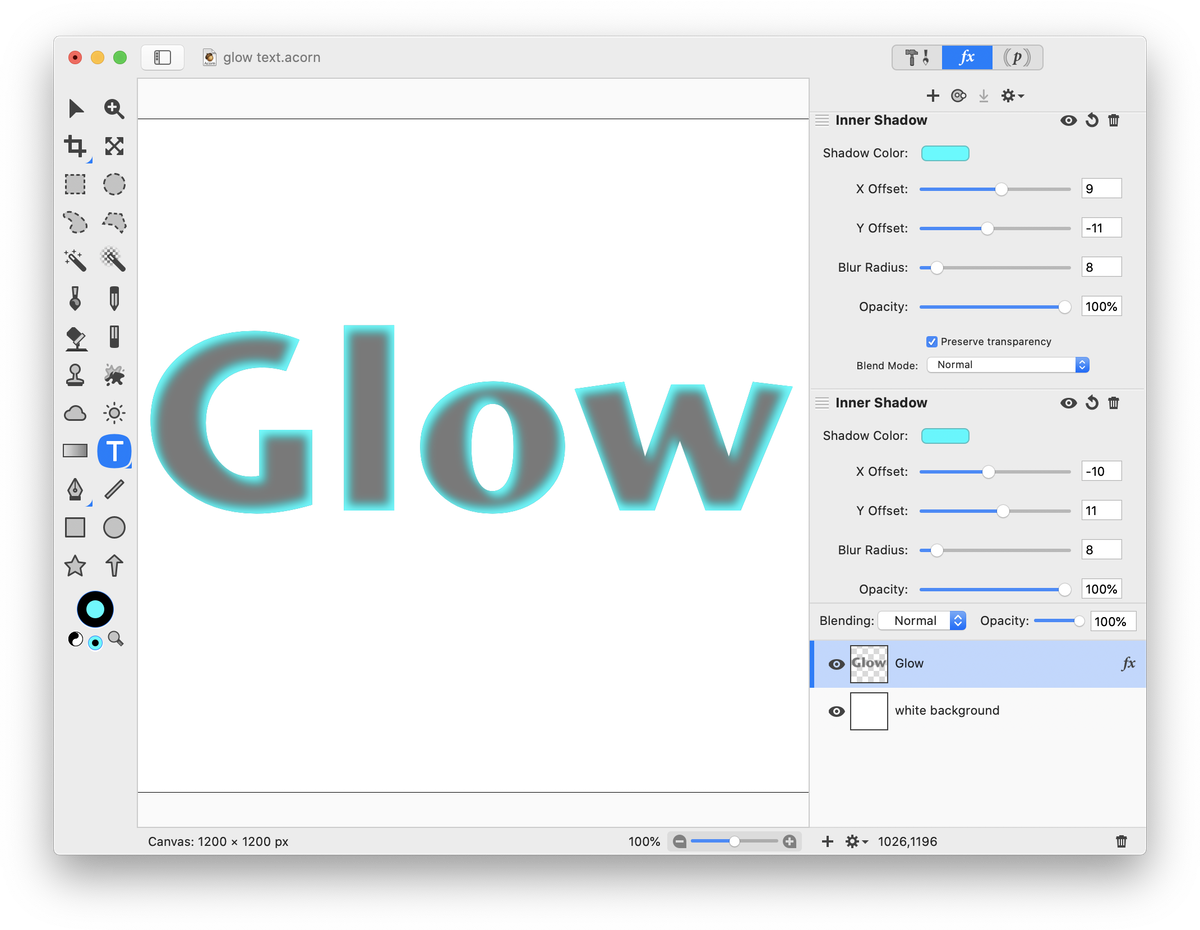
Play around the the blur radius, opacity and offsets to make the glow more or less “glowy”.
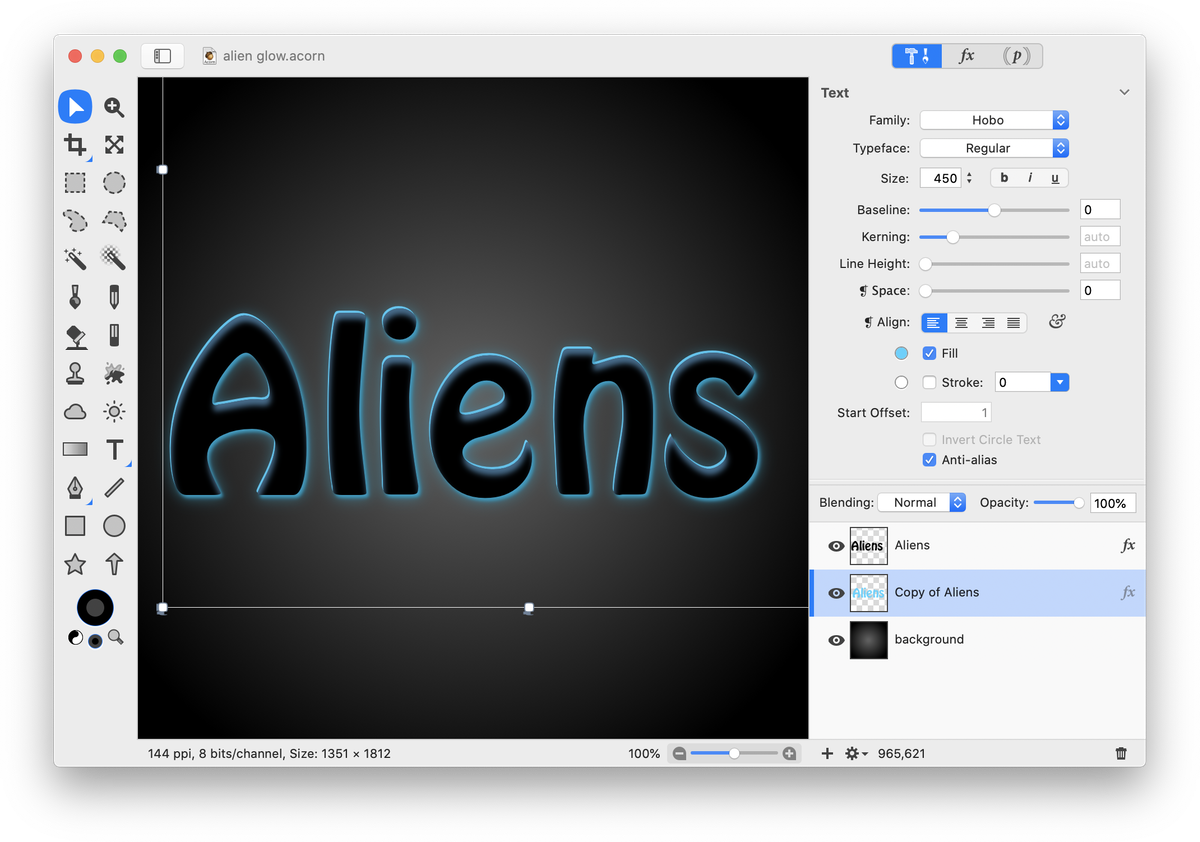
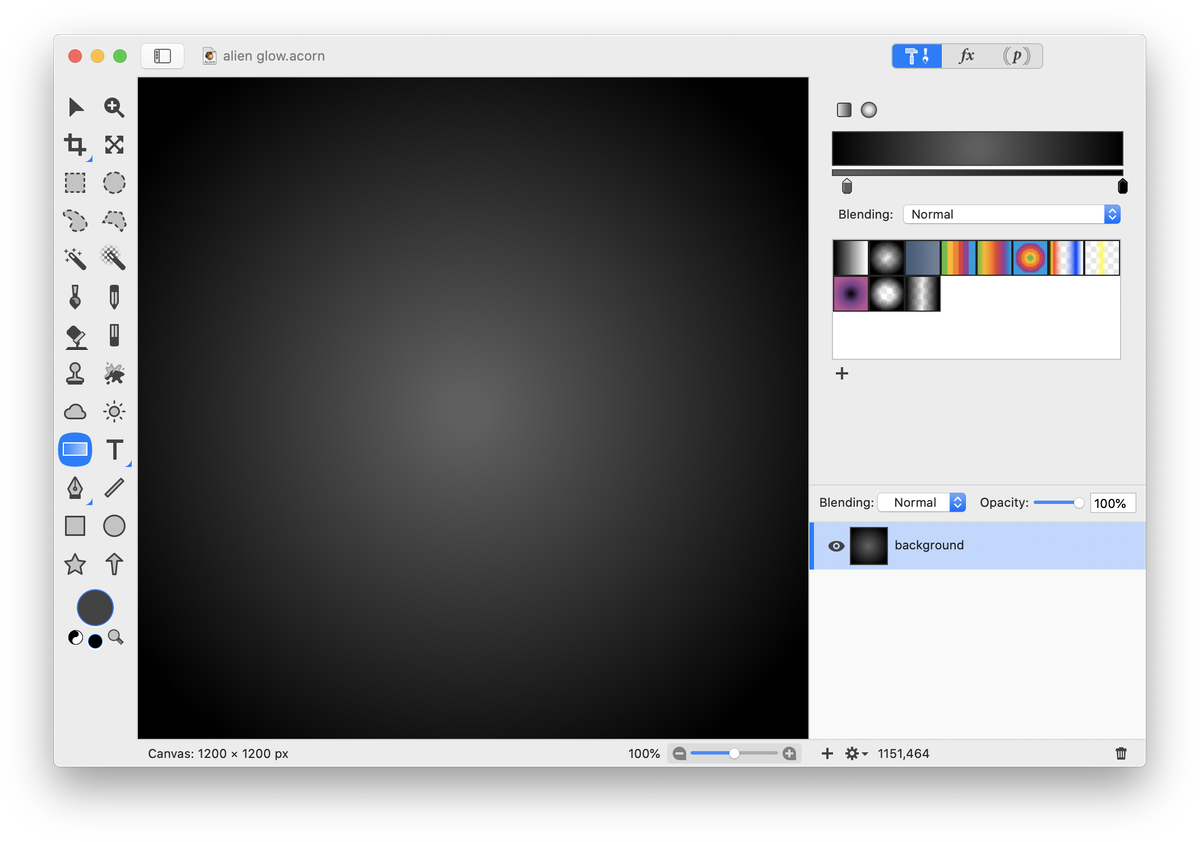
More Complicated Glow
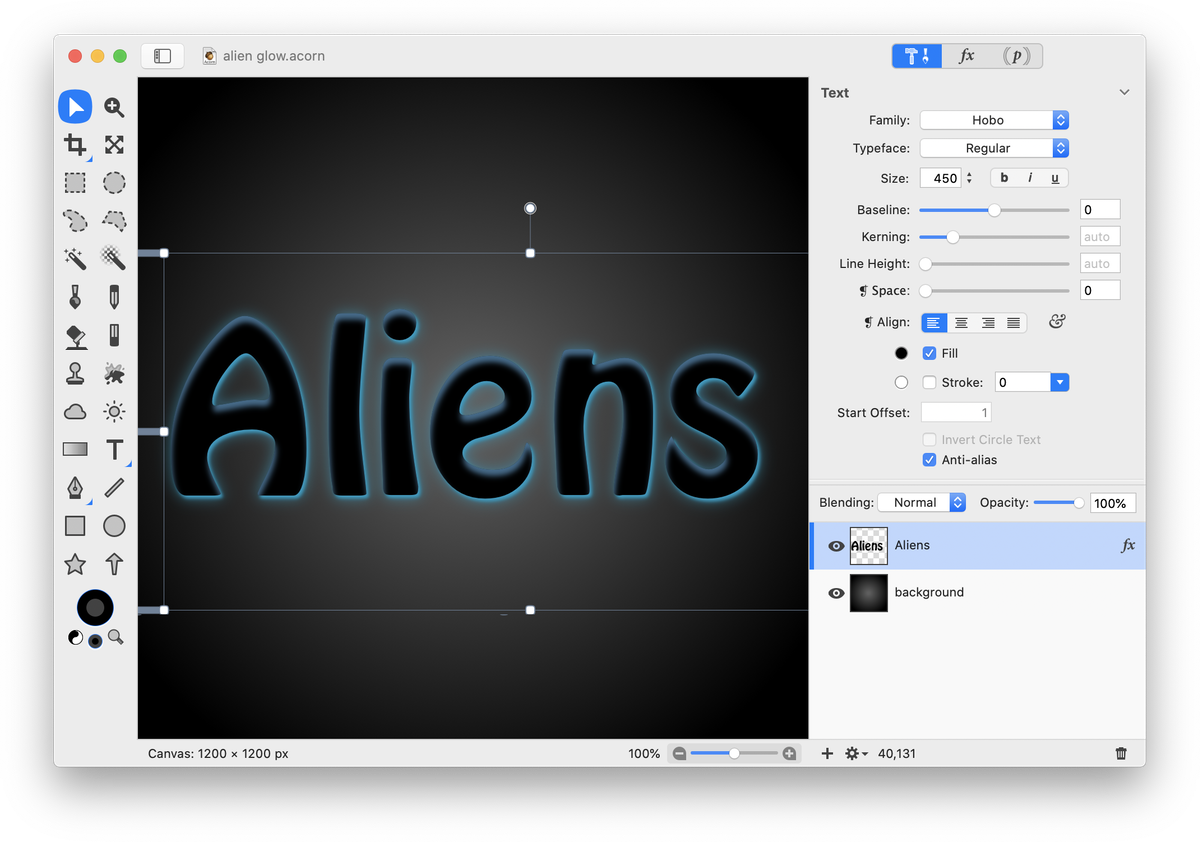
To take creating an outer glow to the next level, there are some additional steps to apply. Create a new image in Acorn, File ▸ New. The one used here is 1200 x 1200 pixels with a white background. Select the gradient tool and create a gray to black radial gradient.
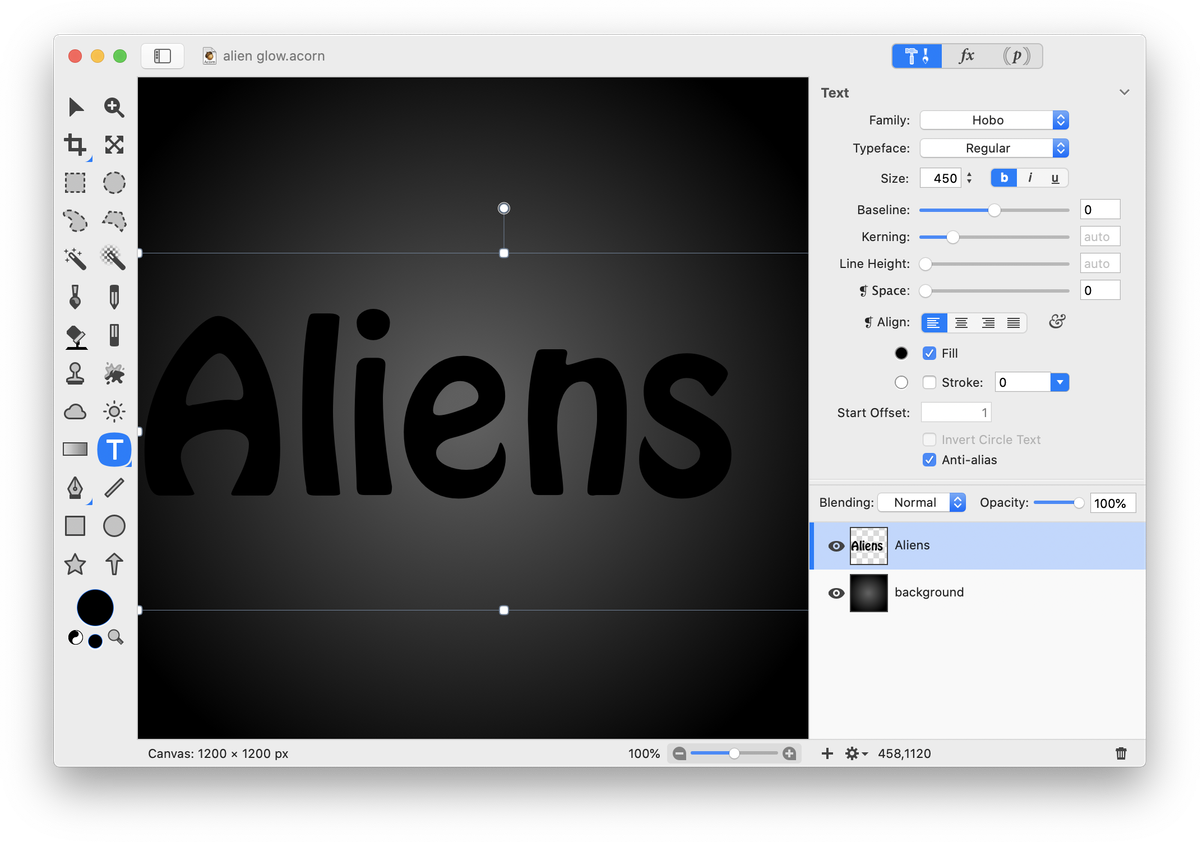
Type out your text. The font, size, and settings used here can be seen below.
Go to Filter ▸ Stylize and add the following filters:
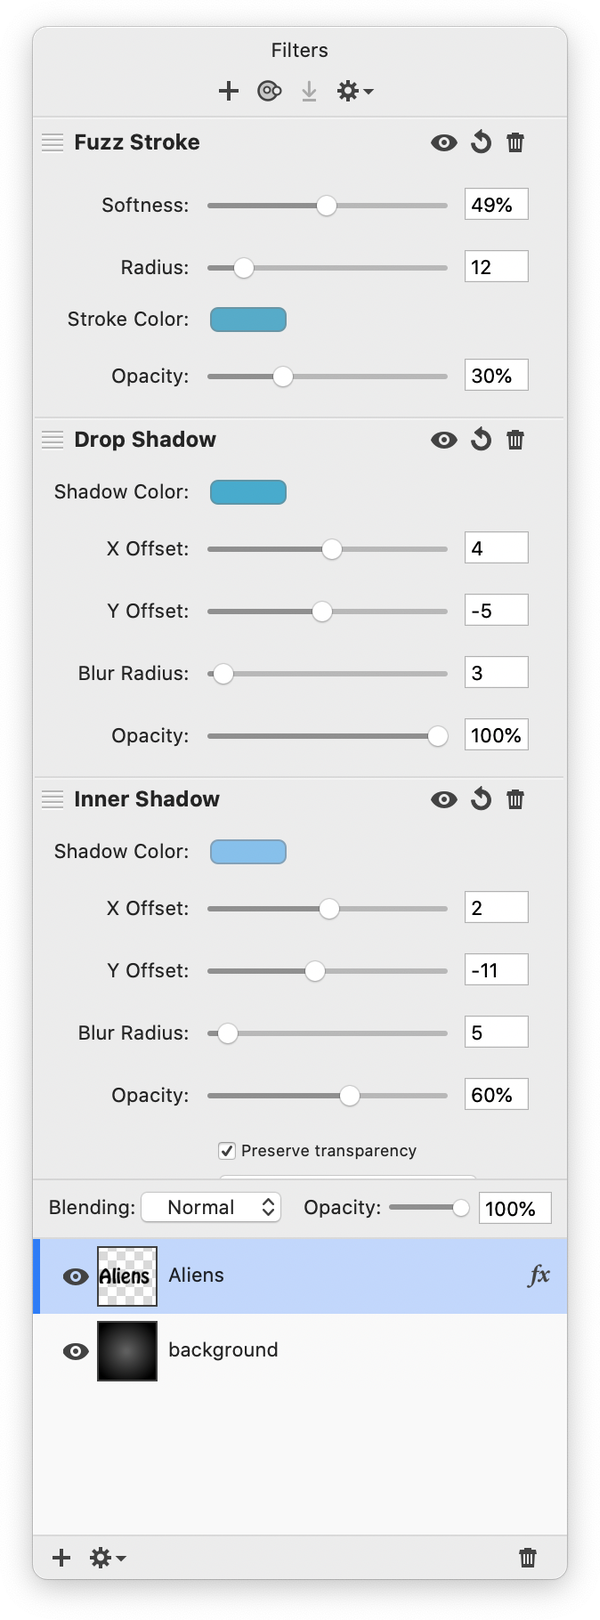
Your image should be looking good!
To create a little more brightness along the edges, duplicate your text layer (⇧⌘D). Disable the filters by right-clicking on the 'fx' on the right side of the layer and choosing 'disable layer filter'. Change the color of the duplicated text layer to the same blue you used in your filters.
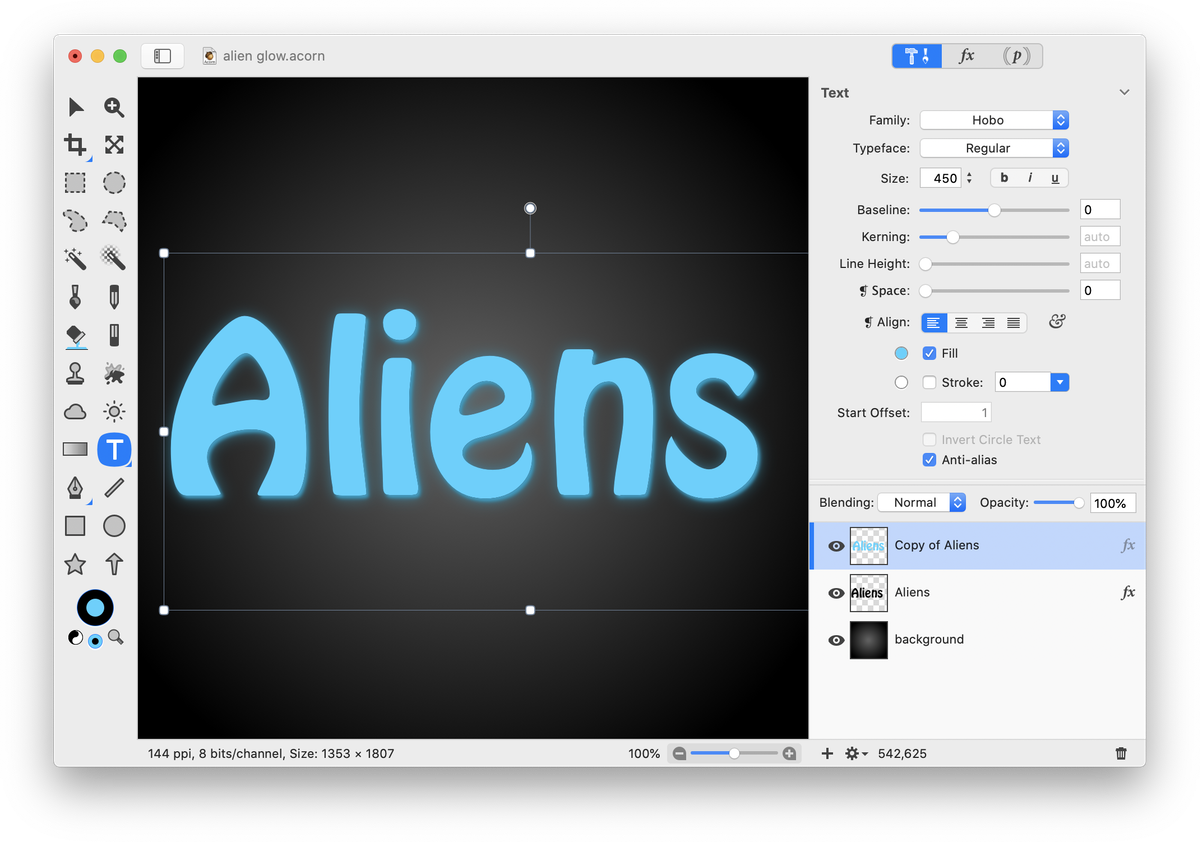
Move the duplicated text layer below the original text layer. Select the move tool. Using the arrow keys, move the duplicated text layer up or down a few pixels so that it gives the boundary a nice glow. Repeat the steps of duplicating the layer again if you want additional brightness.