How to Place a Photo Inside Text

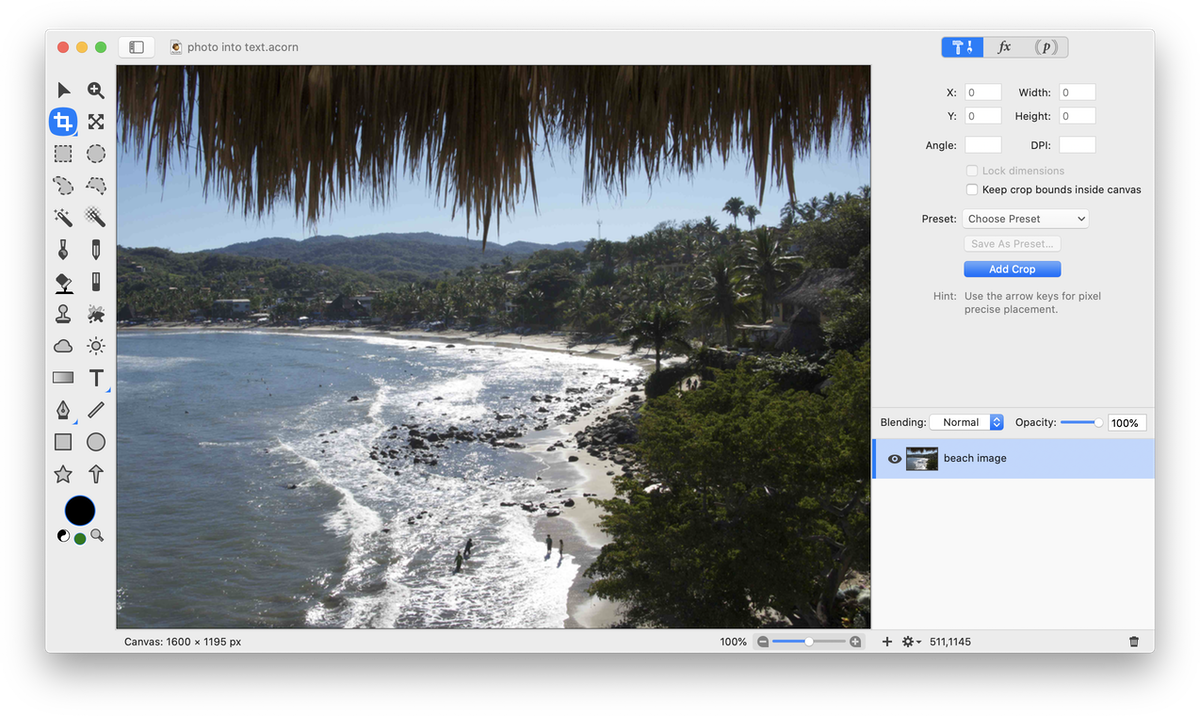
This tutorial will demonstrate one method for making it appear as if an image is inside text. You can also experiment with the techniques outlined in the 'Filling Text' tutorial. First, find the image you want to use and open it in Acorn, File ▸ Open.
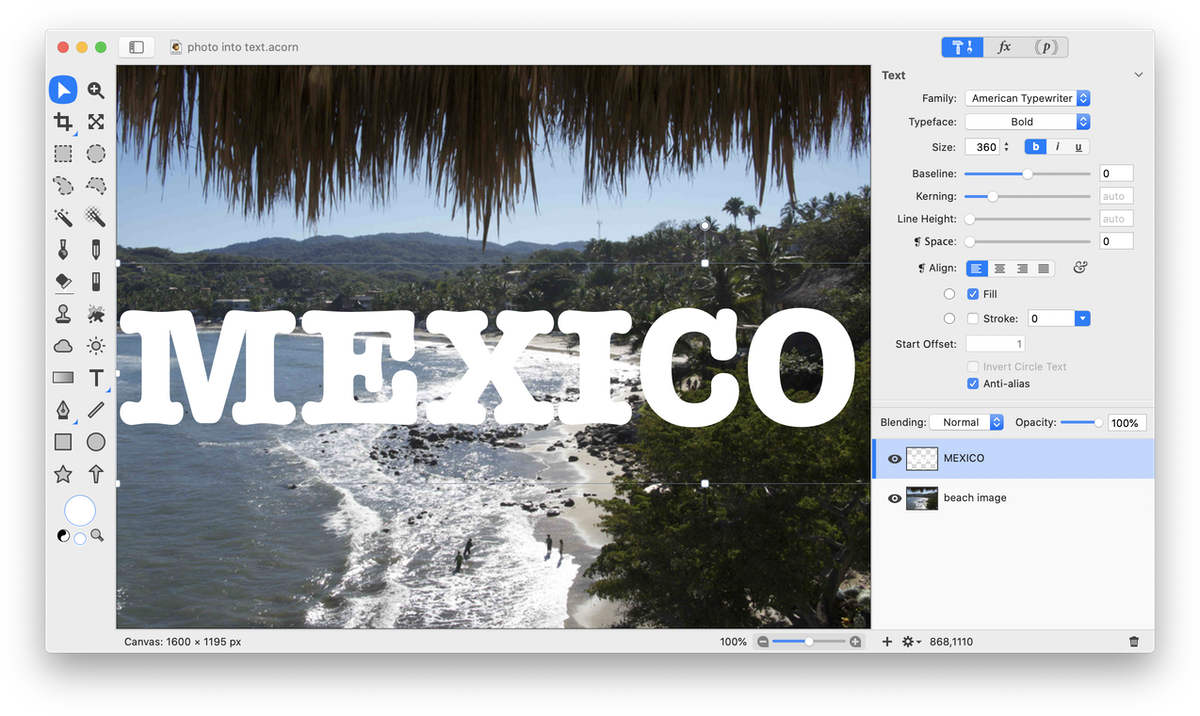
Click on the text tool in the tools palette and choose your font. Wide or thick fonts work best for this effect. Ideally you should get the font as big as possible while remaining inside the bounds of your image. Choose white as the font fill color.
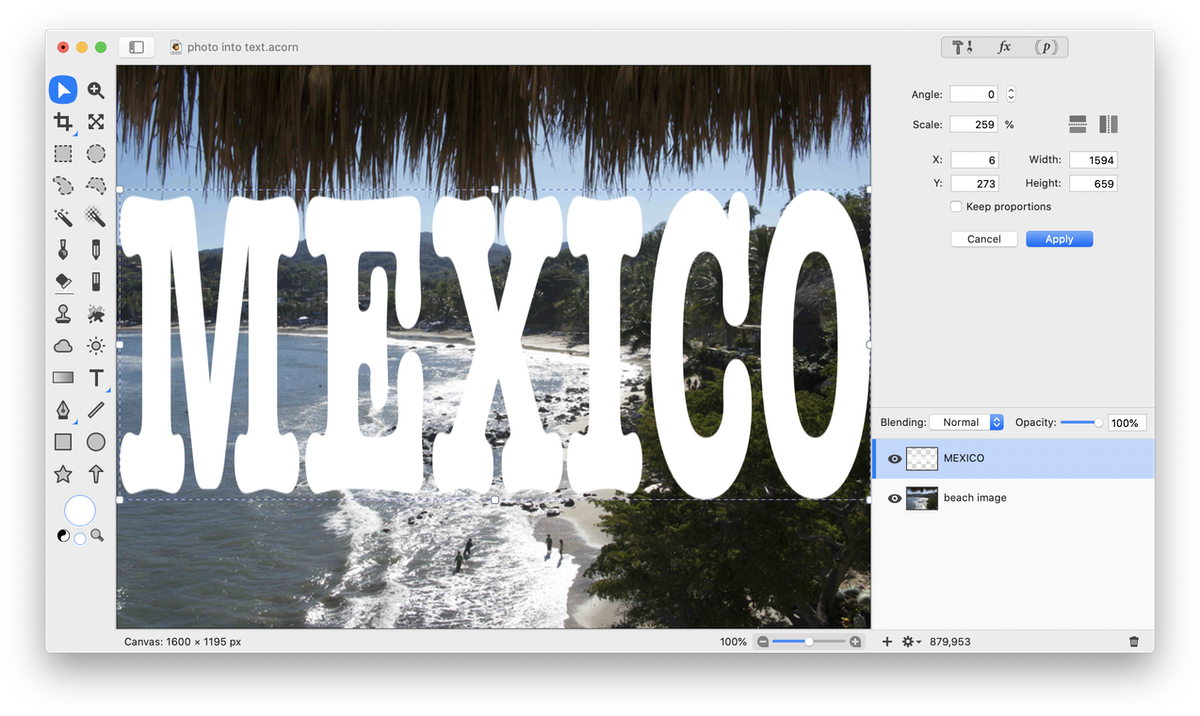
Optional Step: Once you are happy with your text, rasterize the text layer using Layer ▸ Rasterize Shape Layer. Once your text is rasterized, try using Layer ▸ Rotate and Transform ▸ Scale and Rotate to stretch the appearance of the type out. Uncheck the ‘keep proportions’ box if you want to increase the width or height independently of one another. When you are happy with the transform you can double click to commit it.
Using the move tool, place your text over where you want the image below to show through. Change the blending mode to ‘Mask’.
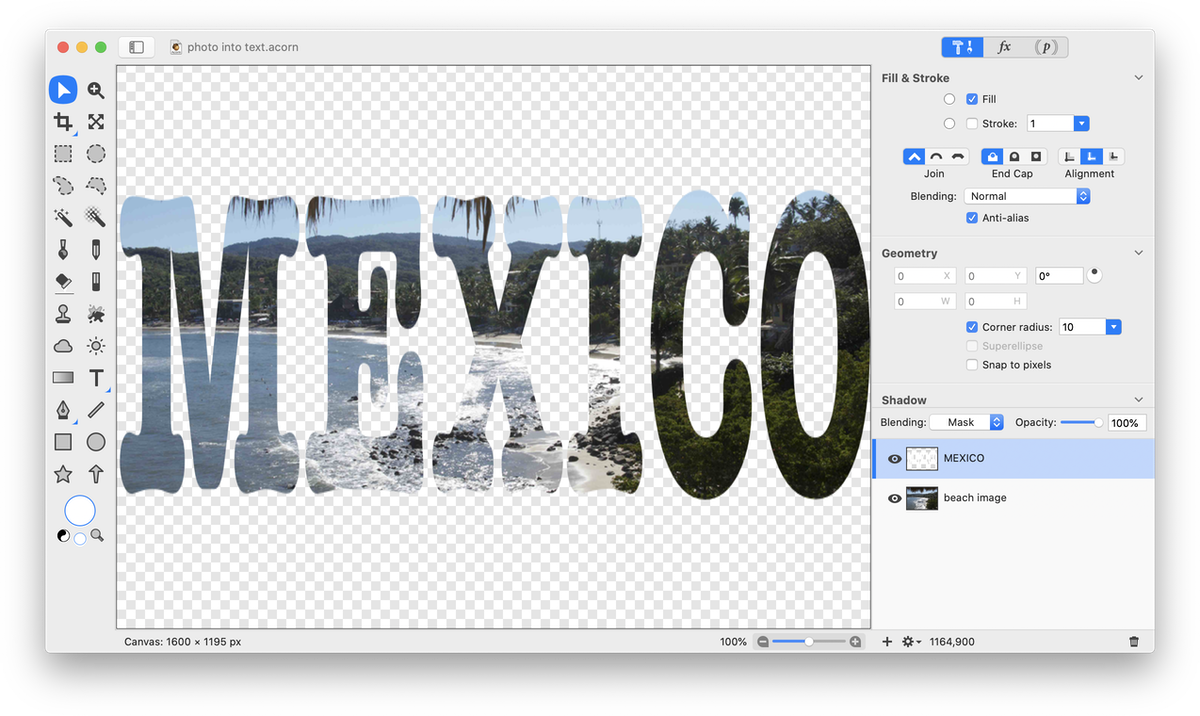
Use the crop tool if you want to trim your image down to just the text.
