Filling Text
There are a couple of methods for filling text with a pattern or image. This tutorial will cover how to use Edit ▸ Paste Into and Edit ▸ Fill to achieve this effect. Also read the 'Placing a Photo into Text' tutorial for additional ideas.
Paste Into
First, find an image or pattern you want inside your text and open the image in Acorn, File ▸ Open. The spotted image shown below can be found at http://cgtextures.com.
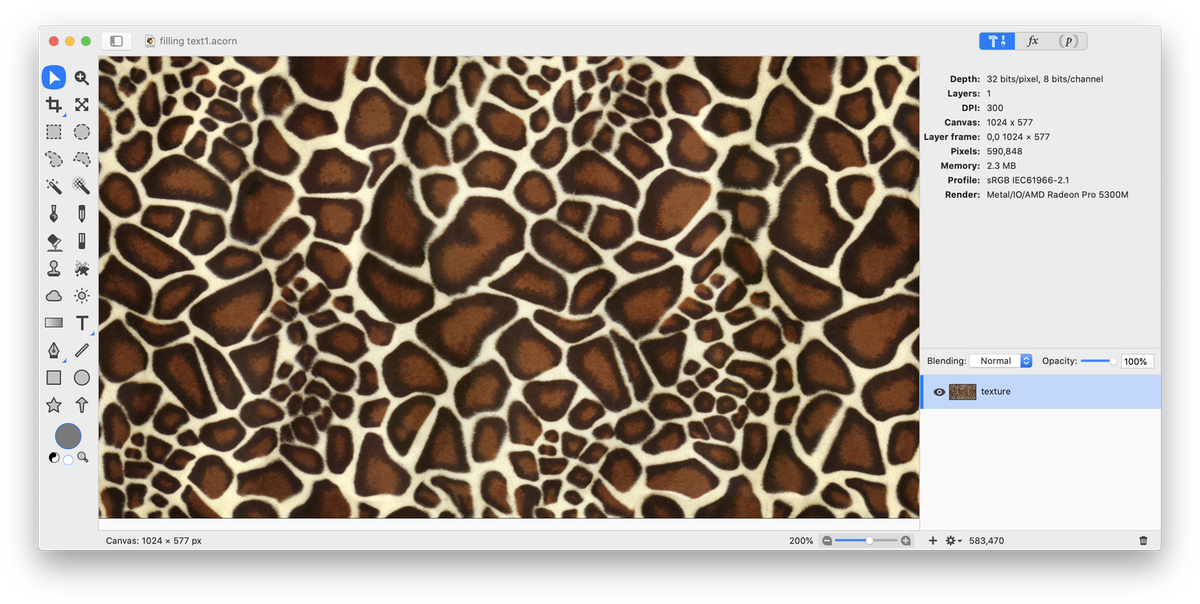
Copy the image to the clipboard (⌘C). Now, create a new image in Acorn, File ▸ New (⌘N). The dimensions used here are 1200 x 1200 pixels with a white background.
Select the text tool from the tools palette and write out some text. The color doesn't really matter, but black is used here. The font, stroke, and size can be seen in the palette below.
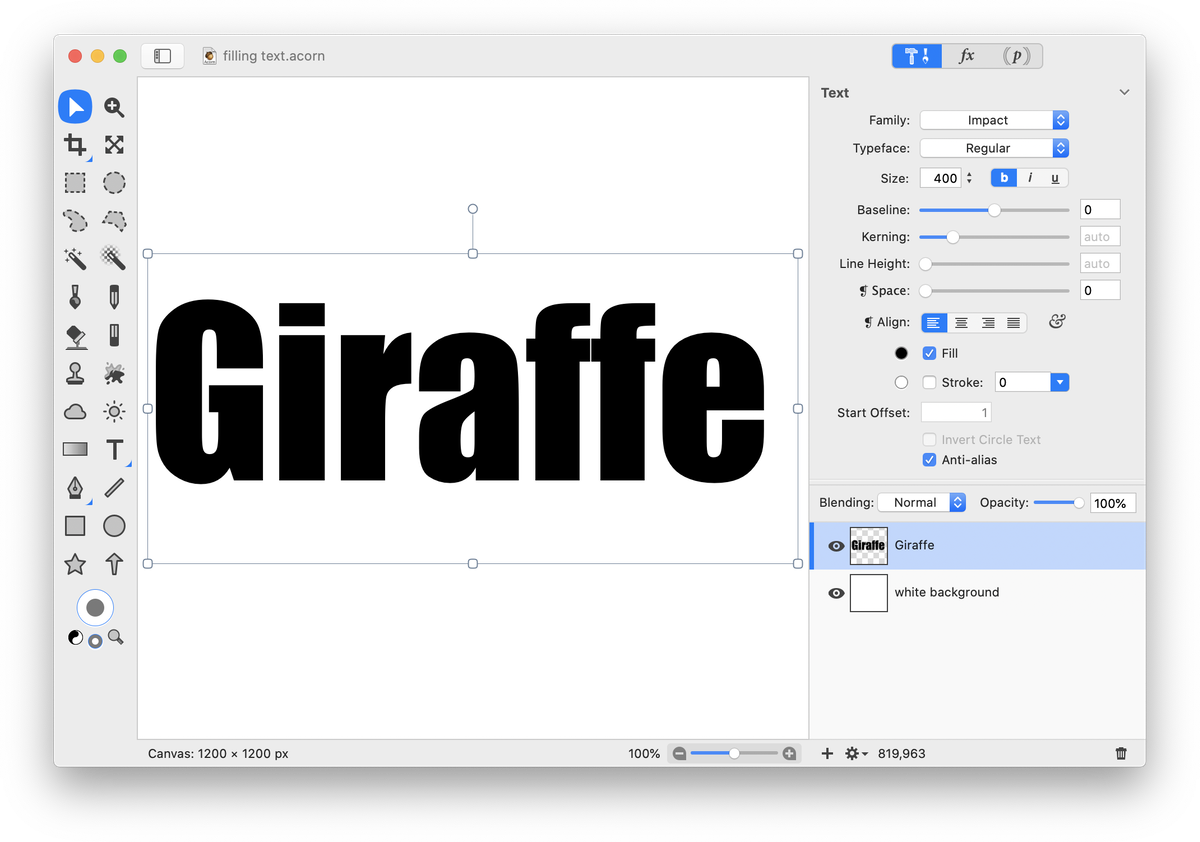
Hit the escape key to end text editing. Go to Select ▸ Make Selection from Layer. Then choose Edit ▸ Paste Into. The second step takes whatever is copied to your clipboard (you previously copied the spotted image), creates a new layer with the copied image, and creates a layer mask with the boundaries of your selection. For more info, read layer masks.
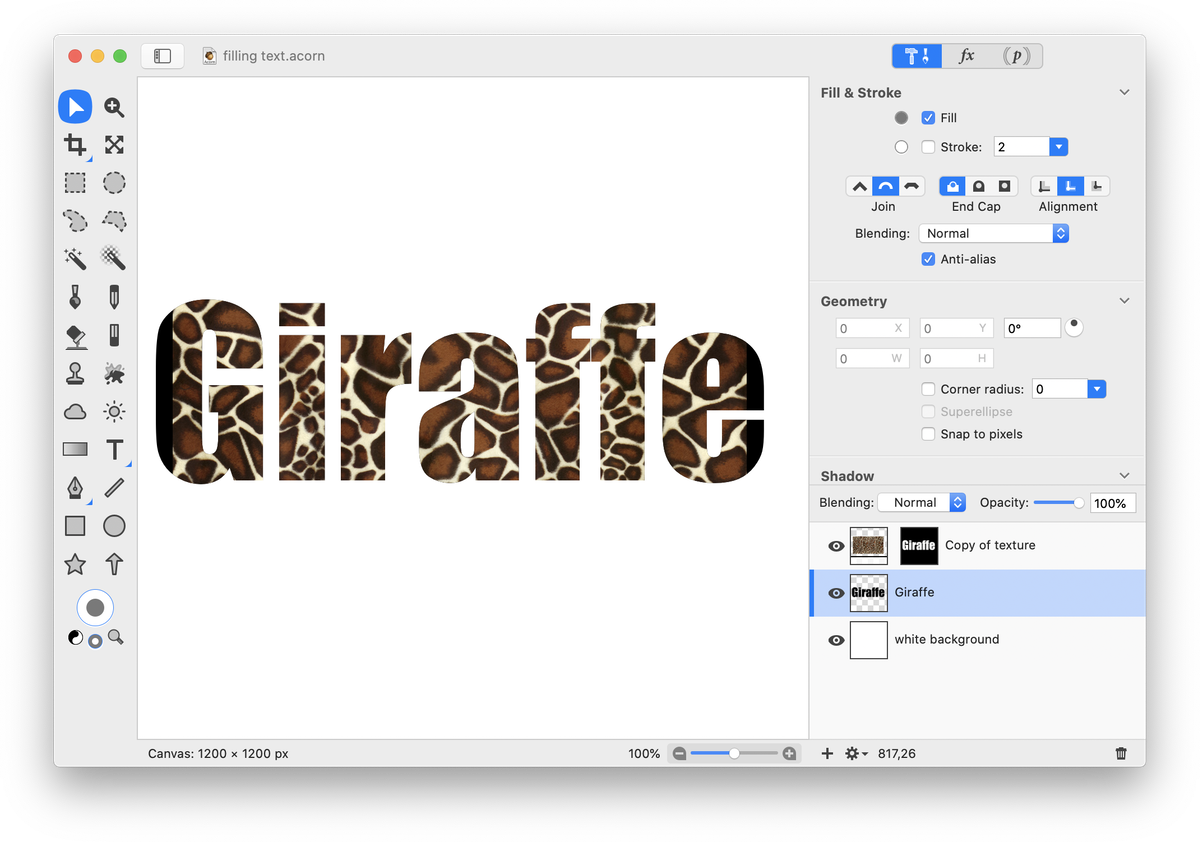
Click on the visibility icon to the left of the 'giraffe' text layer in the layers list to hide it (this is the second layer from the top currently). Click on the top-most layer, and click on the layer mask to select it. Using the move tool, play around with moving the layer mask to have different areas of the spots show up inside the text.
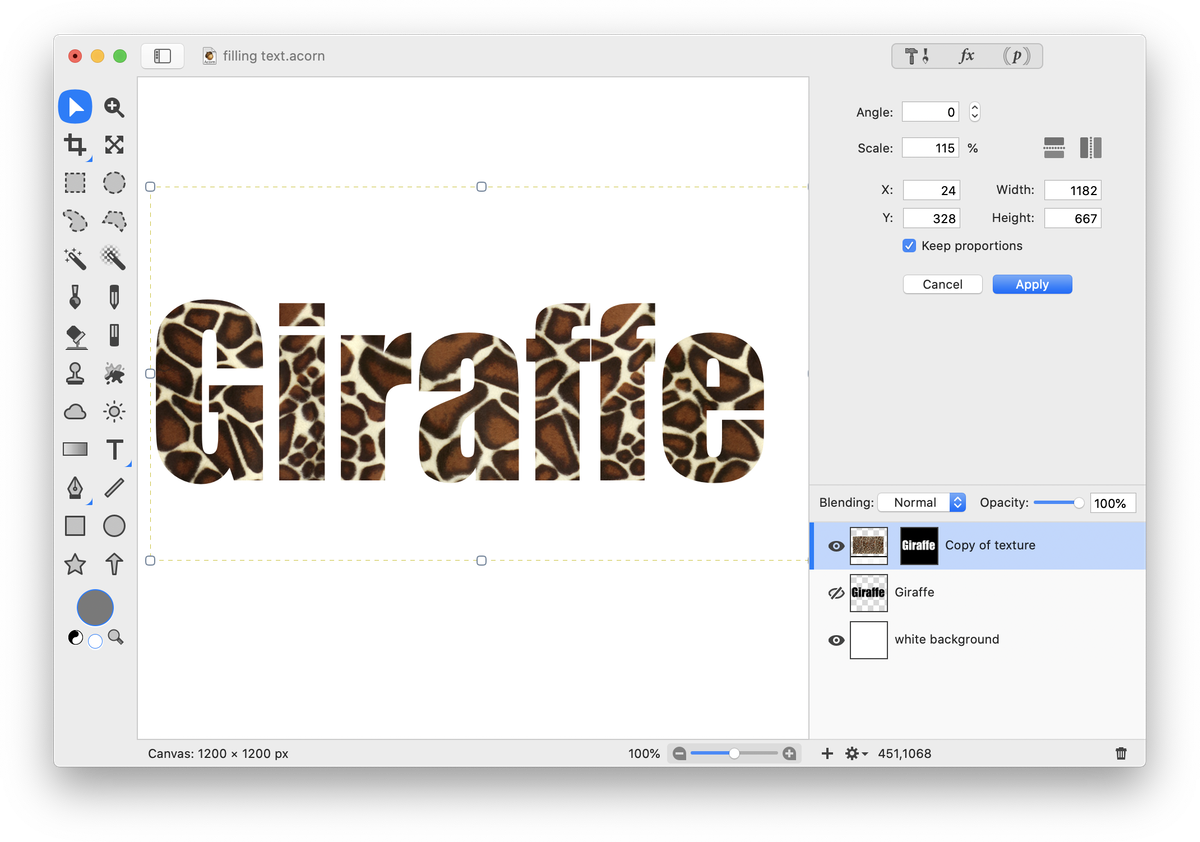
If you want to make the spotted layer smaller or larger, click on the the thumbnail in the layers list that displays the spotted image. A black line will appear towards the bottom of the thumbnail letting you know it is selected. Then you can use Layer ▸ Rotate and Transform ▸ Scale and Rotate (⇧⌘T) to make modifications.
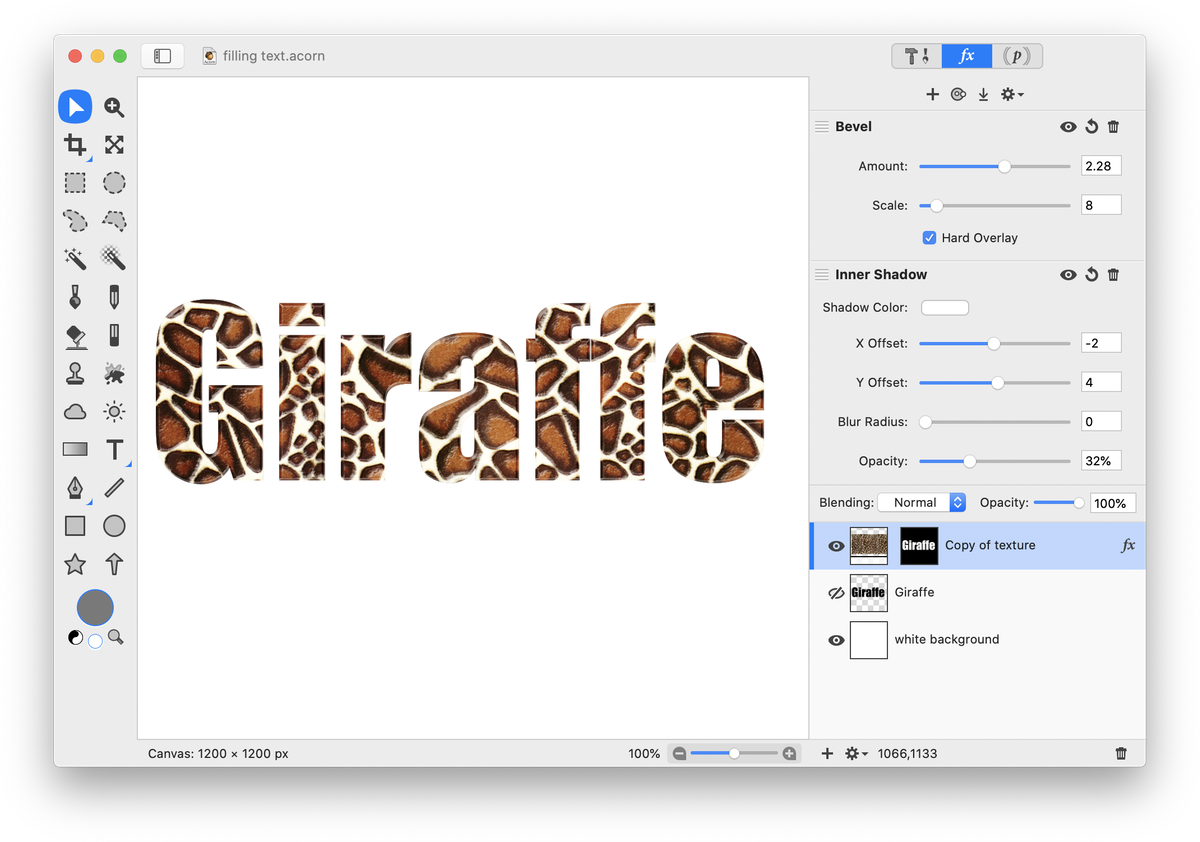
To really make this text pop, try applying an inner shadow filter. Click on the giraffe pattern thumbnail in the layers list to select it. Go to Filter ▸ Stylize ▸ Inner Shadow. Click on the '+' at the top of the filters window and add Stylize ▸ Bevel. Play around with the settings.

Fill
The fill method works especially well if you have a small image pattern that you want repeated inside your text. If you want control over the placement of the pattern, then the 'paste into' method covered above is preferred.
Open the pattern image in Acorn, File ▸ Open. A very small image of a brick wall is used here. The image can be found at https://www.textures.com.
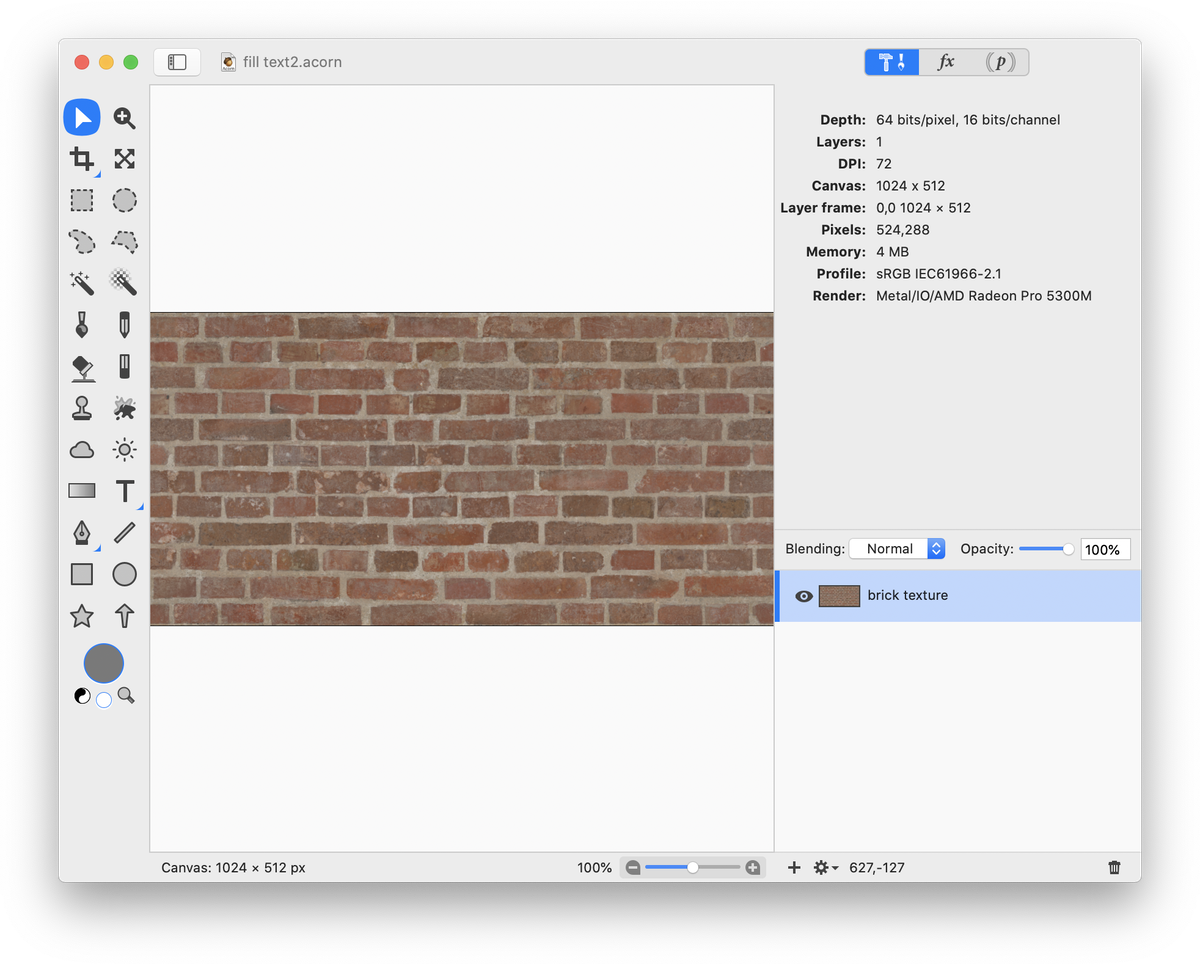
Copy the image to the clipboard (⌘C). Now, create a new image in Acorn (⌘N). The dimensions used here are 1200 x 1200 pixels with a white background.
Write out some text. The color doesn't really matter, but grey is used here. The font, stroke, and size can be seen in the inspector palette below.
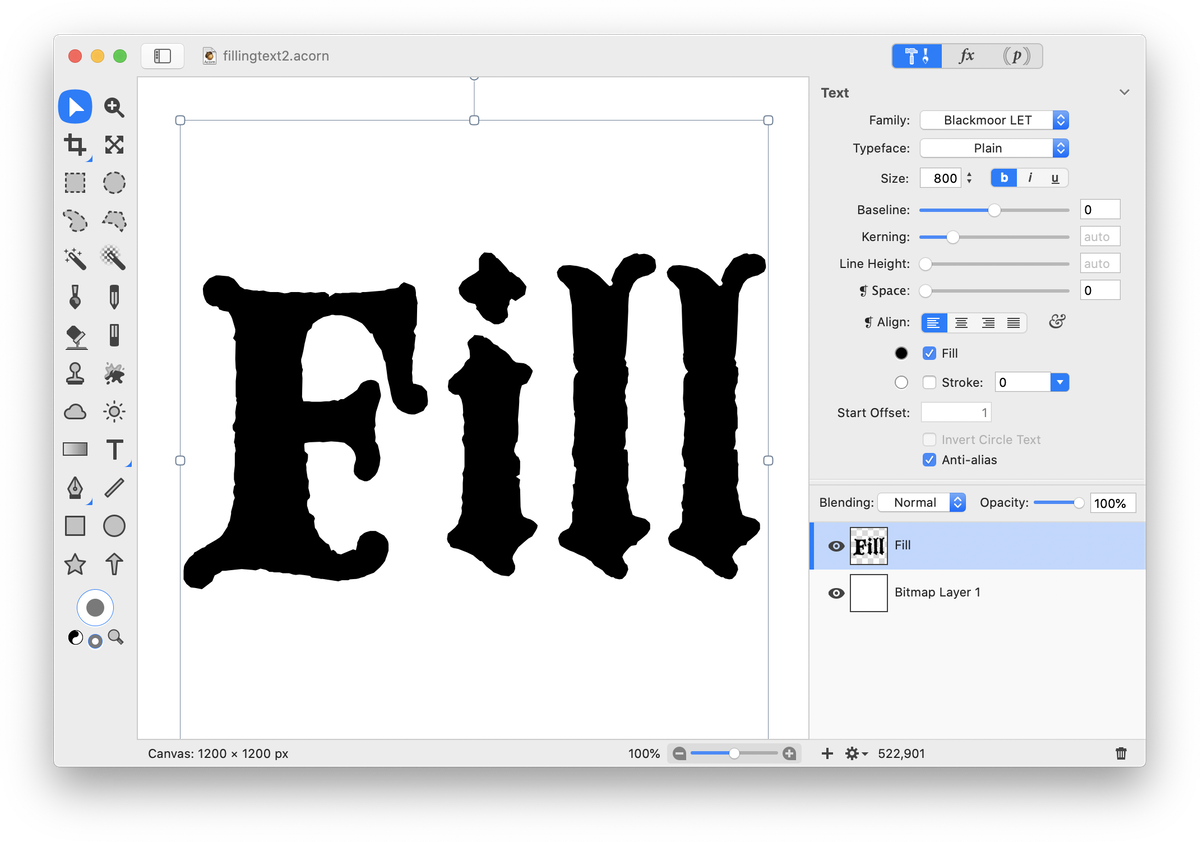
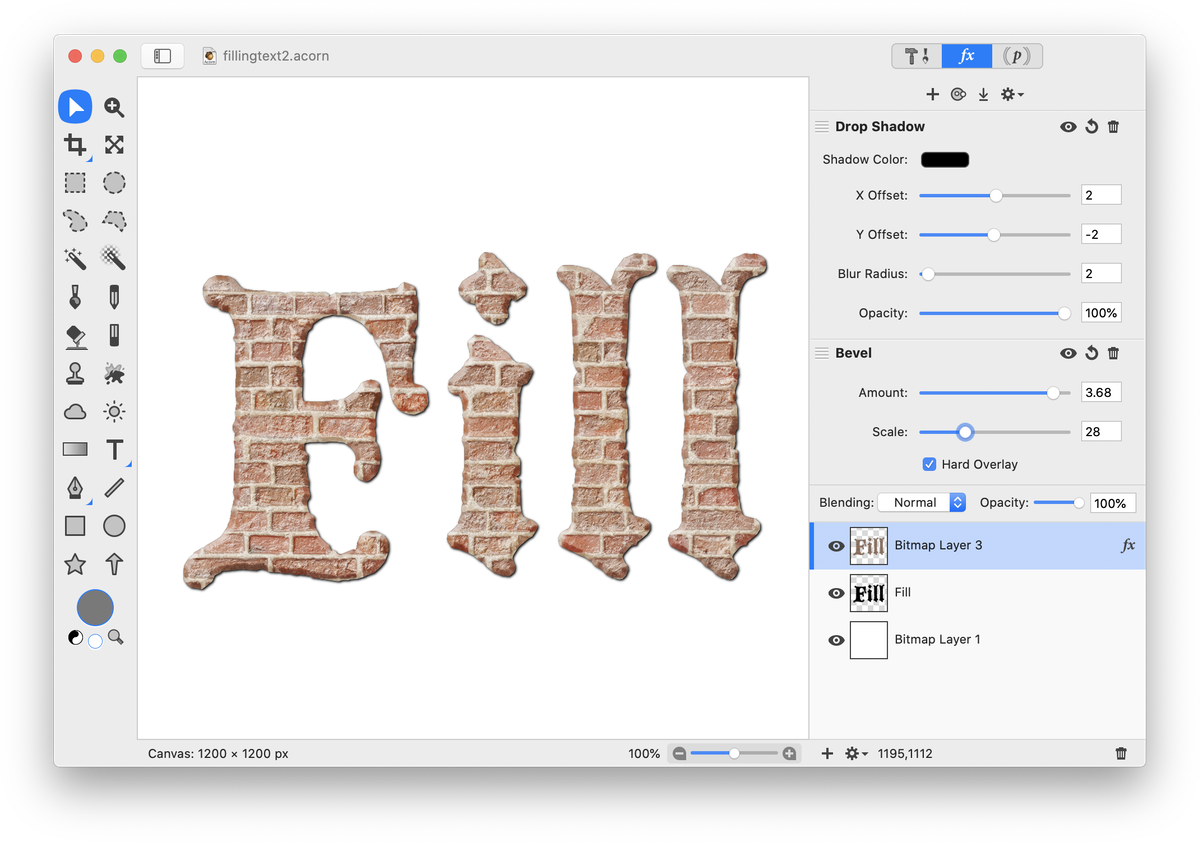
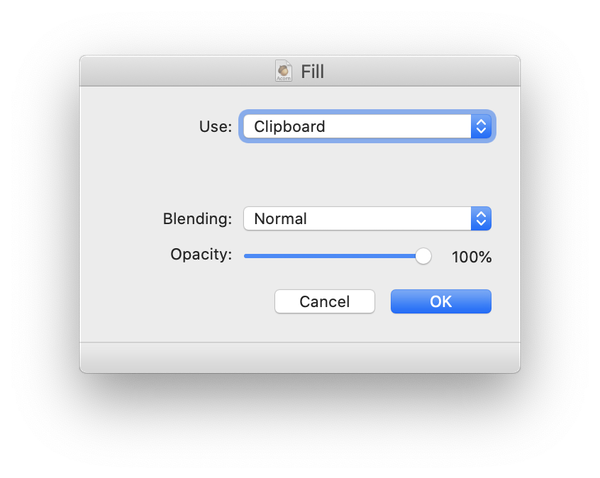
Go to Select ▸ Make Selection from Layer. You should now have marching ants around your text. Then, choose Layer ▸ New Layer (⇧⌘N). Finally, choose Edit ▸ Fill. A little window will appear. Choose 'Use: Clipboard'. This will place the image you copied to the clipboard in the first step into your text. Click 'OK'.
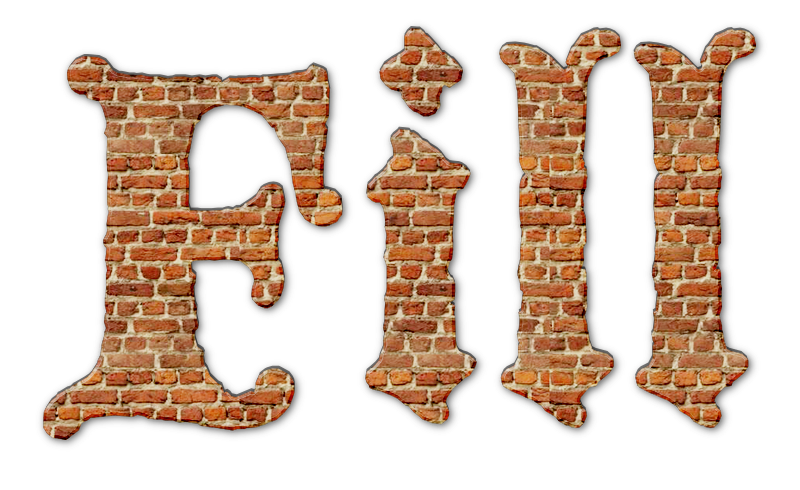
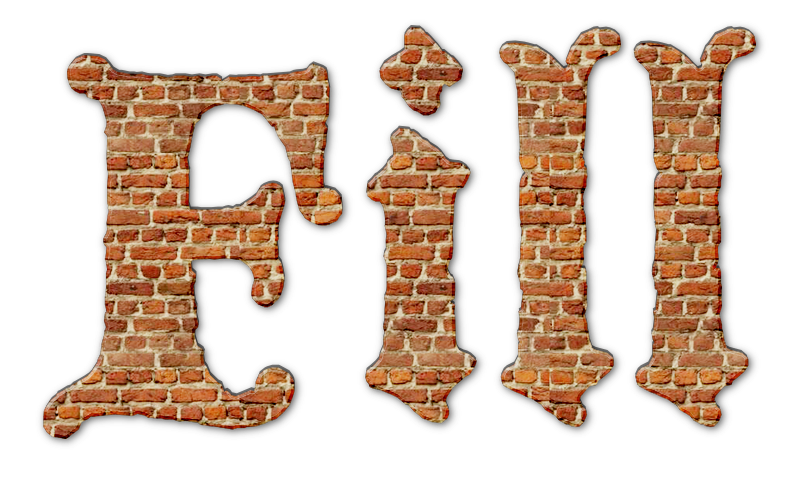
Deselect by using ⌘D. Did you notice that the brick pattern is repeated in the fill? If the pattern had more color variation around its boundaries then the edges of demarcation would be more obvious. If you want to get rid of any abrupt edges, use the clone tool.
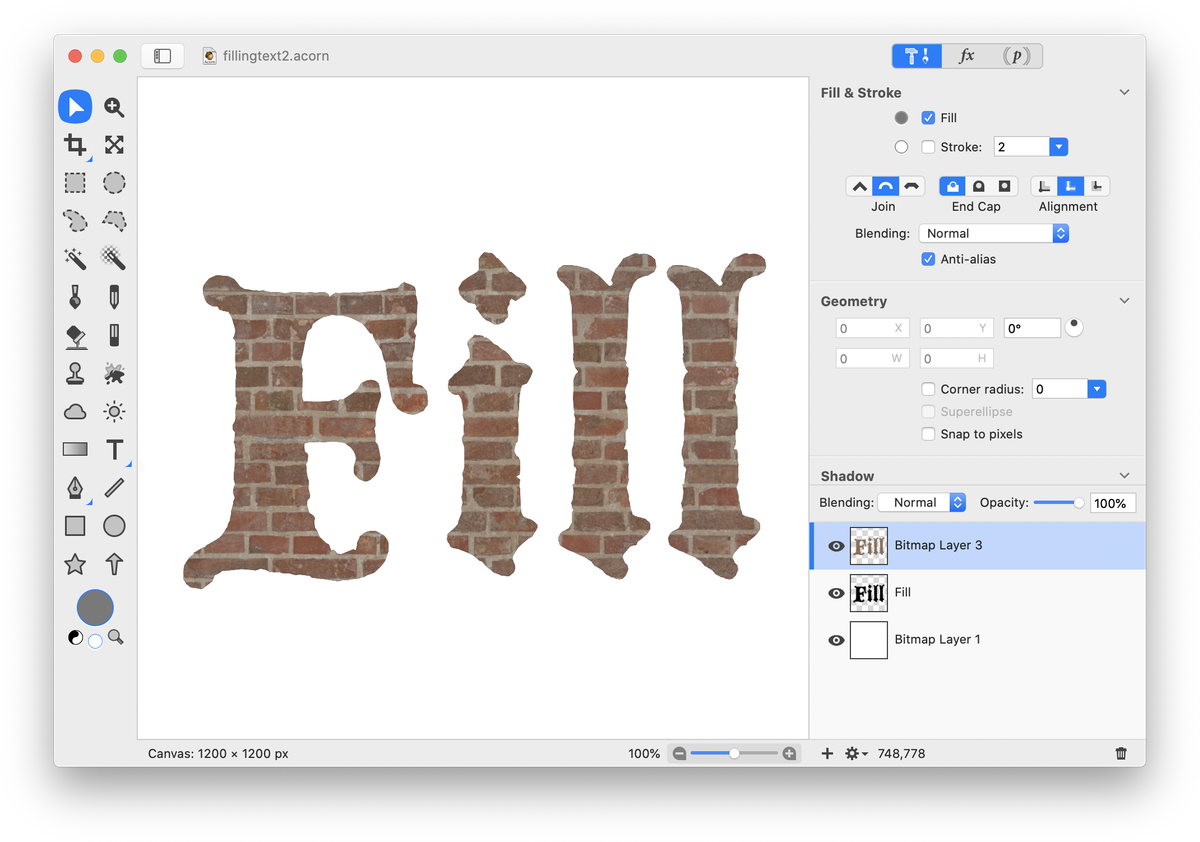
To add a little flair, go to Filter ▸ Stylize ▸ Bevel. Click on the '+' button on the bottom lefthand corner of the filters window and choose Stylize ▸ Drop Shadow.
