Create a Cartoon Character
This tutorial will outline how to create a cartoon character similar to the Powerpuff Girls using vector tools in Acorn. Be sure to read up on how to use the Bézier tool if you aren’t already familiar with this feature.
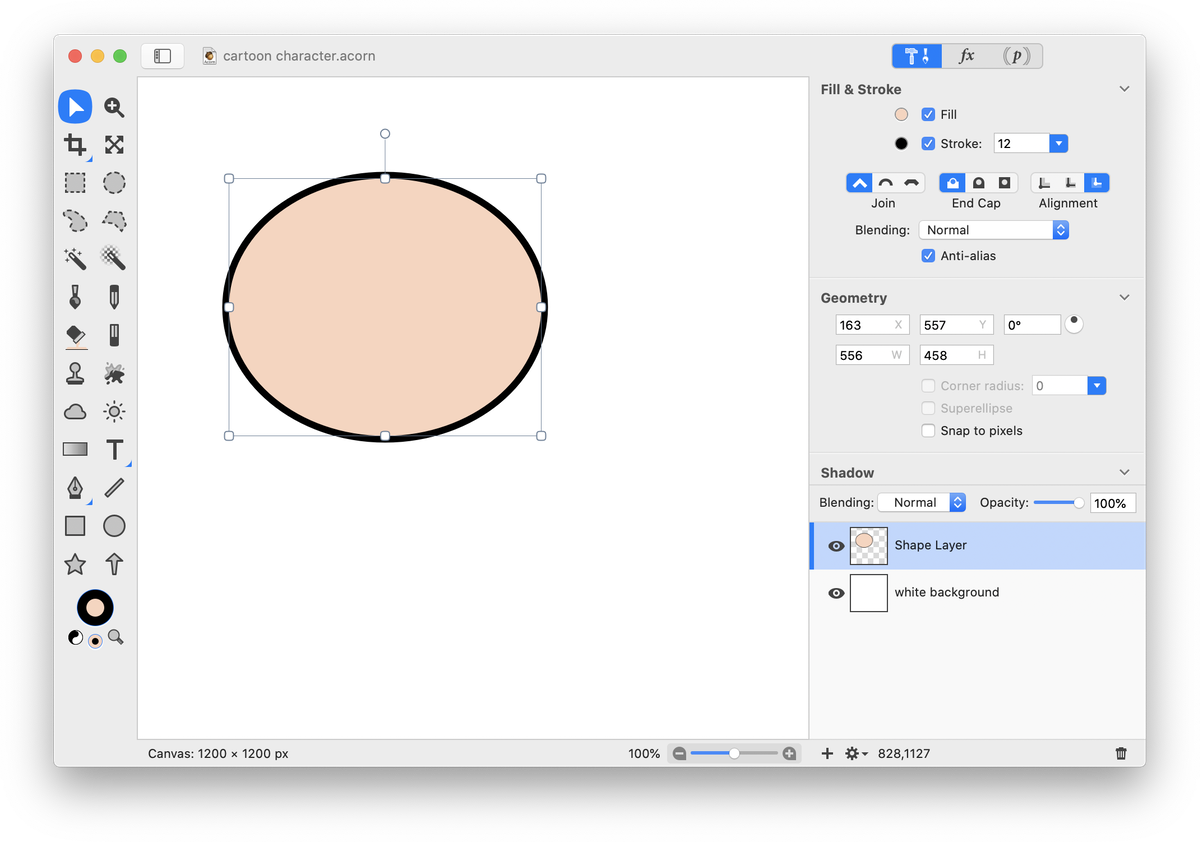
To start create a new image in Acorn, File ▸ New. The dimensions of 1200 x 1200 pixels with a white background is used here. Choose the elliptical shape tool and draw out an oval with a black stroke and a light skin colored fill. The oval seen below is 556 x 458 pixels with a stroke of 12.
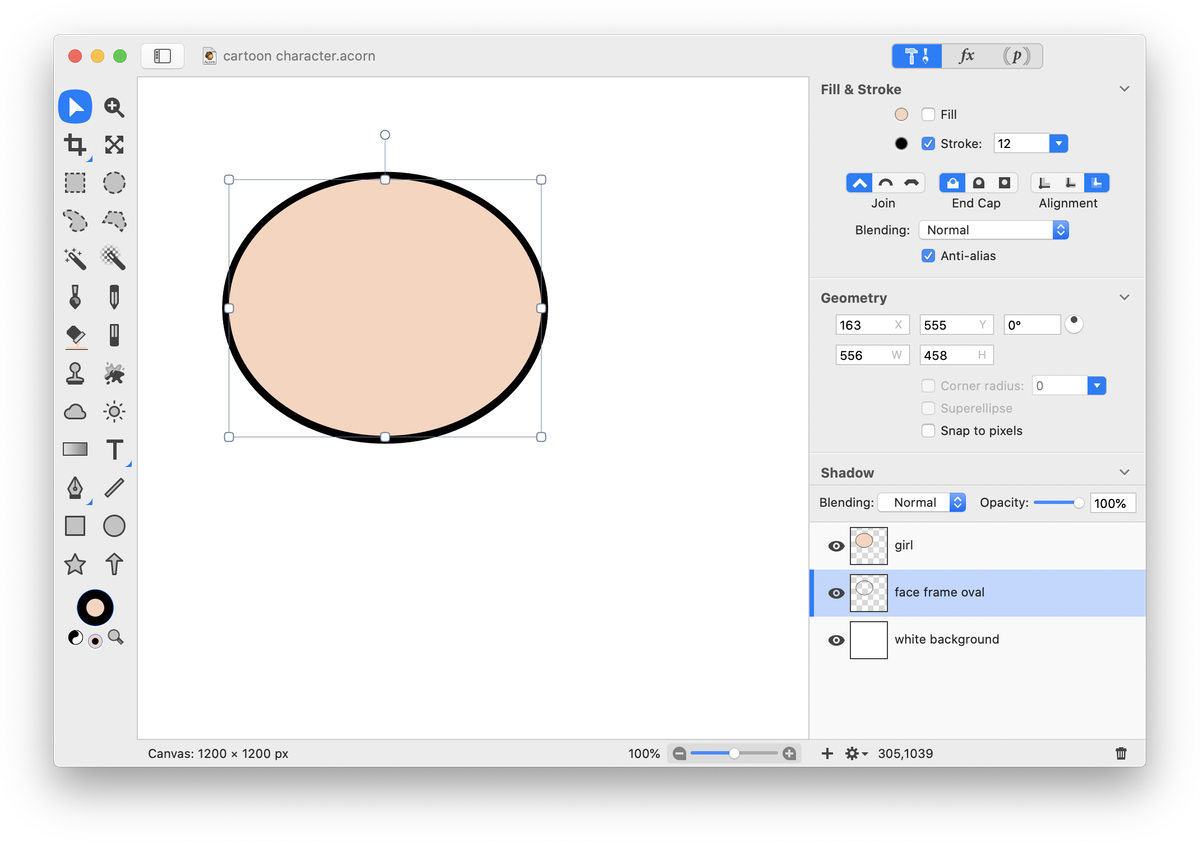
Duplicate the oval shape, Shape ▸ Duplicate Shape. Uncheck the fill box in the inspector palette. Choose Layer ▸ New Layer with Cut Selection. Move this layer down in the layers list so it is just above the white background layer. This layer will be used to frame the character's face later on.
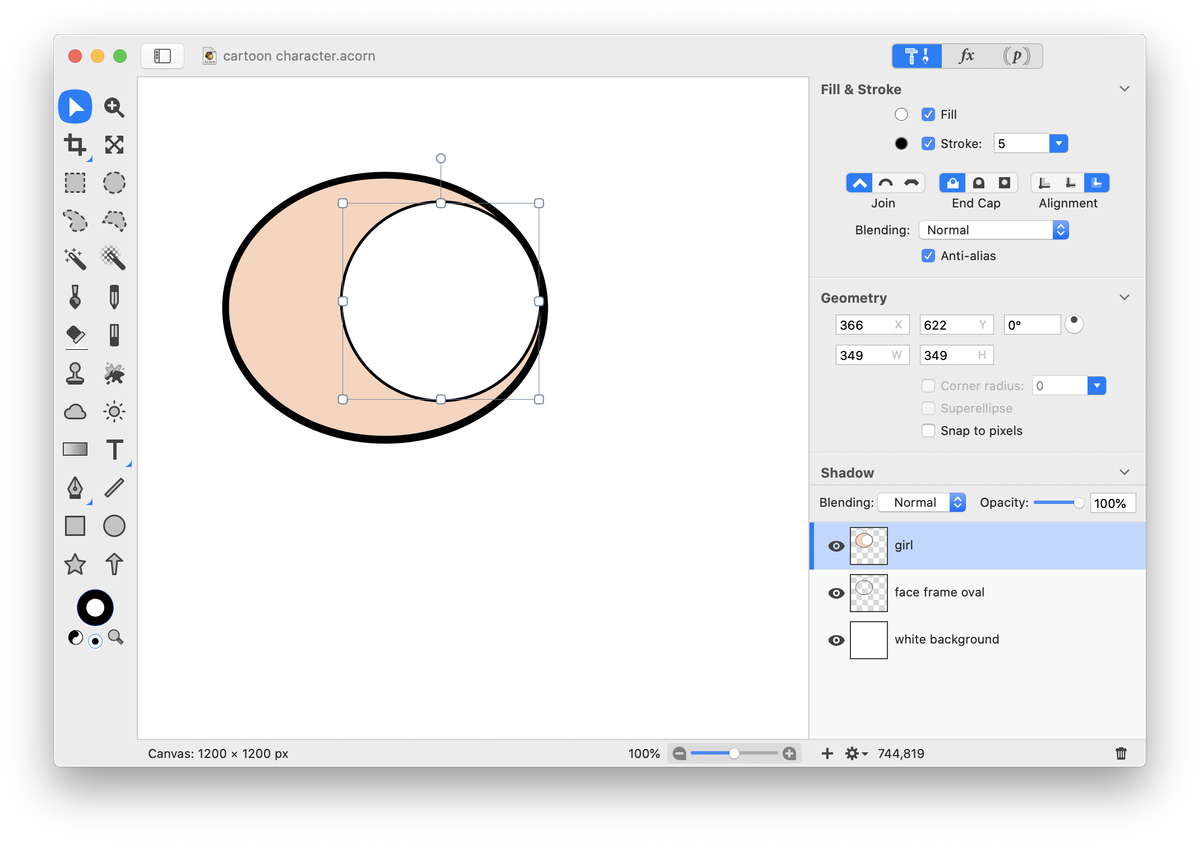
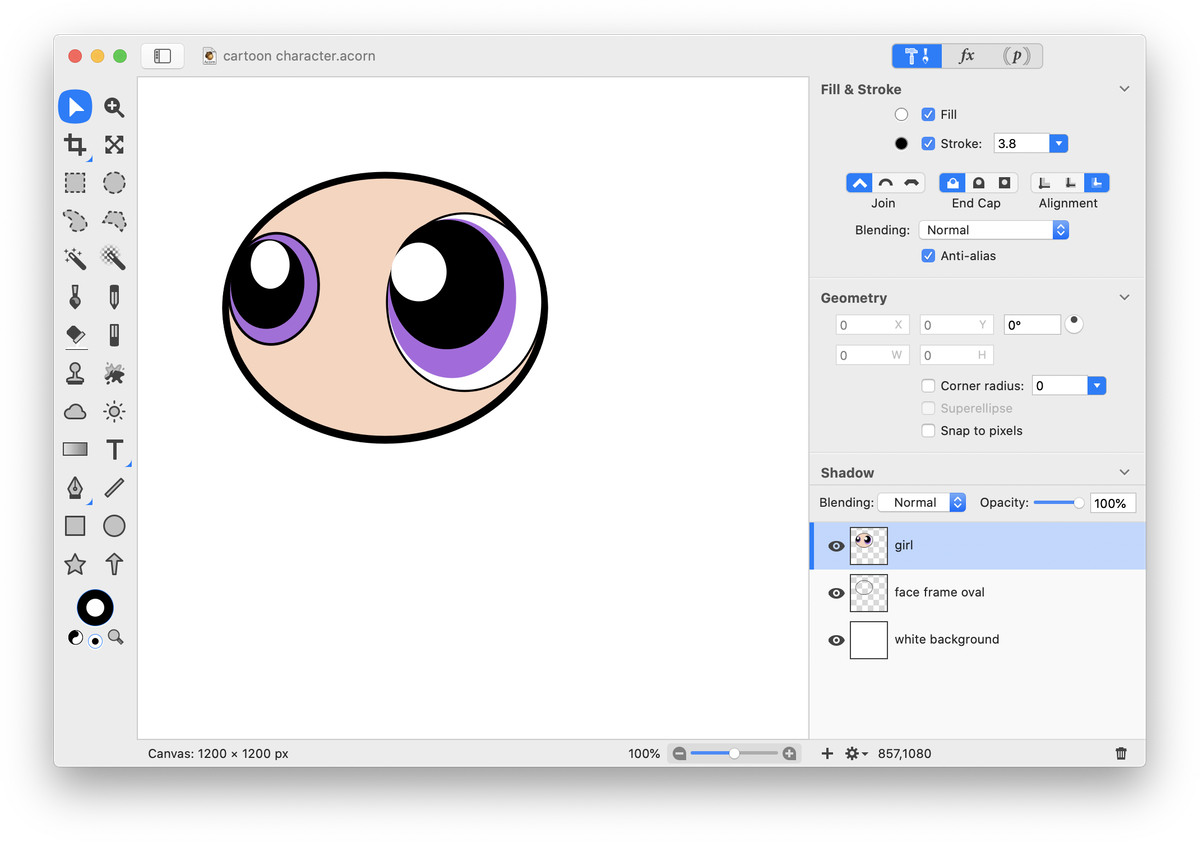
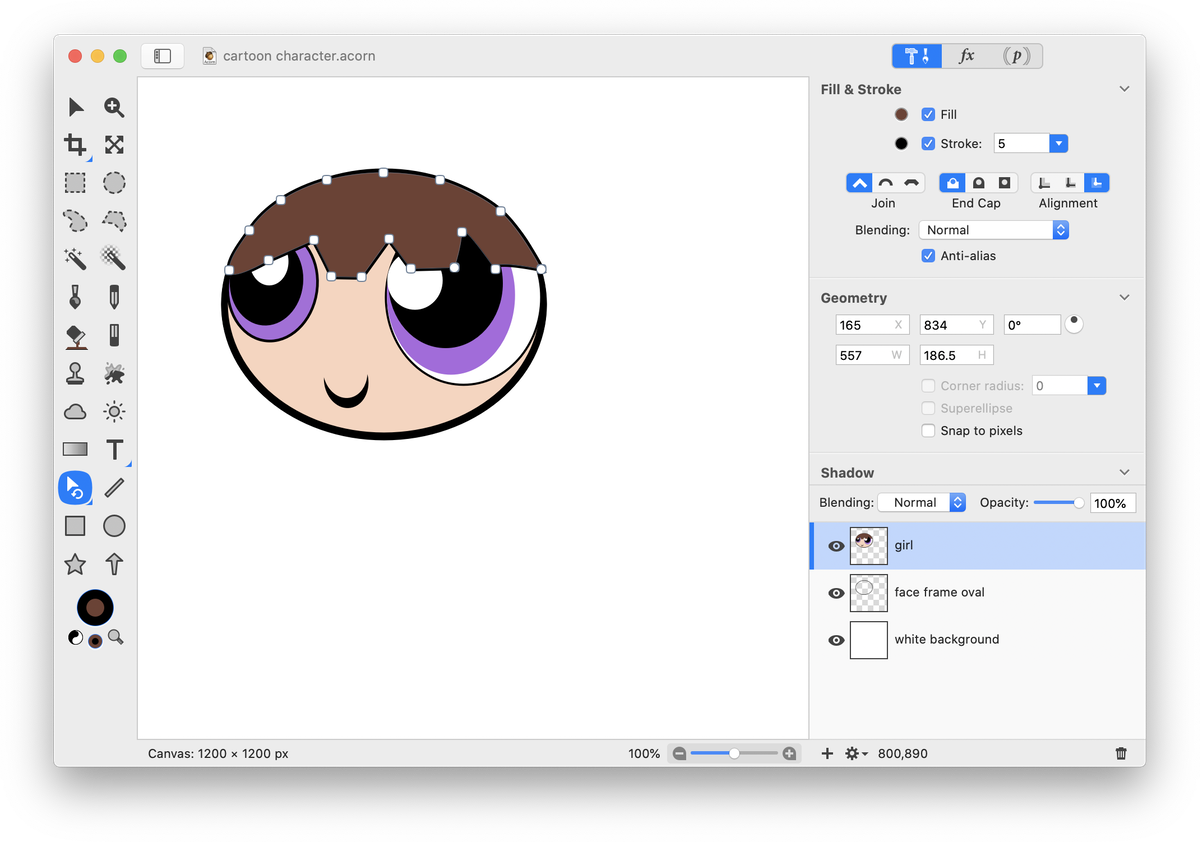
Click on the top layer in the layer list and draw out a circle with a white fill and a thin black stroke.
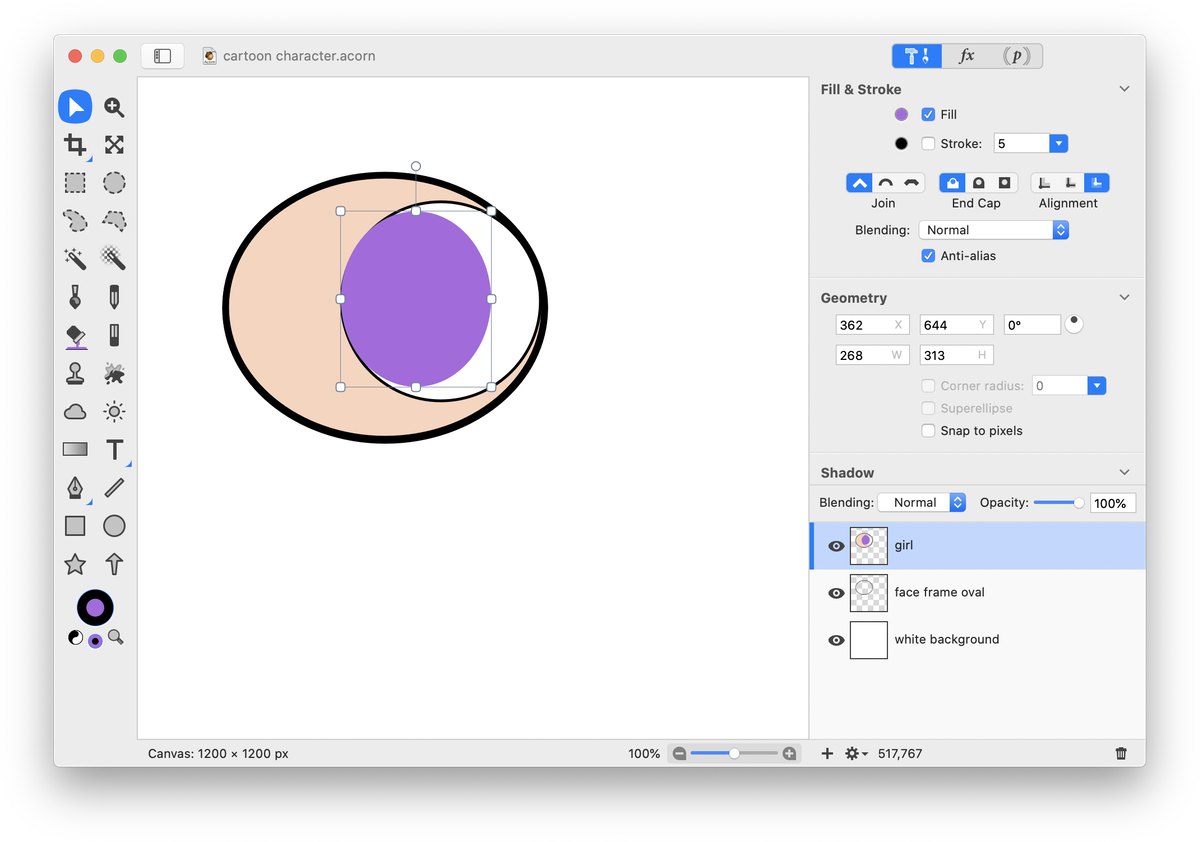
Now draw out an oval with a fill but no stroke. This oval will be the iris of the eye.
.
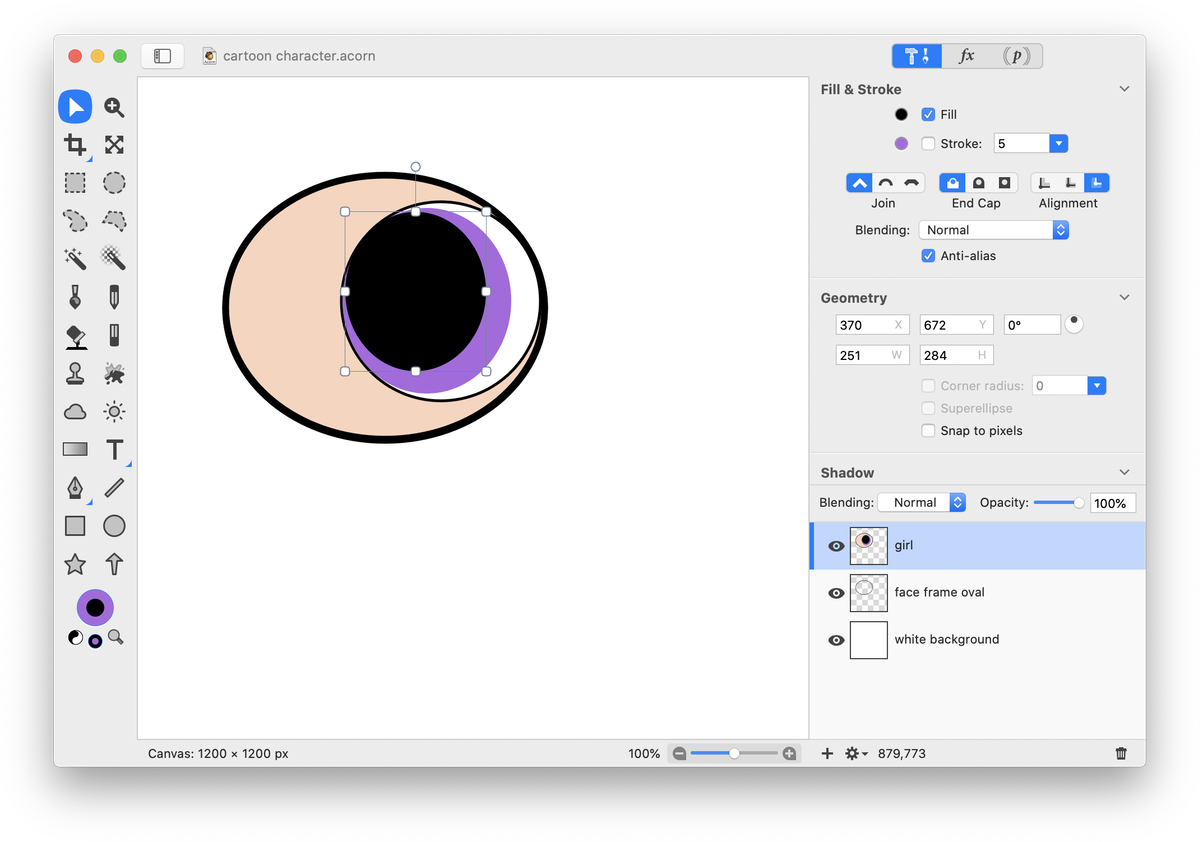
Duplicate the last oval. Change the fill to black and decrease its size slightly so some of the iris is showing on the bottom and right hand side.
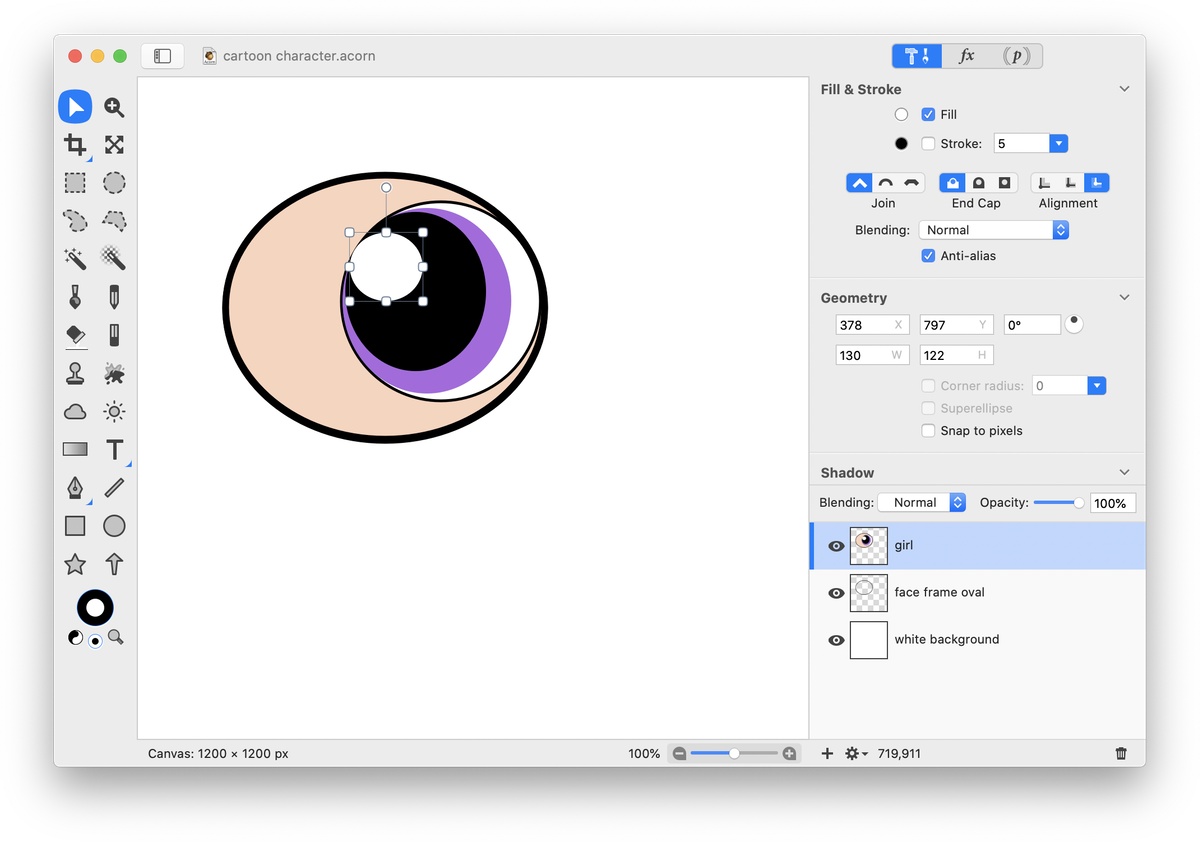
Duplicate the last oval. Change the fill color to white. Decrease the size of the oval to create the appearance of a light reflection in the pupil.
Repeat the steps above for creating the other eye, except without the outer white oval. Add a black stroke to the iris oval (the color of the eye). This eye should be smaller than the first to give the appearance that it is wrapping around the side of the head.
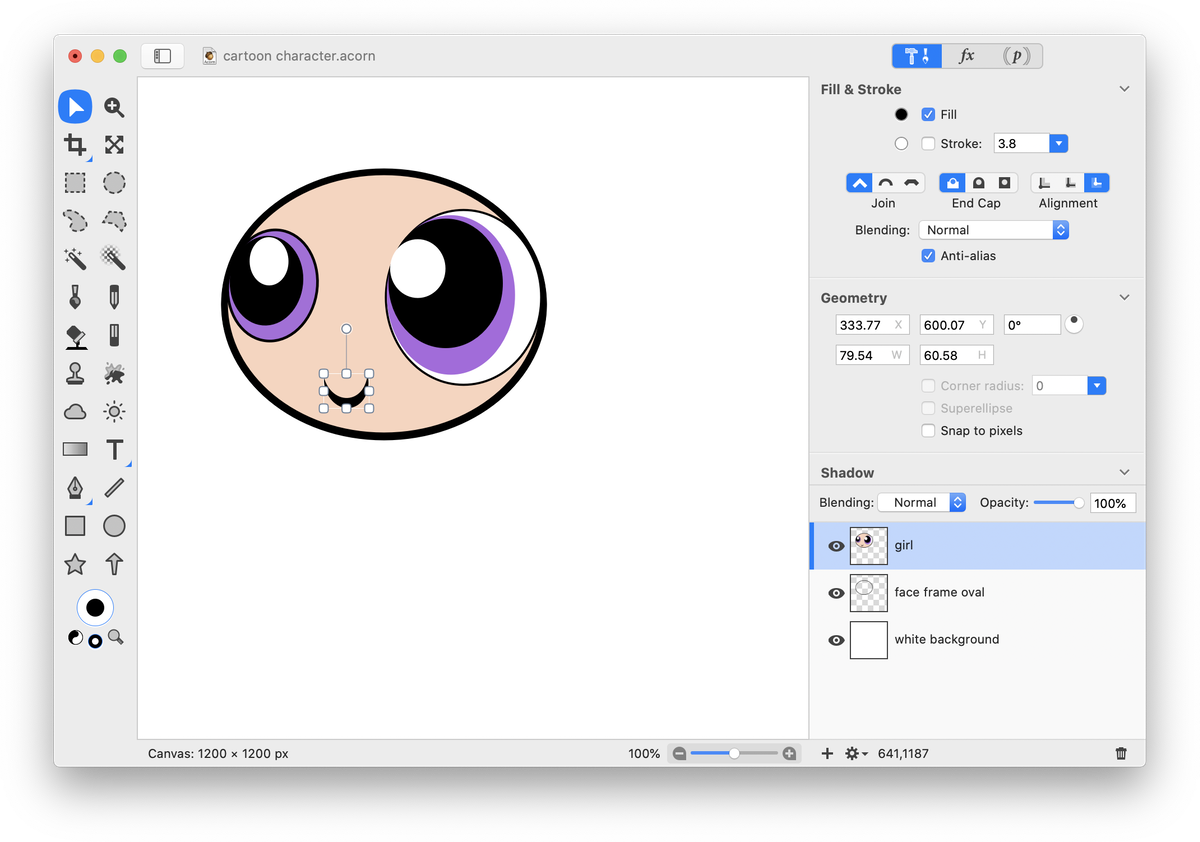
Now it's time to create the mouth. Draw an oval with a black fill and no stroke. Duplicate the oval, and move the duplicate up slightly exposing a little of the oval below. The duplicated oval is shown in white below just to illustrate its position overlapping the oval below it.
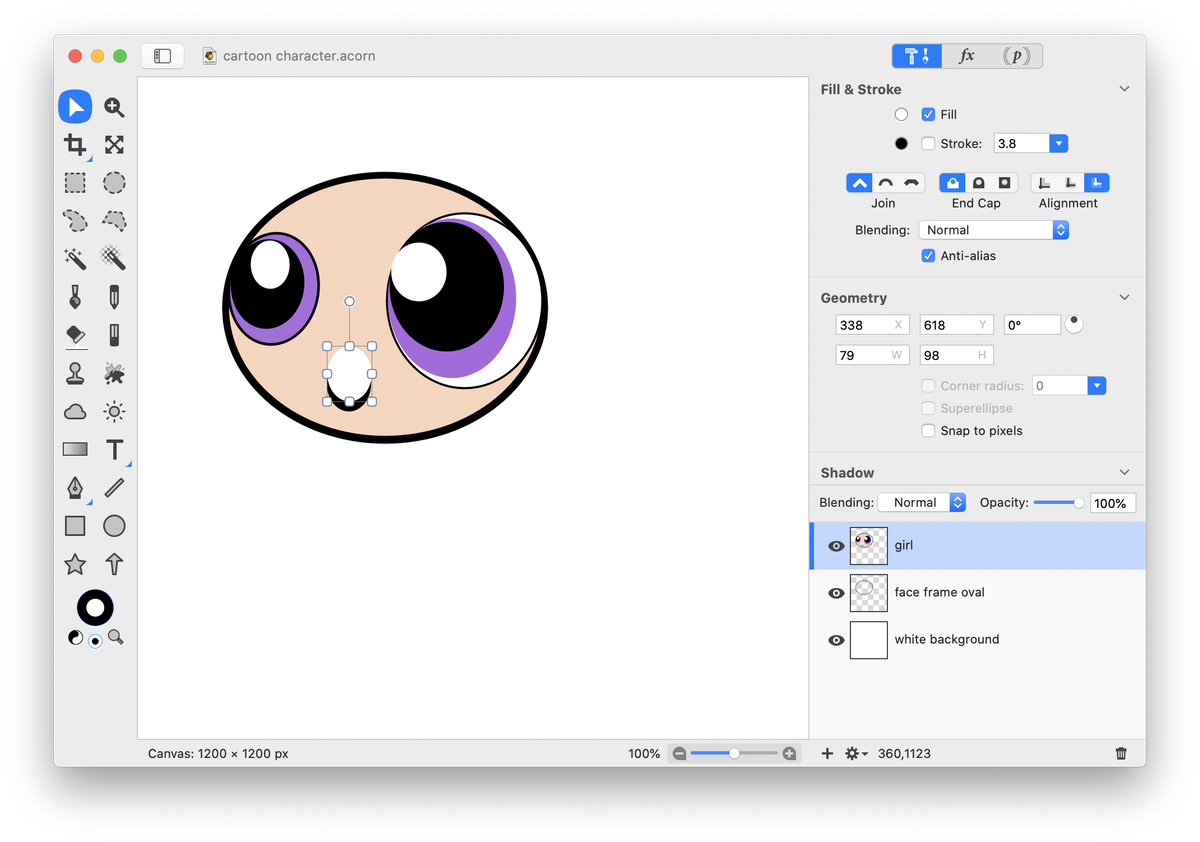
Select both ovals you just created using the move tool. Hold down the shift key to select multiple shapes at one time. Go to Shape ▸ Difference Paths. Rotate the mouth slightly to the left.
To create the hair, choose the elliptical shape tool and draw out an oval with a fill and a black stroke. The upper boundaries of the oval should match the curvature of the head.
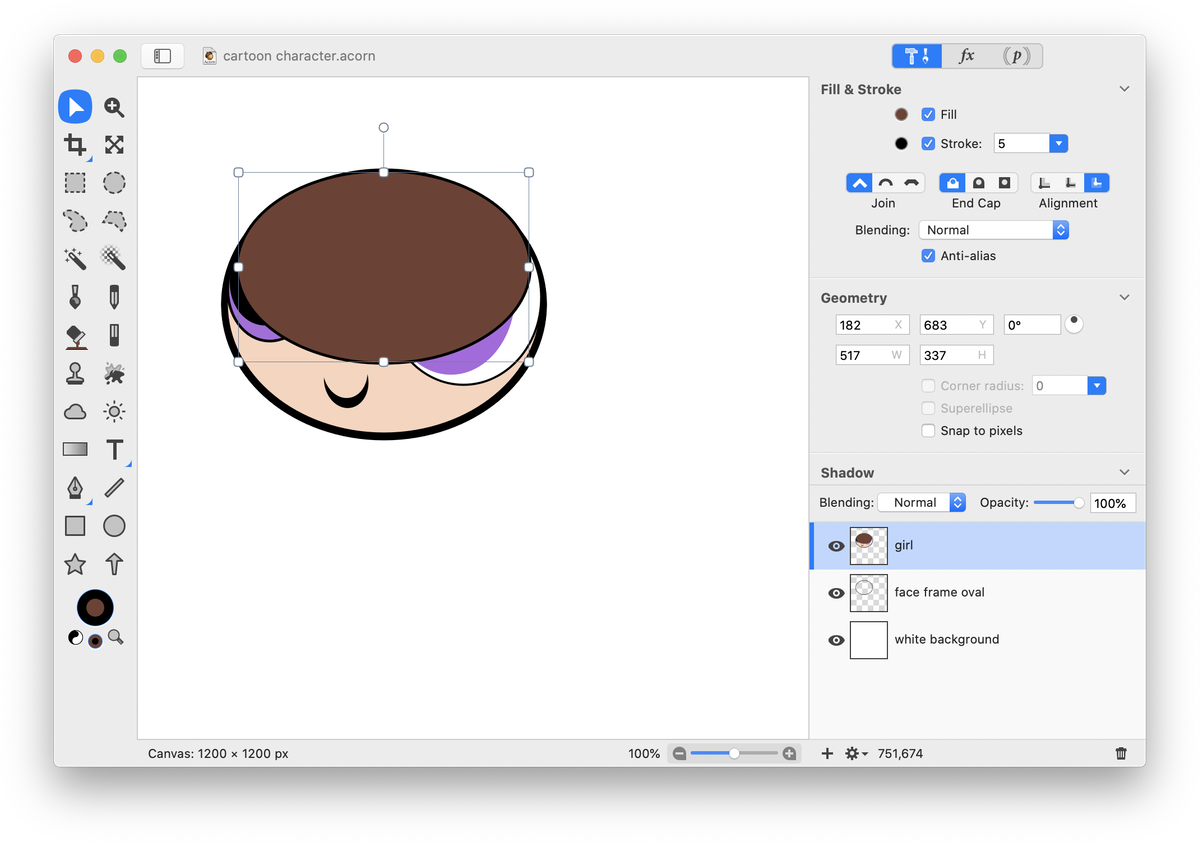
With the hair oval selected, choose Shape ▸ Bezier Stuff ▸ Convert to Bézier Shape, then choose Shape ▸ Bézier Stuff ▸ Add Points a couple of times. Click on the Bézier pen tool in the tools palette. To learn more about this tool, read 'Bezier Curves'.

Using the Bézier Anchor Select Tool (keyboard shortcut A), move the bottom points of the oval up to create the style of hair you'd like. You can make the bangs of the hair appear either pointed or rounded by using the Reset Bézier Controls Points tool.
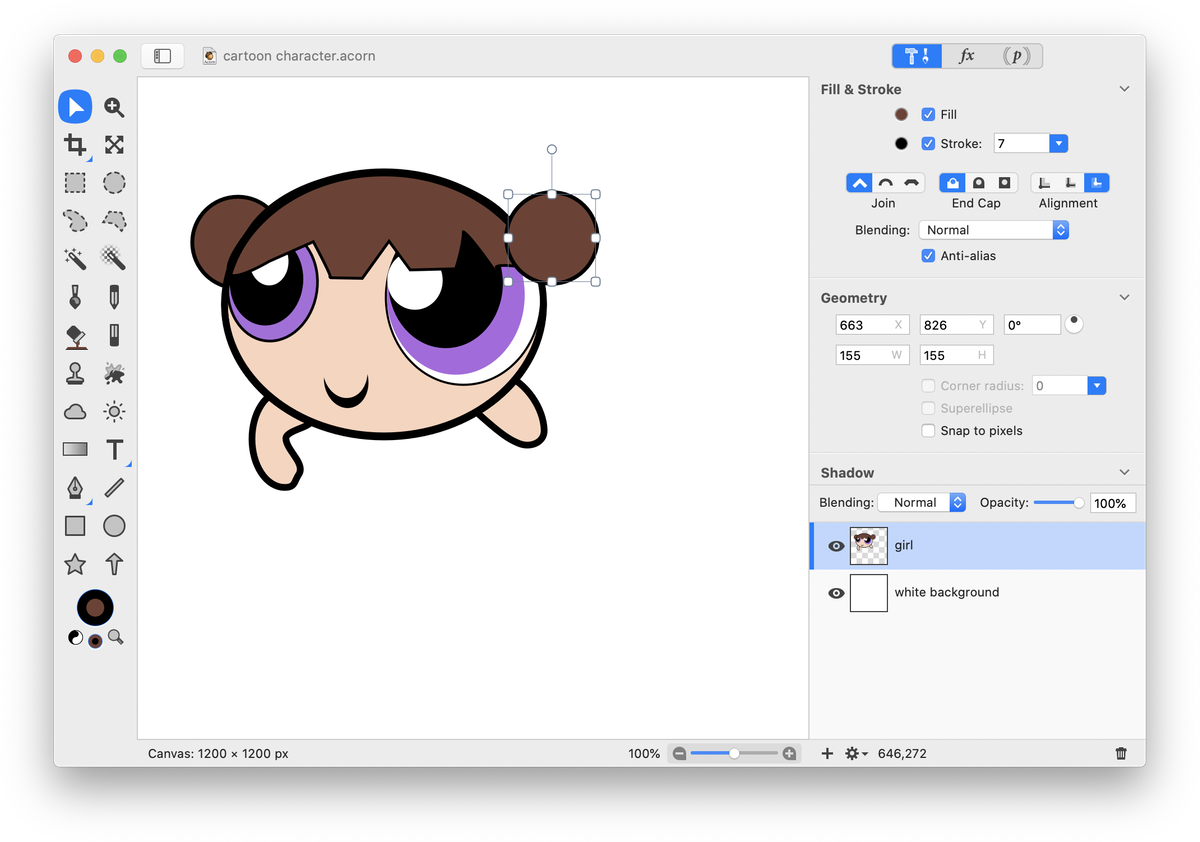
Choose the elliptical shape tool again and draw out two circles to create hair buns. Move one bun to the left side of her head and choose Shape ▸ Arrange ▸ Send to Back. Place the other bun on the right side of her head.

Now give her some arms. Draw out two ovals with the same skin colored fill and black stroke as her head.
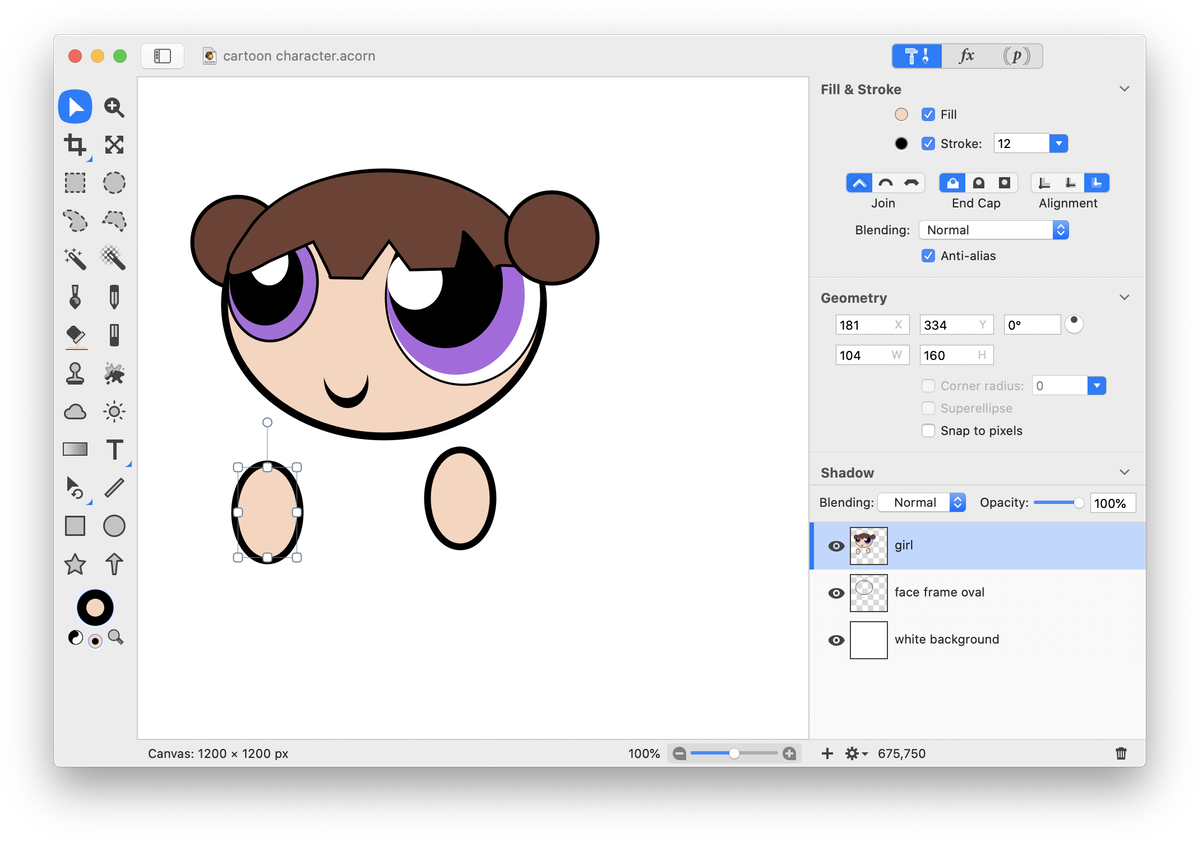
Select both shapes and choose Shape ▸ Bezier Stuff ▸ Convert to Bézier Shape, then Shape ▸ Bézier Stuff ▸ Add Points. Using the Bézier Anchor Select Tool, move some of the points to give the arms the appearance you want.
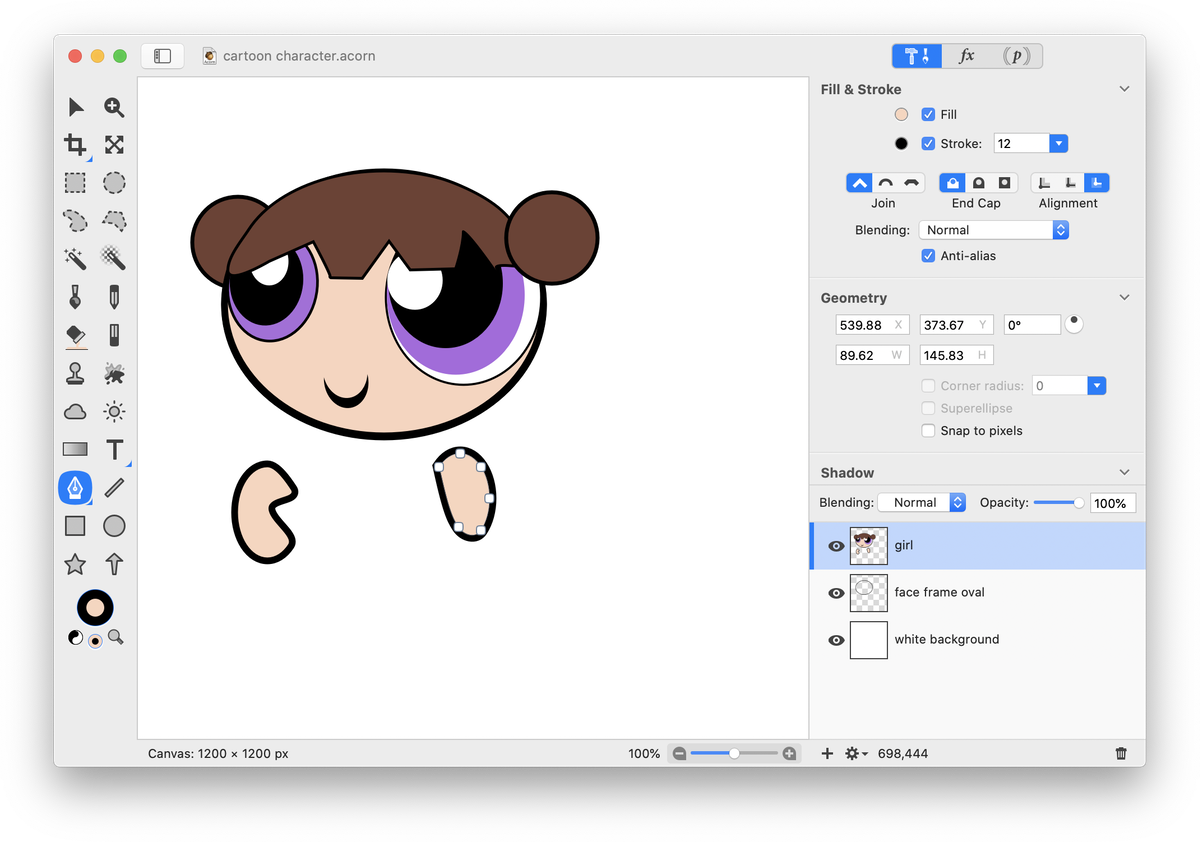
Select each arm shape and choose Shape ▸ Arrange ▸ Send to Back. Move the arms so the head is slightly overlapping them.
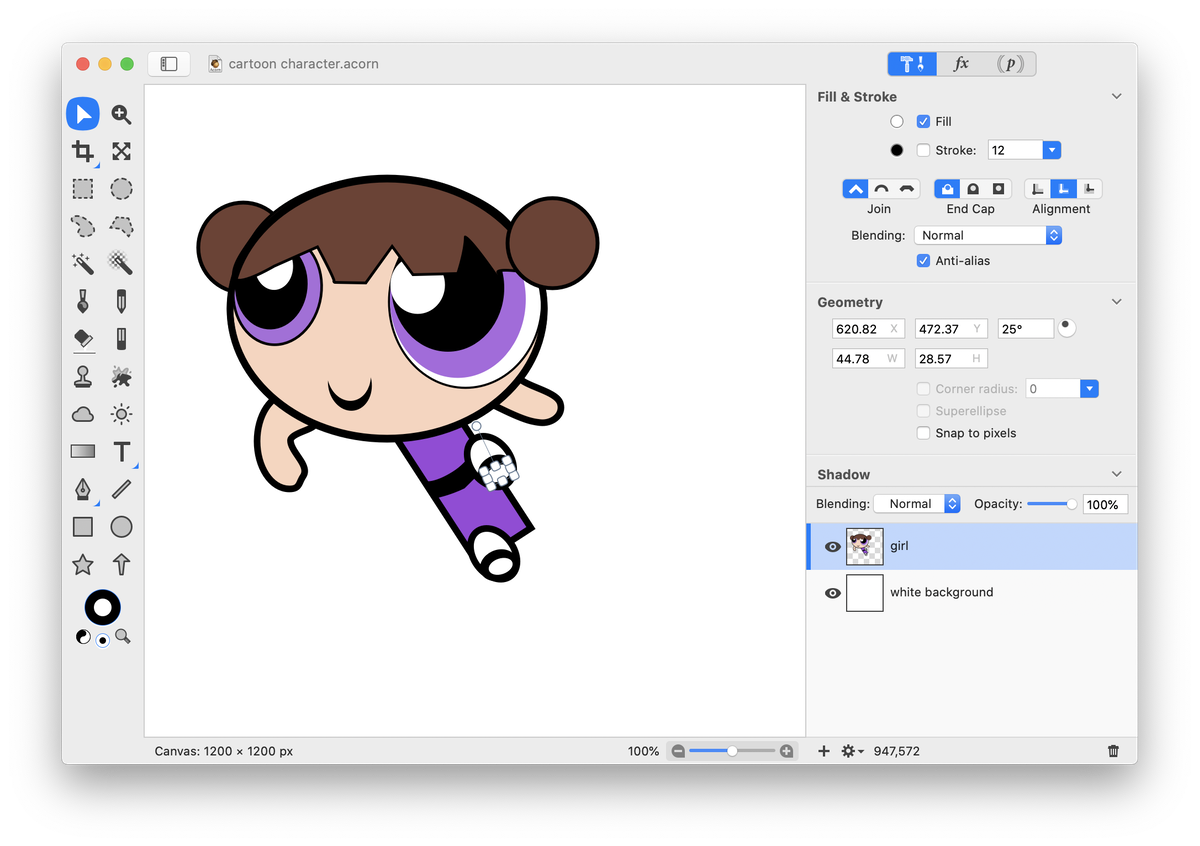
Now is a good time to go ahead and place the face frame oval into place (this was created in one of the first steps). Move the face frame oval layer to the top of the layers list. Moving this layer to the top of the layers list allows the face frame oval to be on top of all the other shapes you created.
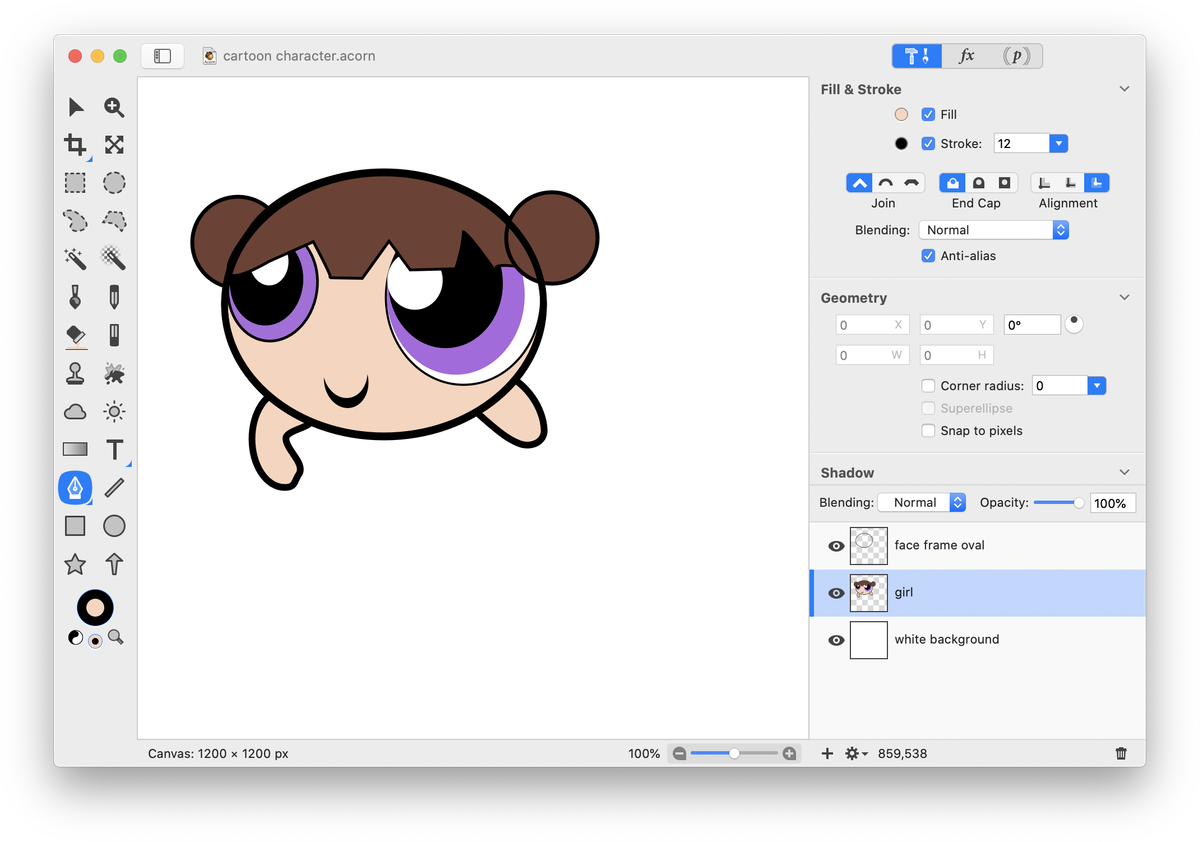
Choose Layer ▸ Merge Down. Select the right hair bun shape and choose Shape ▸ Arrange ▸ Bring to Front.
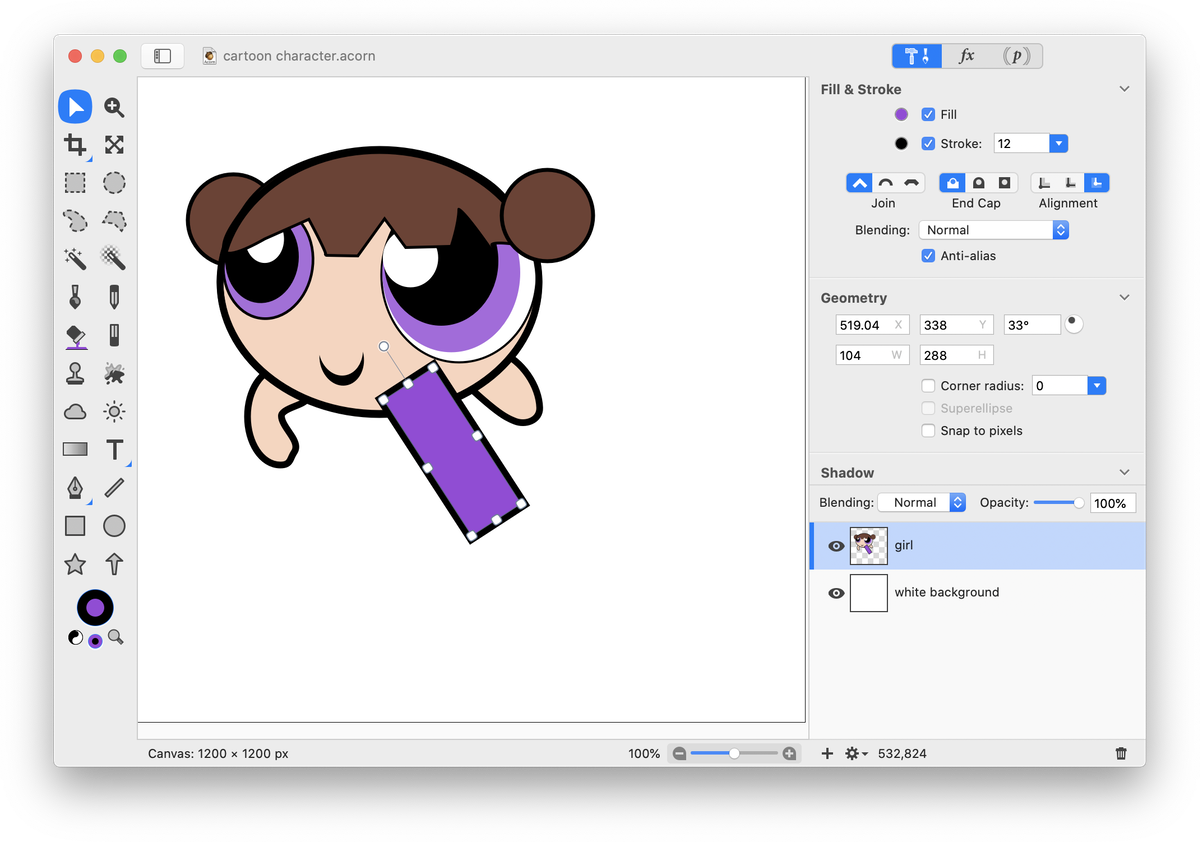
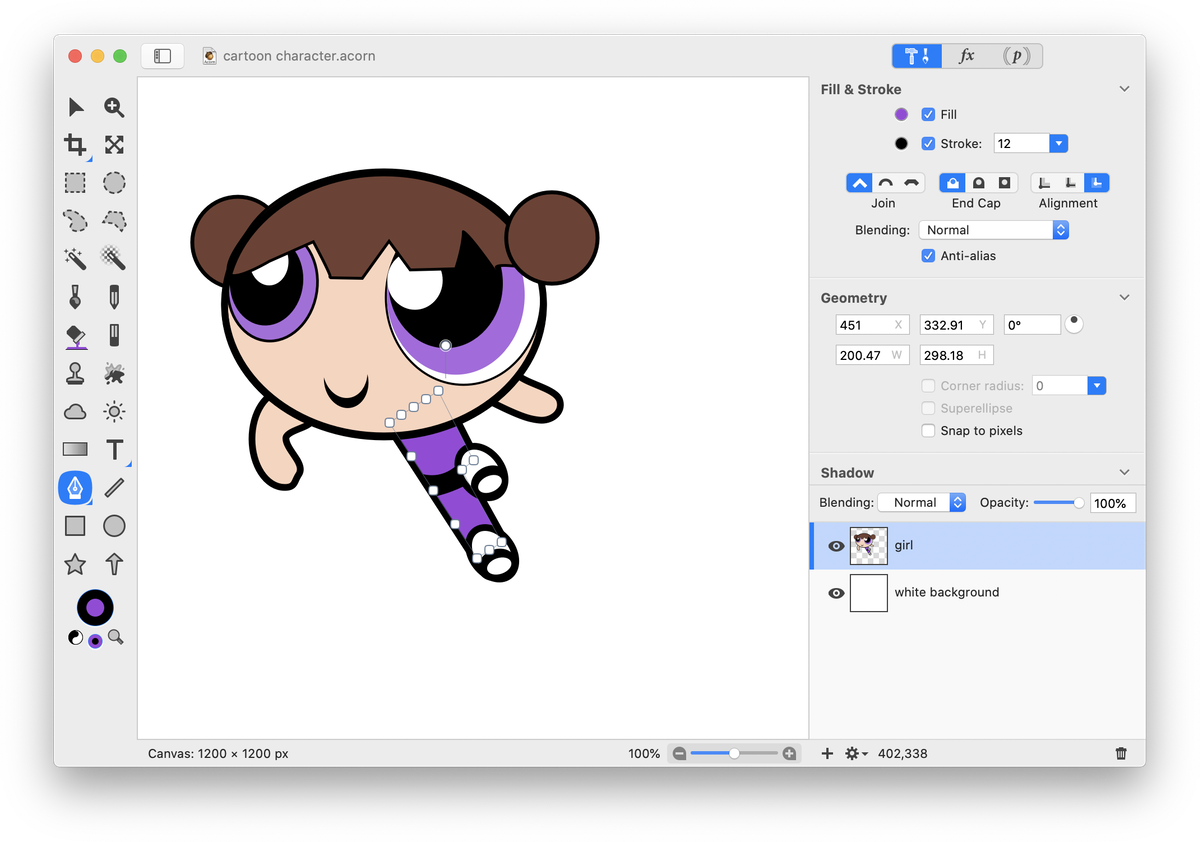
Choose the rectangle shape tool and draw out a rectangle that has a black stroke and a fill the same color as the iris of the character's eyes. Rotate the rectangle slightly.
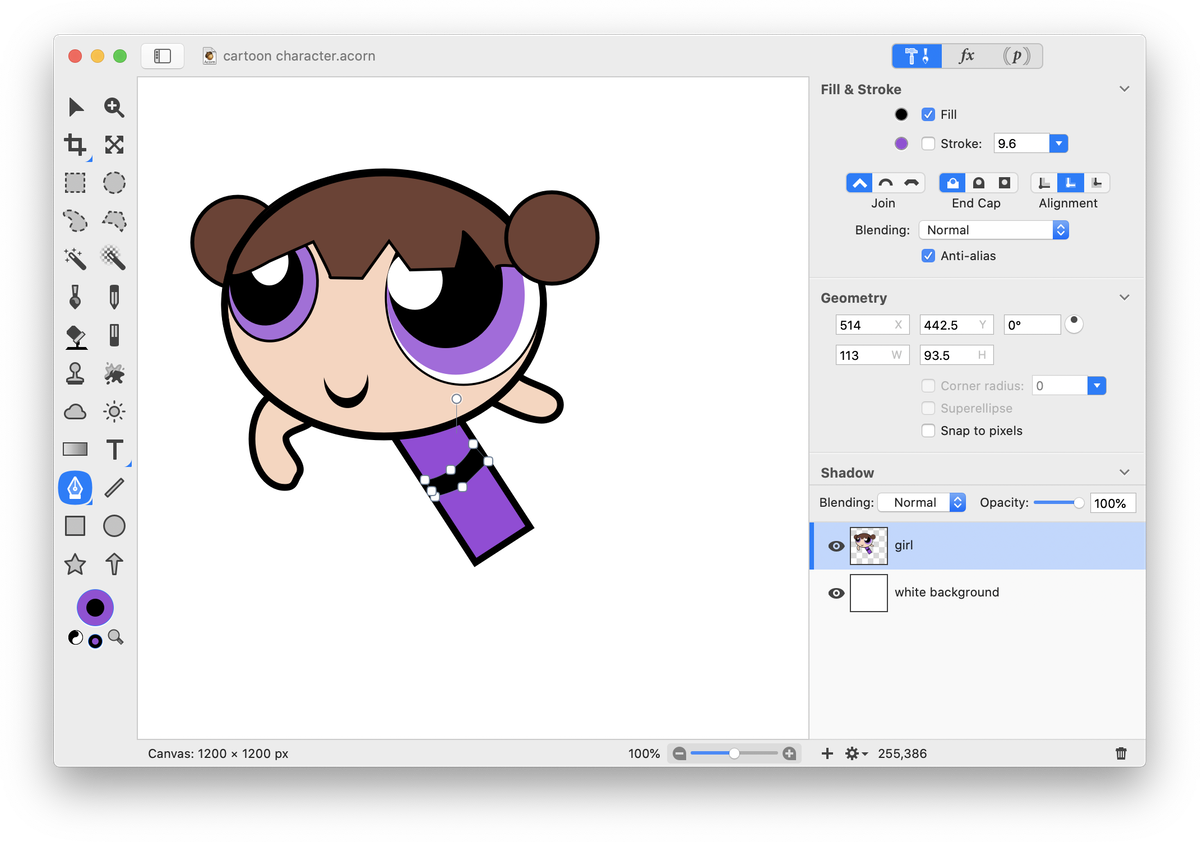
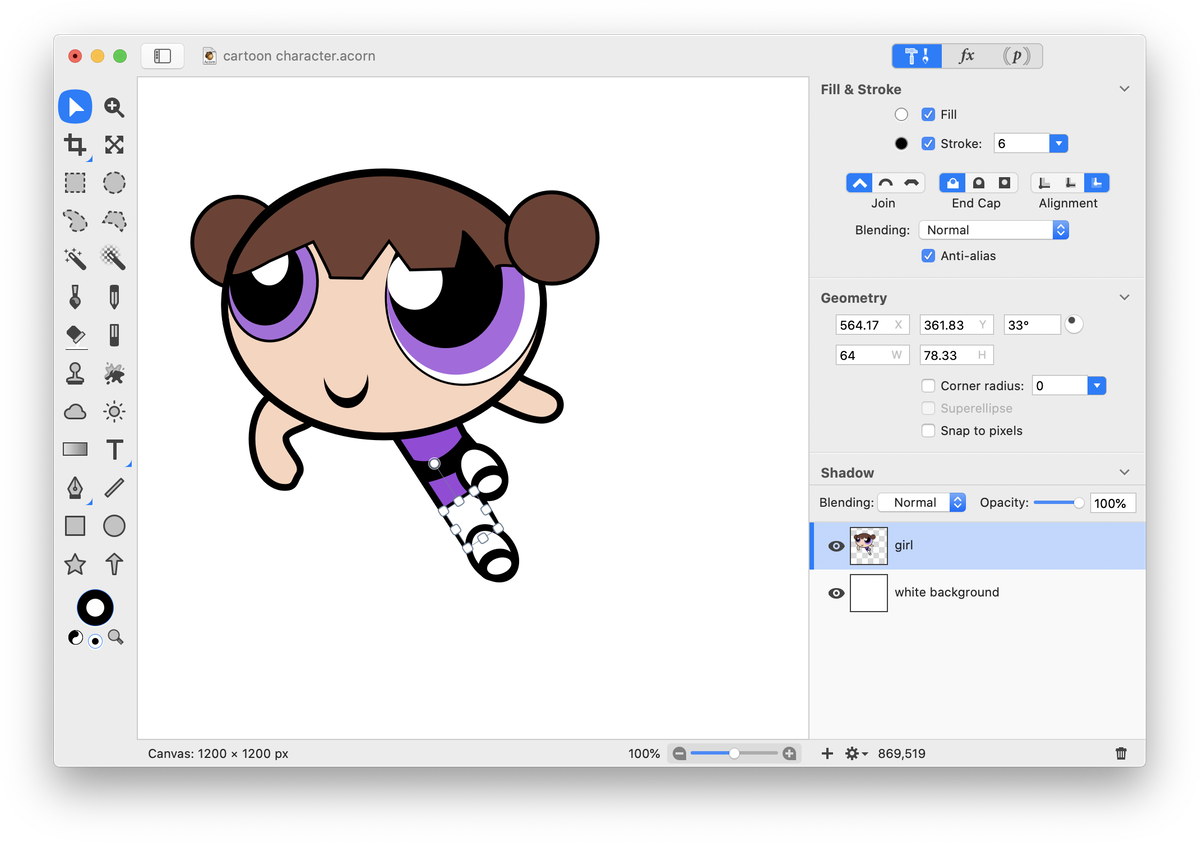
Go to Shape ▸ Arrange ▸ Send to Back. Using the rectangle shape tool, draw out a rectangle with no stroke and a black fill. Rotate and place the rectangle so it appears as a stripe across her shirt. Choose Shape ▸ Convert to Bézier Shape and play around with moving the points to give the stripe a slight curvature.
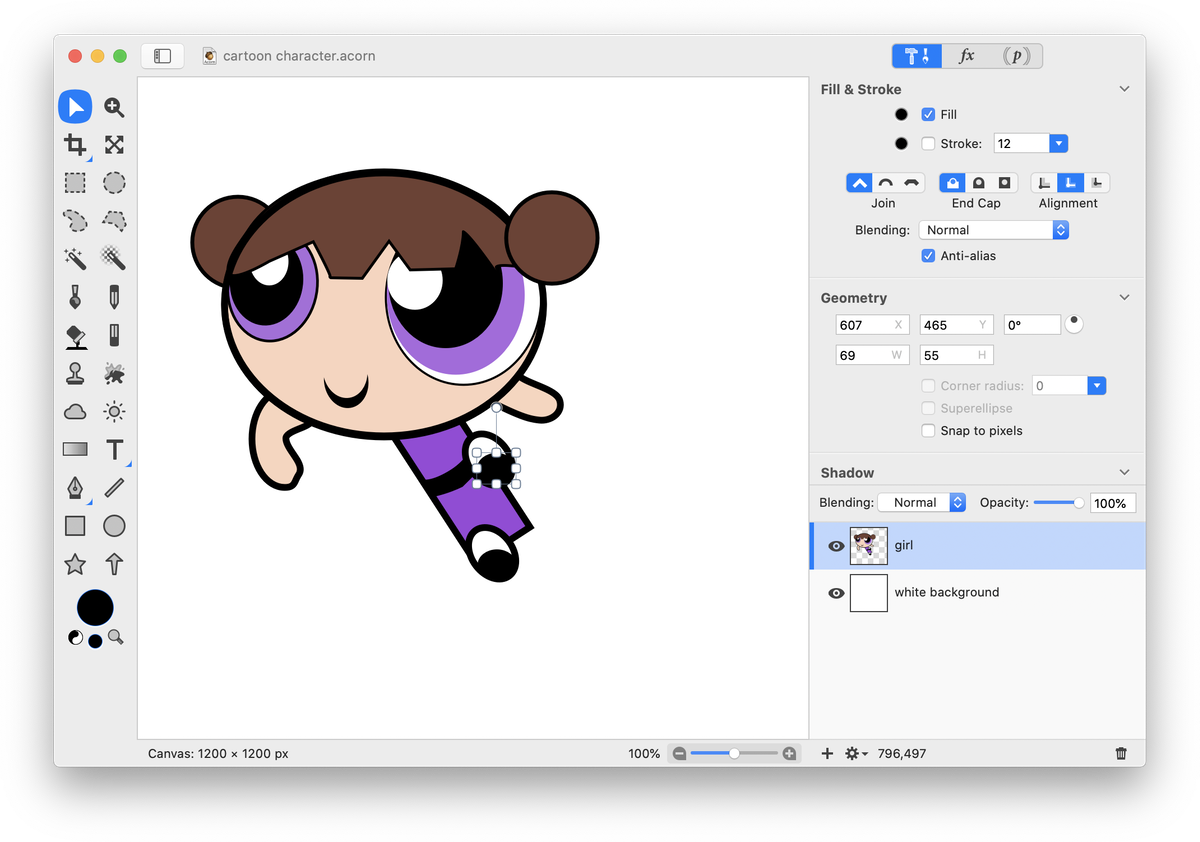
Create two oval shapes with a white fill and black stroke. These will be her shoes. Rotate the ovals and place the one on the right higher than the one on the left.

Add a small oval with a black fill and no stroke to the bottom third of each of her shoes.
Add a small white oval to each shoe to give her shoes the appearance of Mary Jane's.
Using the move tool, select the rectangle shape that makes up her body and choose Shape ▸ Bezier Stuff ▸ Convert to Bézier Shape and then Shape ▸ Bézier Stuff ▸ Add Points. Select the Bézier Anchor Select Tool. Move the points at the bottom right of her body inwards so that her leg is lined up with her shoe.
Draw out a rectangle with a white fill and black stroke. This will be her sock. Rotate and size the rectangle so it fits on her leg. Choose Shape ▸ Arrange ▸ Send to Back, then Shape ▸ Arrange ▸ Bring Forward so that her shoe overlaps the sock.
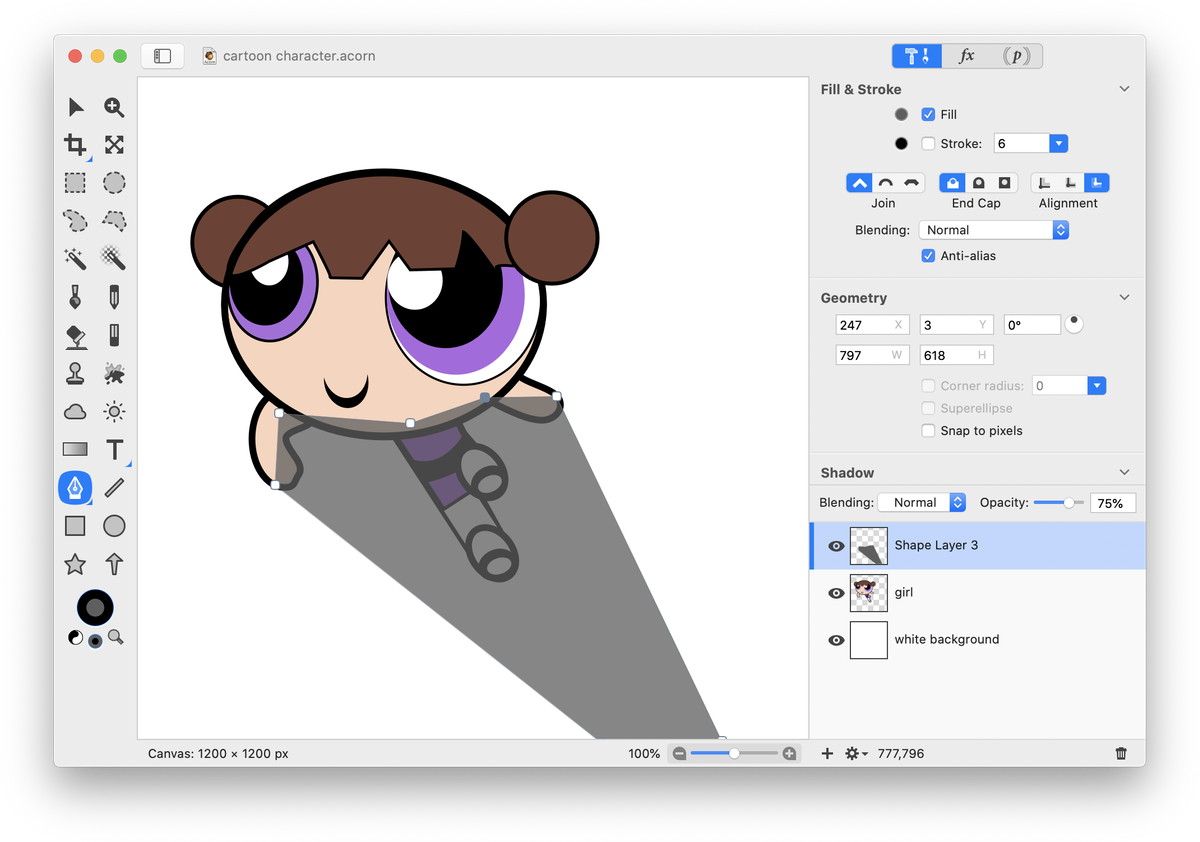
Create a new shape layer, Layer ▸ New Shape Layer. Draw out a rectangle with a fill but no stroke. The color of the fill doesn't currently matter since a gradient will be added to it shortly. Choose Shape ▸ Bezier Stuff ▸ Convert to Bézier Shape. Decrease the opacity of this layer slightly to around 75% in order to see your character underneath.
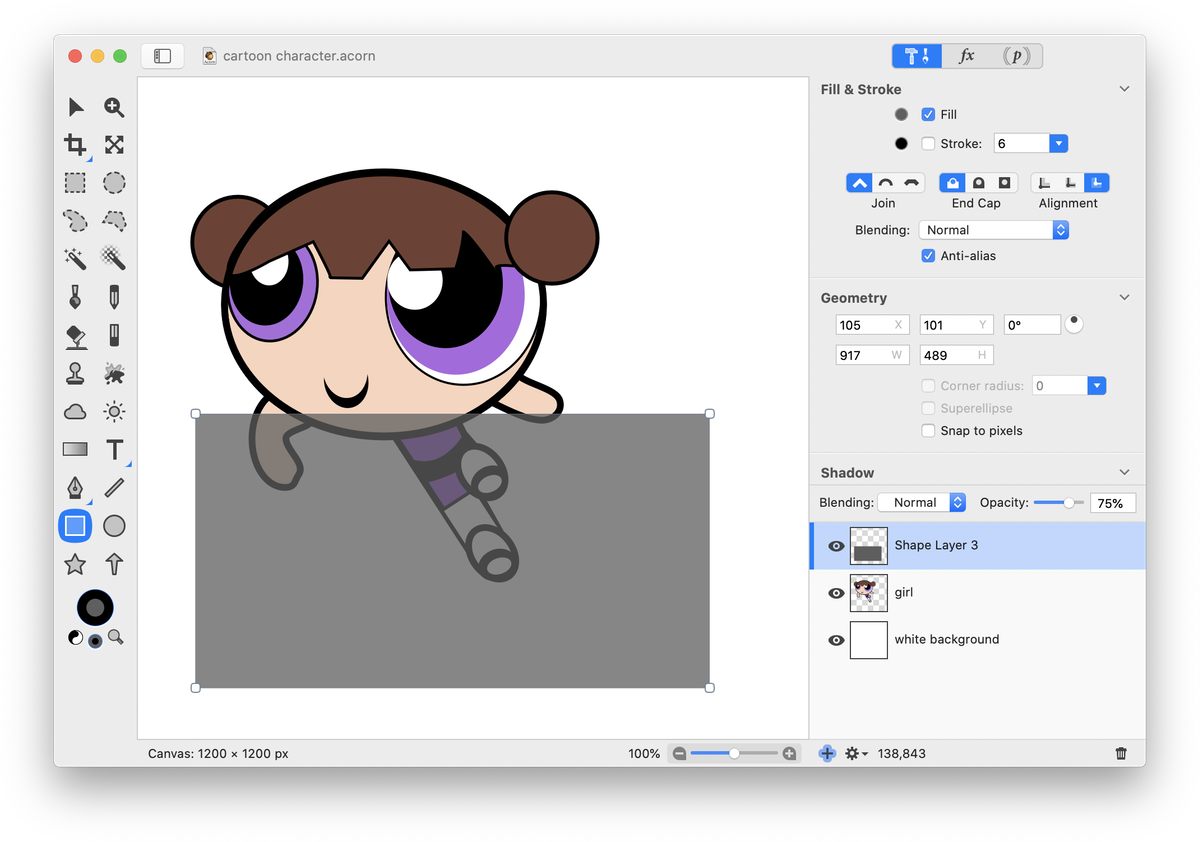
Using the Bézier Anchor Select Tool (keyboard shortcut A), move the points to place the rectangle at a slant so it narrows towards the bottom.
Return the layer to full opacity. Select the gradient tool and create a two color gradient with one color being the same as the character's eye color, and the other being a slightly lighter shade of the same color. Draw out the gradient on the shape. Move the gradient shape layer below the main character layer in the layer list.

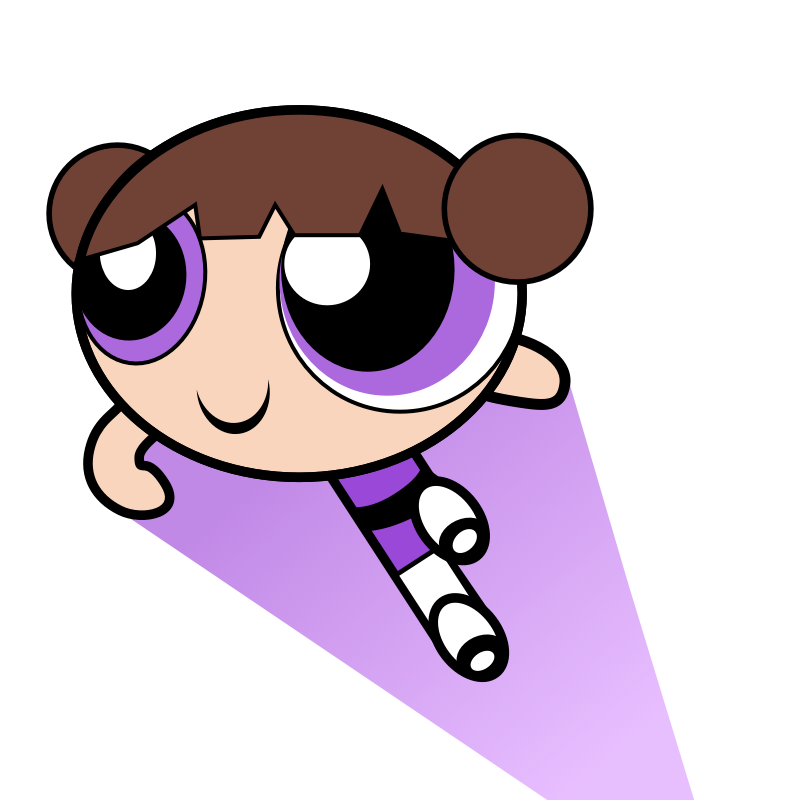
And there you have it! You've created your very own cartoon character!