Text on a Circle Logo

Creating a logo using text on a circle is quick and simple in Acorn. To start with, create a new image File ▸ New. The dimensions of 1200 x 1200 pixels with a white background is used here. Navigate to View ▸ Guides and Grids and make sure ‘Snap to Canvas’ is checked. Also, go to Acorn ▸ Preferences ▸ Advanced and make sure ‘When drawing shapes: Keep selected for editing’ is checked.
Click on the oval shape tool in the tools palette. In the inspector palette choose a fill but no stroke. Choose your fill color in the tools palette and then drag out a circle while holding down the shift key.
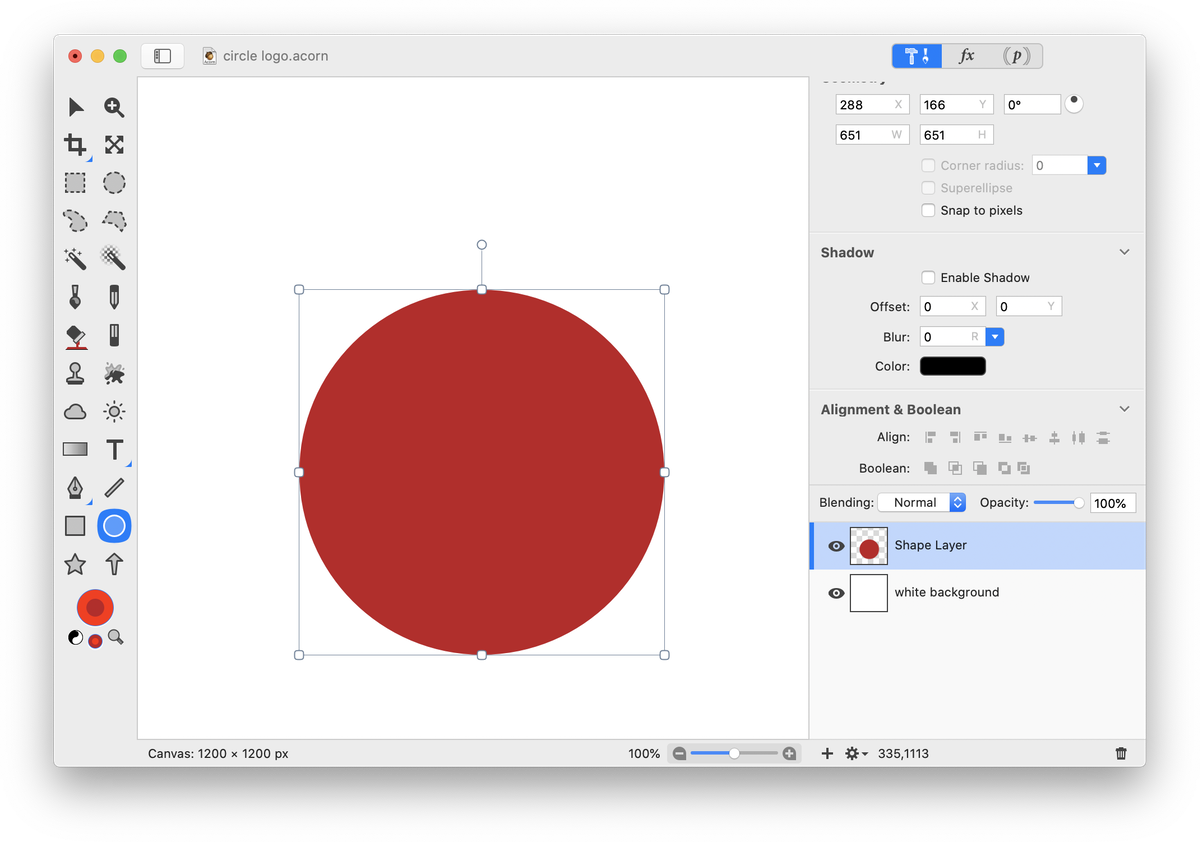
With the shape still selected, change its dimensions in the inspector palette to 800 x 800. Using the move tool, move your circle to the center of the canvas. It will snap into place on both the horizontal and vertical planes once centered.
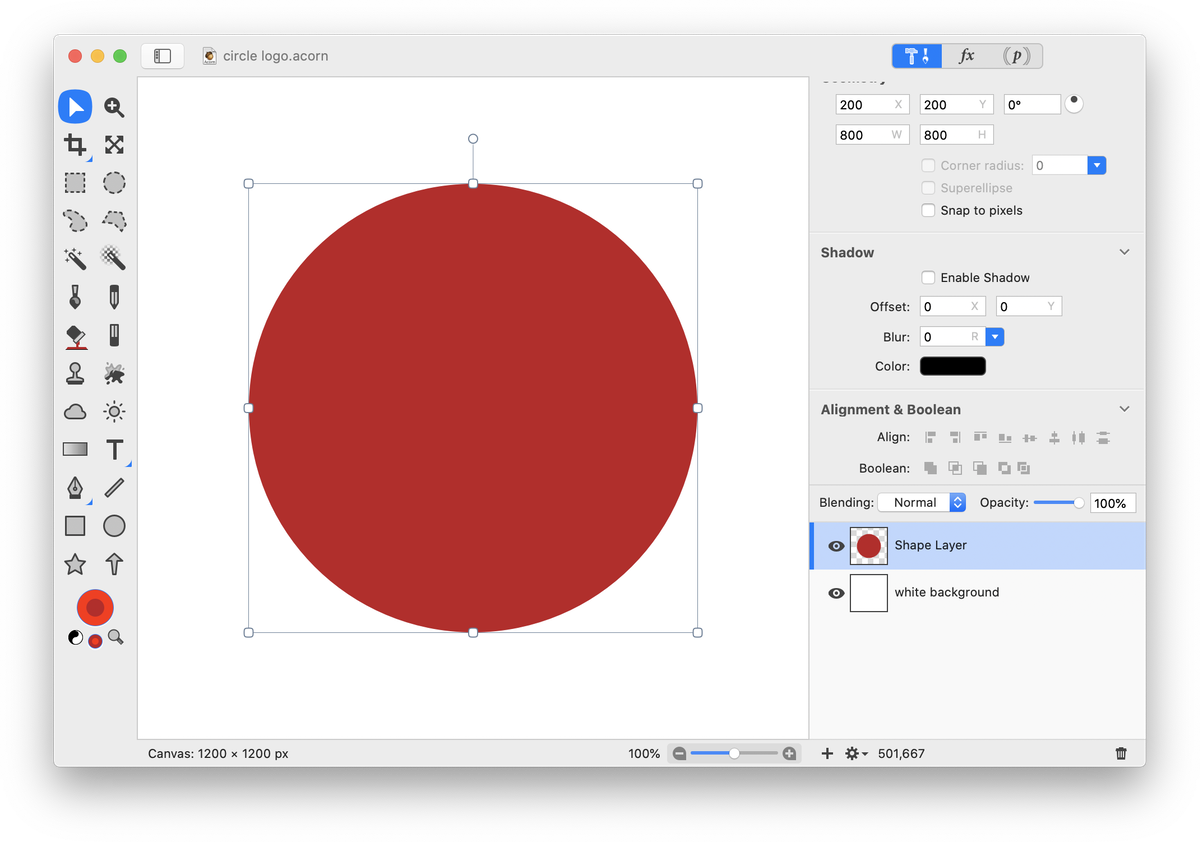
Create another circle, this time with a white stroke but no fill. The dimensions used here can be seen in the image below. Using the move tool, snap your circle to the center of the canvas.
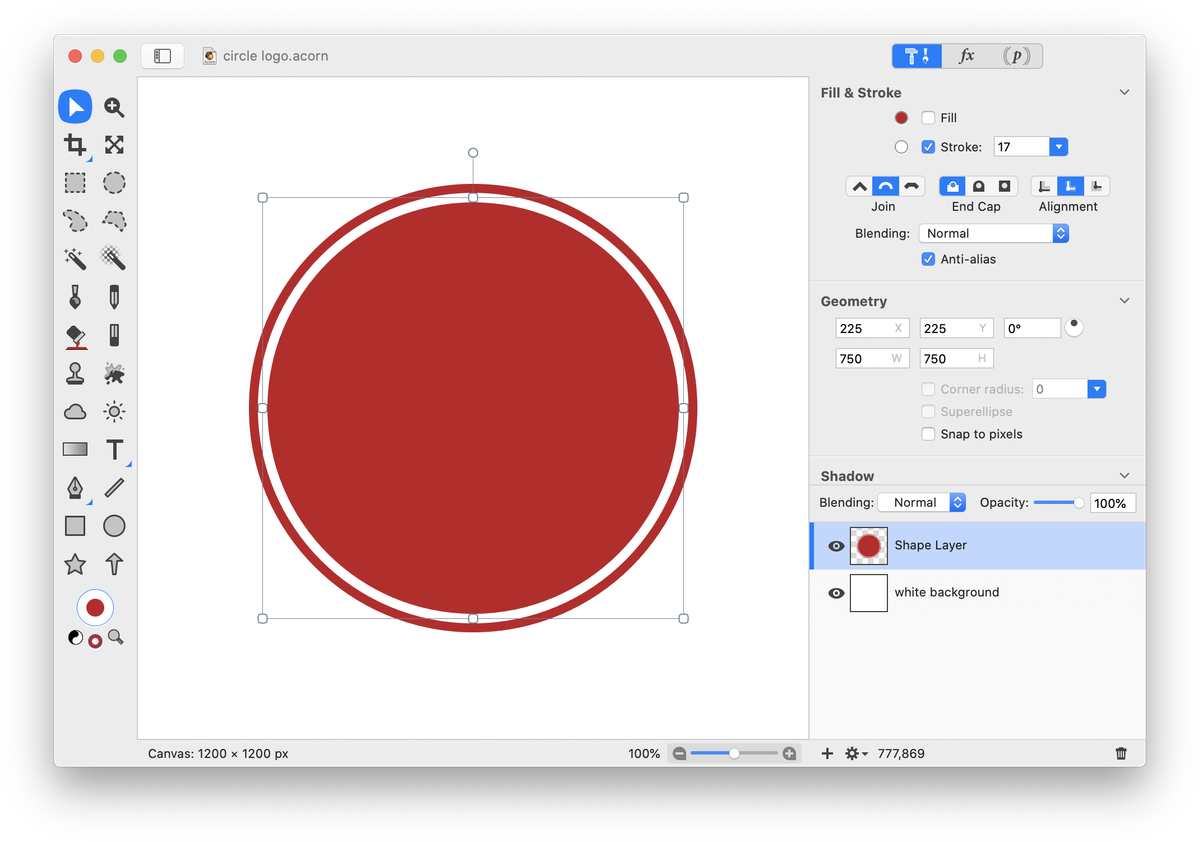
Create another circle with a white fill but no stroke. The dimensions used here can be seen in the image below. Snap your circle to the center of the canvas.
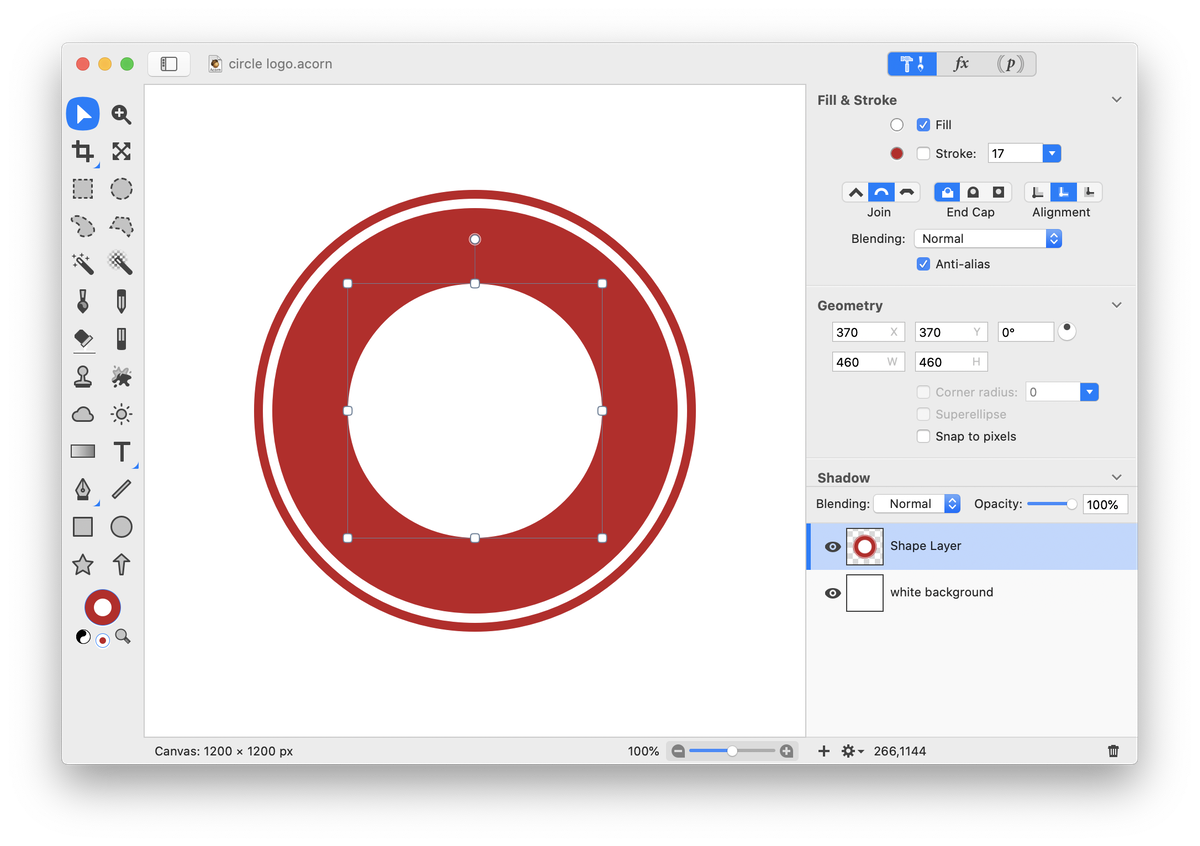
Now it’s time to add some text. Click and hold on the text tool in the tools palette, and a drop down will appear. Choose ‘Circle Text Tool’, keyboard shortcut TT. Click once near the center of your canvas and begin typing out text with a white fill and no stroke. Only write out the text you want present on the top of your logo.
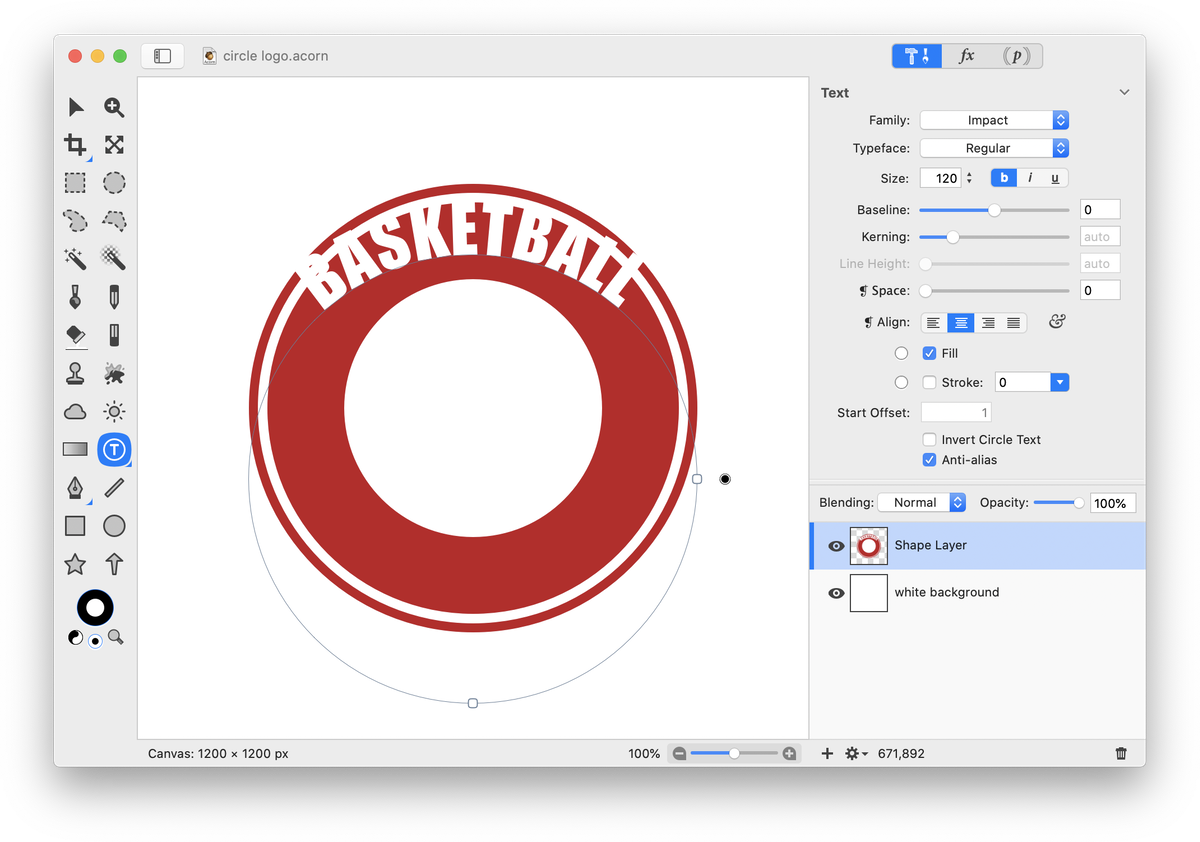
Using the move tool, move your text on a circle to the center of the canvas. Drag on the on-canvas radius control to increase or decrease the radius of your text.
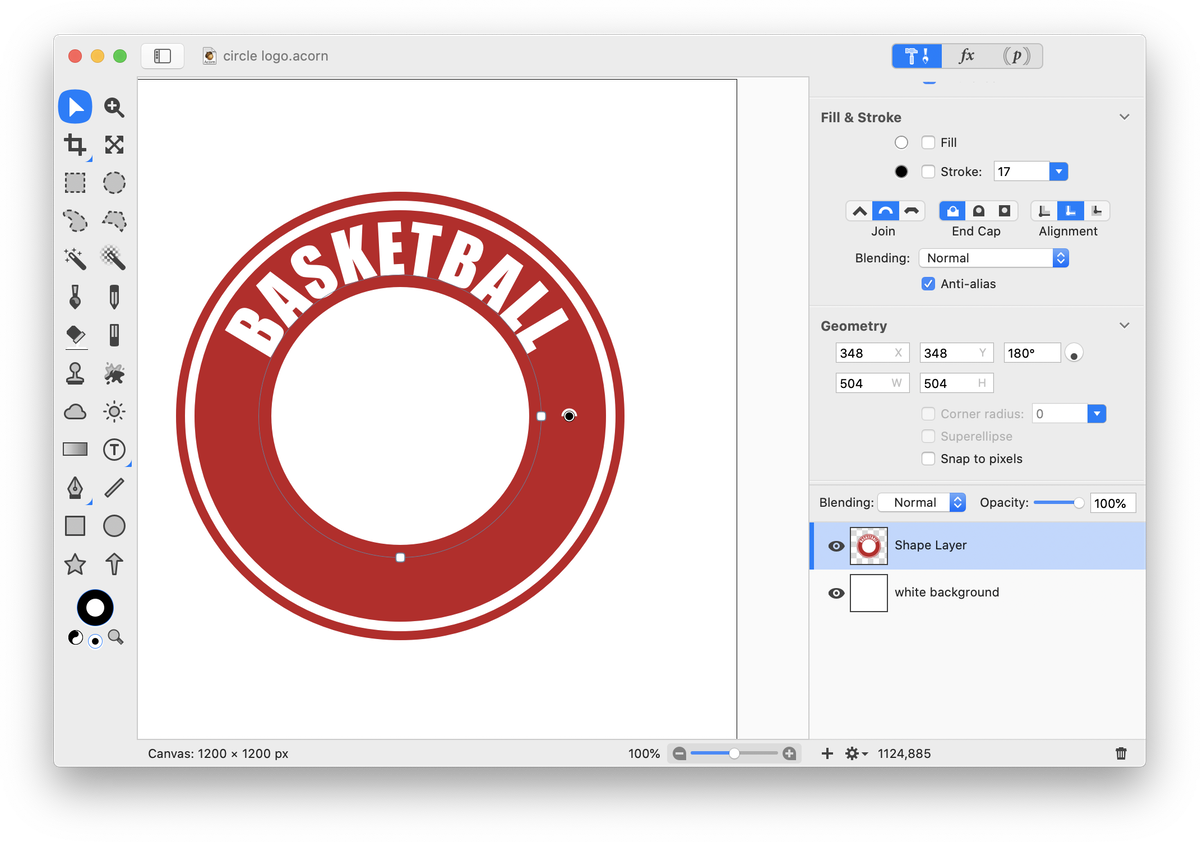
With the move tool, double click on your text to select it. Play around with the kerning to bring the letters closer together or further apart. Hit the escape key when you are done editing. With the circle text tool selected, click on your canvas and write out the text you would like on the bottom of your logo (shown here in black only for clarity).
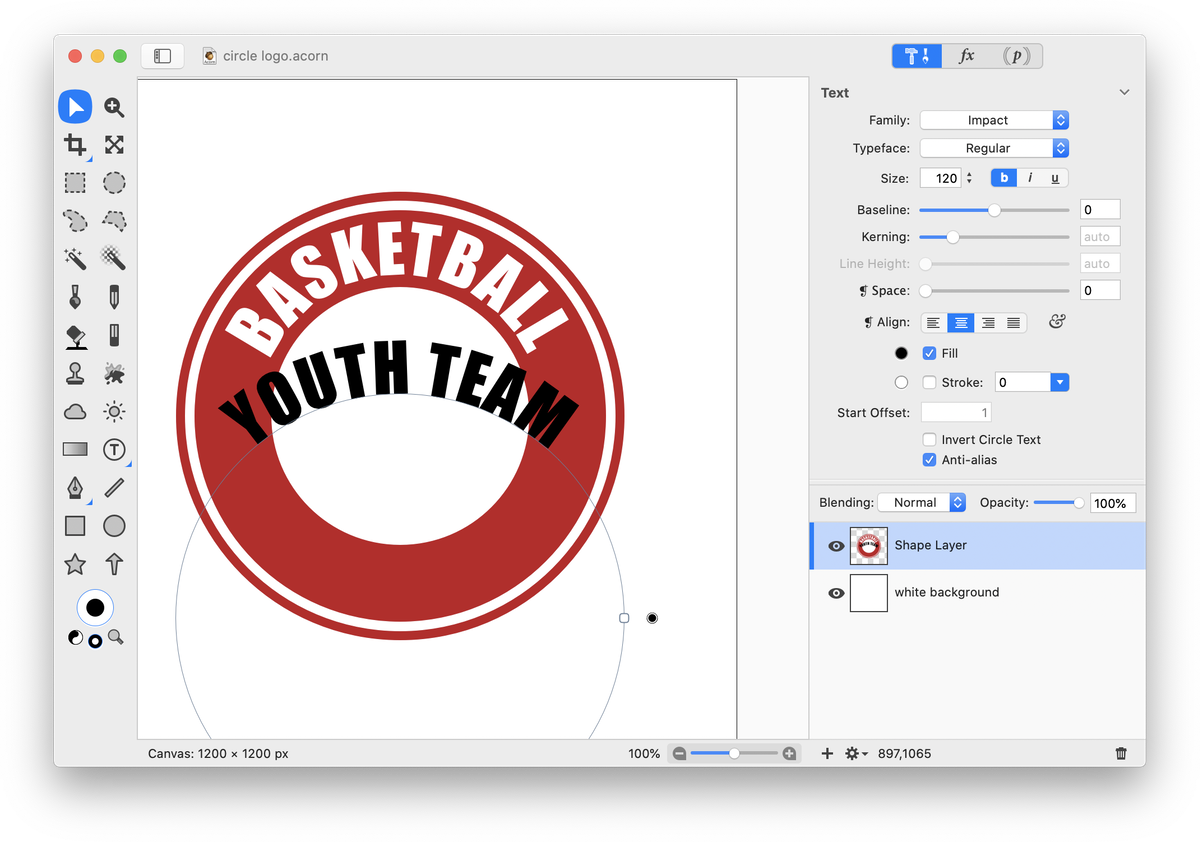
Click on the on-canvas control to invert the text, it is a small black circle towards the right of the circle text. Alternatively, use the ‘Invert Circle Text’ checkbox in the inspector palette. Rotate the circle text 180 degrees using the on canvas control towards the bottom of the circle text.
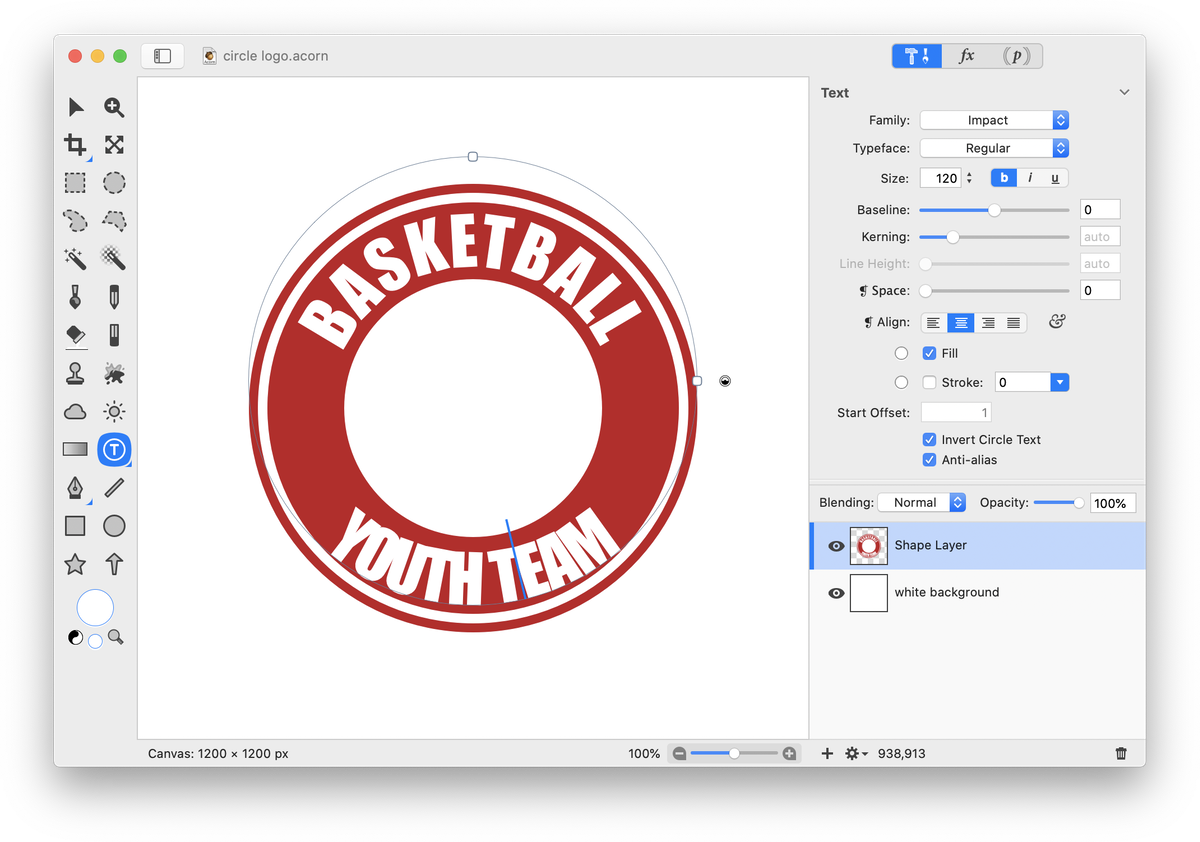
Click on one of the shape tools, and change the radius of your circle text to match the diameter of your upper text, in this case 504. Use the move tool to move your circle text so it snaps to the center of the canvas.
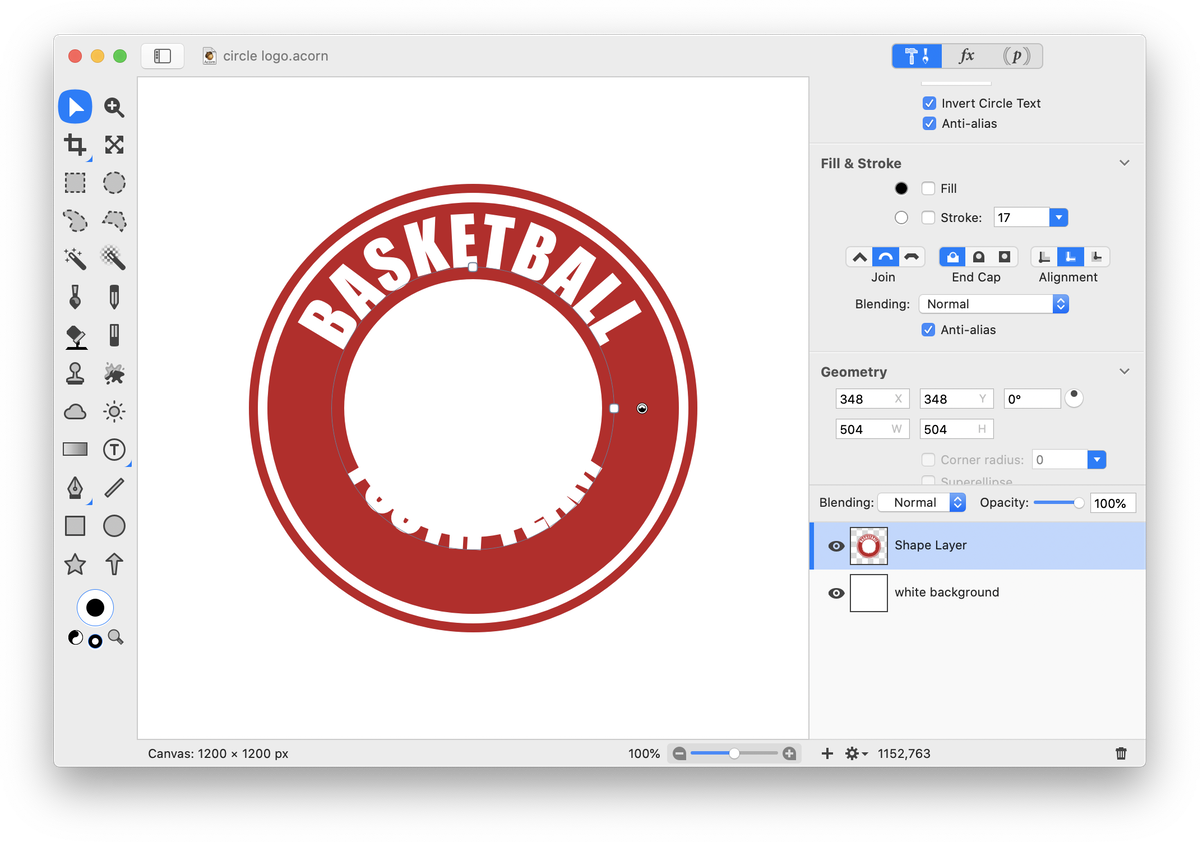
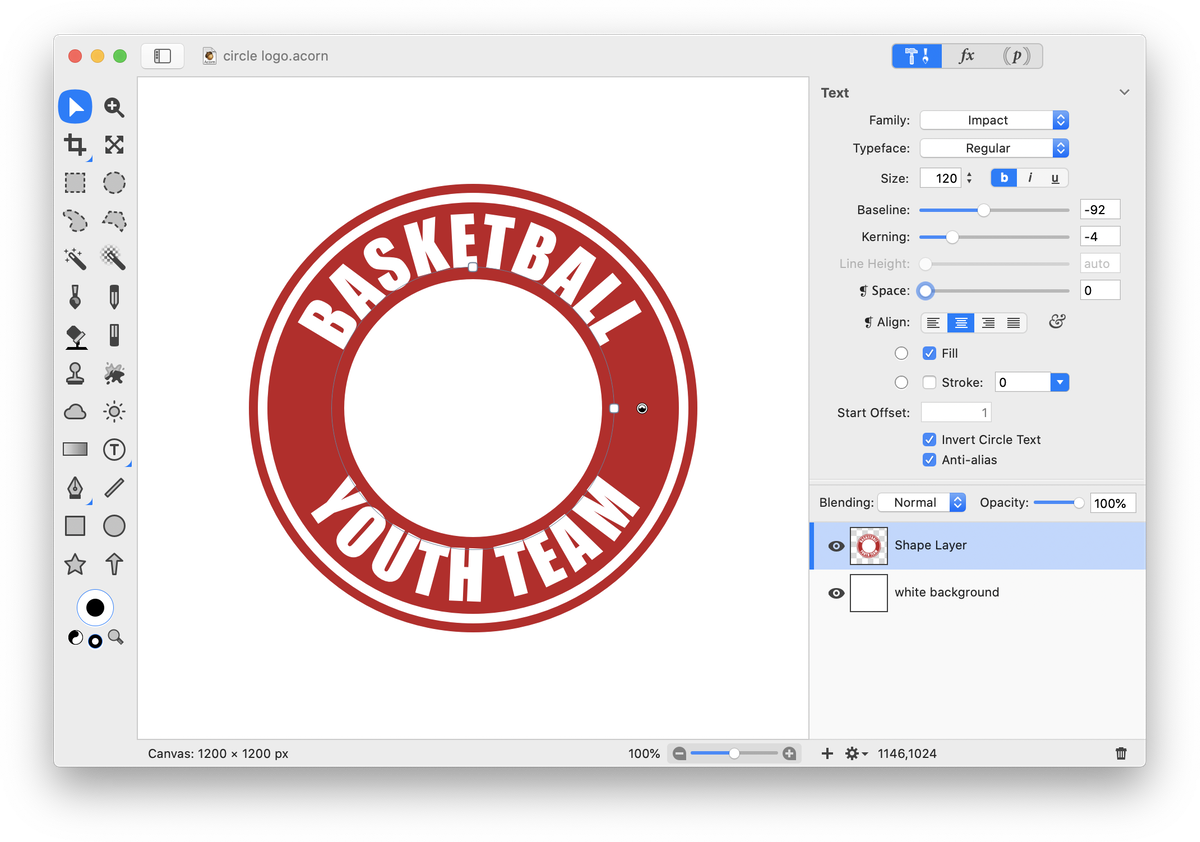
Use keyboard shortcut ‘tt’ to switch back to the circle text tool. Decrease the baseline of your text so it moves below the circle, with the letters just barely touching the circle. Modify the kerning if needed.
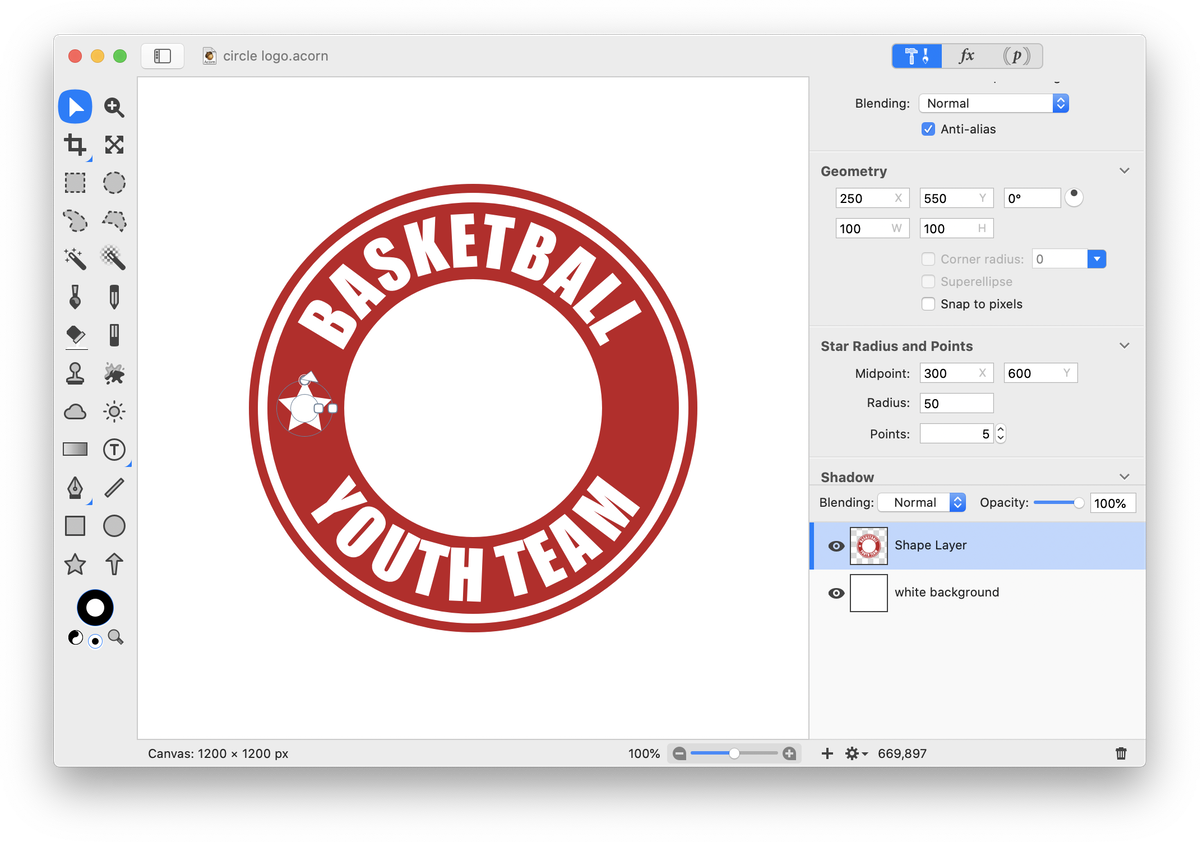
Click on the star shape tool, and draw out a star with a white fill and no stroke. Line up the star with the horizontal center on one side of your logo.
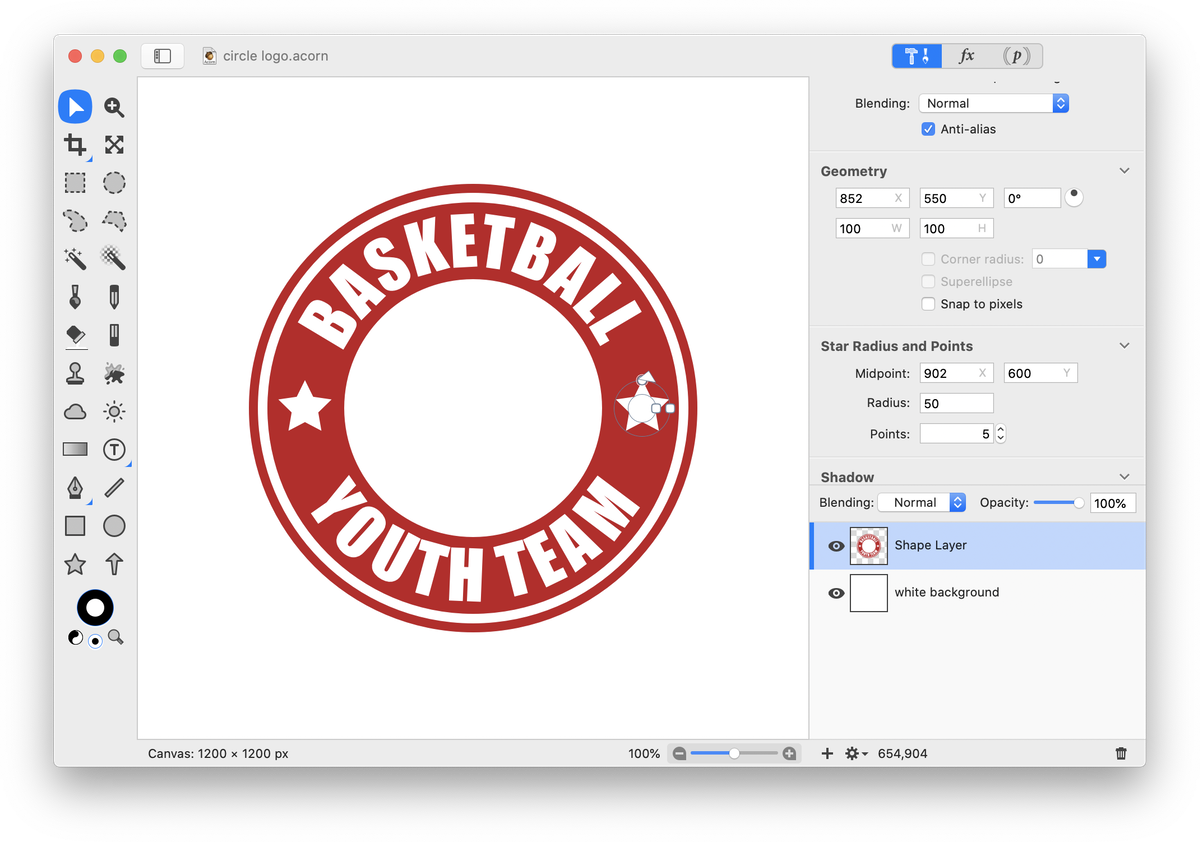
Copy and paste your star shape, and use the move tool to move it to the right side of the logo.
It’s time to add an image to the center of our logo. Go to File ▸ Add Images and select your file. Use Layer ▸ Rotate and Transform ▸ Scale and Rotate to increase or decrease the size of the layer, and place it in the center of the canvas.
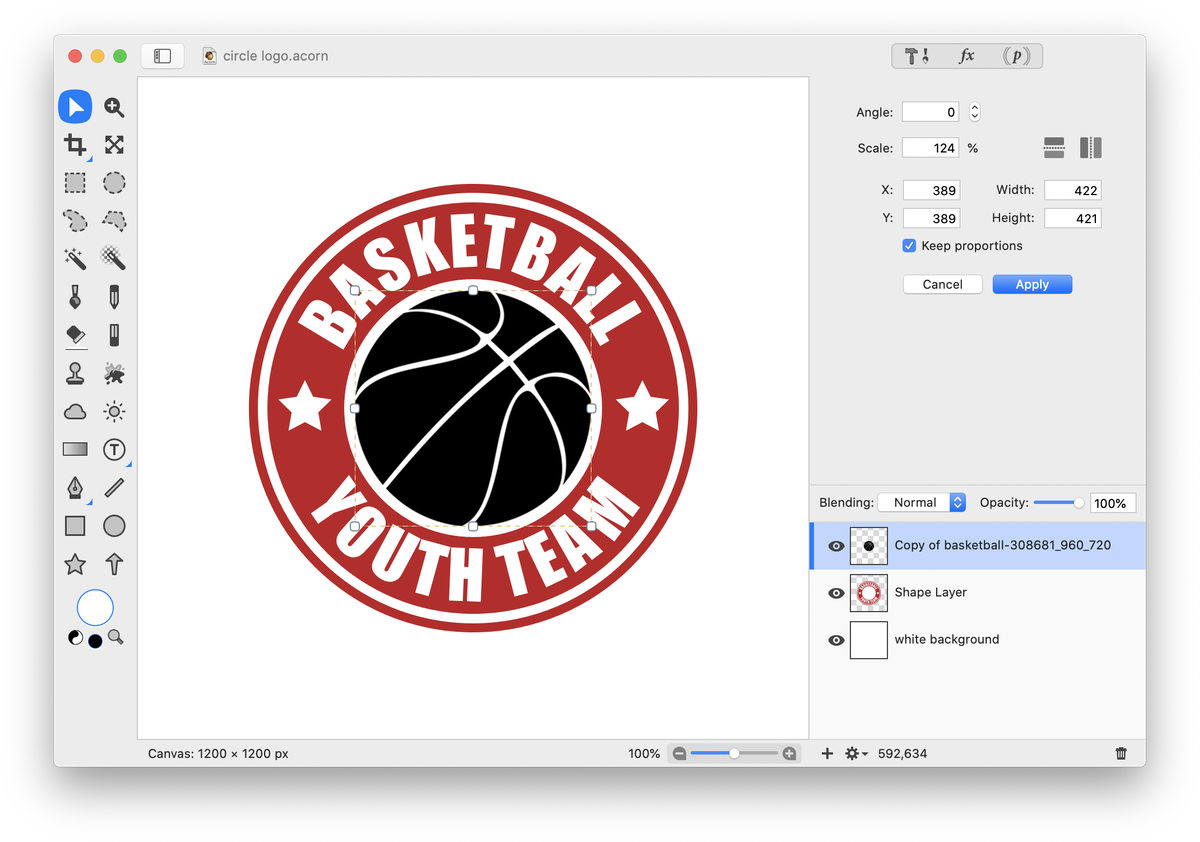
The logo is complete!

See Also: Circle Text Tool (video tutorial)