Vector Piggy

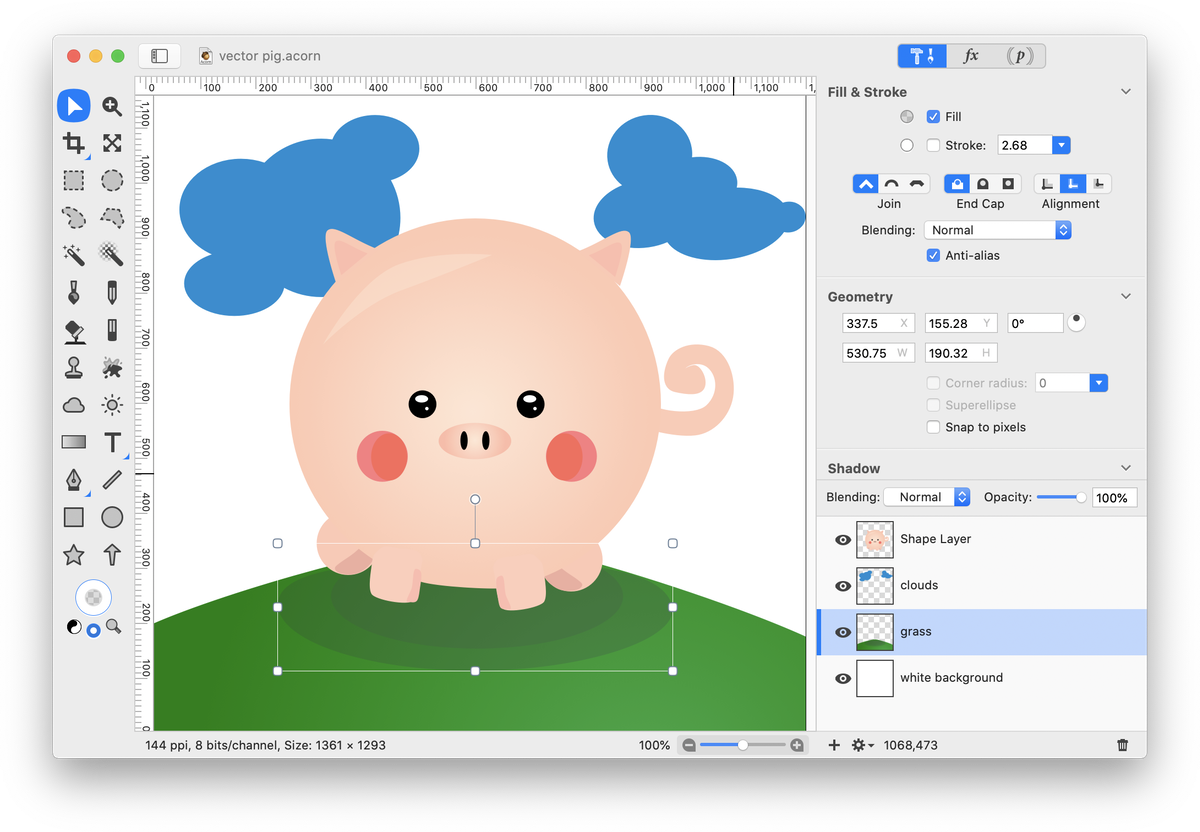
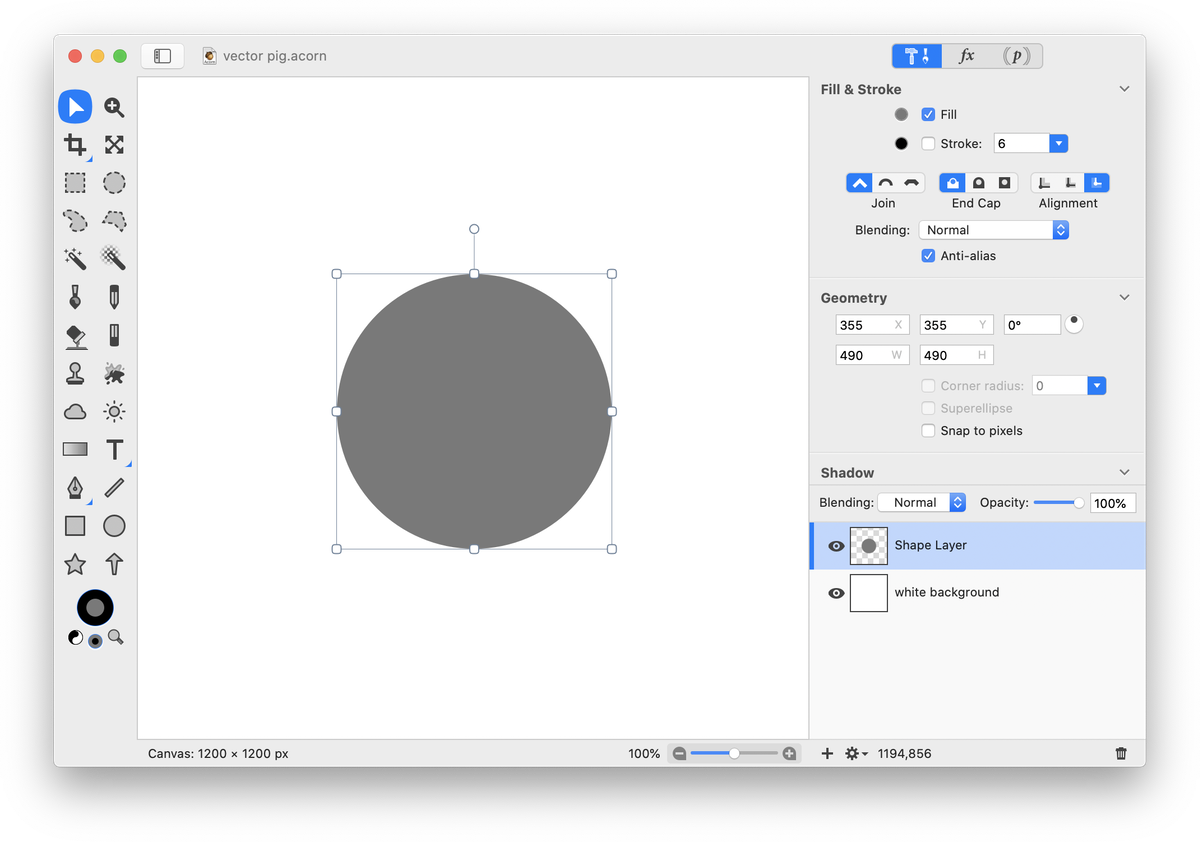
This tutorial will guide you on how to create a cute pig and landscape completely from vector shapes and gradients. To start, create a new image in Acorn, File ▸ New. This example uses 1200 x 1200 pixels with a white background. Choose the elliptical shape tool from the tools palette and draw a perfect circle (hold down the shift key as you drag out your circle). The circle should have a fill but no stroke. The color doesn't currently matter as it will be changed in the next step.
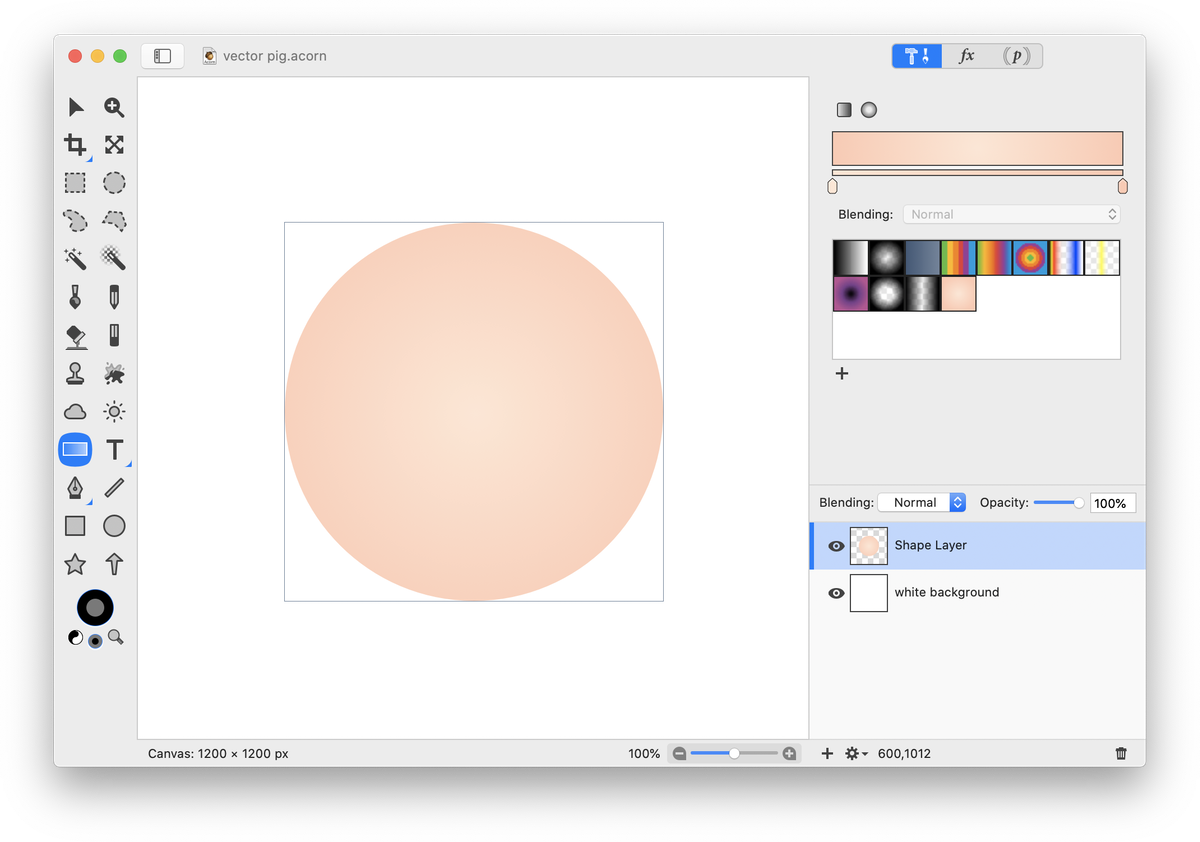
Using the move tool, move your circle so it snaps in place at the vertical middle of the canvas. You can enable this feature by going to View ▸ Guides and Grids and choose ‘Snap to Canvas’. With your circle still selected, click on the gradient tool. Choose a 2 color radial gradient and set the left tab to a light pink and the right tab to a slightly darker pink. Save your gradient so it can be used again later. To learn more, read 'gradient tool'. Drag out your gradient on your circle.
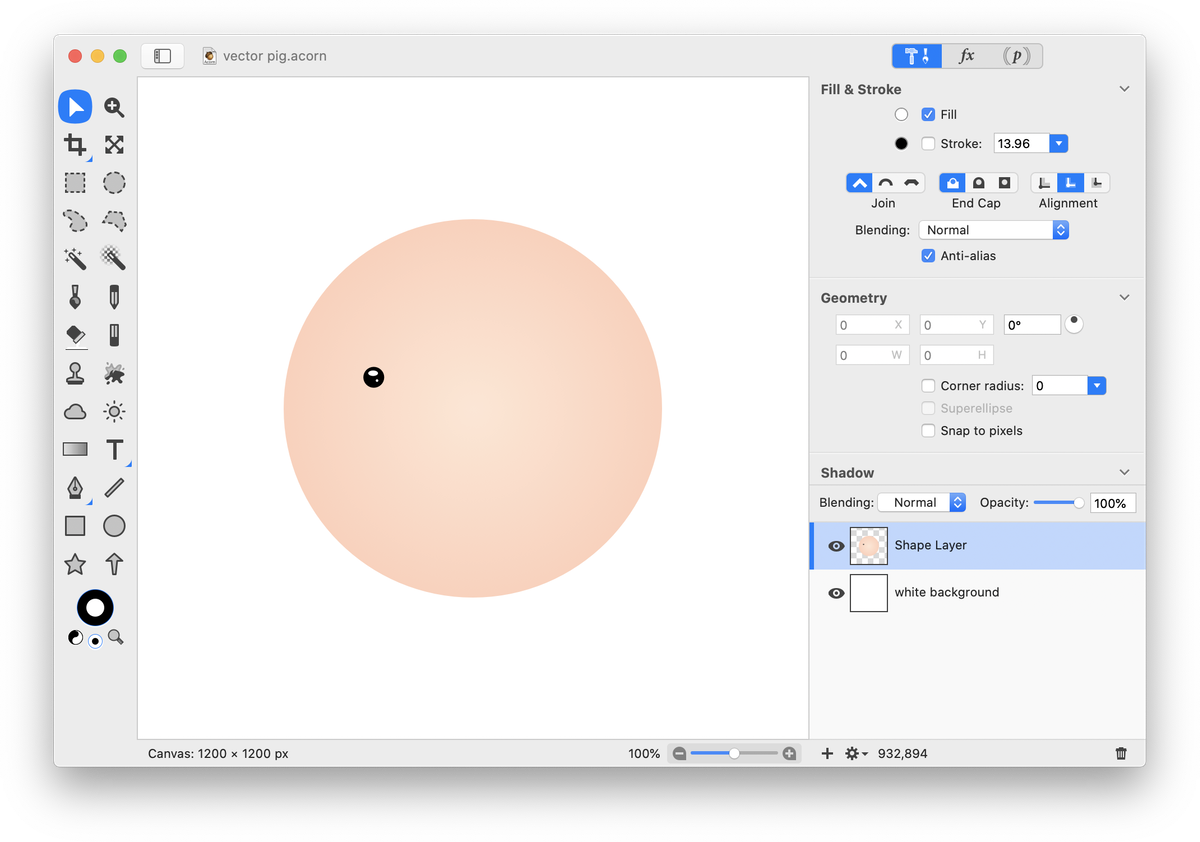
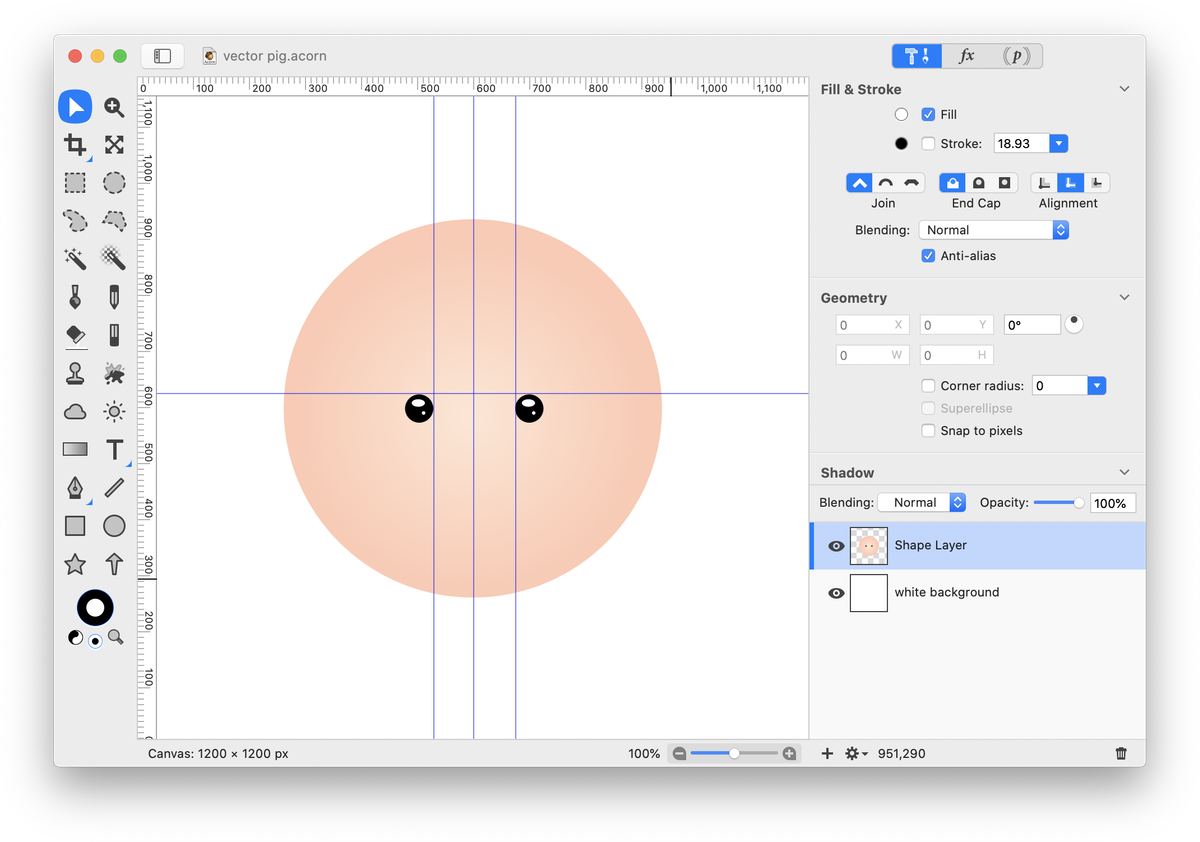
To create the eyes, choose the elliptical shape tool again with a fill but no stroke. Choose black as the color in the fill color well. Draw out a small black circle. Then, draw a smaller white circle and a white oval. Click on the move tool and place the white oval and circle in the black circle to give the eye the appearance of light reflecting.
Choose the move tool and select all 3 shapes that make up the eye by holding down the shift key as you click on each shape. Choose Shape ▸ Duplicate Shape. Move the duplicate shapes into position on the opposite side of the face to create the second eye. Use guides to position the eyes equally on the pig's face. To learn more about how to do this, read 'Rulers and Guides'.
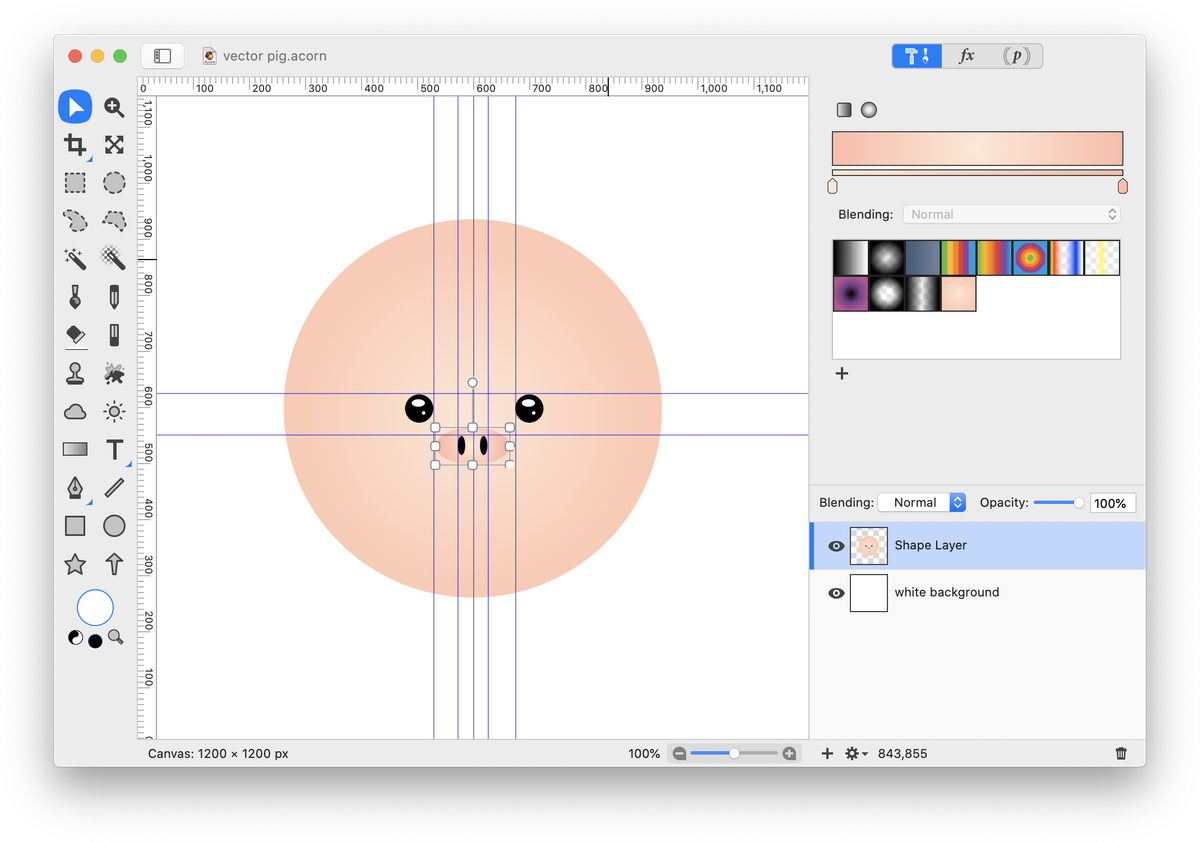
To create the snout, choose the elliptical shape tool and draw an oval with a fill but no stroke. Choose the gradient tool and draw the same 2 color radial gradient you used on the pig's face earlier. Use the move tool to position the snout in the vertical center of the canvas. Then, draw two black oval shapes to create nostrils. Use guides to position the nostrils evenly.
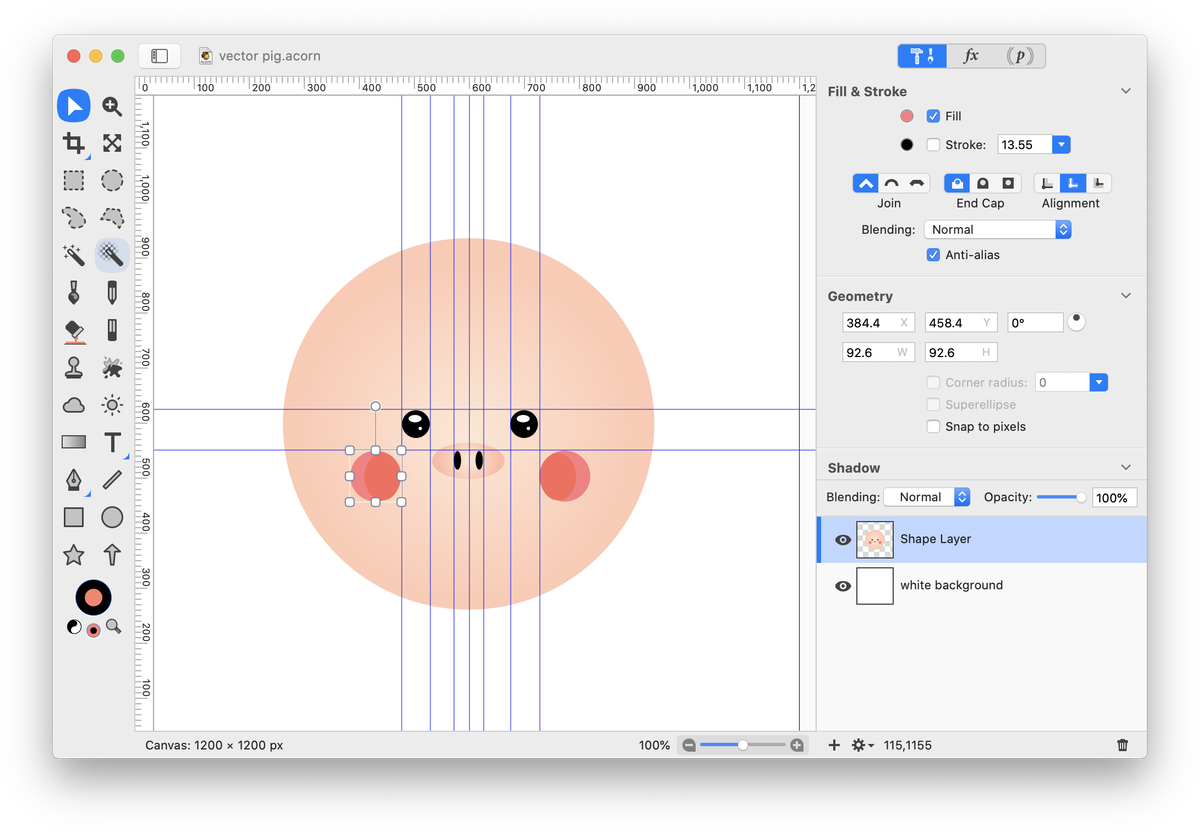
Using the elliptical shape tool, draw a pink perfectly round circle to create the pig's cheek. Draw a smaller darker pink oval and place it within the circle. Select both shapes, and place the shapes where you want the cheek located.
Duplicate the cheek shapes, Shape ▸ Duplicate Shape. Then choose Shape ▸ Flip Horizontally. Move them to the other side of the pig's face. Use guides to help you position them equidistant from the center.
To create the pig's legs, choose the elliptical shape tool and draw a perfectly round pink circle with a fill but no stroke. The color of the circle should be the same as the outer gradient color of the pig's body. Duplicate the circle 2 times and move the circles in place where you wants the legs located. Currently there is only one front leg, but an additional one will be added shortly.

Select the 2 circles in position to be the back legs and choose Shape ▸ Arrange ▸ Send to Back. This will position these legs to be behind the body of the pig.
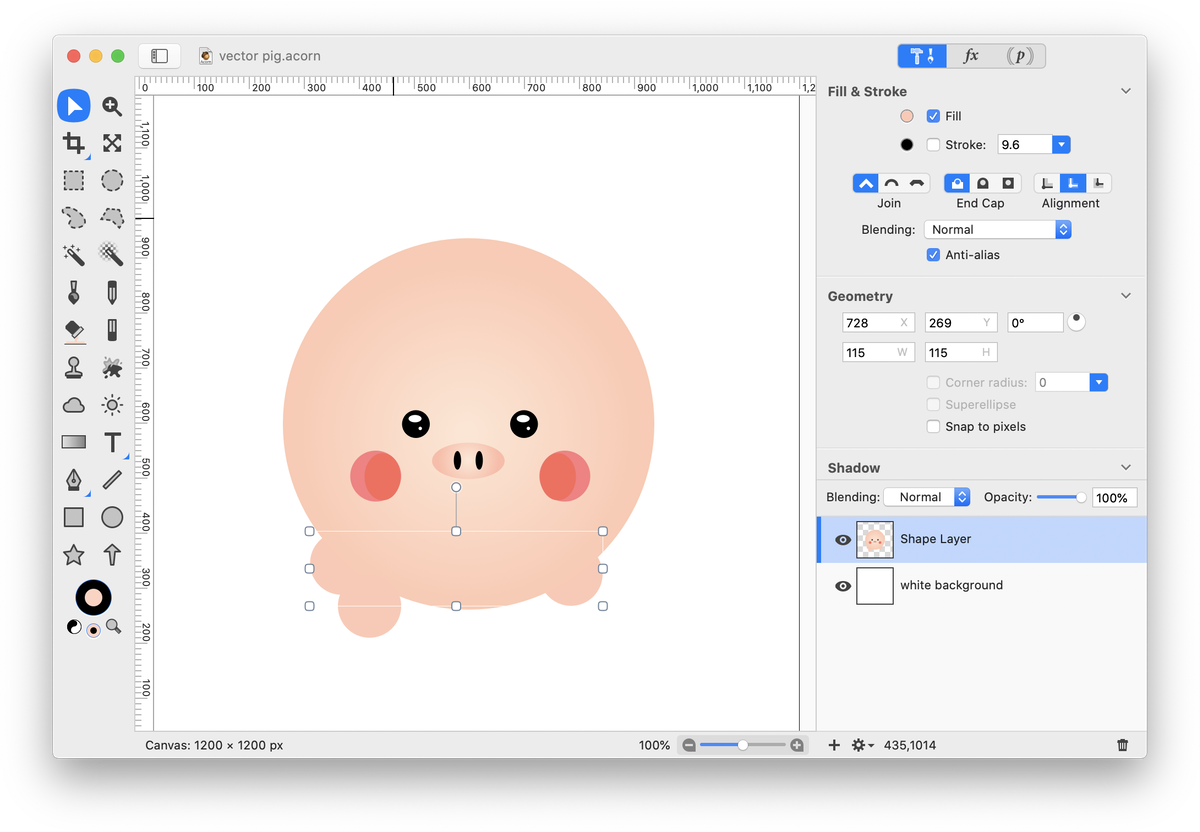
Select the one circle in position to be a front leg and choose Shape ▸ Convert to Bezier Shape. Choose Shape ▸ Add Points. Using the Bezier pen tool, make the leg a little less round at the bottom and give it a little more length. To learn more about this tool, read 'Bezier Curves'.
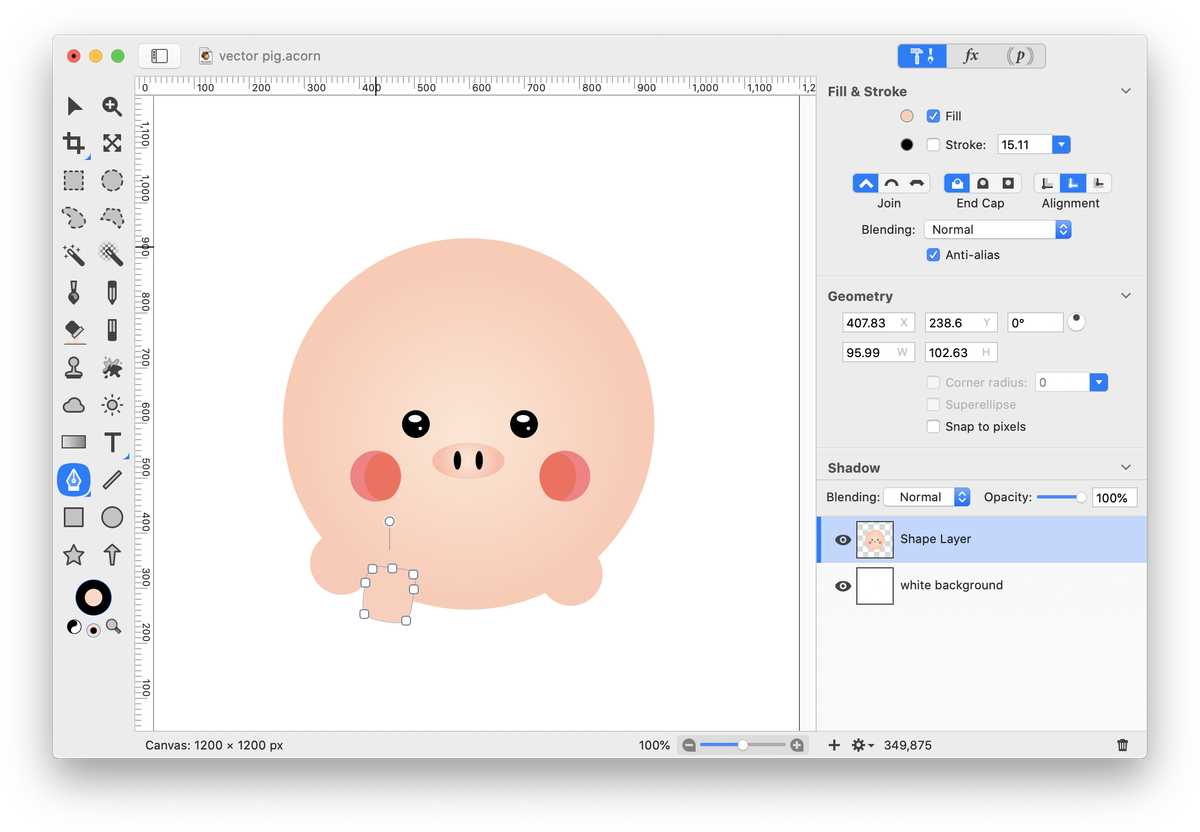
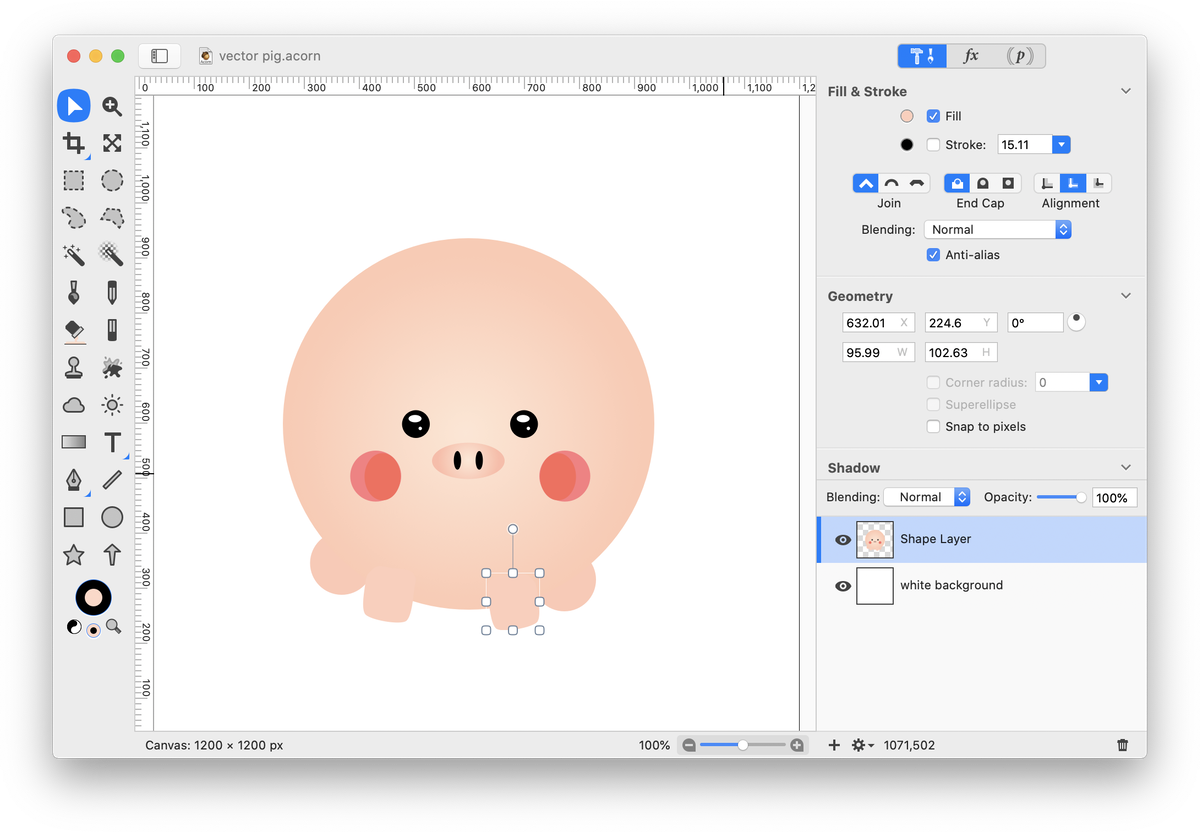
Duplicate the front leg, Shape ▸ Duplicate Shape. Choose Shape ▸ Flip Horizontally. Move the duplicate shape in position to be the other front leg.
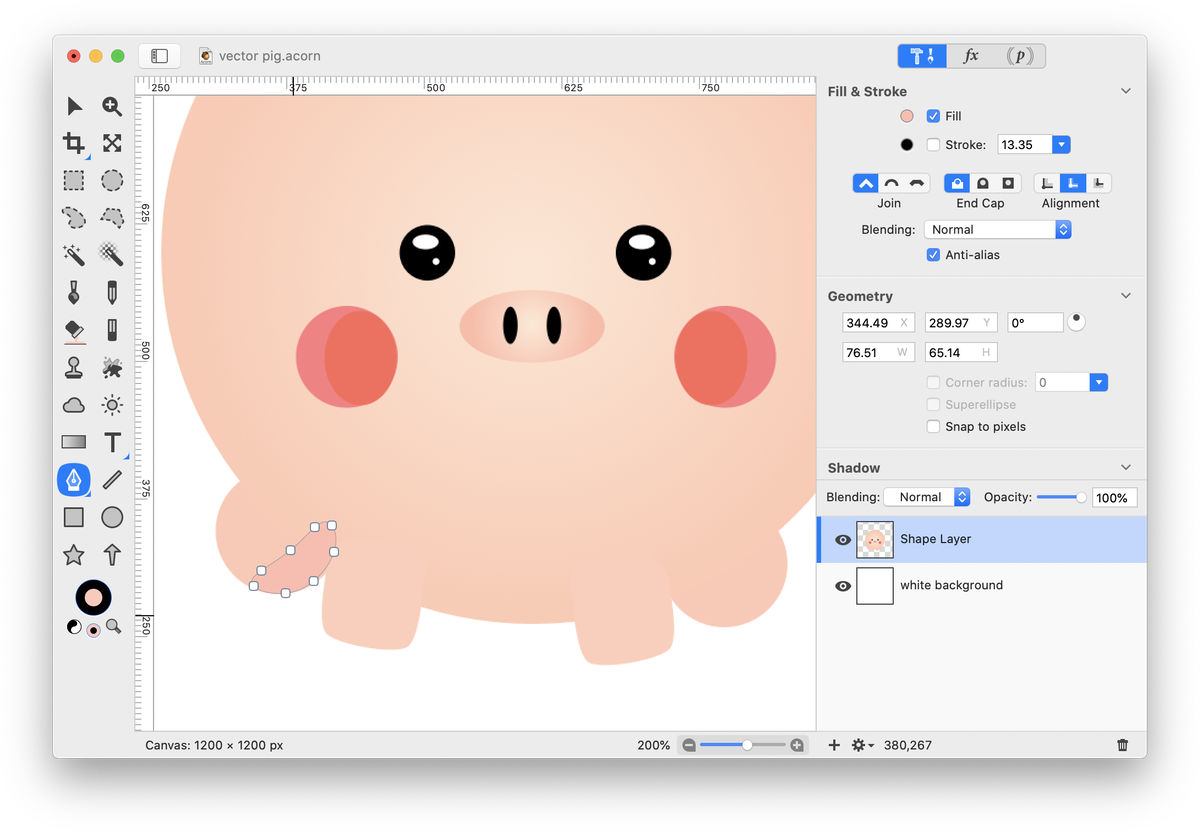
Now it's time to give the legs a little accent color. Using the elliptical shape tool, draw out a small oval slightly darker than the color of the pigs legs. Choose Shape ▸ Convert to Bezier Shape. Move the oval on top of one of the back legs and using the bezier anchor select tool, modify the shape of the oval to create the accent shape you desire.
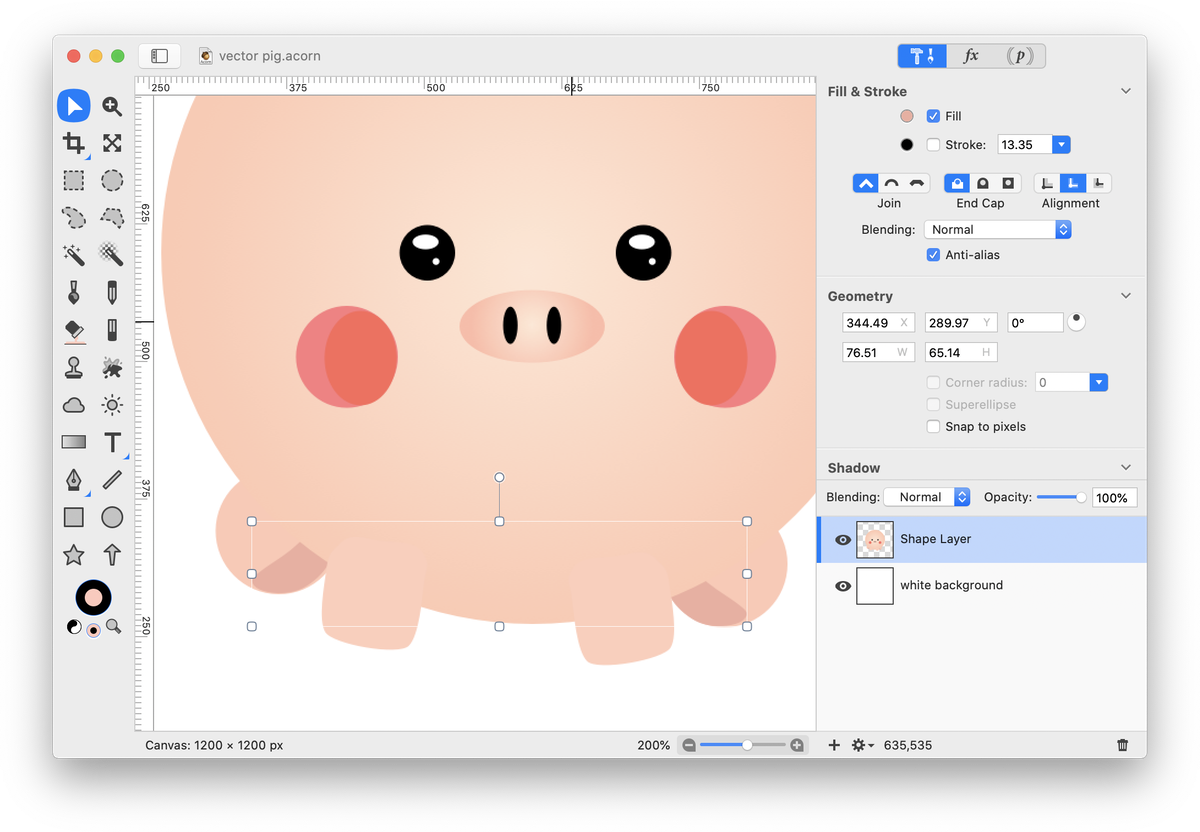
Duplicate the accent shape, and choose Shape ▸ Flip Horizontally. Move the shape into position on the other rear leg. Select both rear accent shapes and choose Shape ▸ Arrange ▸ Send to Back, then Shape ▸ Arrange ▸ Bring Forward until the accents are on top of the legs but below the body of the pig.
Create accents for the front legs using the same process of creating an oval and converting it to a bezier shape. These accents do not need to be moved forward or backward.
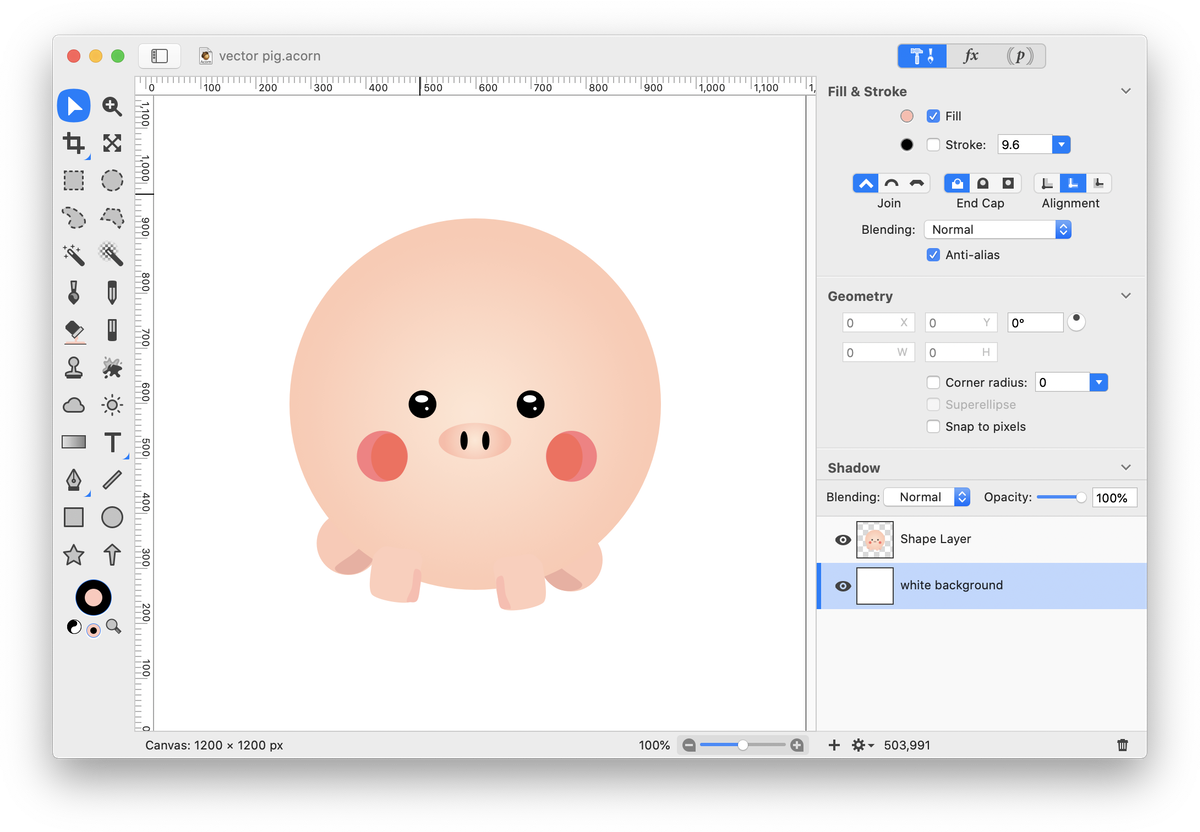
To create an ear, choose the star shape tool. Draw a star with a fill but no stroke. The color of the star should be the same as the color of the pig's legs. Change the number of star points to 3 using the on-canvas controls.
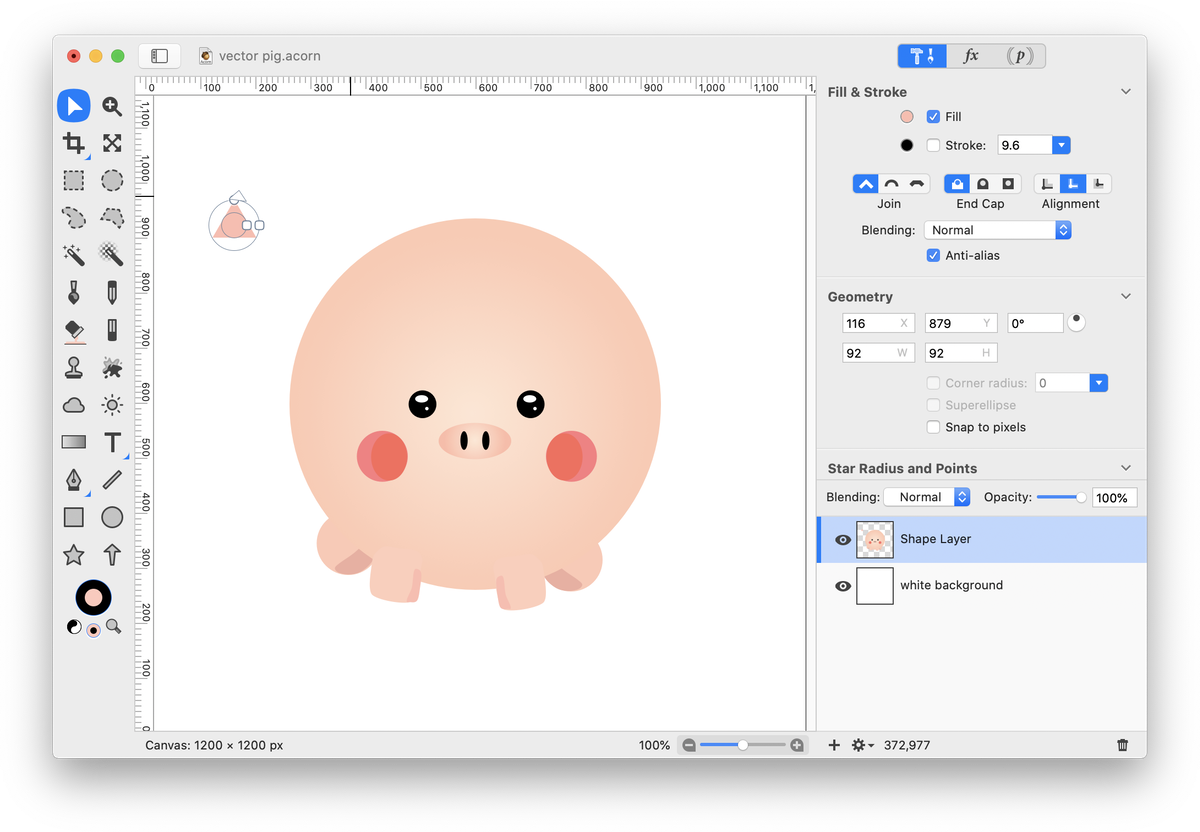
Using the move tool, rotate the triangle and move it into position where you want the ear located. Choose Shape ▸ Convert to Bezier Shape. Change the points of the triangle to be more rounded using the Reset Bézier Control Points Tool.
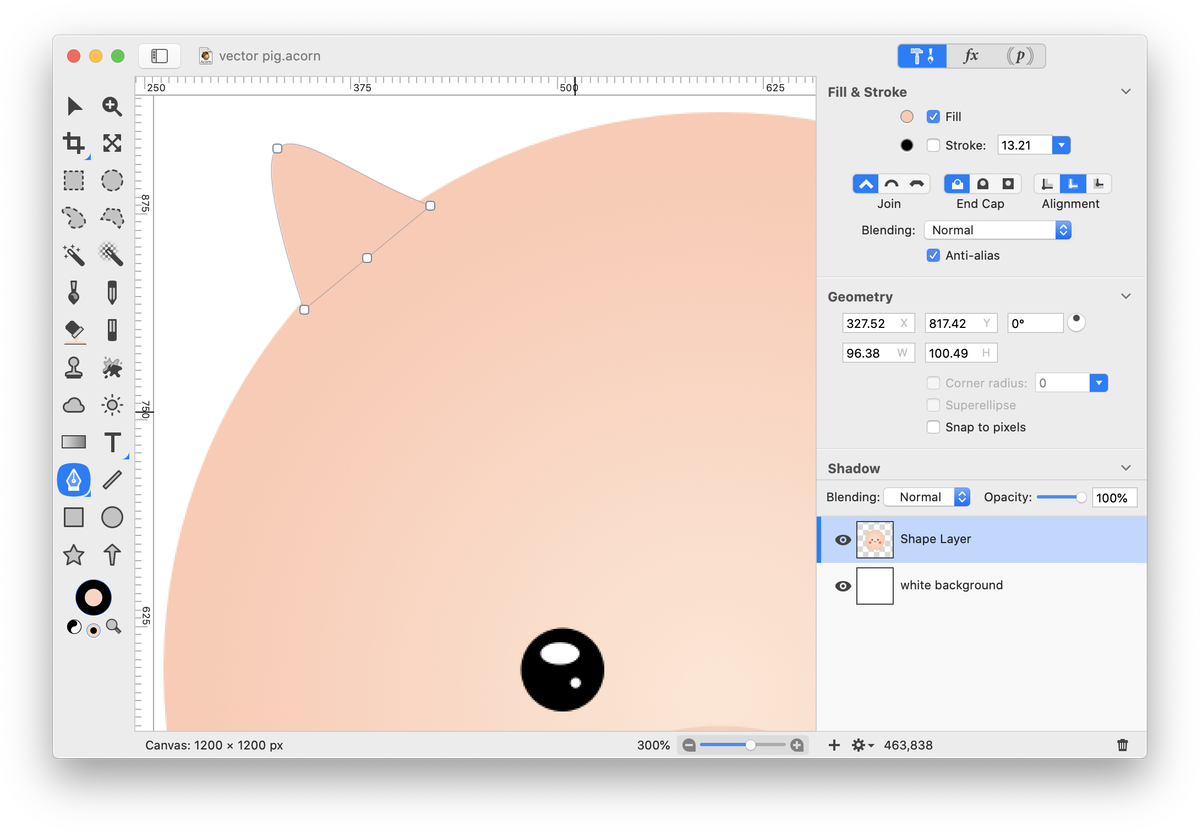
Duplicate the triangle shape. Decrease its size and change its color to a darker pink to create the inner accent to the pigs ear.

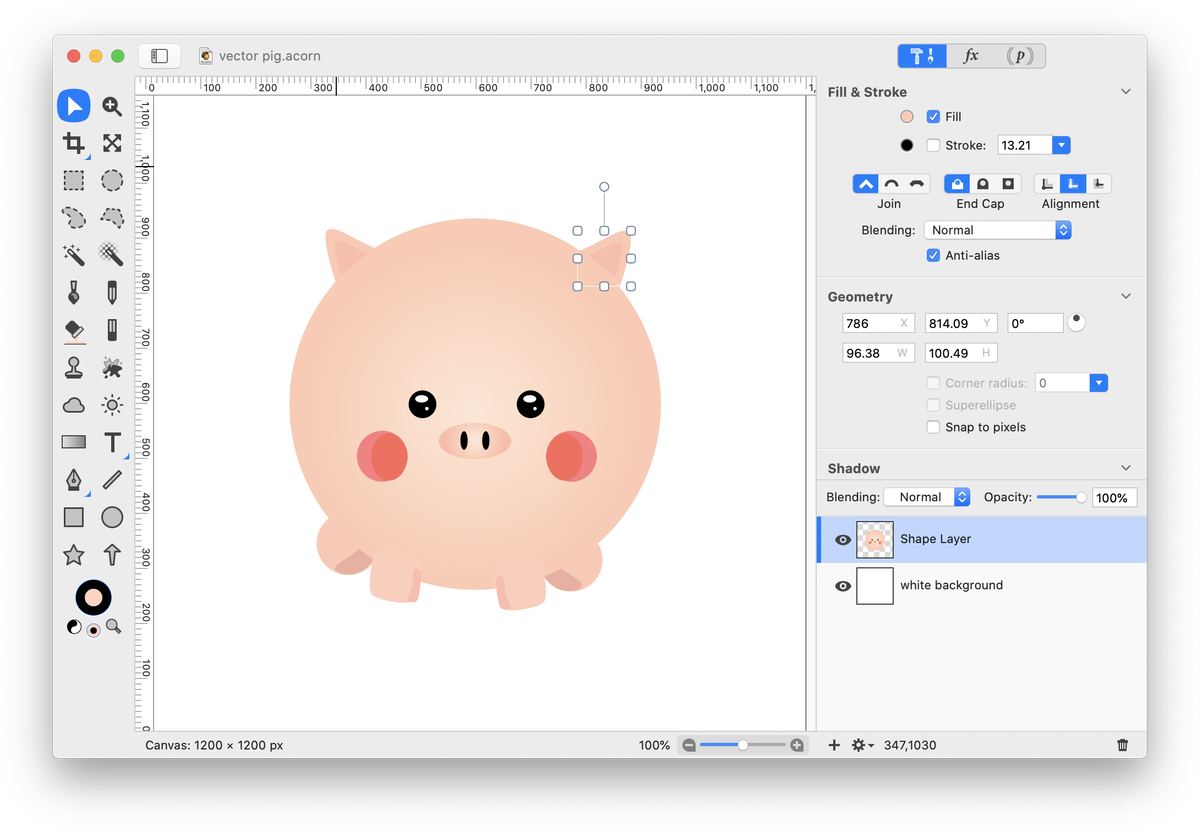
Select both shapes that make up the pigs ear. Duplicate the shapes, then choose Shape ▸ Flip Horizontally. Move them in position to be the opposite pig's ear. Use guides to get things lined up perfectly.
Now give the pig's head a little reflection. Draw out a light pink oval and move it towards the top left of the pig's head.
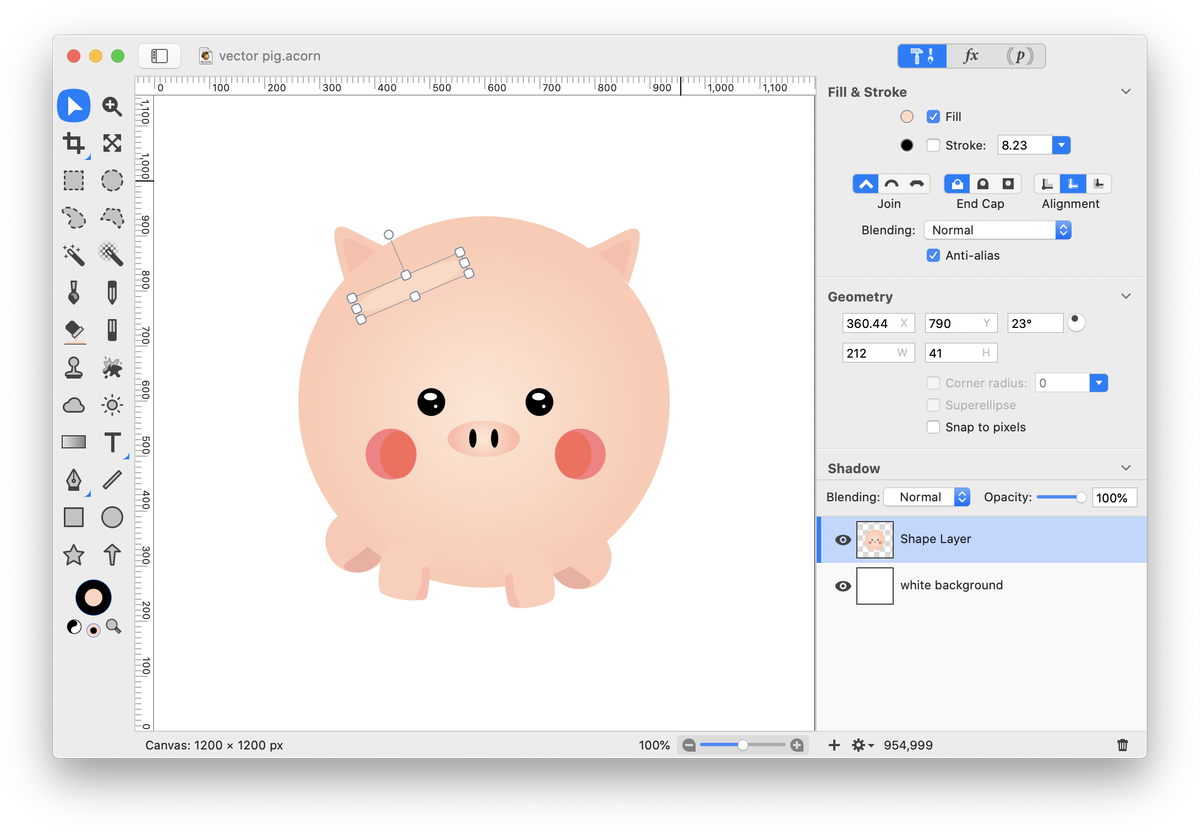
Choose Shape ▸ Bezier Stuff ▸ Convert to Bezier Shape. Using the Bezier Anchor Select Tool (keyboard shortcut A), modify the position of the anchor points to make the oval follow the curve of the pigs head.
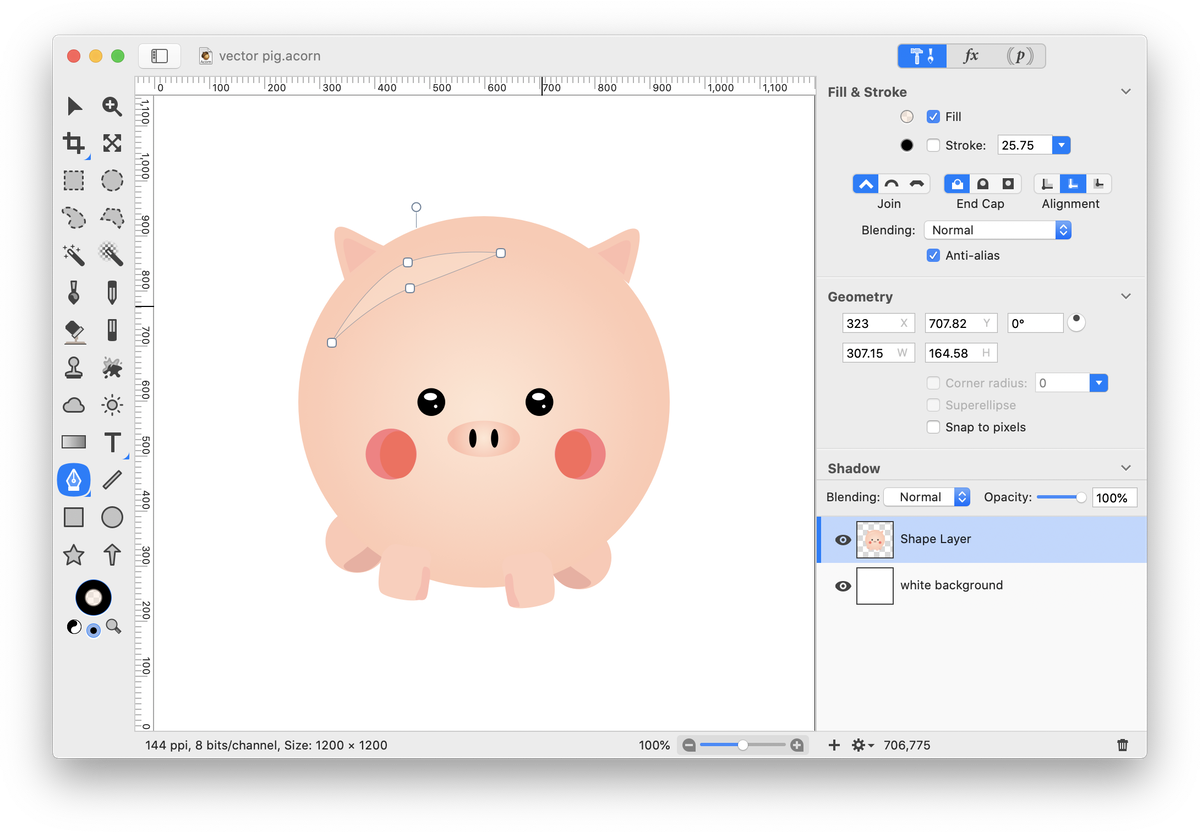
Now to create the tail. Choose the Bézier Pen Tool with a fill but no stroke. Draw out a curved shape to create the swirl of a tail. You can download an image of the tail here.
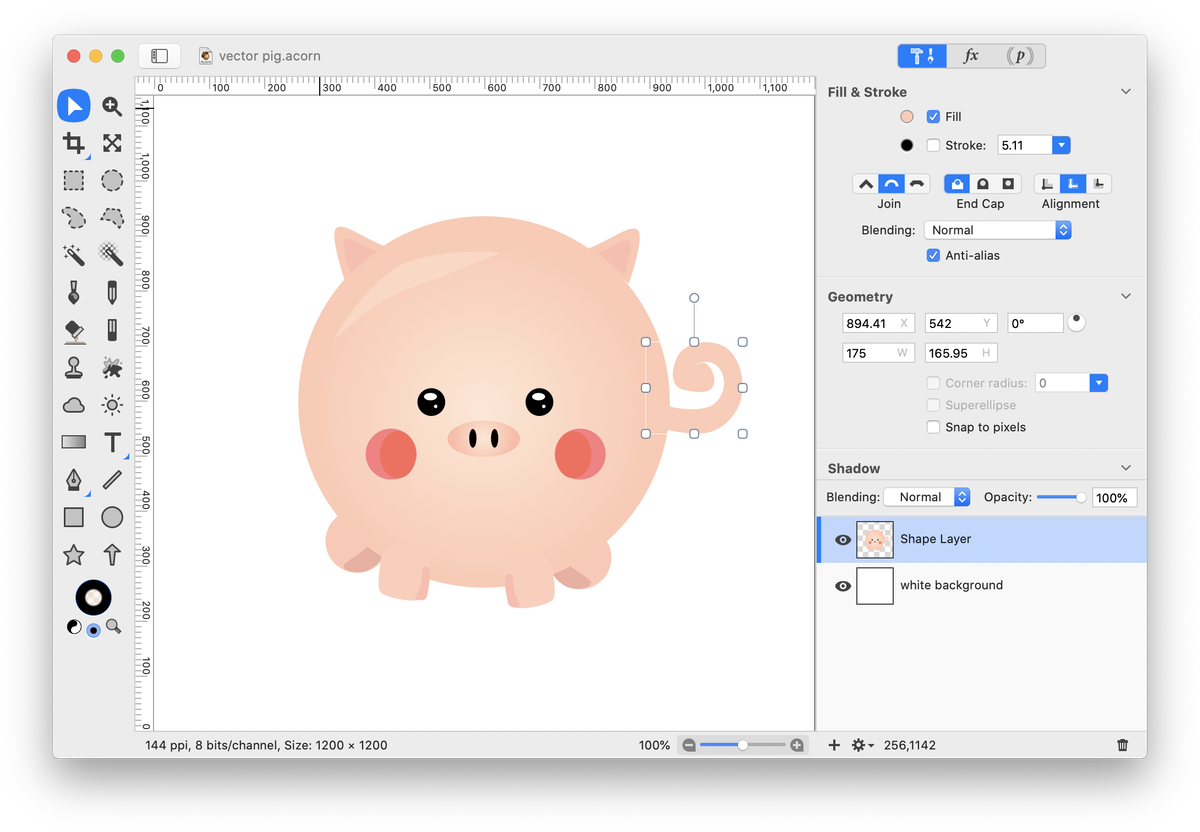
With the tail selected, choose Shape ▸ Arrange ▸ Send to Back to make the tail appear as if it is coming from behind the pig.
If you want to make the pig's belly a little flatter, select the pig's body. Choose Shape ▸ Bezier Stuff ▸ Convert to Bezier Shape. Click on the Bezier Pen Tool and add a point at the inside of each of the pig's front legs. To add points, hold down the shift key while clicking on the shape outline. Then select the anchor point located between the two points you just added and hit the delete key.
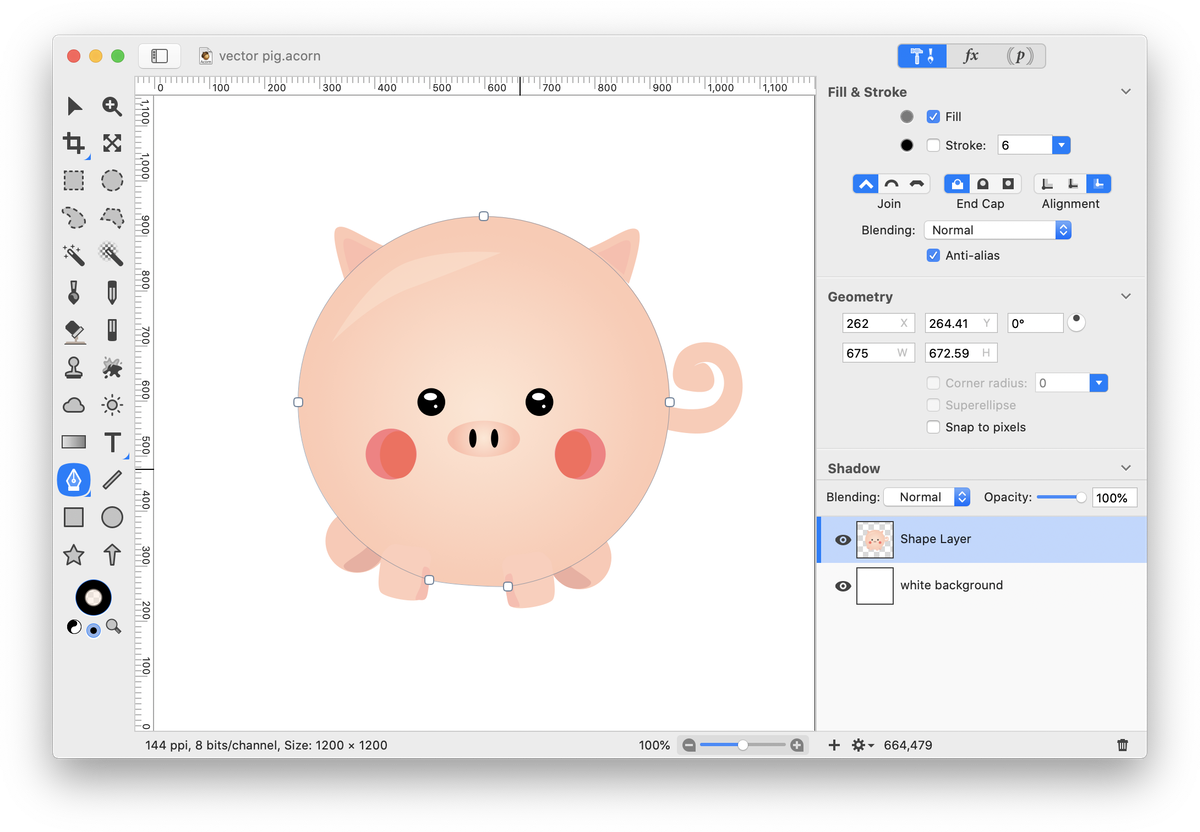
Now you've got a pretty cute little piggy! Continue on with the tutorial if you want to give her a landscape.
Start by adding a new shape layer, Layer ▸ New Shape Layer. Move this layer below the pig layer but above the white background layer in the layers list. Using the elliptical shape tool, draw out a few overlapping circles and ovals with a blue fill and no stroke.
Select all the shapes you just drew and choose Shape ▸ Union Paths to make a single cloud shape. Repeat this process to create a second cloud.
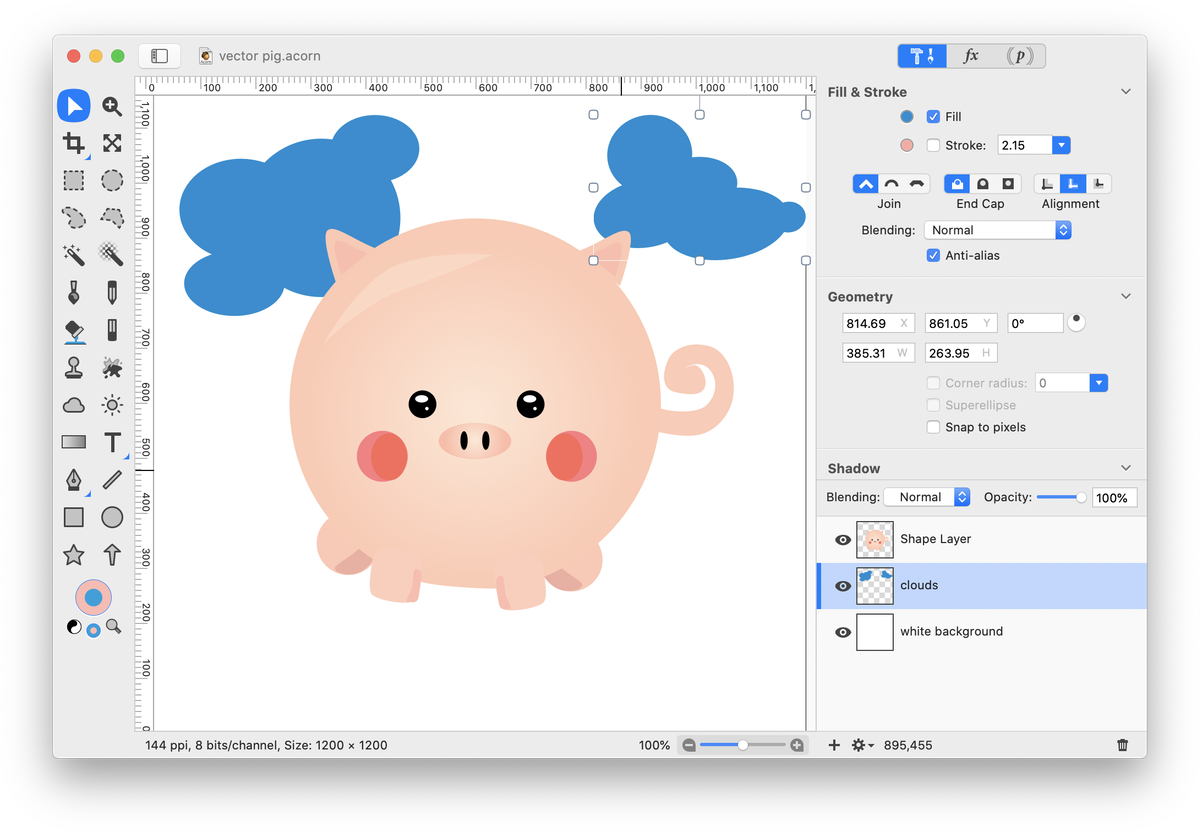
Now using the elliptical shape tool, draw out an oval hill with a fill but no stroke. Choose Shape ▸ Convert to Bezier Shape and modify the oval if you want your hill to have irregular boundaries. Using the gradient tool, add a 2 color radial gradient with 2 shades of green.
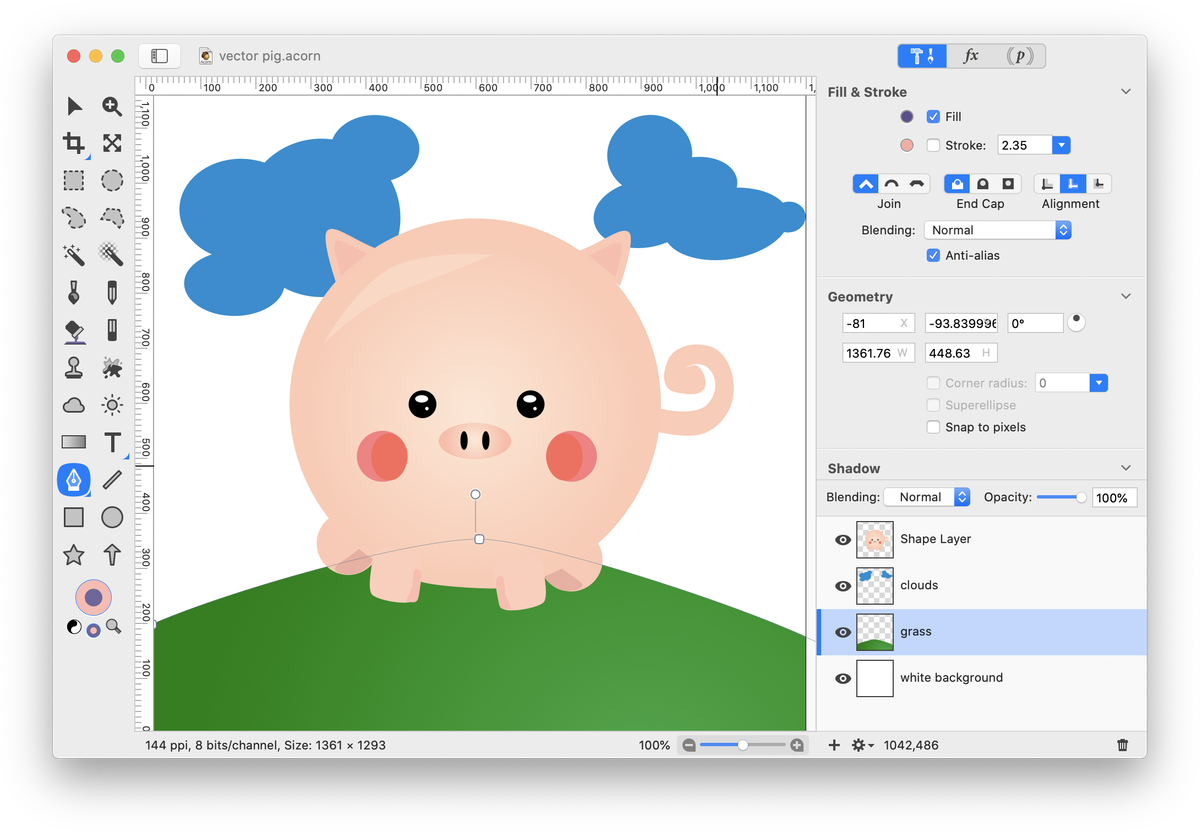
Draw out two more oval shapes, one slightly smaller than the other to create the pig's shadow. Use a dark green or gray color, and try decreasing the opacity of the color in the colors palette to create a more subtle shadow.
