Give Yourself a Tattoo
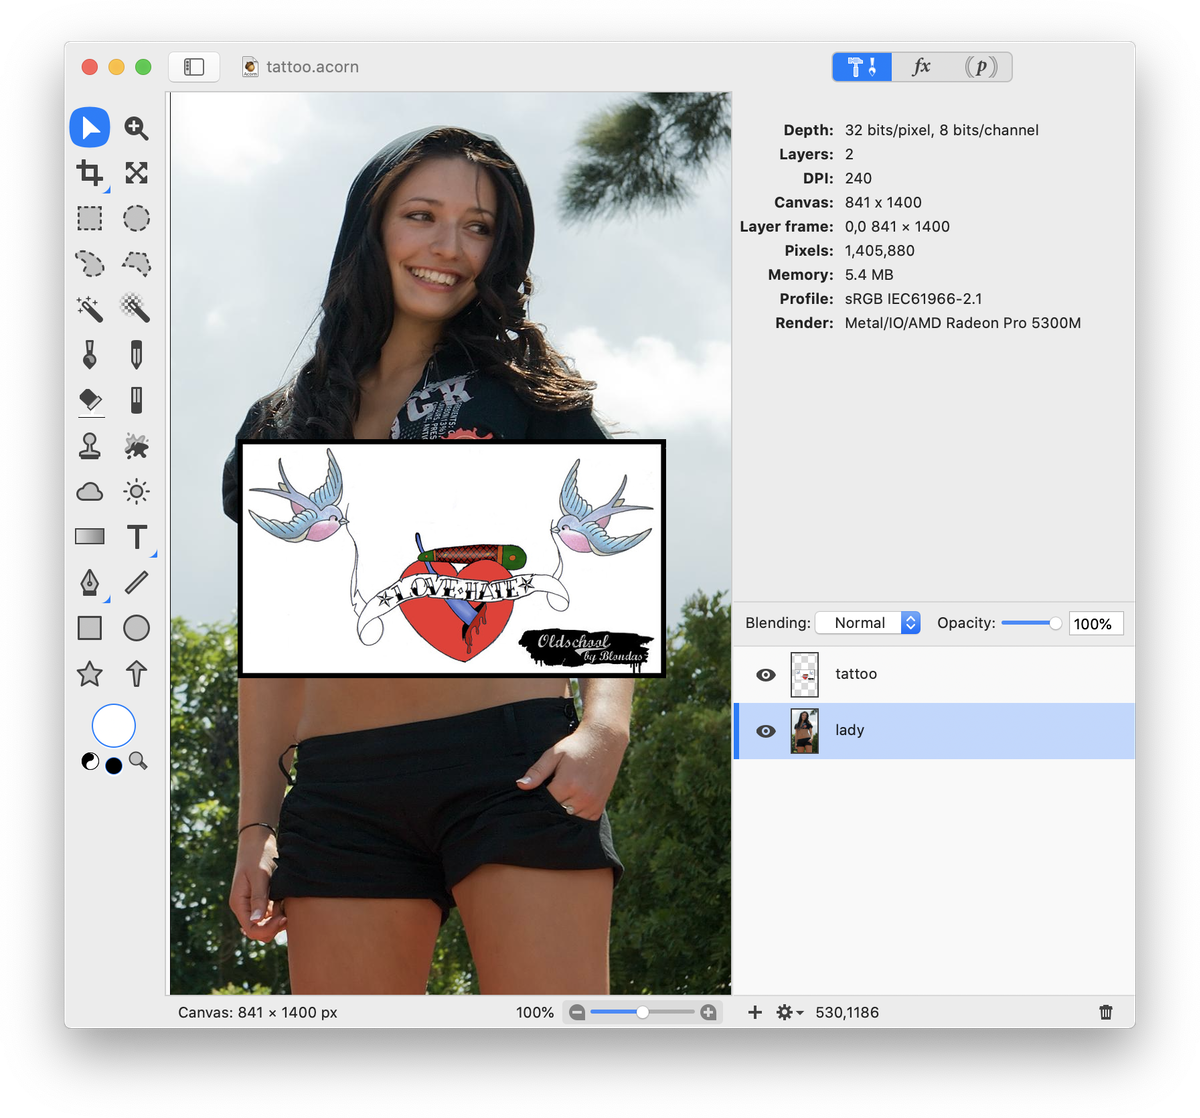
Giving yourself a tattoo has never been so easy! Open your main image in Acorn, File ▸ Open. Add the image of a tattoo, File ▸ Add Images....
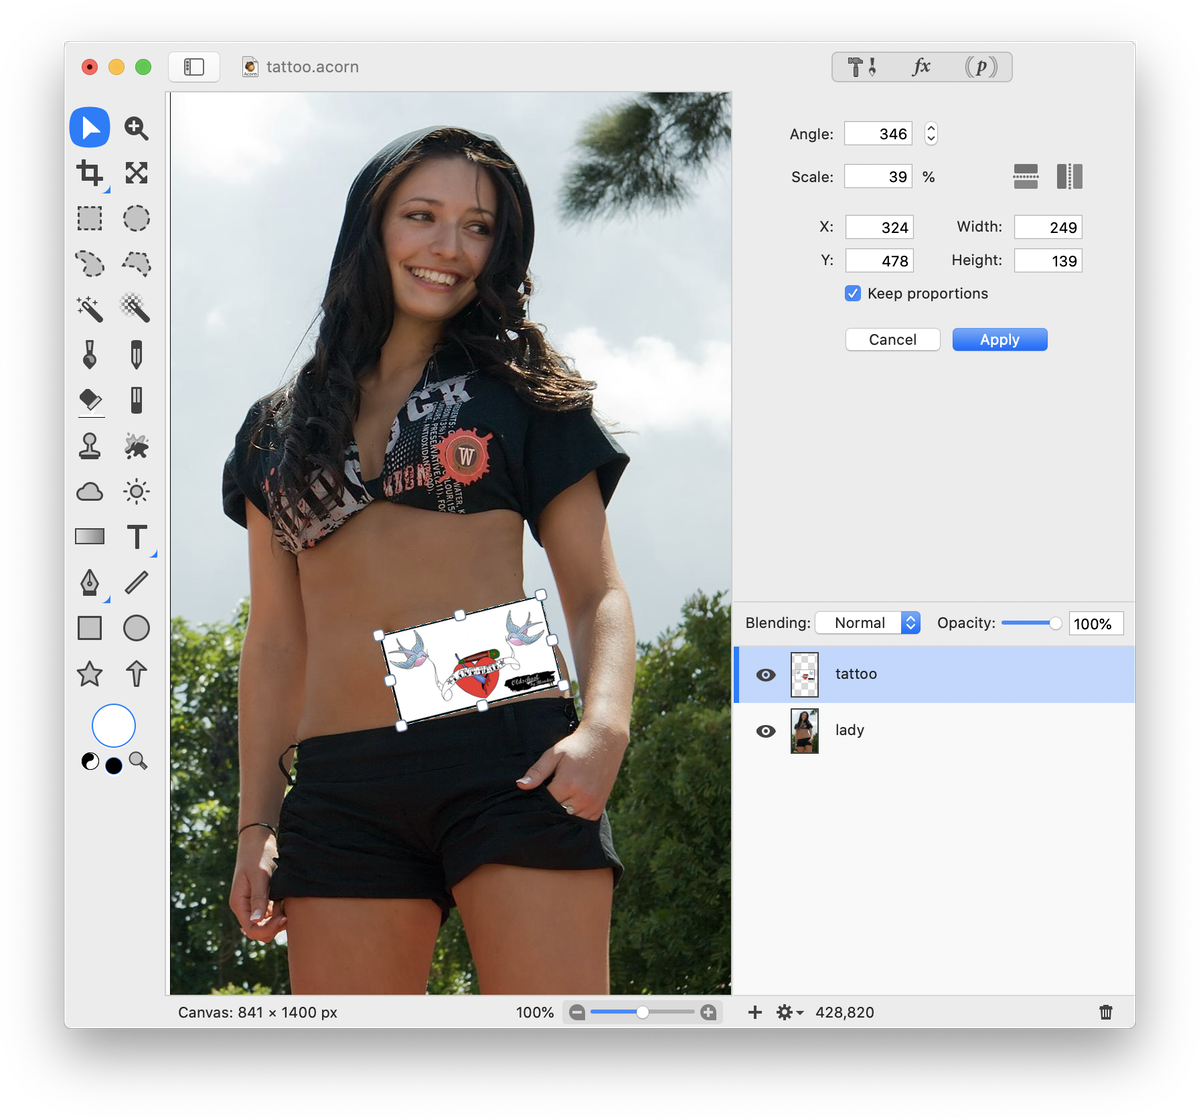
Scale and rotate the tattoo layer using Layer ▸ Rotate and Transform ▸ Scale and Rotate. It is helpful to move the tattoo into the general area where you want it during this step. Click ‘Apply’ when you are happy with the size and rotation.
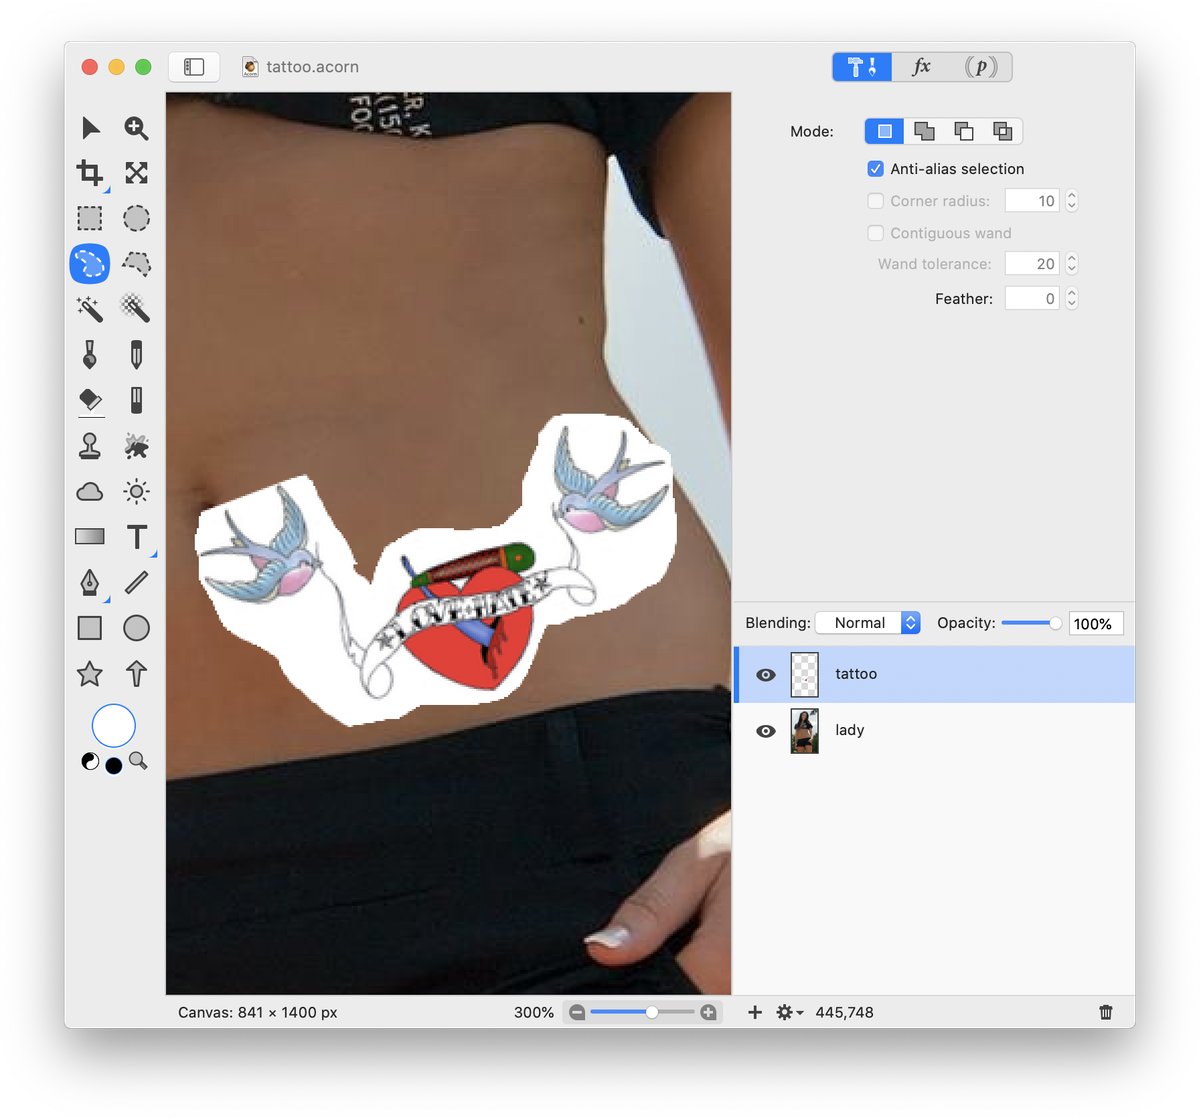
Choose the free select or polygonal selection tool from the tools palette, and roughly outline the areas of the tattoo that you want to keep. Go to Select ▸ Inverse. Click 'delete' then deselect (⌘D). This will remove the unwanted areas of the tattoo.
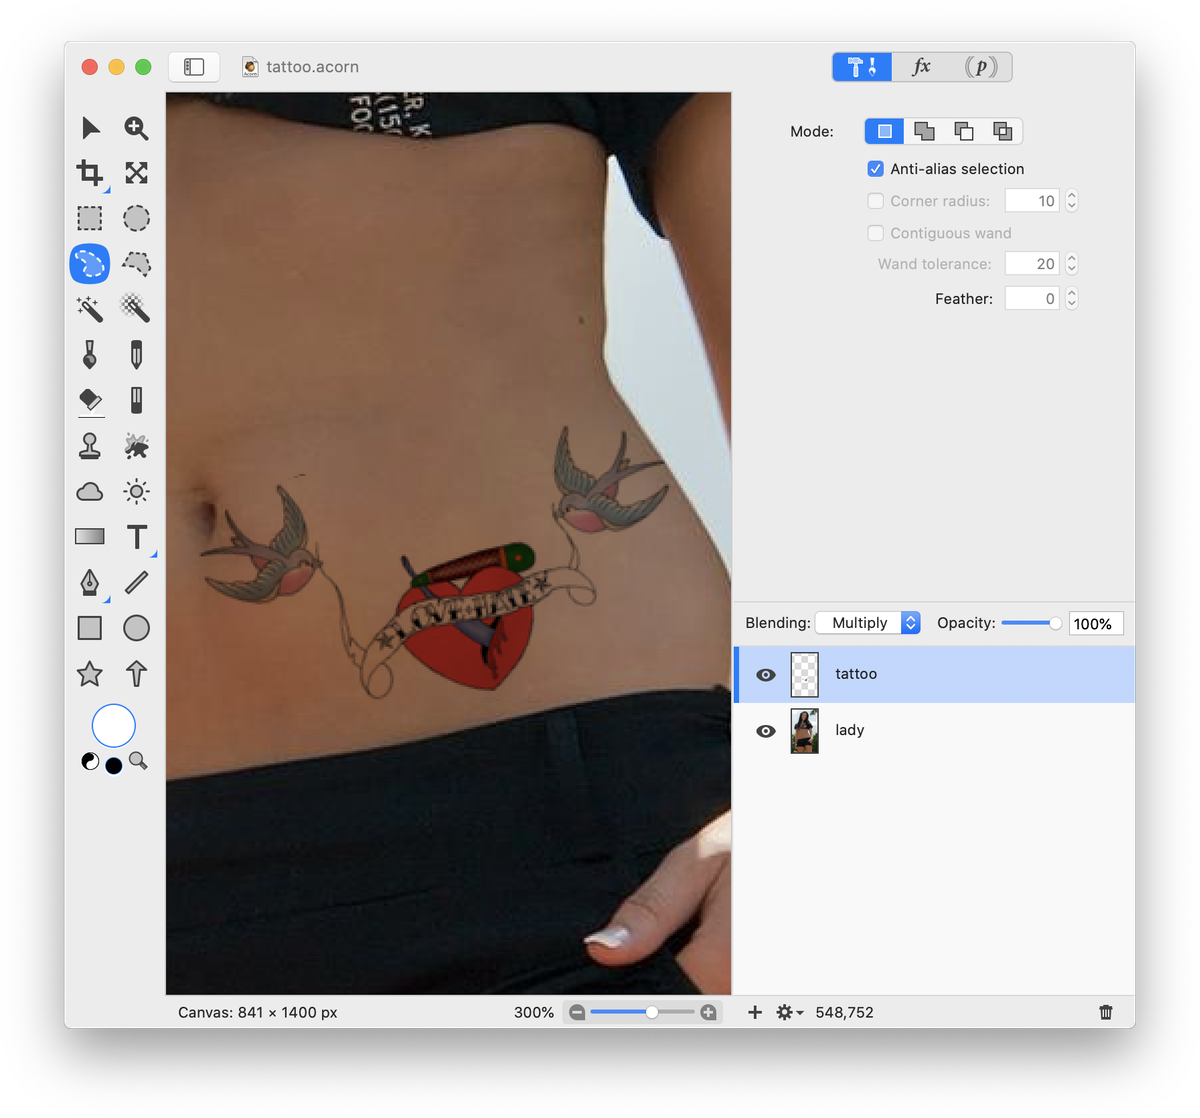
Change the blending mode of the tattoo layer to 'Multiply'. This will remove all of the white in the tattoo, making it appear as though the tattoo is on skin. If the tattoo you are using has a different background besides white, you may need to use a different blending mode. Or, you may need to follow a different technique outlined in 'How to Remove a Background'.
If you want the tattoo to appear to be wrapping around the waist or an arm, you will need to use the eraser tool to remove part of the tattoo that is off the body. Also, play around with Layer ▸ Rotate and Transform ▸ Perspective Transform.
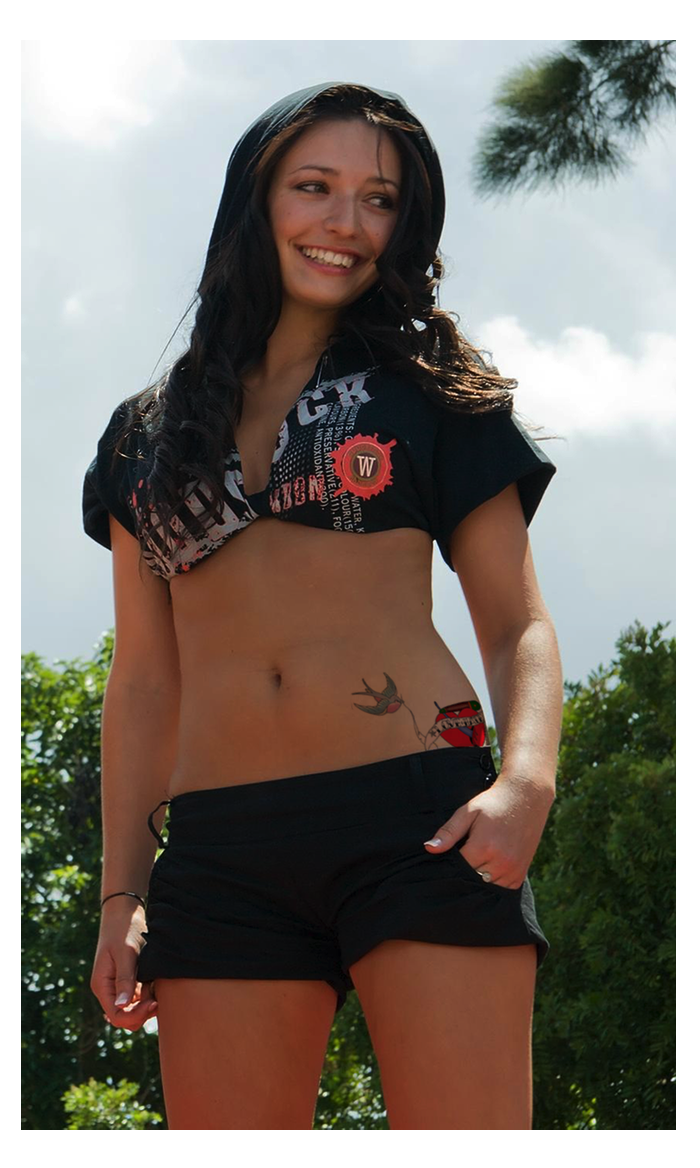
Photo Credits
Girl © wonderferret; Tattoo © Blondas