Scrapbooking
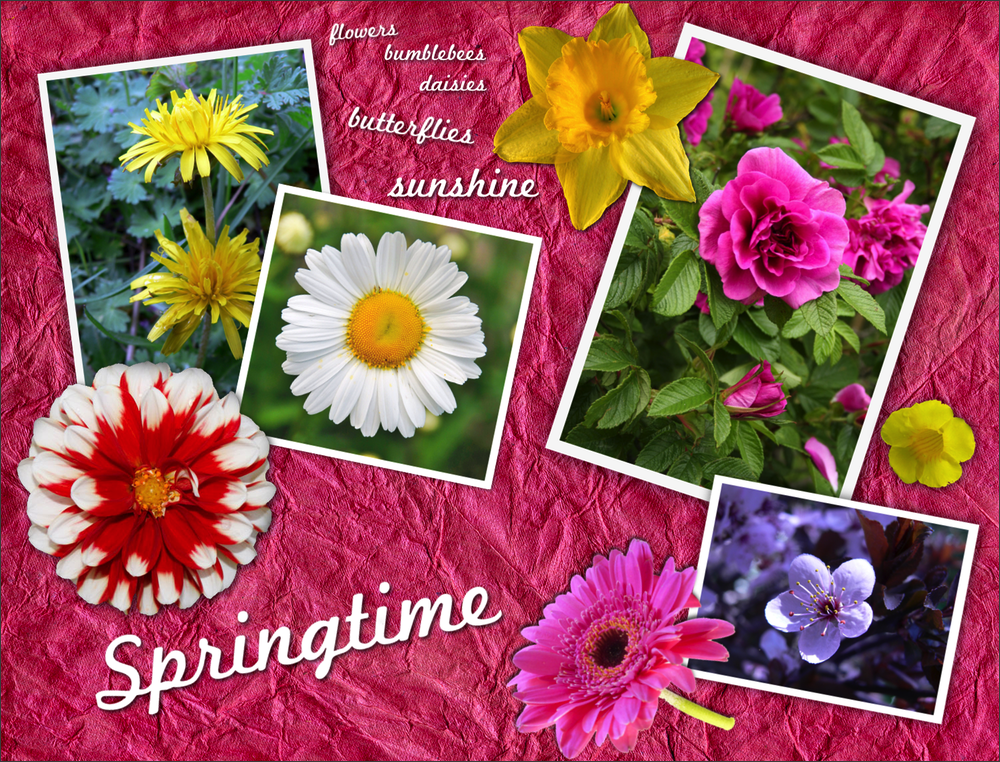
This tutorial will guide you on how to make a photo collage that has the appearance of a scrapbook page. To begin, the images to be included in the scrapbook need to be made to look like physical photos by adding a white border and a drop shadow.
Start by opening your image in Acorn, File ▸ Open.
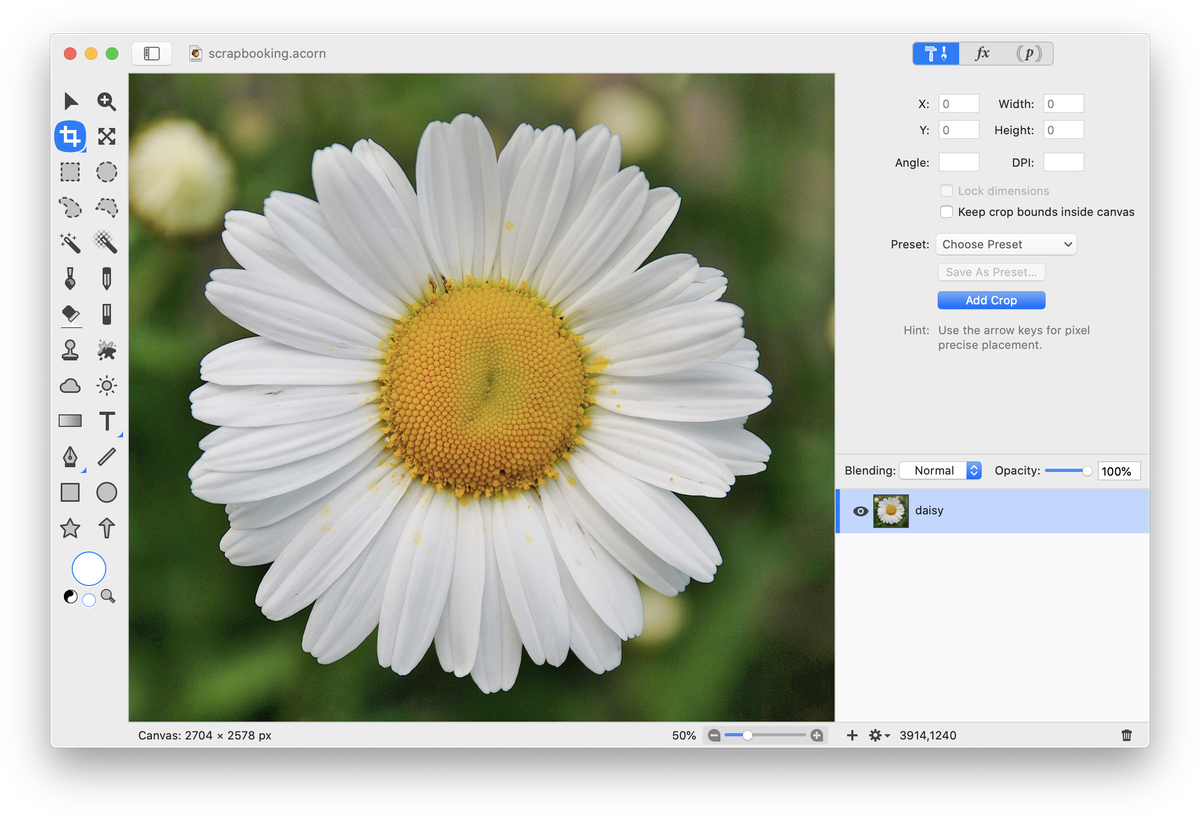
Go to Layer ▸ Rotate and Transform ▸ Scale and Rotate Layer or ⌘⇧T. Scale the image down so you have enough room to add the border and drop shadow. Double-click to commit your transformation.
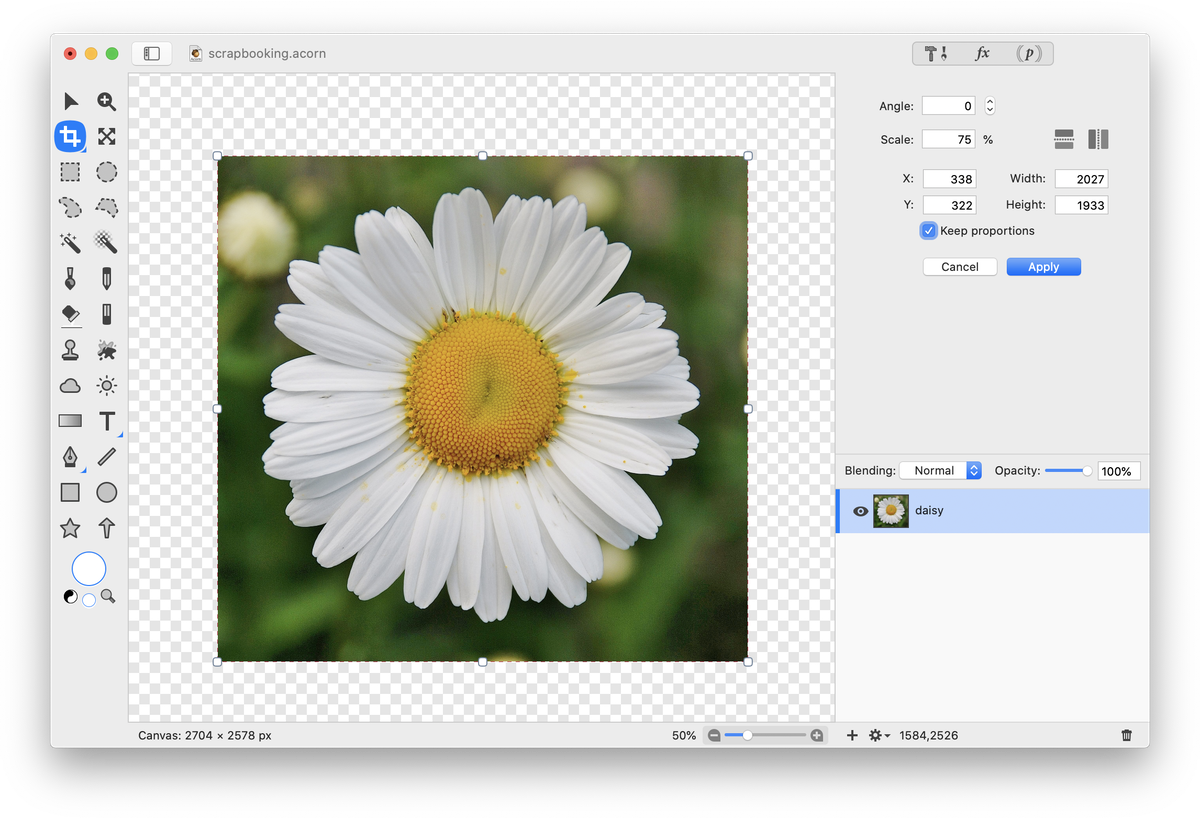
Go to Select ▸ Make Selection from Layer. Then choose Layer ▸ New Layer with Selection. Now select Edit ▸ Fill. Choose 'Use: Custom’. Click on the color box and the colors palette will appear. Choose the color you want the border around your photo to be. Click 'OK' when you are done.
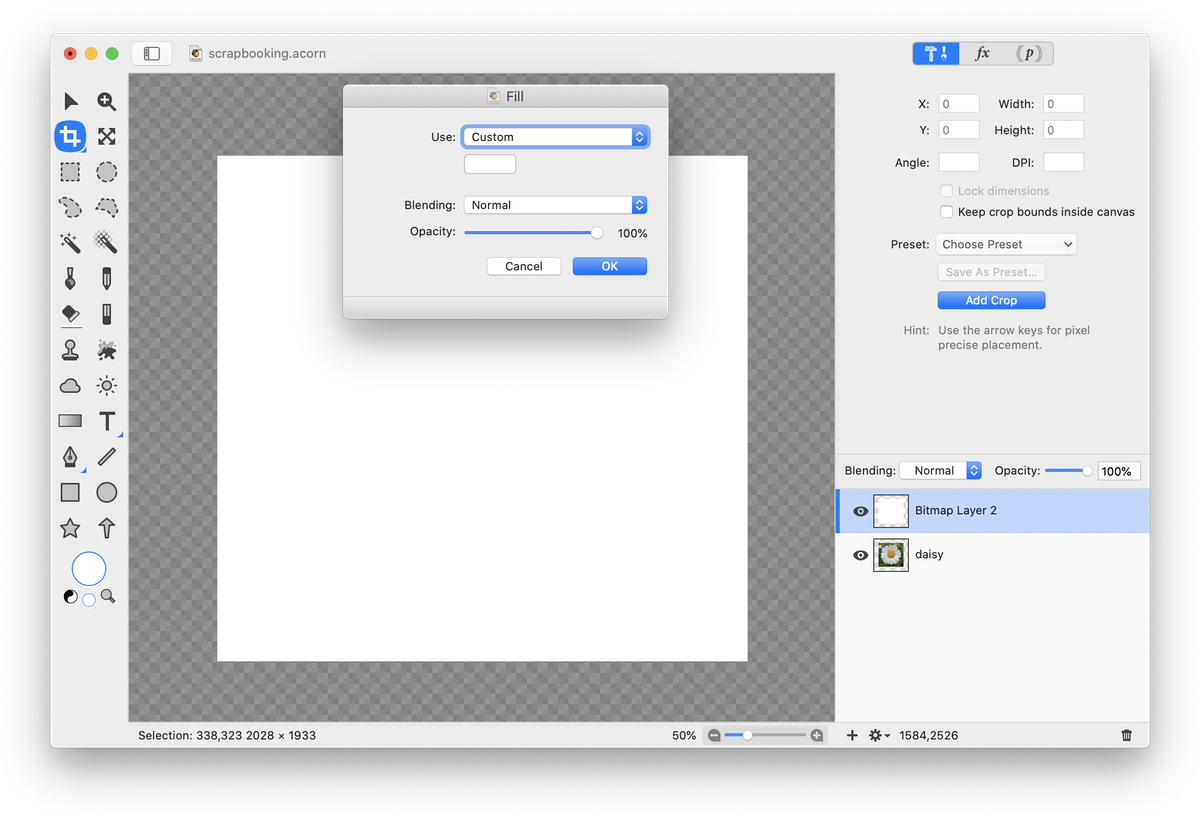
Deselect by using keyboard shortcut ⌘D. Move the layer you just created down below the photo in the layers list. Choose Layer ▸ Rotate and Transform ▸ Scale and Rotate (⇧⌘T). Increase the scale of the layer until it gives your photo the border thickness you desire. 106% is the scale used in this example. Double click to commit the transformation.
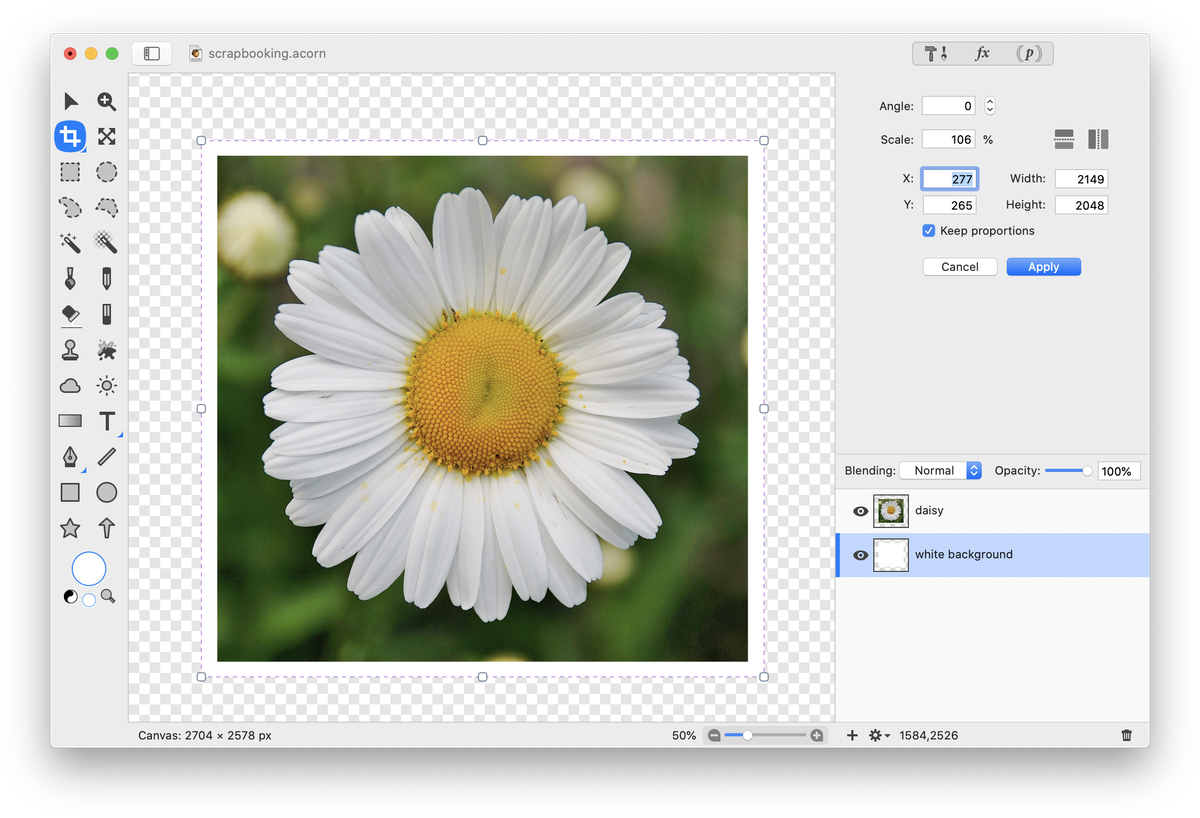
Click on your top layer to select it and merge it down, Layer ▸ Merge Down (⌘E). Add a drop shadow to make the photo stand out from the background. Go to Filter ▸ Stylize ▸ Drop Shadow.
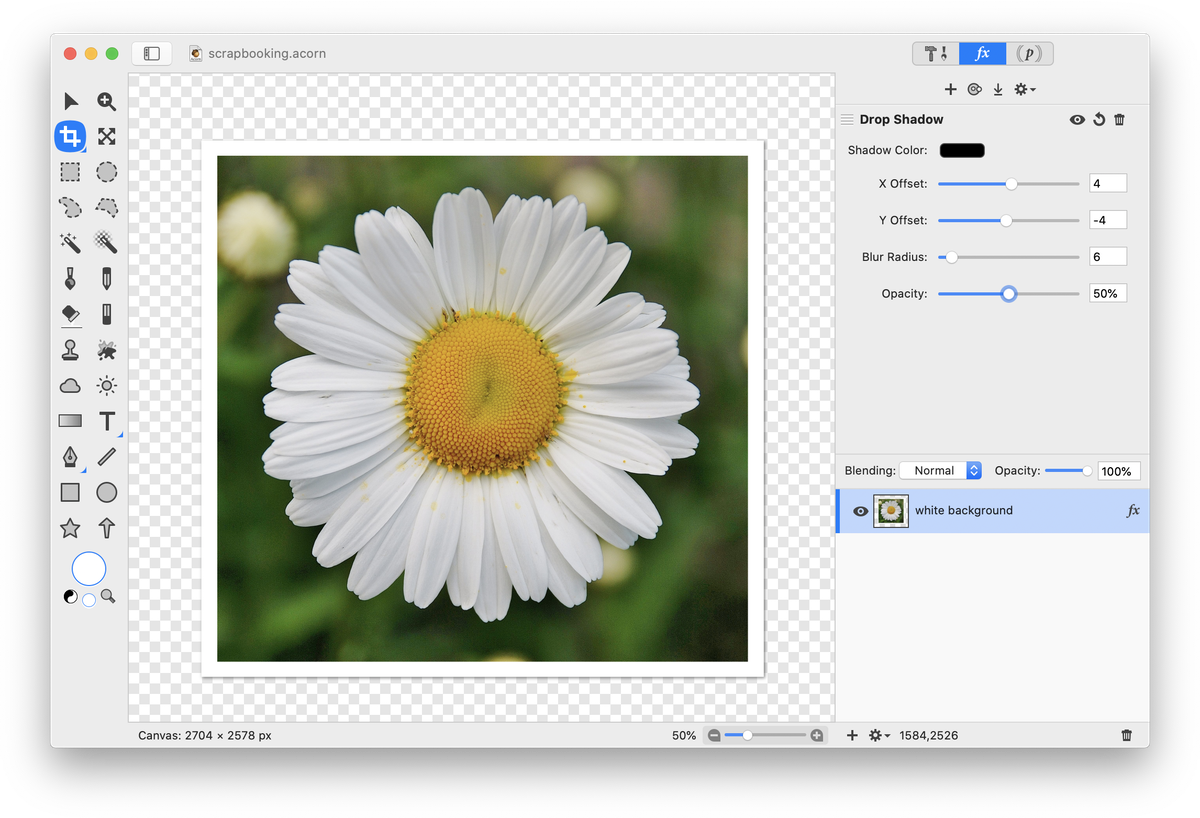
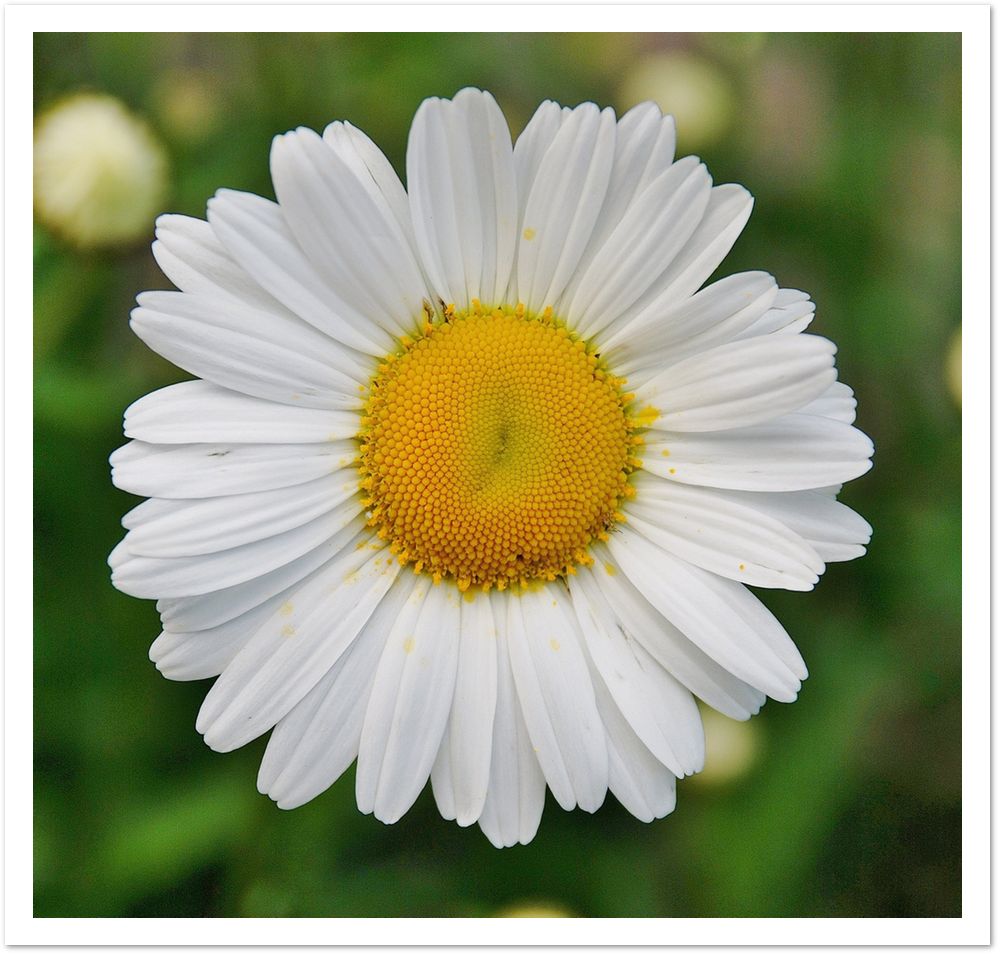
Crop the image around the drop shadow, Image ▸ Trim to Edges. Save the image. Remember to choose "Save As" and name it something different than the original, otherwise you will lose your original image. Repeat the above steps for the rest of the images you wish to include on your scrapbook page.
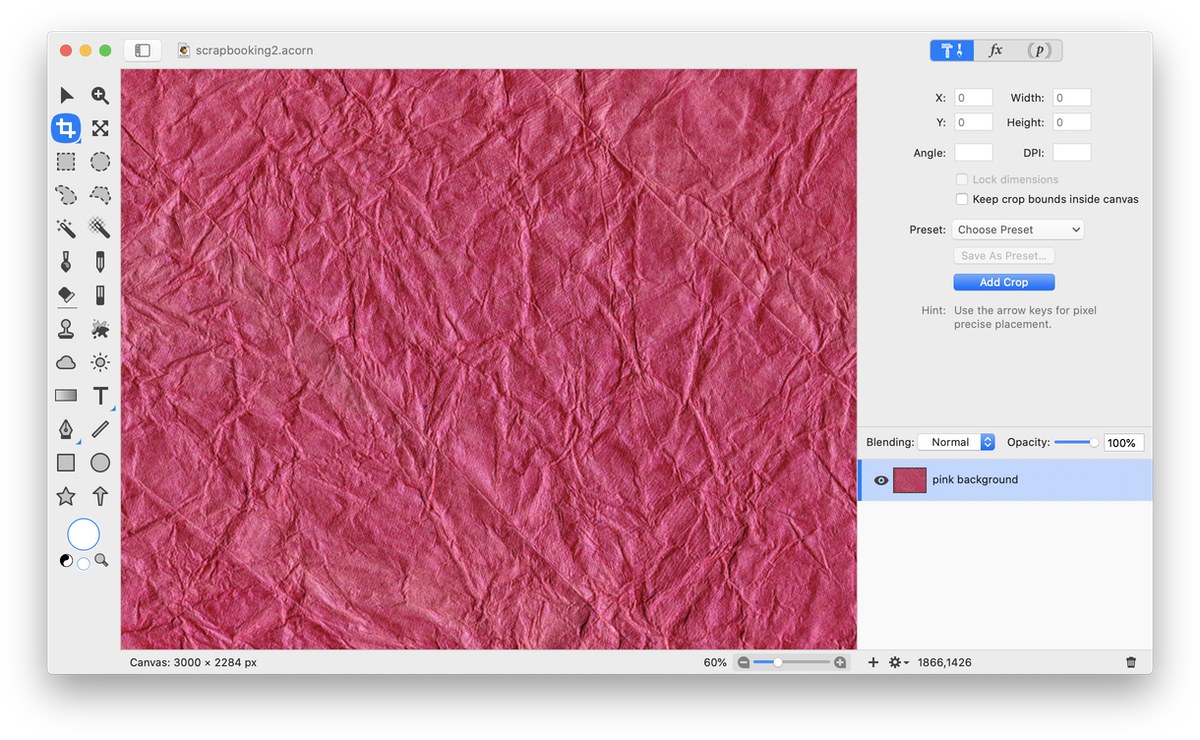
For your scrapbook page background you can choose a texture, a flood fill, gradient, or choose to leave it transparent. This texture is from https://www.textures.com which offers a lot of free textures. Open your texture in Acorn, File ▸ Open.
Bring in your white bordered images, File ▸ Add Images... or drag and drop the files into the canvas. To reposition a layer in the canvas, select the move tool in the tools palette and click and drag on the image. To resize and rotate choose Layer ▸ Rotate and Transform ▸ Scale and Rotate (⌘⇧T).
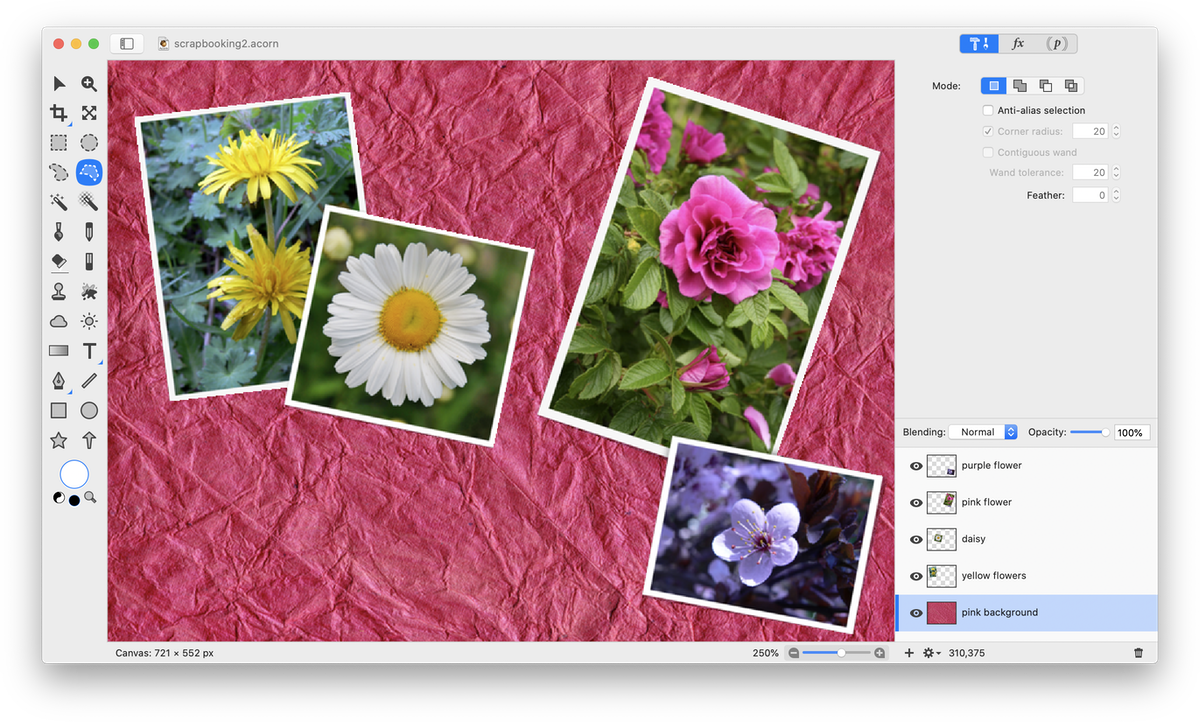
Cut out images from their backgrounds (read up on how to remove a background), apply drop shadows to them and place them around your image to give more depth.
Add text to your image. Rotate and add drop shadows to your text to really make it stand out. You can read more about how to do this in fonts and text palettes.
See Also: Photo Collage, Adding Images & Resizing Layers