Create the Batman Logo
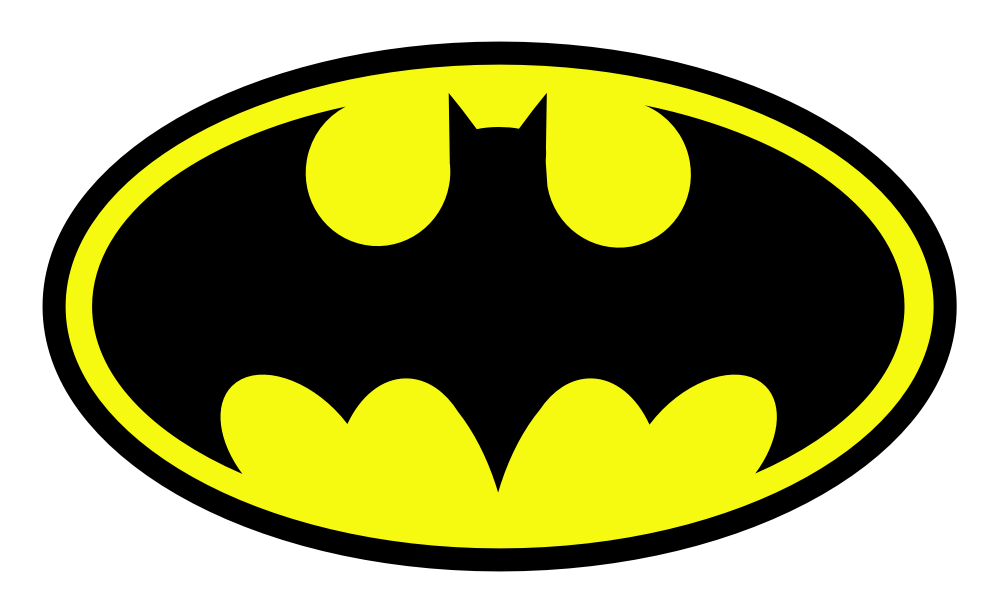
This tutorial will outline how you can create the batman logo using shape operations in Acorn. The colors used for the fill of the shapes as you follow along with the tutorial does not matter, as you can easily change the shape color in the final steps.
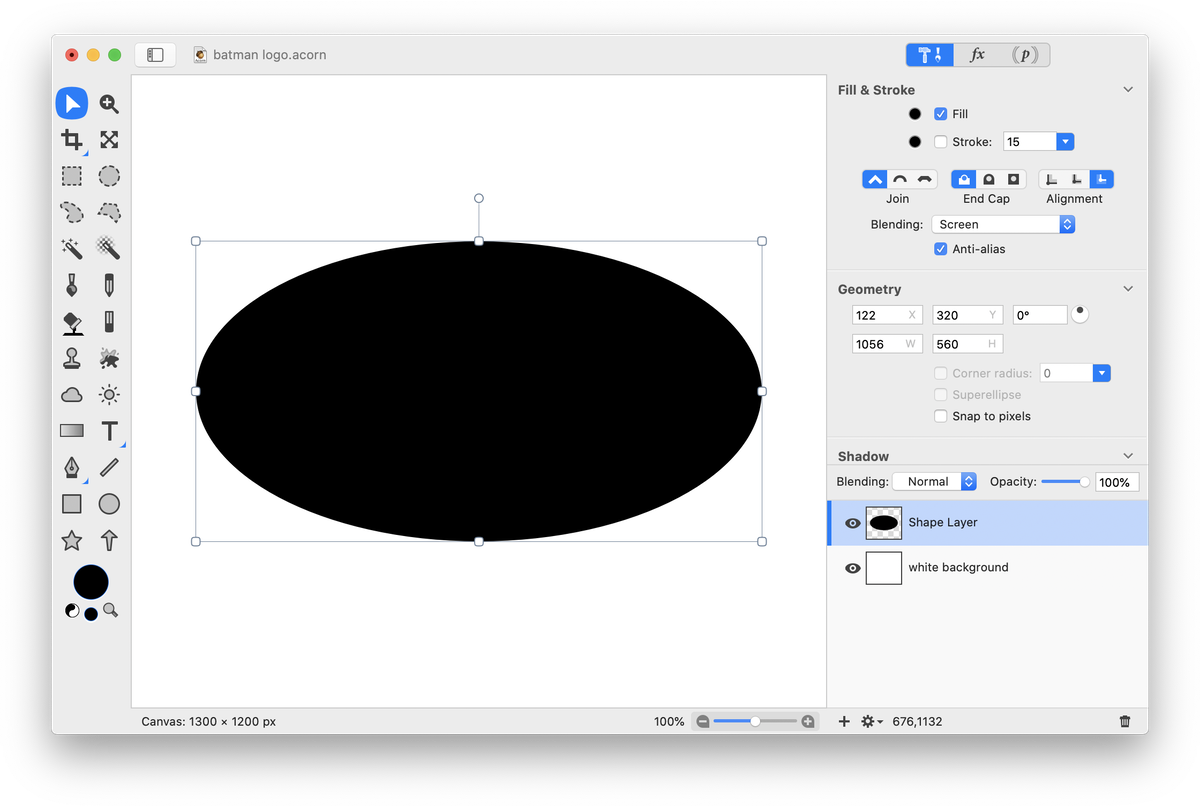
To start, go to File ▸ New and enter the dimensions of 1300 x 1200 pixels with a white background. Choose the elliptical shape tool and draw out an oval with a fill but no stroke. With the oval selected, change the dimensions to 1056 x 560 in the inspector palette. Go to View ▸ Guides and Grids and make sure Snap To Canvas is checked. Center the oval in your canvas using the move tool.
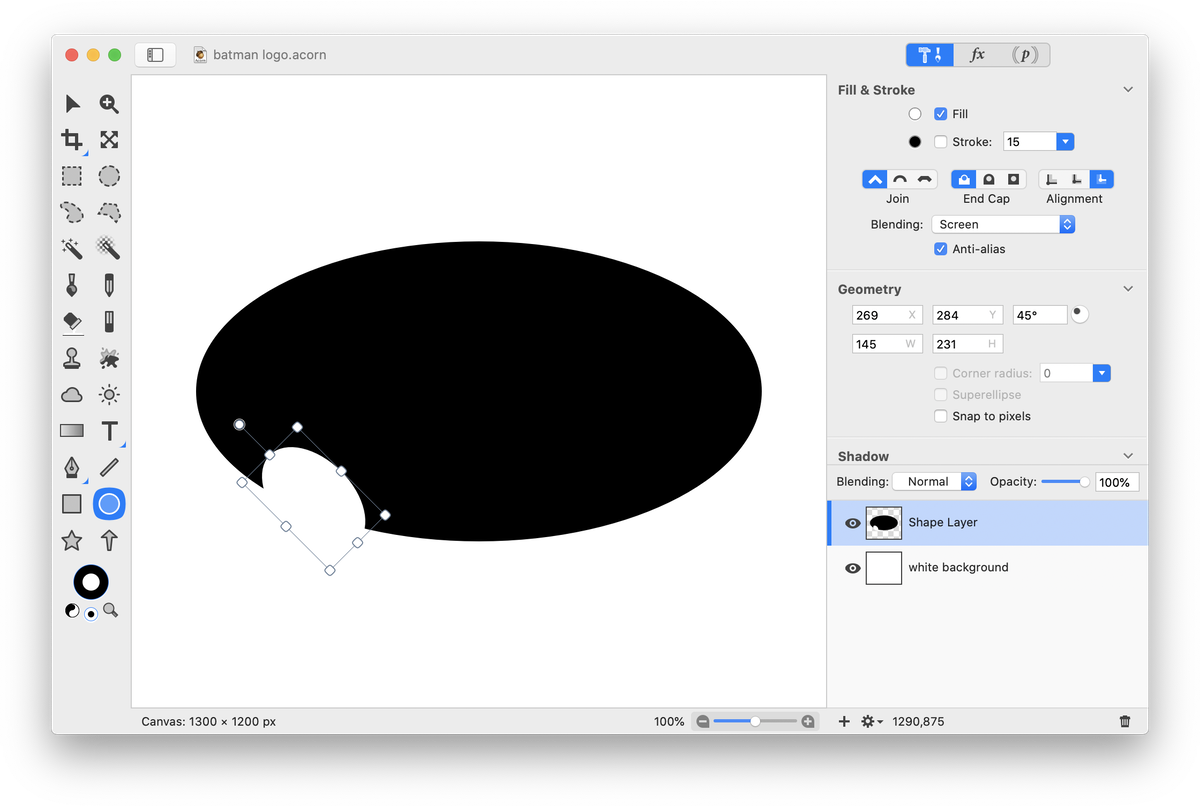
Draw out another oval with a fill but no stroke. It will be helpful for lining things up if this oval is a different color than the first oval. Change the dimensions of the oval in the inspector palette to 145 x 231 pixels and the angle to 45 degrees.
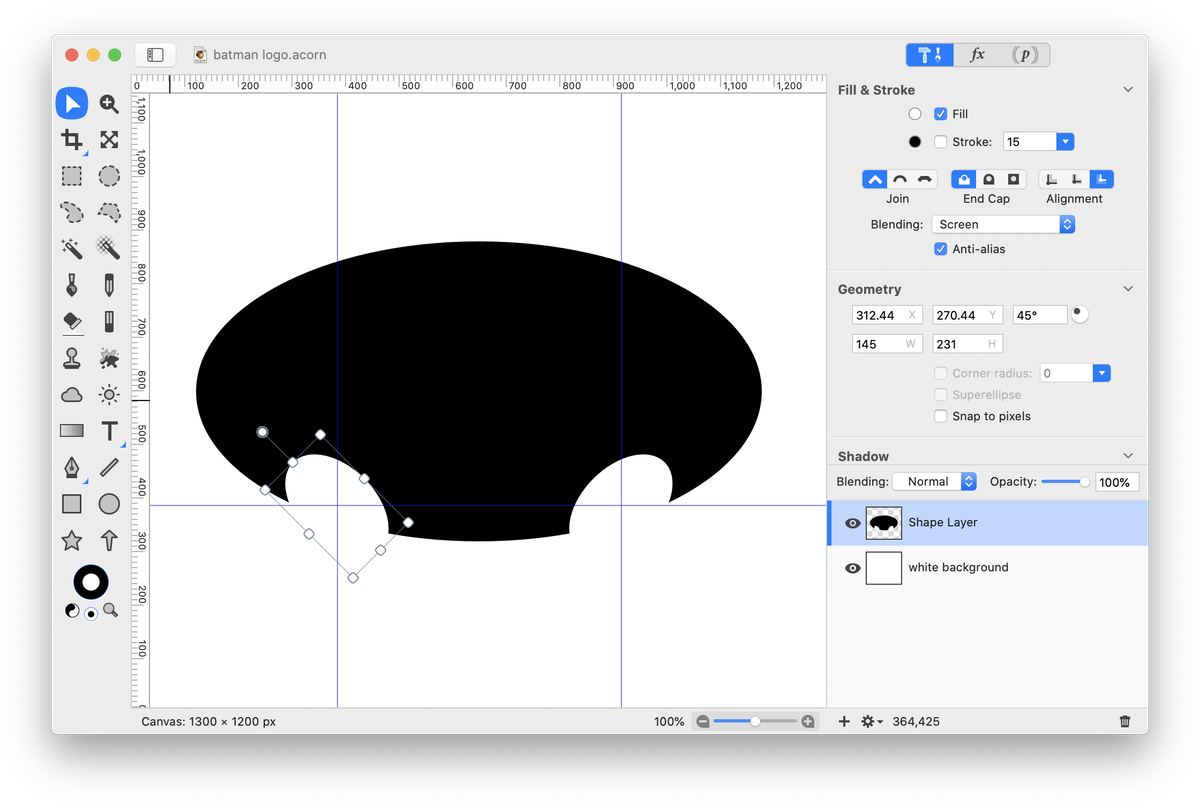
Duplicate the shape you just created, Shape ▸ Duplicate Shape. Change the angle of the duplicated shape to -45 degrees in the inspector palette. Add a ruler to your canvas View ▸ Show Rulers. Drag on the ruler with the move tool to create a guide (for more information on this, read 'Rulers and Guides'). Place a horizontal guide at 386 pixels and vertical guides at 385 and 915 pixels. The canvas origin here is set to the top left. You can modify this in the preferences. Using the move tool, position your ovals so they are centered within the guides.
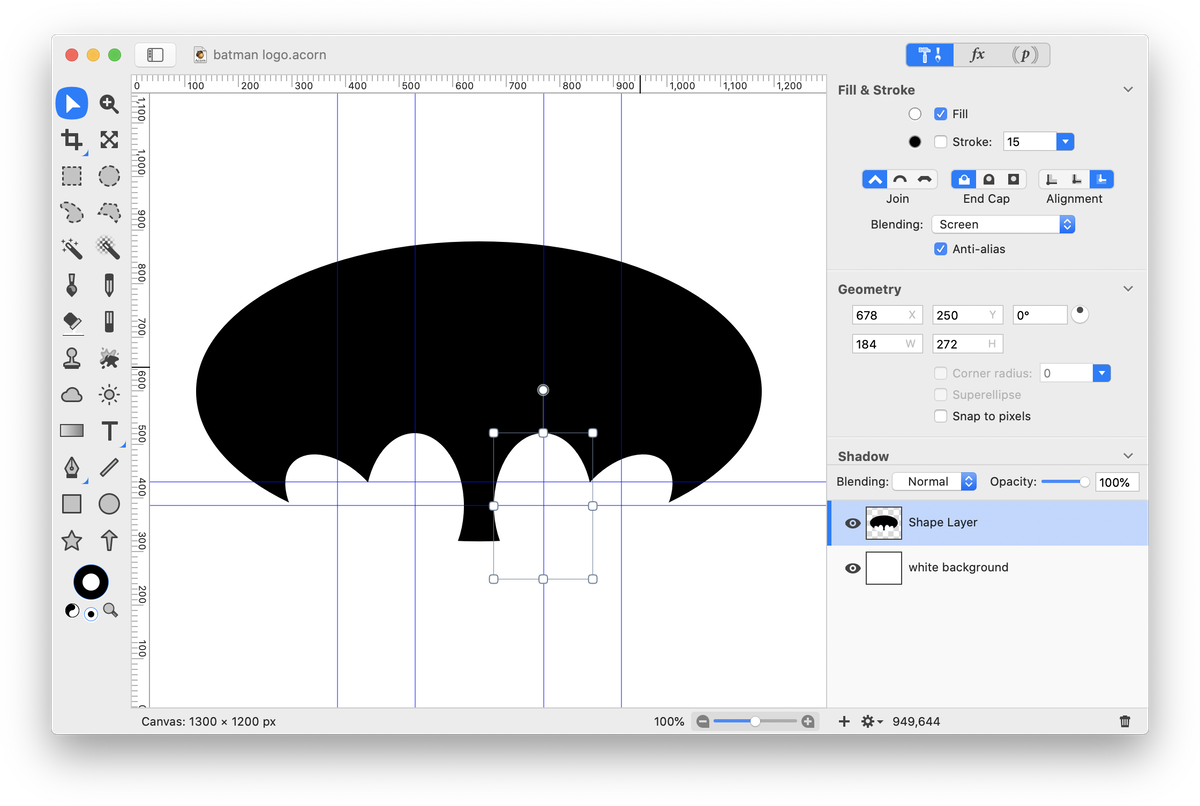
Create another oval. Change the dimensions to 184 x 272 pixels in the inspector palette. Duplicate your oval and then create a horizontal guide at 430 pixels and vertical guides at 530 and 770 pixels. Center the 2 ovals you just created within these guides.
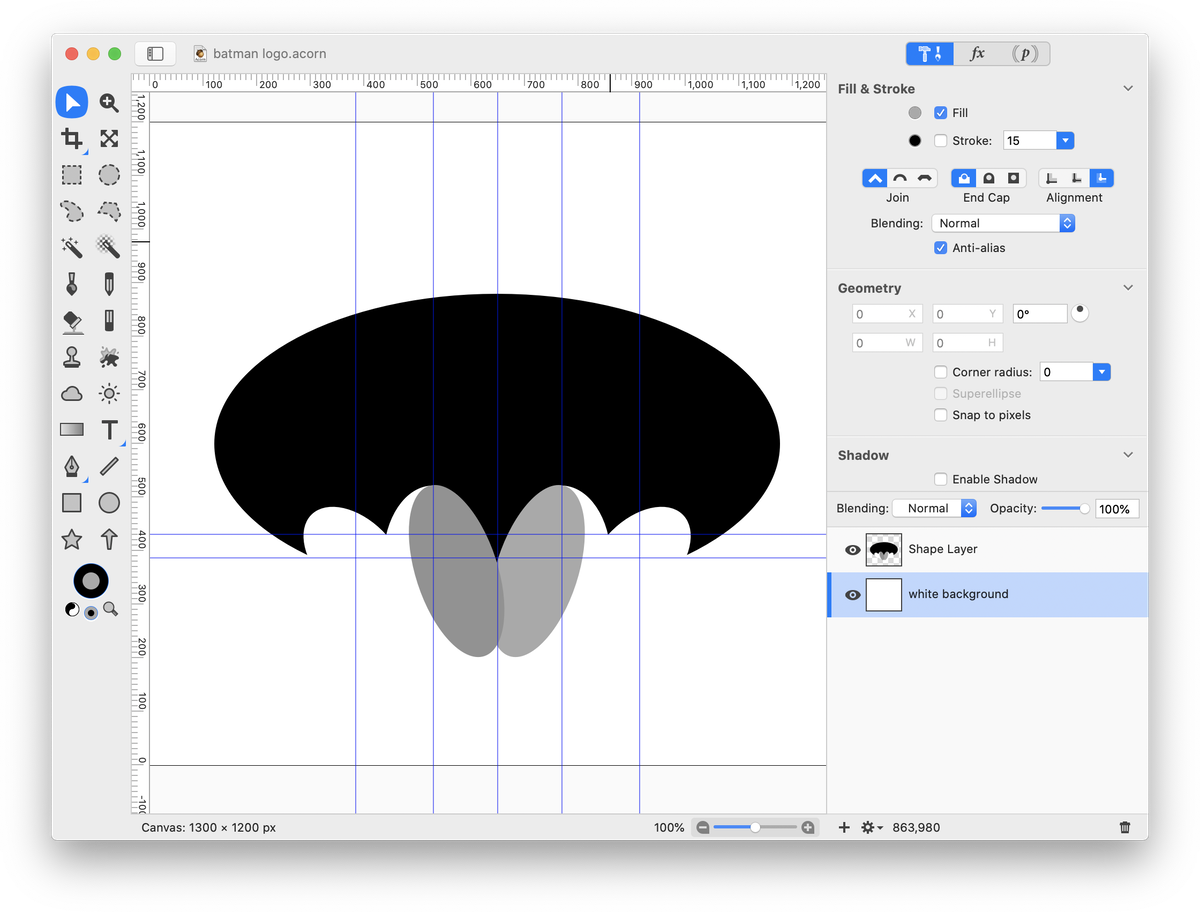
Create another oval and change the dimensions to 153 x 334 pixels with an angle of 18 degrees. Duplicate your oval and change the rotation to -18 degrees. Create a vertical guide at 650 pixels to define the center of your image and position the 2 ovals you just created so they create a point at the center guide (grey color added to ovals below to show their positions).
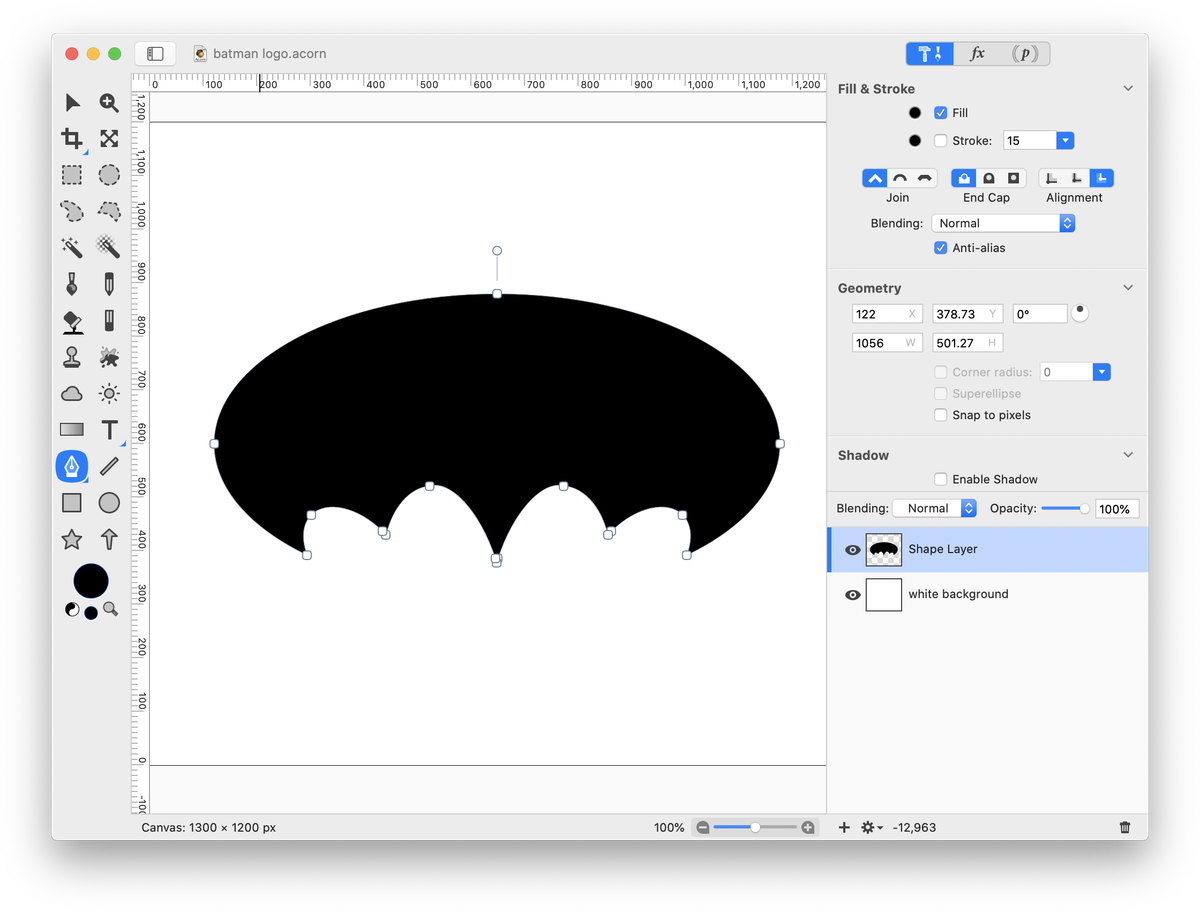
Select all your shapes, Select ▸ Select All. Choose Shape ▸ Difference Paths. This subtracts the small ovals from the large oval. Choose View ▸ Guides ▸ Clear Guides.
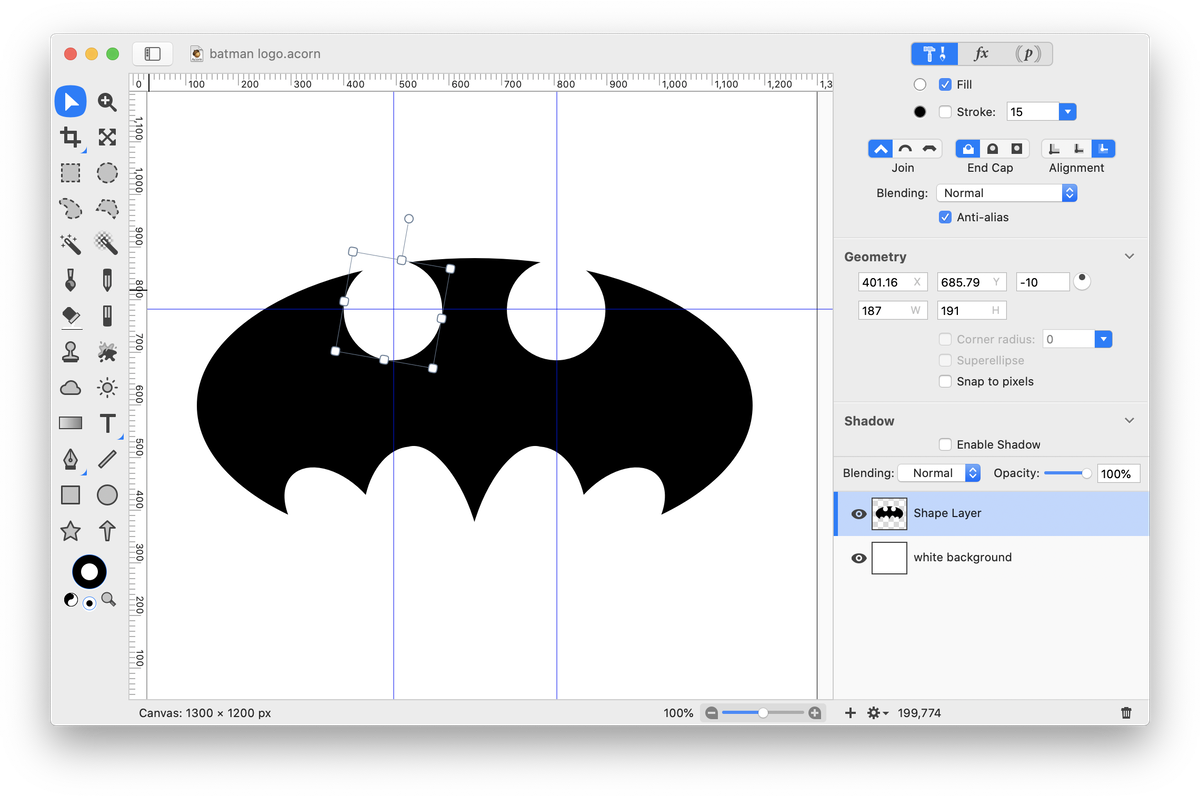
Now it's time to work on the top of the bat. Again, choose the elliptical shape tool and draw out an oval. Change the dimensions to 187 x 191 and set the angle to -10 in the inspector palette. Duplicate the oval, Shape ▸ Duplicate Shape and change the angle to 10 degrees. Drag out a horizontal guide and place it at 782 pixels. Place vertical guides at 495 and 805 pixels. Center your ovals within these guides.
Add a guide that lines up with the uppermost point of the bat shape. Choose the rectangle shape tool in the tools palette. Draw out a rectangle that is centered between all the guides currently present but goes slightly beyond the borders of the vertical guides.
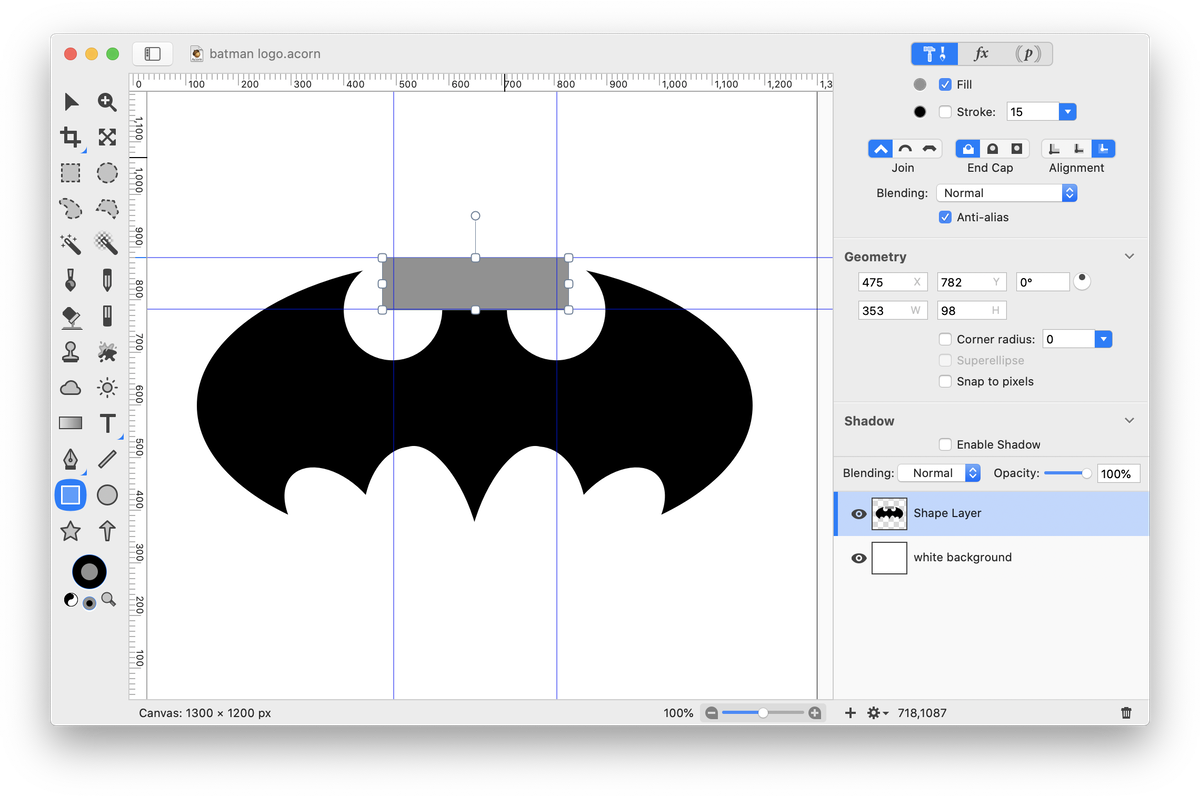
Select all your shapes, Select ▸ Select All. Choose Shape ▸ Difference Paths to subtract the ovals and rectangle you created from the main batman shape.
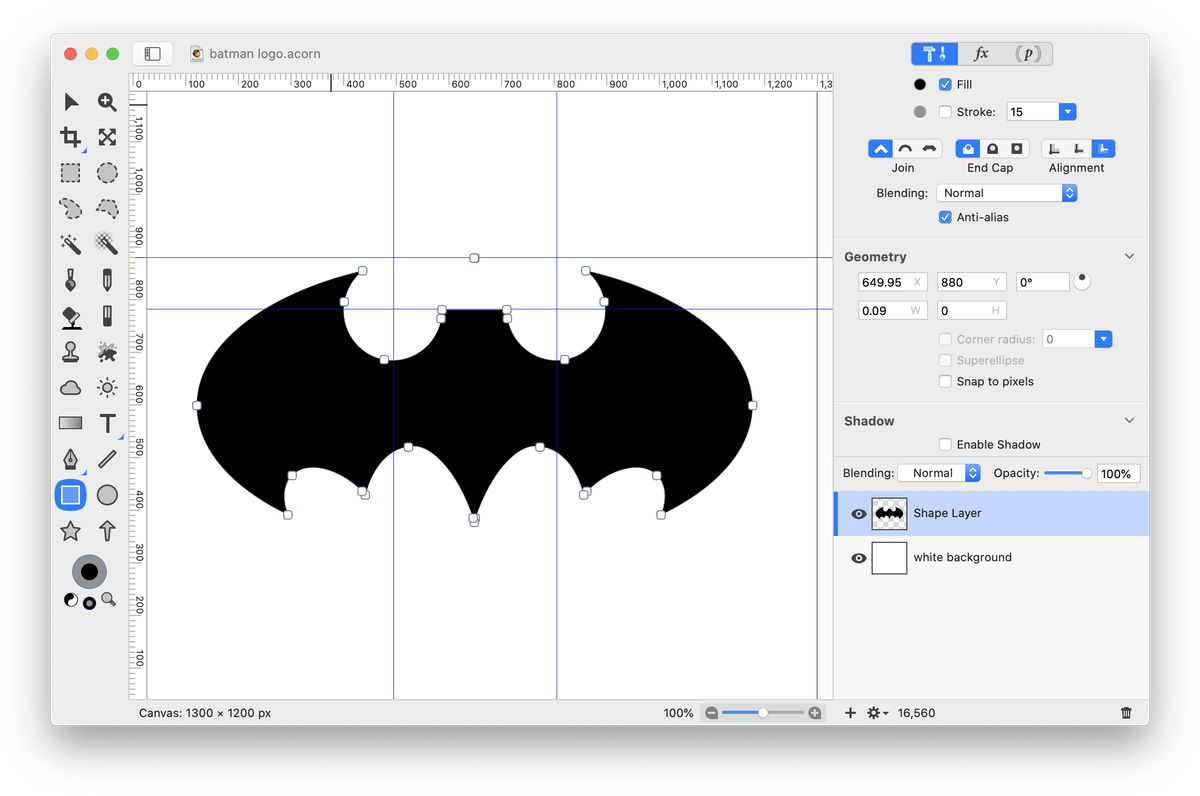
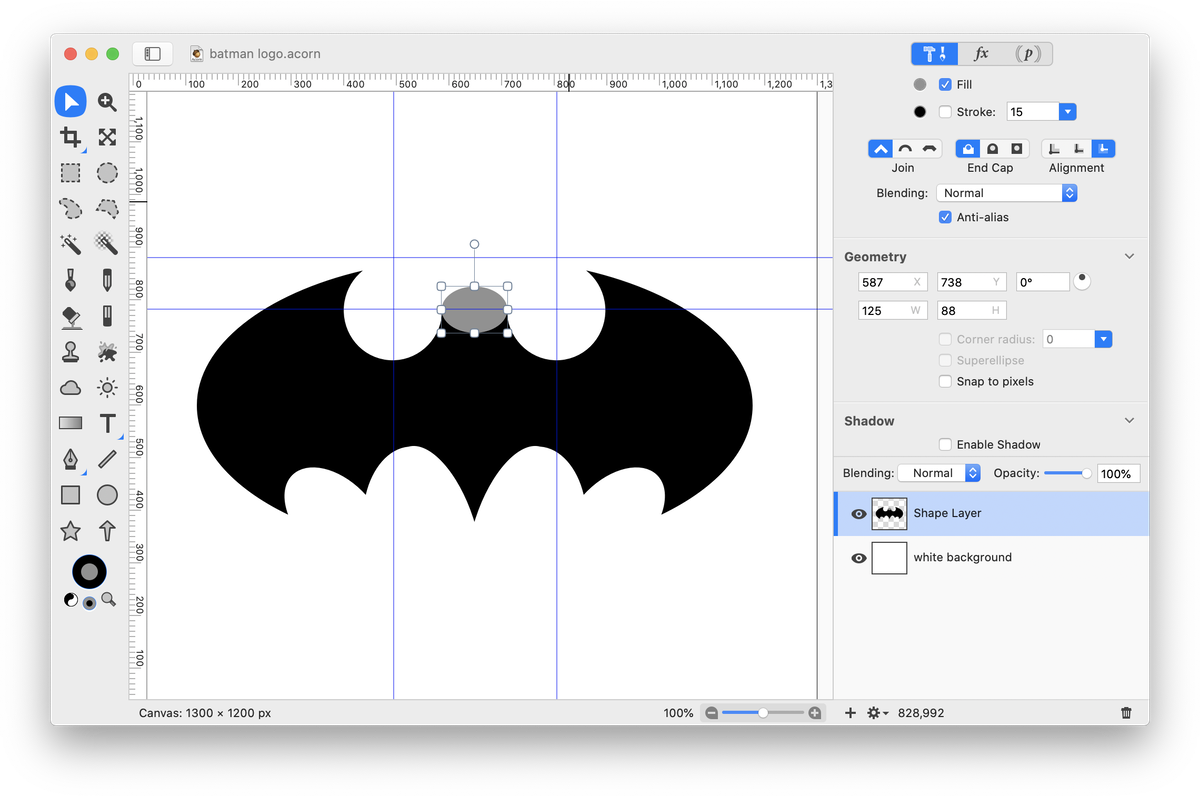
To create the bat head and ears, choose the elliptical shape tool and draw out a circle that barely sticks out from the lower portion of the bat head region.
Create a triangle using the star shape tool (for more information on this read 'Stars'). Go to Shape ▸ Convert to Bezier Shape. Position and resize the triangle using the move tool to create a bat ear. Make sure the tip of the triangle touches the guide you created at the top of the bat shape. Duplicate the triangle and position it to create the second bat ear.
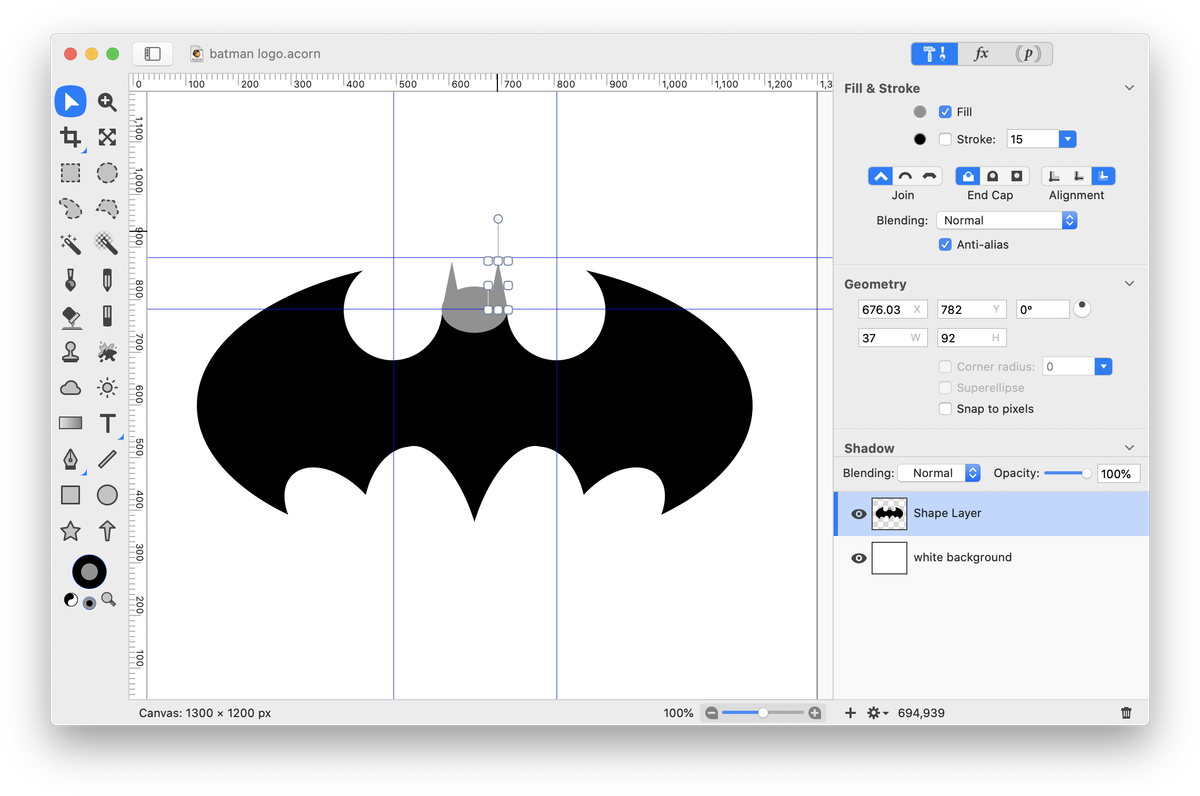
Select all your shapes, Select ▸ Select All. Choose Shape ▸ Union Paths to add the oval and triangles you created to the main batman shape. Go to View ▸ Guides ▸ Clear Guides.
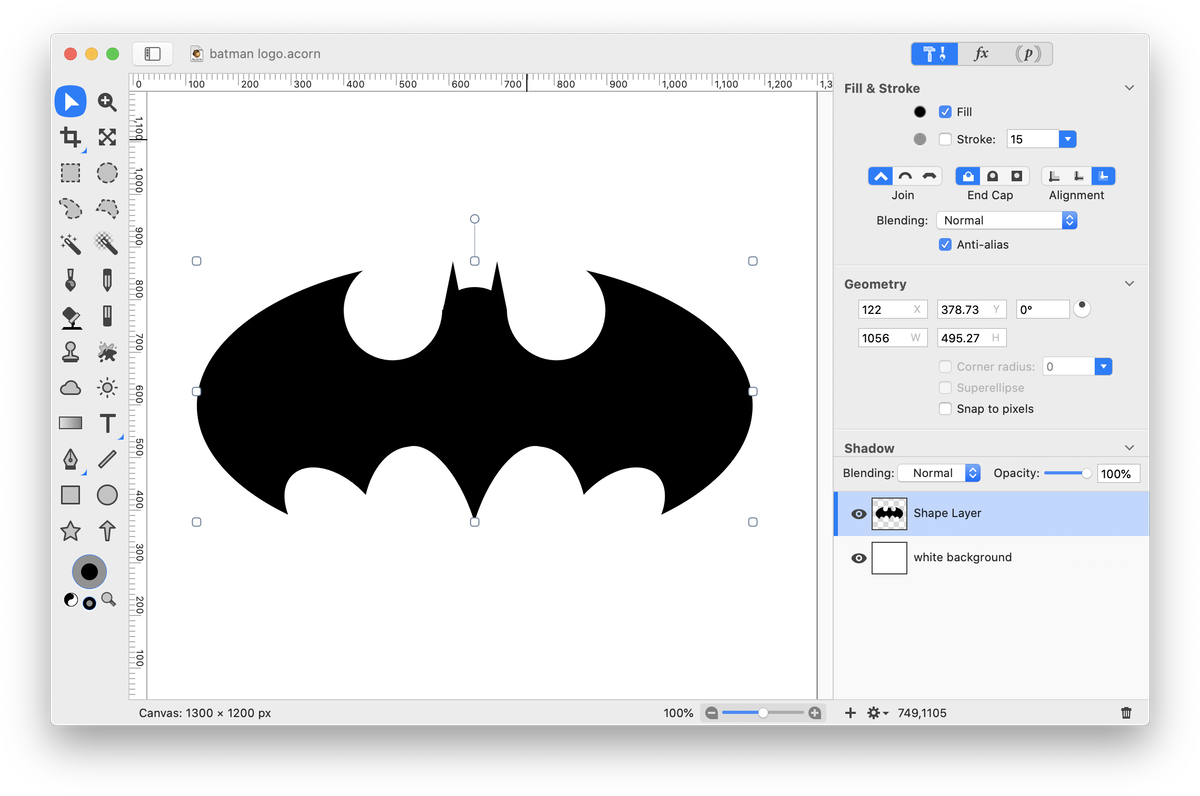
It's time to add the final oval shape. Chose Layer ▸ New Shape Layer. Click on the elliptical shape tool and draw out an oval. Check the stroke box in the inspector palette and set it to a stroke of 30. Set the dimensions of the oval to 1158 x 658 and center the shape in the canvas. Choose black as the color in the stroke color well and a bright yellow in the fill color well. Move this layer below the bat shape layer, but above the white background.
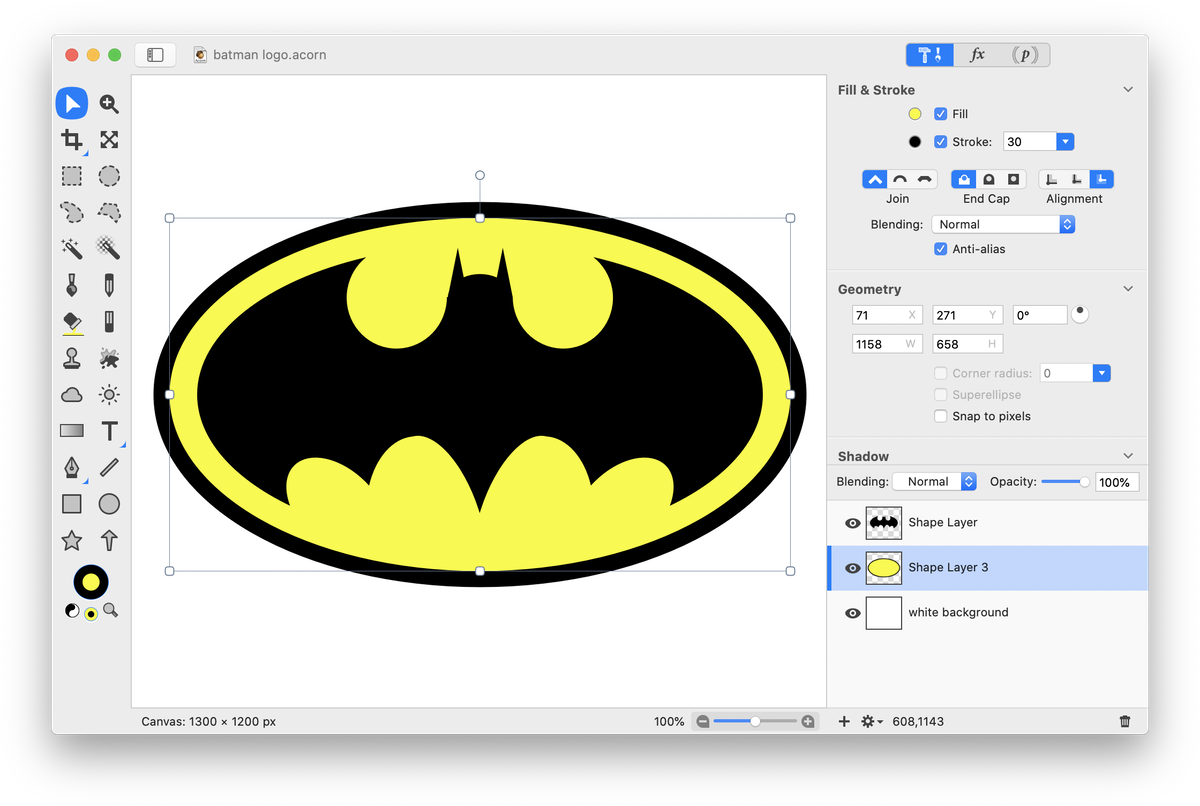
And you're done!
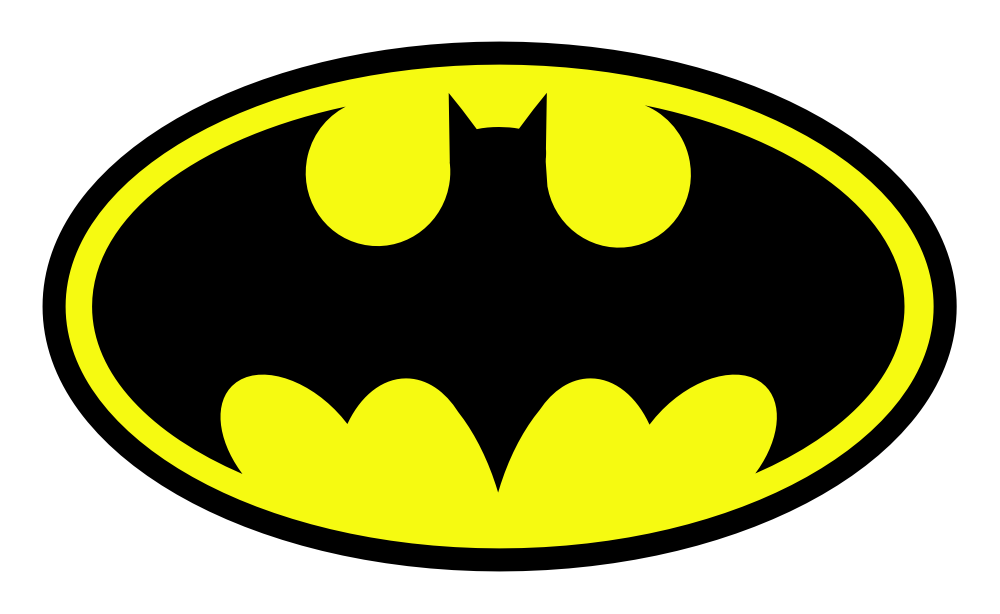
Download the finished image: batman_tutorial.acorn