Mounting Corners
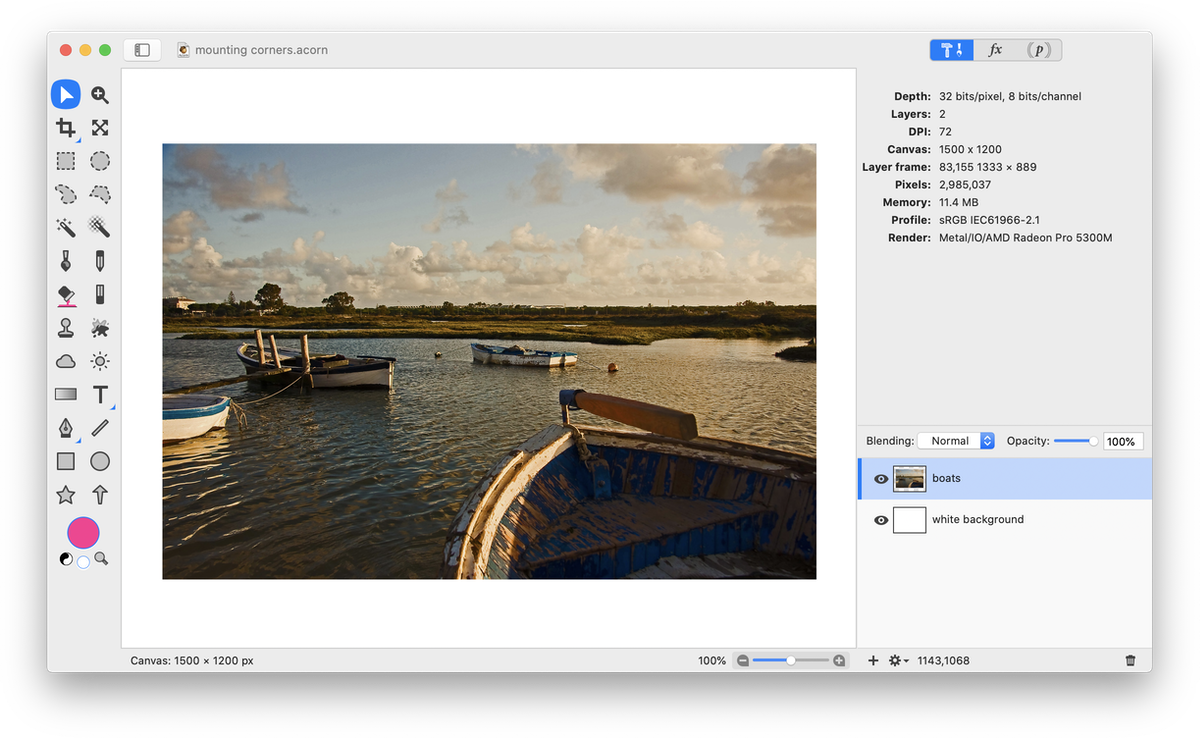
Placing mounting corners at your image edges is a fun way to to make a digital image really pop. Create a new image in Acorn, File ▸ New. The dimensions used here are 1500 x 1200 pixels with a white background. Use File ▸ Add Images...to bring in your main image. Choose Layer ▸ Rotate and Transform ▸ Scale and Rotate and scale the image down so you can see the white background around all the edges.
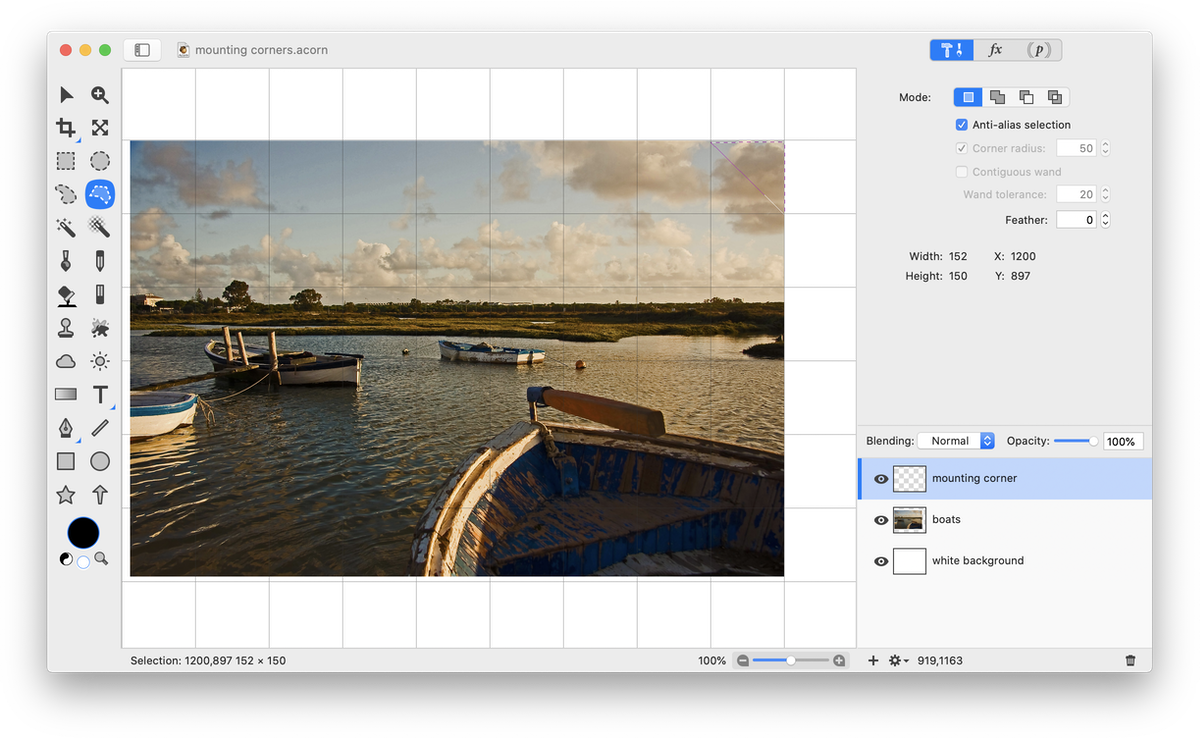
Create a new layer, Layer ▸ New Layer (⌘N). Using the polygonal selection tool, make a triangular shaped selection in one corner of your image (read up on making selections). In the example below the selection is shown in the upper right hand corner. Make the triangle the appropriate size for a mounting corner. It is helpful to have a grid (View ▸ Show Grid) or ruler (View ▸ Show Ruler) present to make your triangle sides of equal lengths.
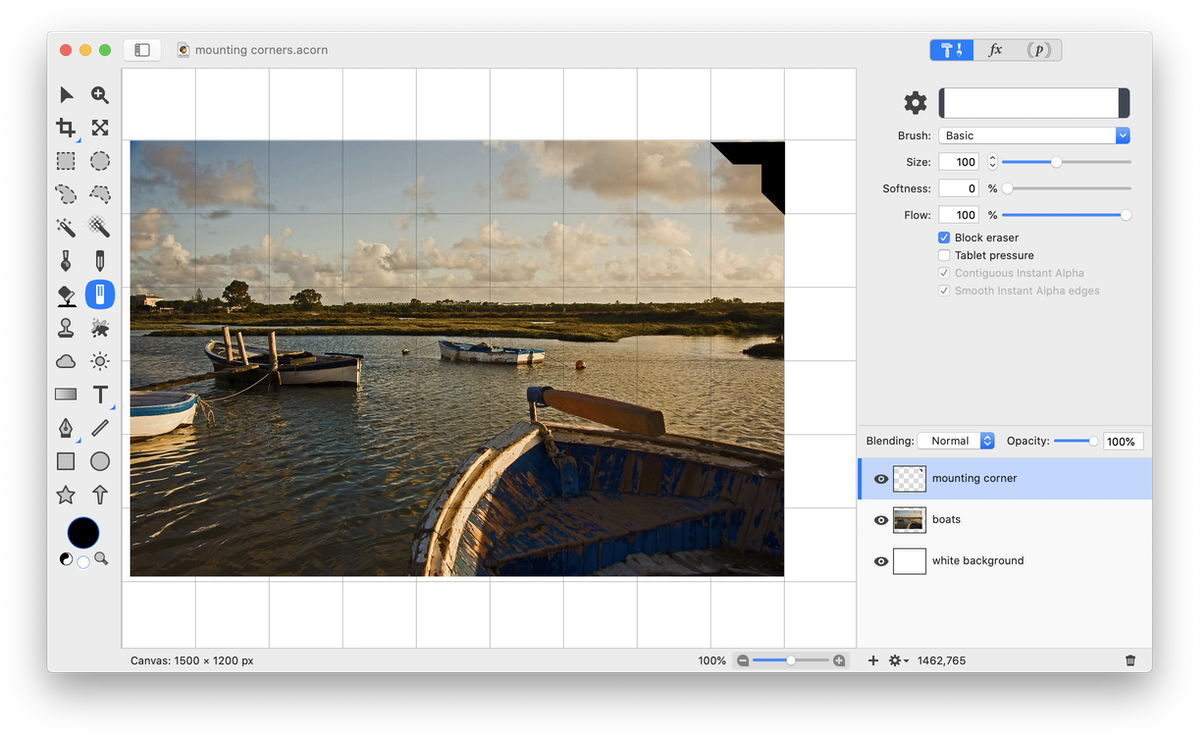
Fill the selection with a solid color using the flood fill tool. Deselect (⌘D). Select the eraser tool in the tools palette. Make sure the "block erase" box is checked with flow at 100% and softness at 0%. Adjust the size of the eraser to achieve your desired look. Again, having a grid present will help you line things up exactly. Click with the eraser to take a triangular chunk out of the center of your mounting corner.
Go to Filter ▸ Stylize ▸ Bevel. Adjust the bevel amount to around 2.
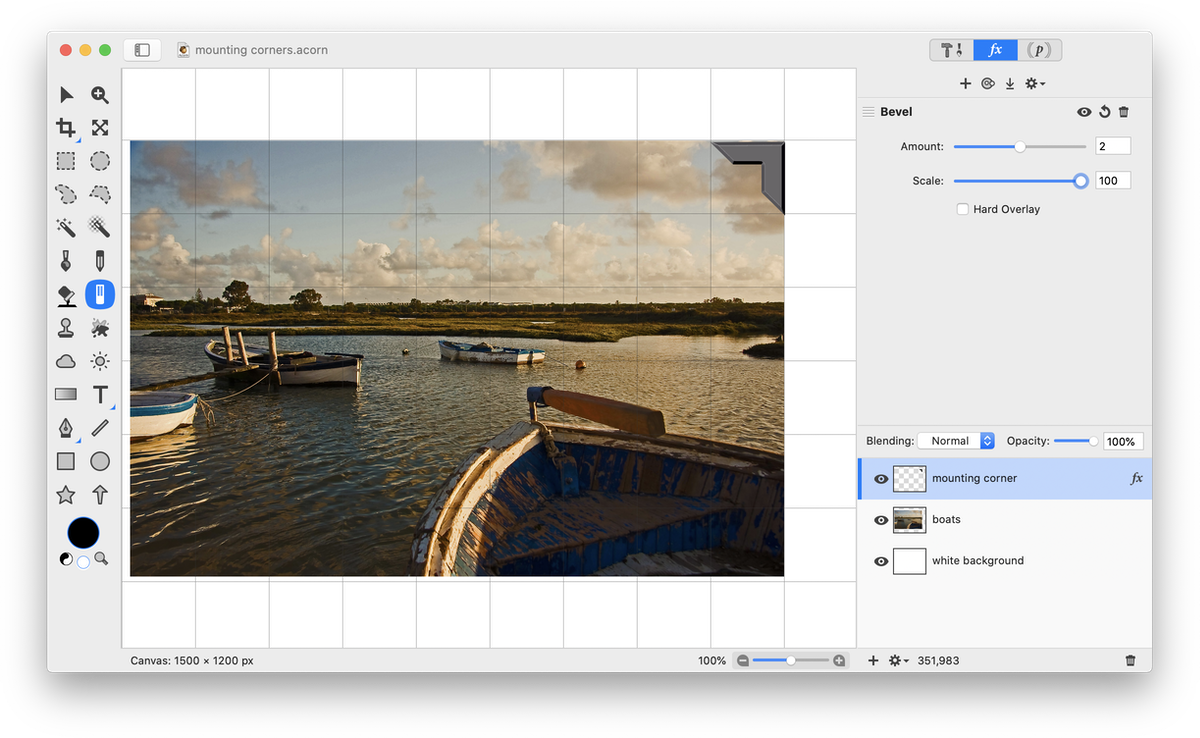
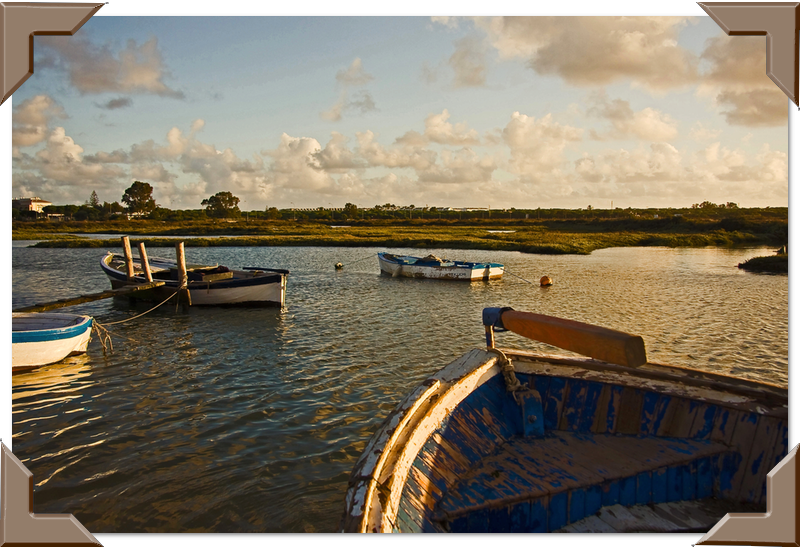
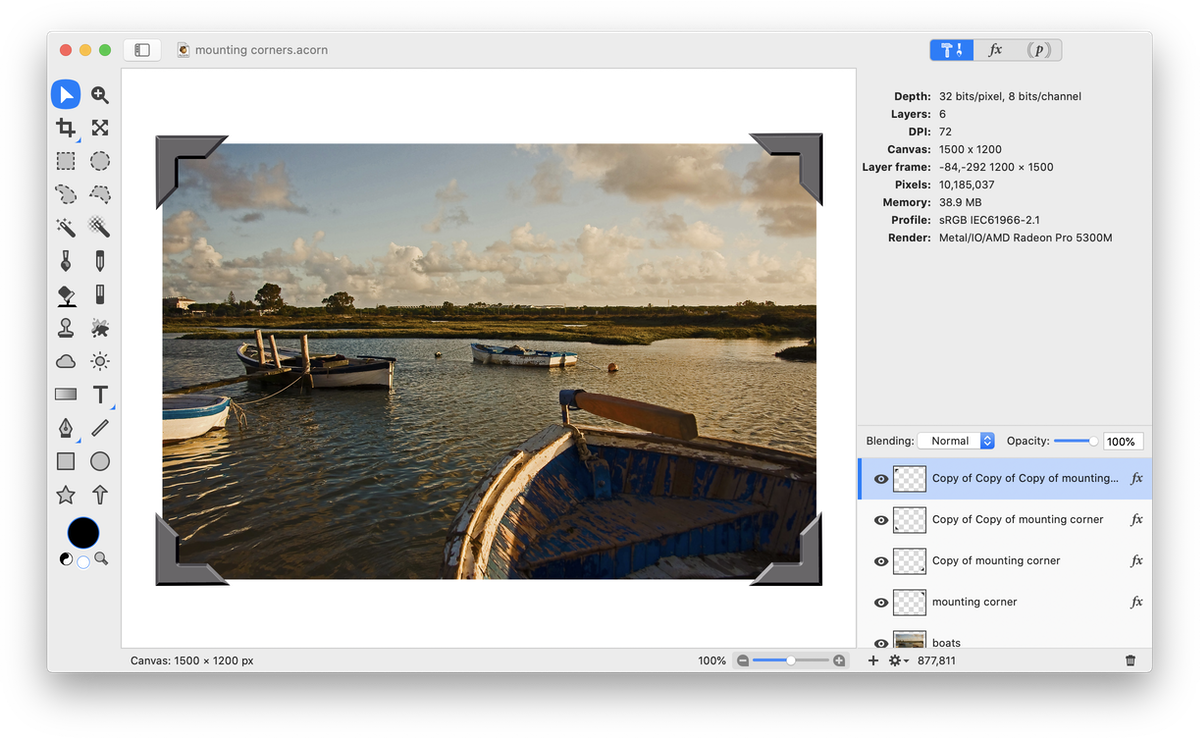
Duplicate your corner layer three times Layer ▸ Duplicate Layer (⇧⌘D). Rotate each duplicated layer so each one faces a different direction, Layer ▸ Rotate and Transform ▸ Rotate Layer. Move each corner layer to its corresponding corner using the move tool and adjust the mounting corners so they are each slightly off the main image. If you like things exact, make sure View ▸ Guides and Grids ▸ Snap to Layers is checked.
Similar to the 'frame your image' tutorial, you can play around with different colors, textures, and styles of corners.
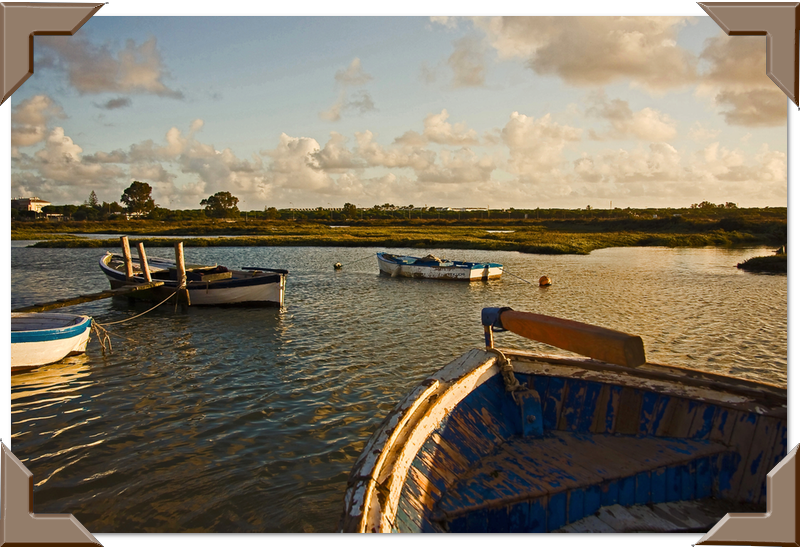
Photo Credit