Layer Mask Examples
Layer Mask Example Using Magic Wand
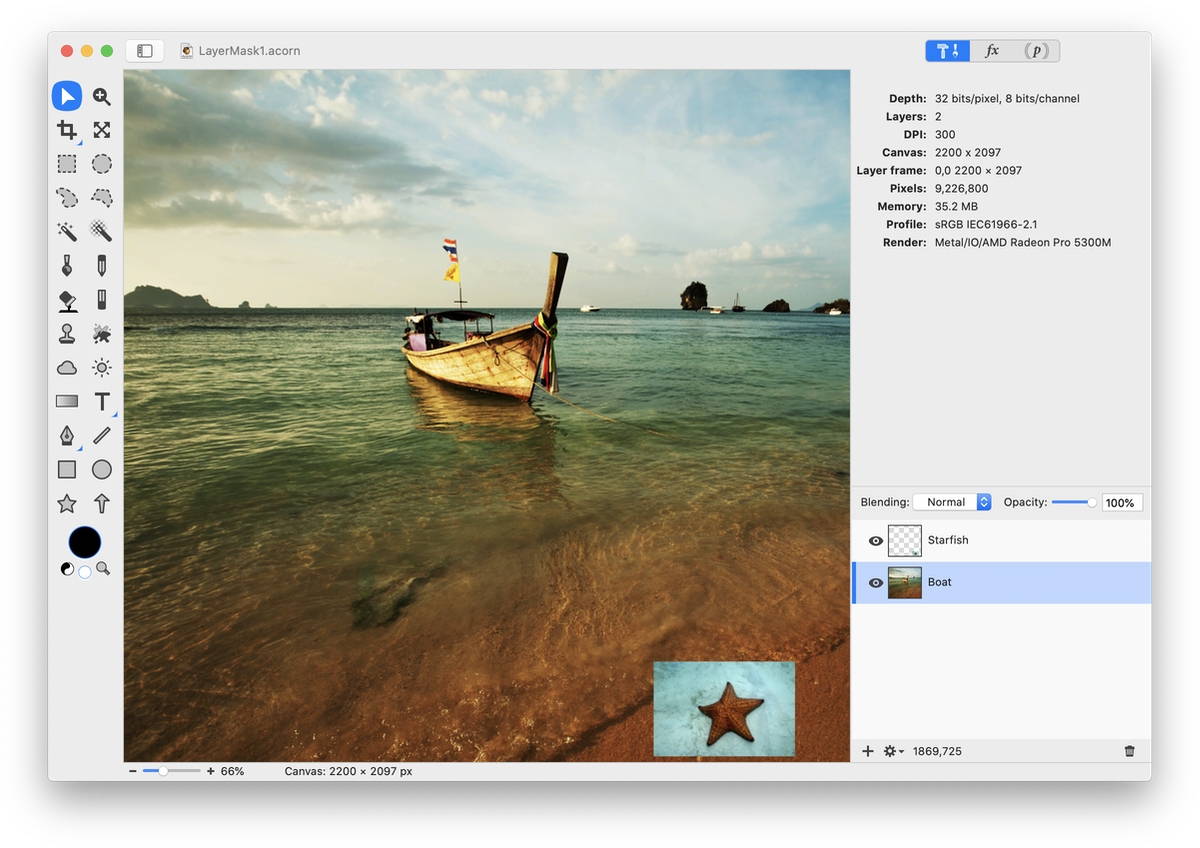
To start, add an image of a starfish and an image with some boats to Acorn in separate layers. The layer with the starfish needs to be above the layer with the boats.
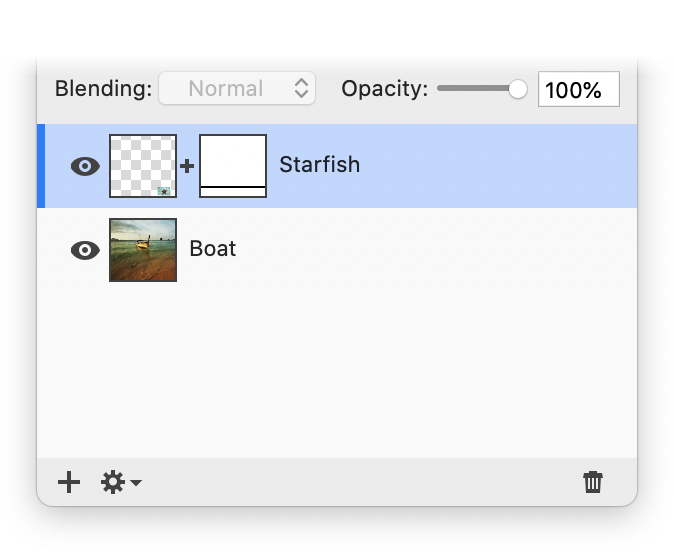
On the starfish layer, add a layer mask by clicking on the cogwheel towards the bottom left hand side of the palette and selecting "add layer mask". The layers list should now look like this:
Click on the layer mask to begin working on it. You will know the layer mask is selected when there is a black line towards the bottom of the mask in the layers list. Now "mask" everything in the starfish image except the starfish. To do this, select the magic wand tool, click on the water surrounding the starfish, and drag outwards to increase the selecting tolerance.
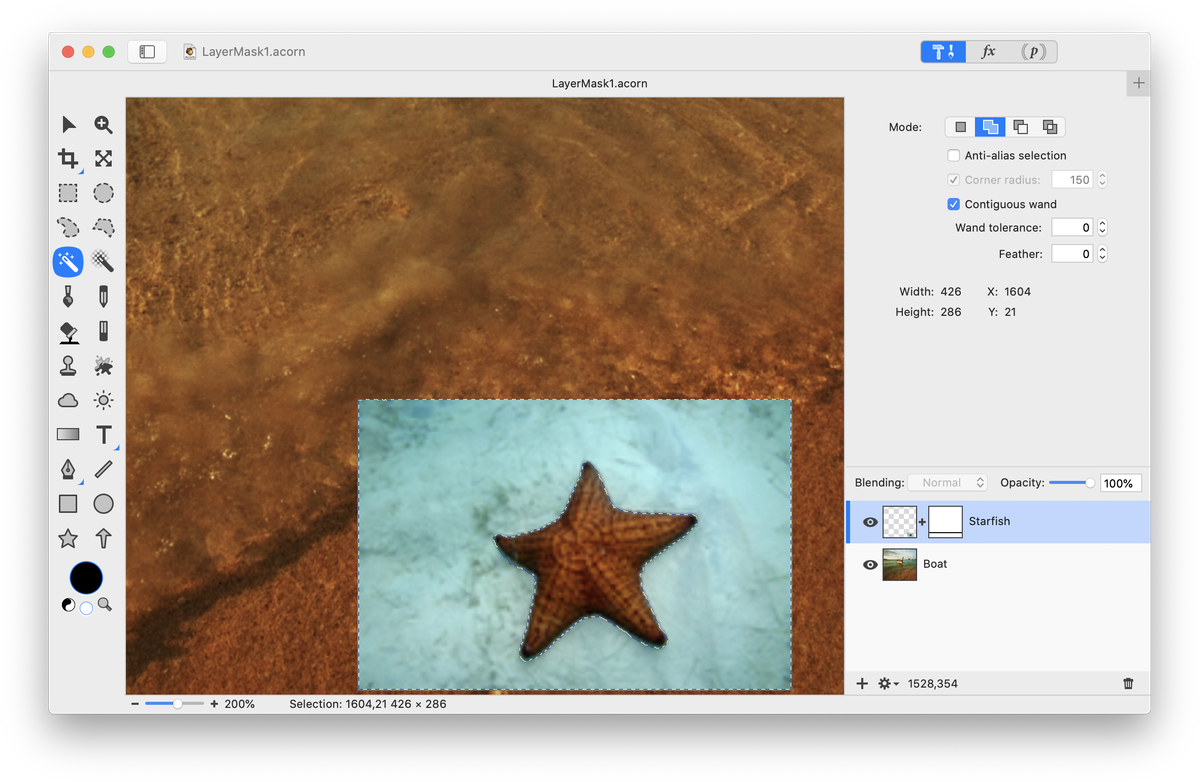
Then choose Edit ▸ Clear (or hit the delete key) to allow the boat layer below to show through. Don't forget to deselect after doing this by clicking Select ▸ Clear Selection (⌘D). Use the move tool in the tools palette to place the starfish where you want it.

Right now the layer mask is doing its job of exposing exactly the part of the layer below that is situated under the starfish. Notice how the starfish and the boat layers were not actually altered.
Layer Mask Example Using Gradients
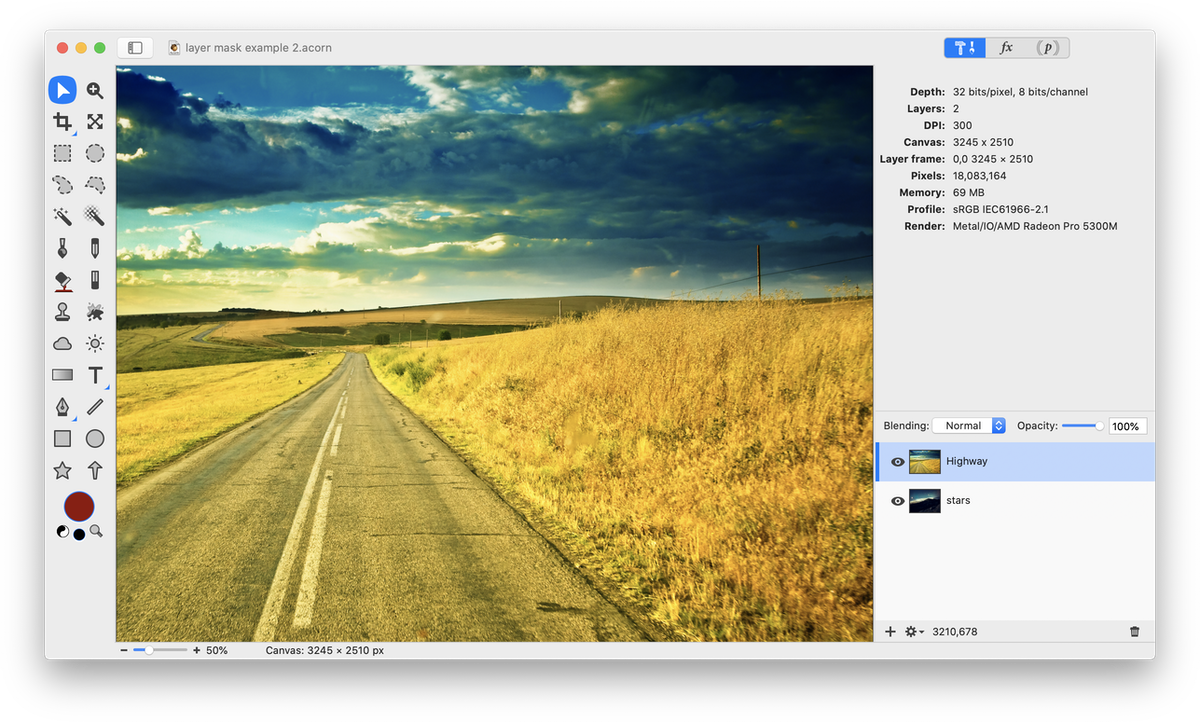
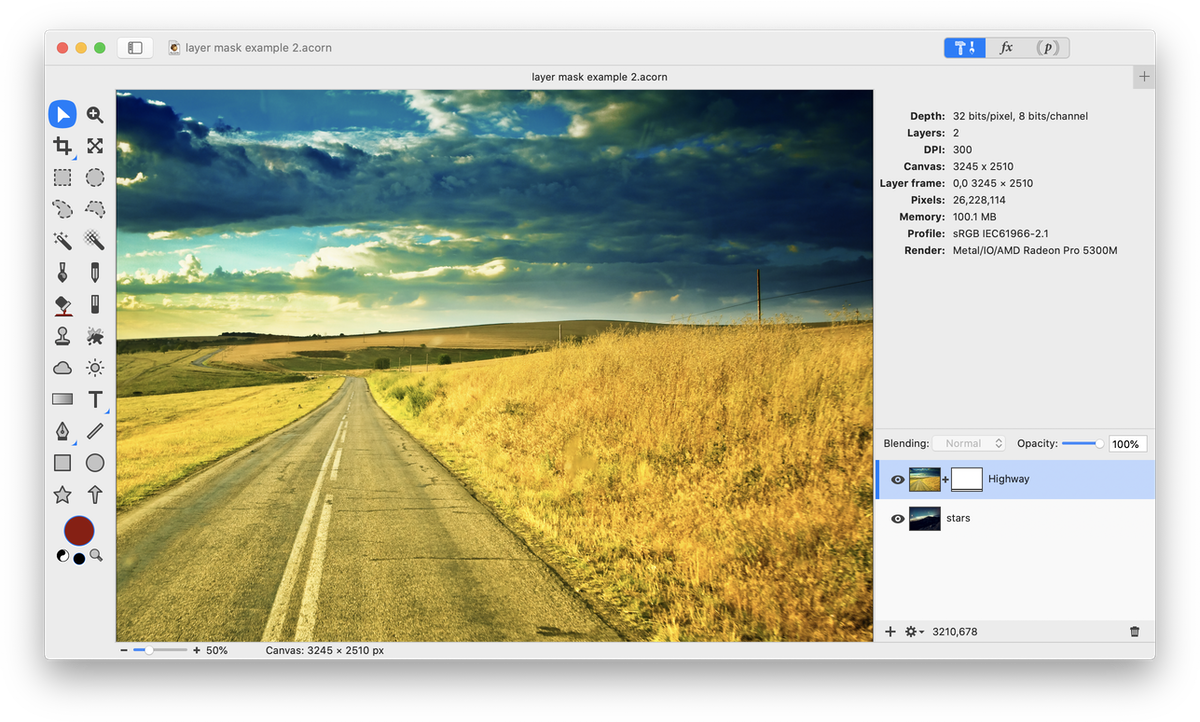
You can have a lot of fun combining images seamlessly with layer masks using gradients. Similar to the previous example, open the images you want to combine in Acorn. Place the image that you wish to mask areas from in the top most layer. In this example a cloudy sky above a country road will be replaced with stars. The country road image is the top most layer with the stars image layer underneath.
Following steps outlined previously, add a layer mask to the layer you wish to conceal areas on. Here a layer mask will be added to the country road layer. Select the layer mask by clicking on it in the layers palette.
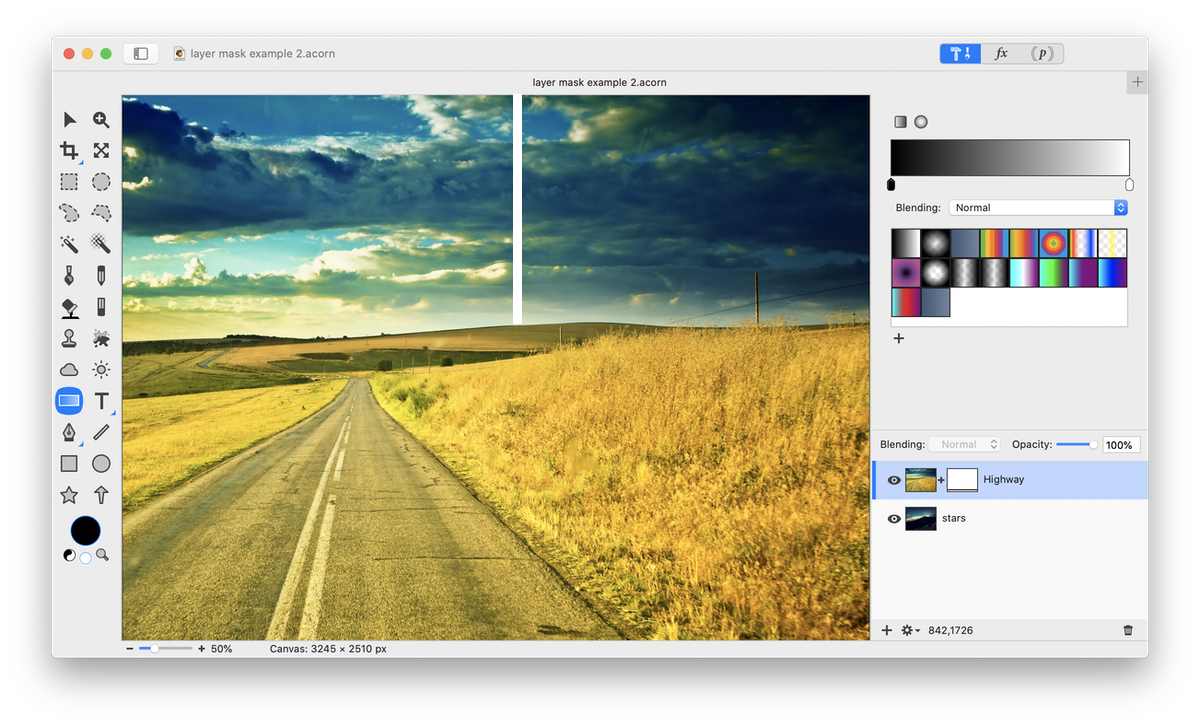
Now add a gradient to the layer mask. Click on the gradient tool in the tools palette and choose a black to white linear gradient. The goal is to have the stars show through on the country road image from the horizon to the top of the image, so add a gradient spanning this section of the image. The white line below is showing the span of the gradient.
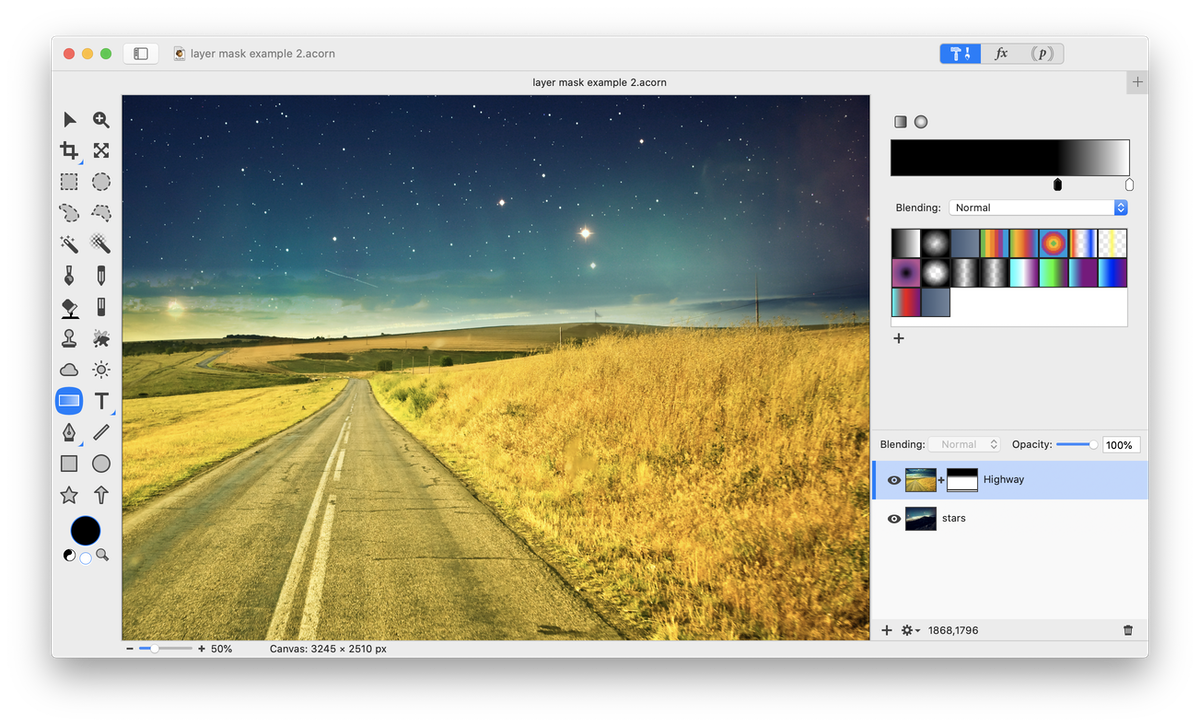
Once the gradient is applied, the layer below will be exposed! Move the star layer around using the move tool so that the stars are where you want them. Have some fun adjusting the opacity and blending settings to get things looking just right.
Layer Mask Example Using 'Paste Into'
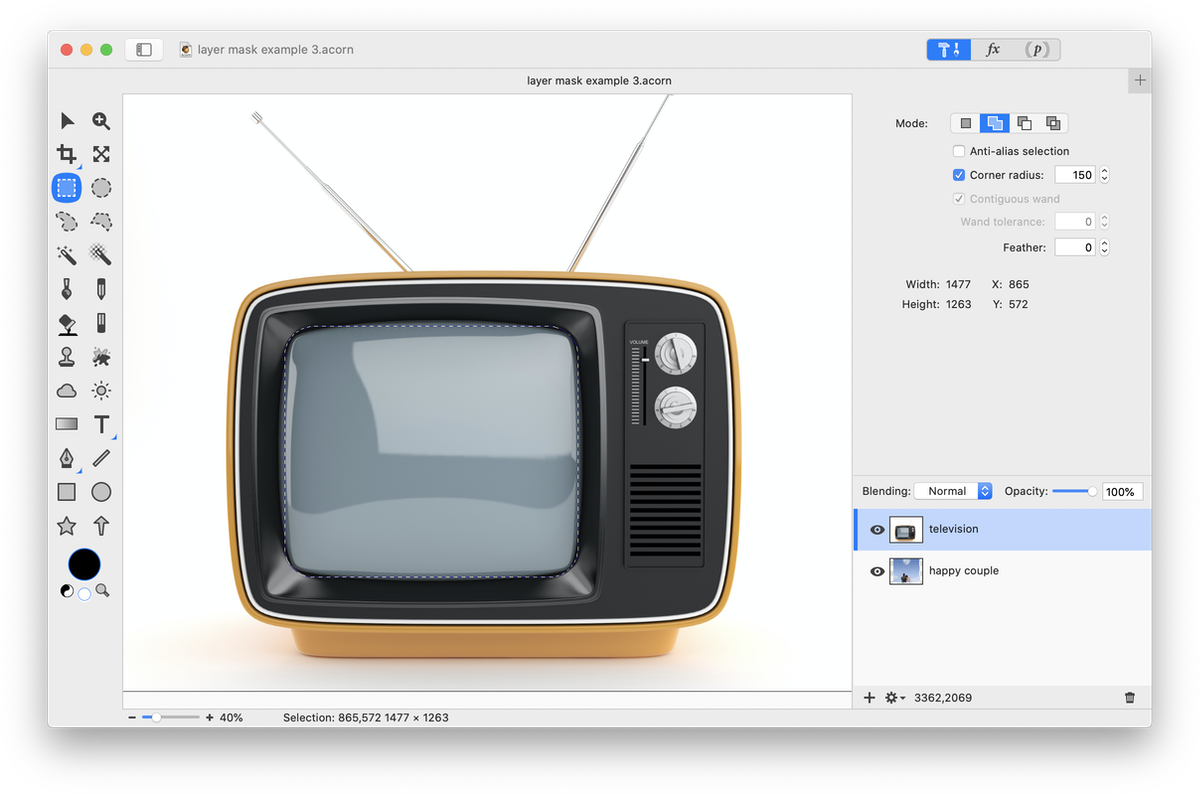
Another layer mask technique is using "Paste Into". With paste into you select all or part of one image, then select the area(s) on another image that you would like the initial image to appear on. Since this uses layer masks neither image is being altered, so it is easy to go back and change things later. As an example, take a blank television screen. The goal is to change the television screen to show your image, in this case a married couple.
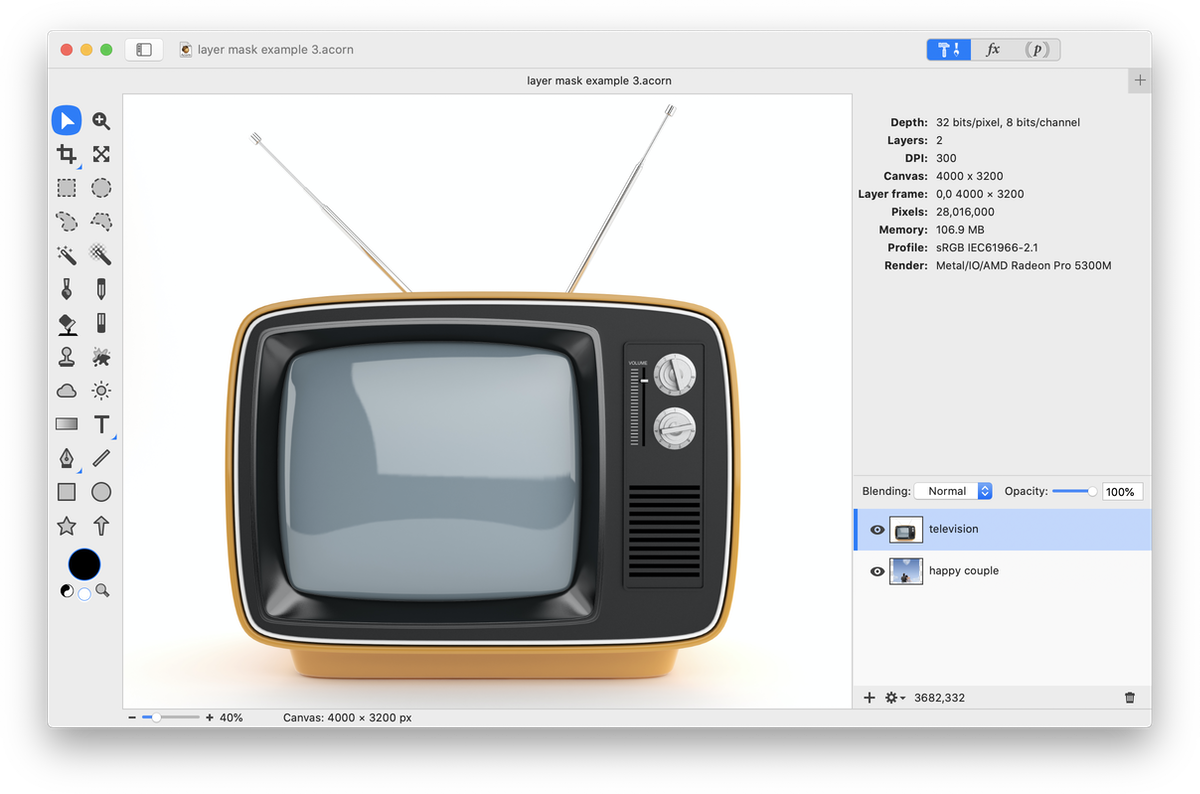
Open both images in Acorn with the television image in the top layer, and the wedding image in the layer below it. Click on the wedding image layer. Choose Select ▸ Select All (⌘A), then make a copy Edit ▸ Copy (⌘C). Now go ahead and clear your selection (⌘D). Next, click on the layer with the television image. Go to the tools palette and pick one of the selection tools. With this particular example it will be easiest to use the rectangular selection tool with a corner radius (for more information on selection tools read Making Selections). Select the screen of the television.
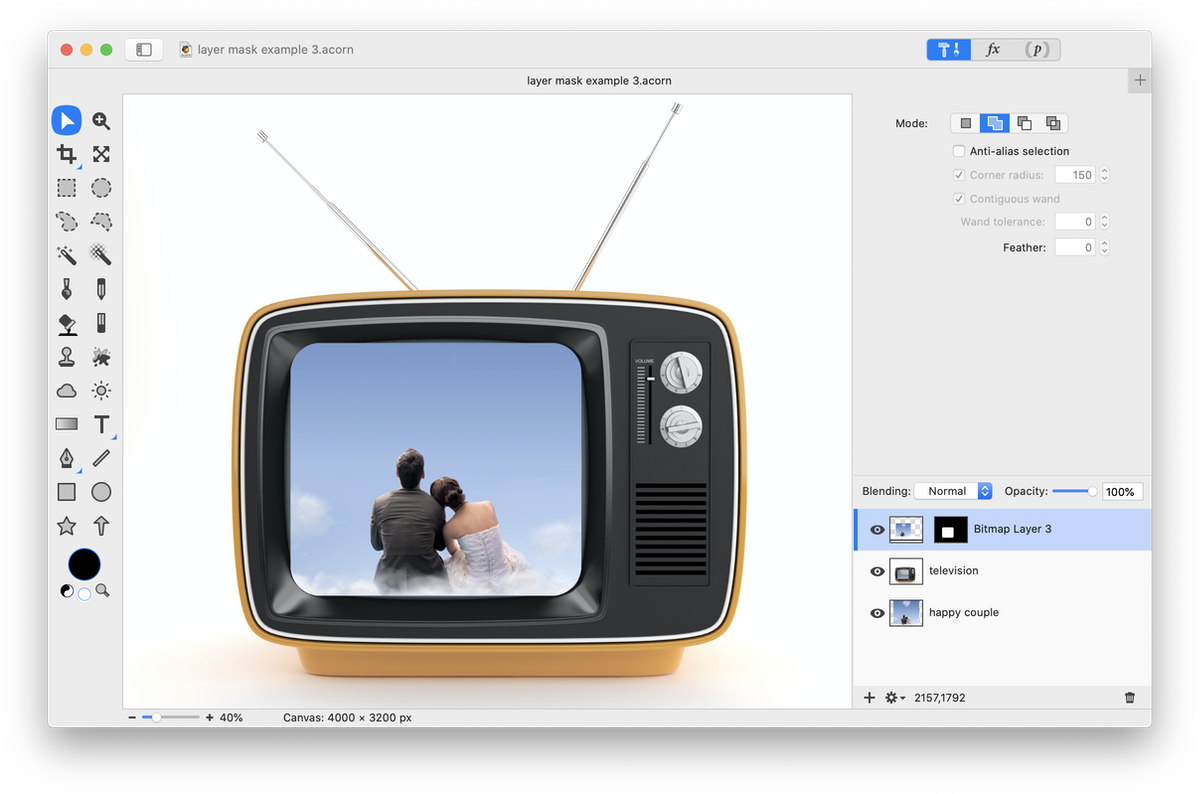
Now for the fun part! Go to Edit ▸ Paste Into (⇧⌘V) and the wedding image will appear to be on tv. Using the move tool, move the wedding image around until you get it lining up where you want it. If the wedding image is too large or small, click on that layer and use Layer ▸ Rotate and Transform ▸ Scale and Rotate (⌘⇧T) to fix things.
Additional Relevant Documentation
Clipping to a Shape Layer (video tutorial)
Photo Credits
Starfish © Clinton & Charles Robertson; Boat © Galyna Andrushko; Country Road © Studio 37; Stars © Mark Sebastian; Television © Pablo Scapinachis; Married Couple © conrado