Bokeh Effect

This tutorial will outline how to create a homemade desktop image with a 'bokeh effect' using Acorn’s shape processor, gradients and filters. Create a new image in Acorn, File ▸ New. Select the image dimensions using the preset drop down menu, and choose 'monitor resolution'. Choose a black background.
Go to Shape ▸ Process ▸ Generate Shapes. Click on ‘+’ symbol at the top of the shape processor window and choose “generate shapes” again. The settings used here can be seen below.
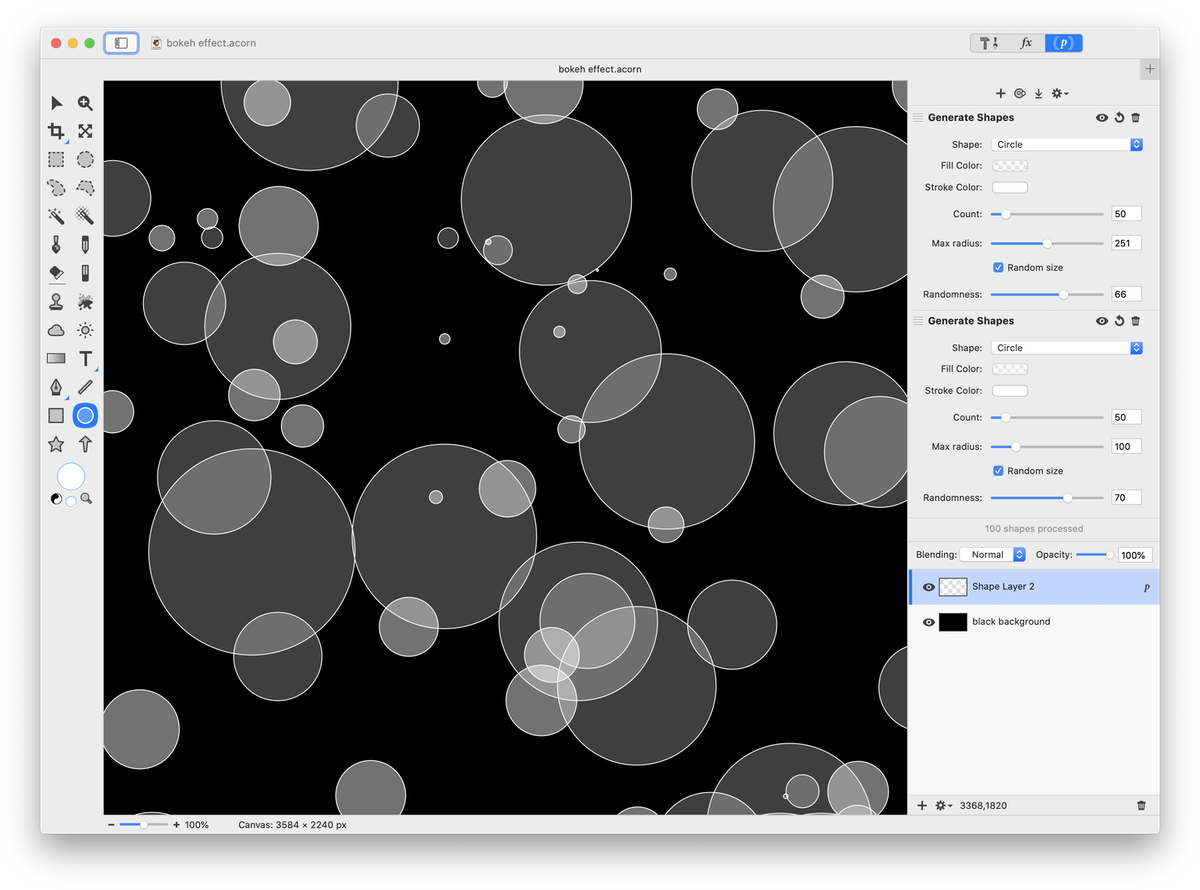
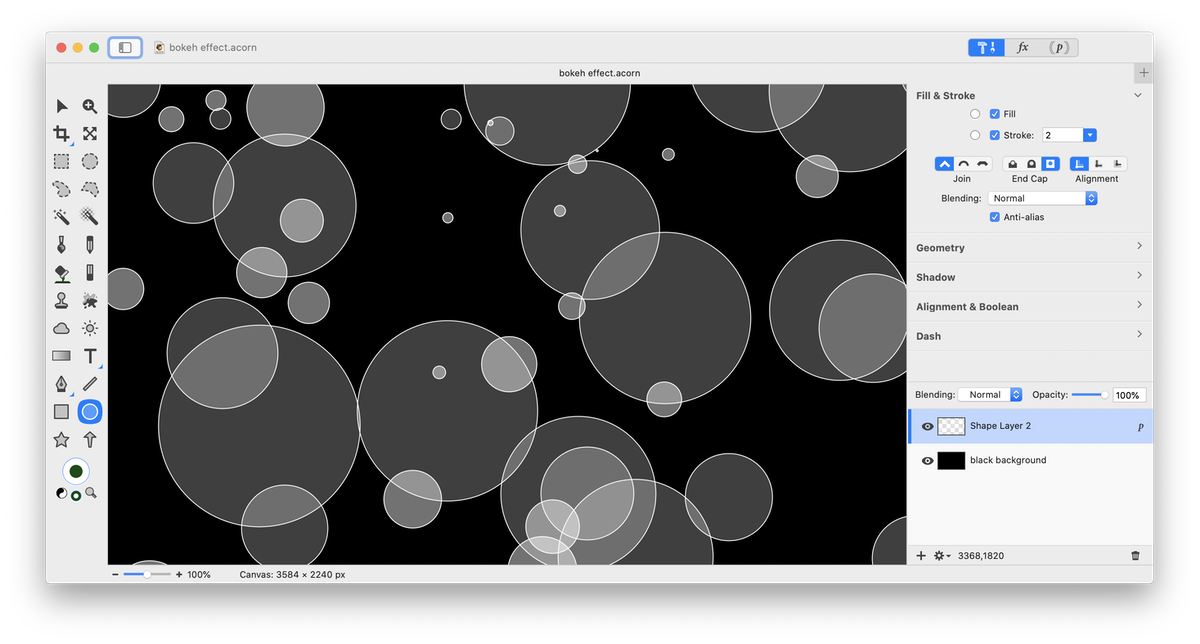
Make sure both the stroke and fill color wells in the shape processor are set to white. Then click on one of the fill color wells and decrease the opacity to around 40-50%. Click on the other fill color well and decrease the opacity to around 20-25%. Click on any shape tool in the tools palette and adjust the stroke of your shapes to your liking, or remove the stroke altogether.
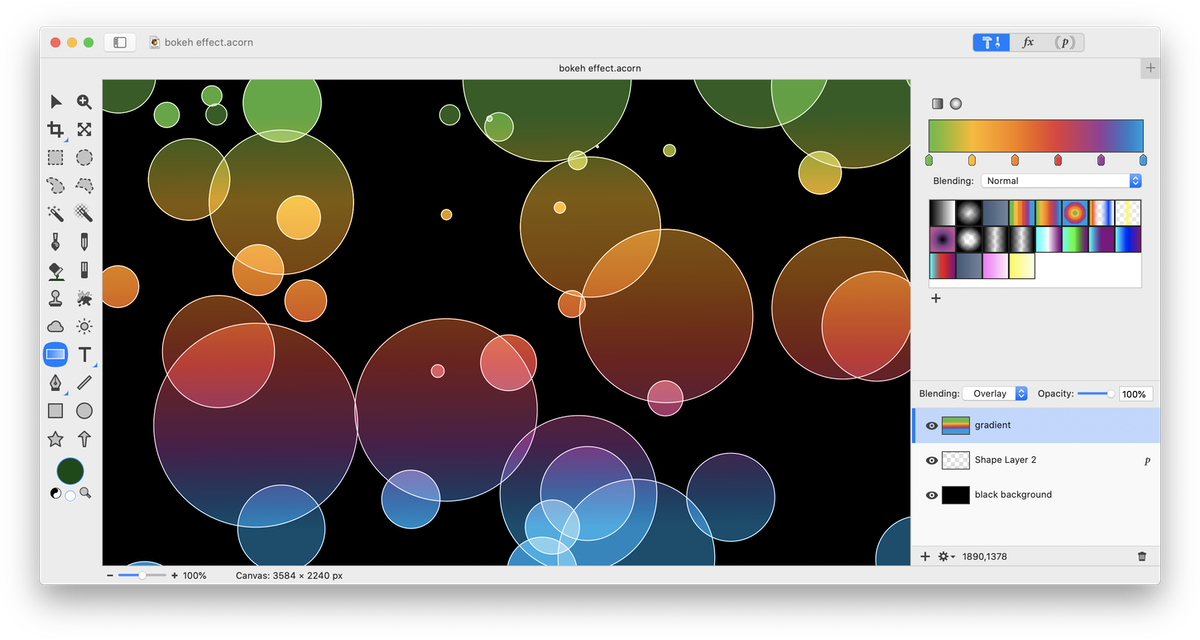
Add a new layer, Layer ▸ New Layer. Click on the gradient tool and apply a gradient. Change the blending mode of the gradient layer to “Overlay”.
Click on the layer with your generated shapes and choose Filter ▸ Blur ▸ Box Blur. Adjust the blur radius.

Add a new layer, Layer ▸ New Layer. Place the layer just above the black background layer in your layers list. Go to Filter ▸ Generator ▸ Render Clouds. Adjust the scale, power, and seed values. Decrease the opacity of the layer to around 20%.
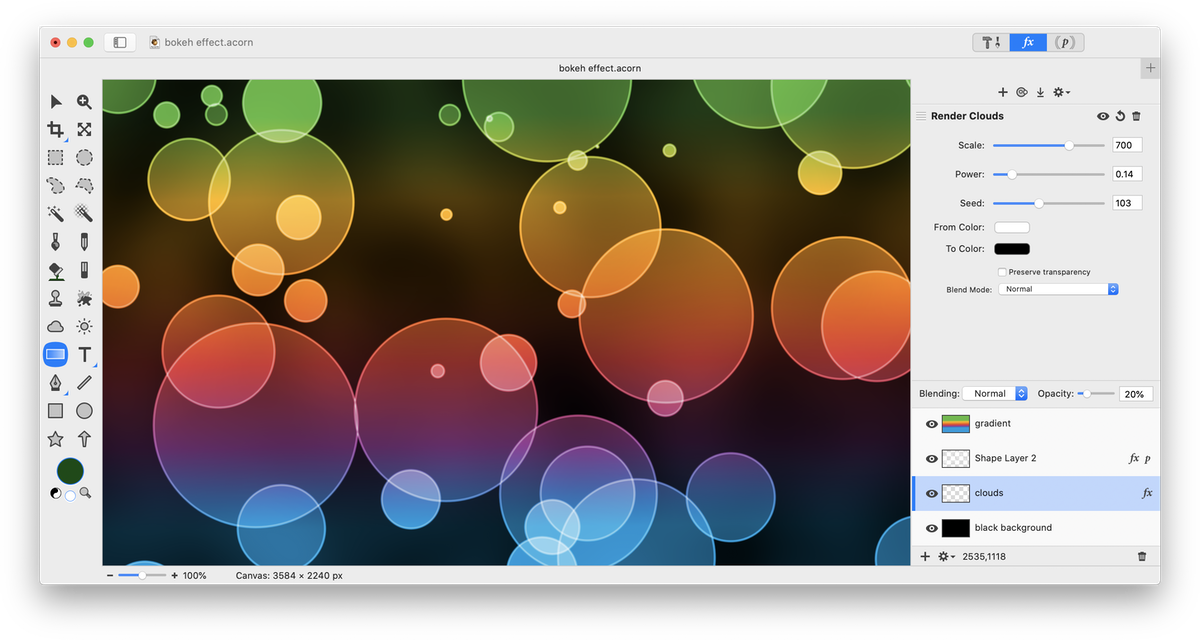
Now, go back and adjust the options in the shape processor, such as the count, radius, and seed. You can also play around with removing the stroke (as shown in the image below), or adding more randomly generated shapes.
