Soften Wrinkles
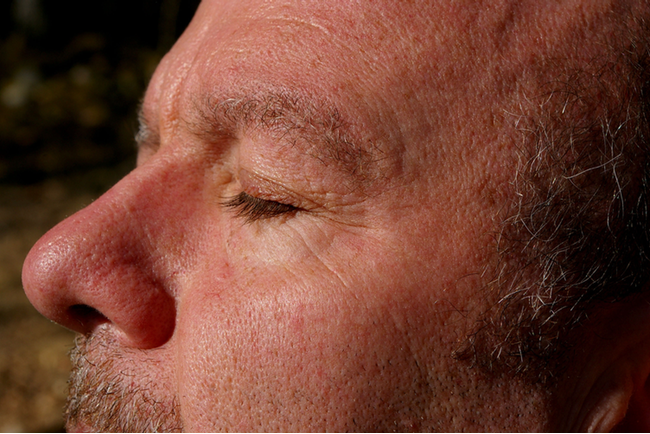
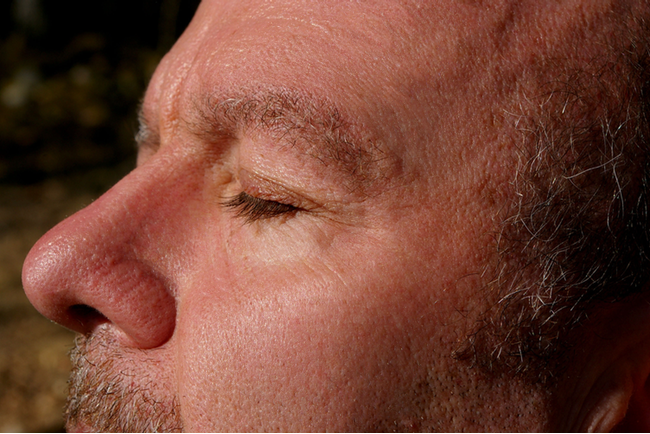
This tutorial will outline how you can use Acorn’s clone tool and blending modes to soften wrinkles and reduce other blemishes such as sun spots and black heads.
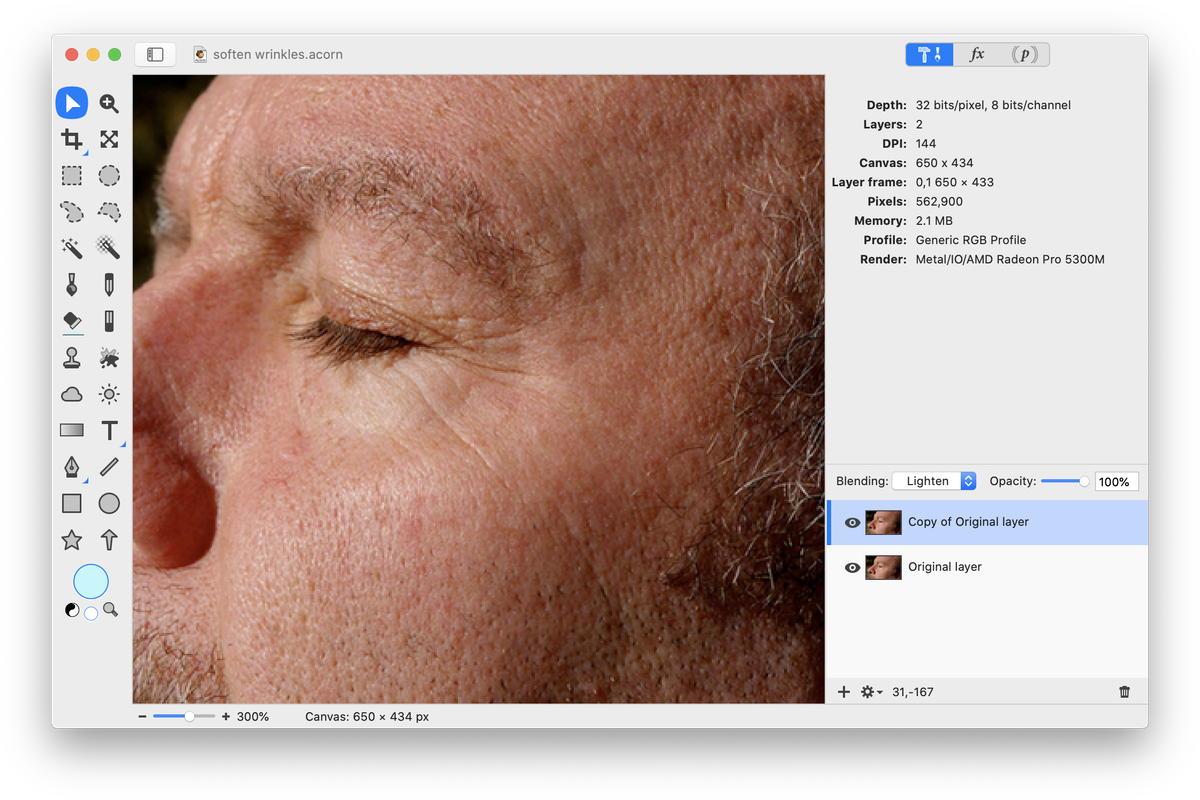
To start, open your image in Acorn. Duplicate your layer, Layer ▸ Duplicate Layer. Change the blending mode of the duplicated layer to “Lighten”.

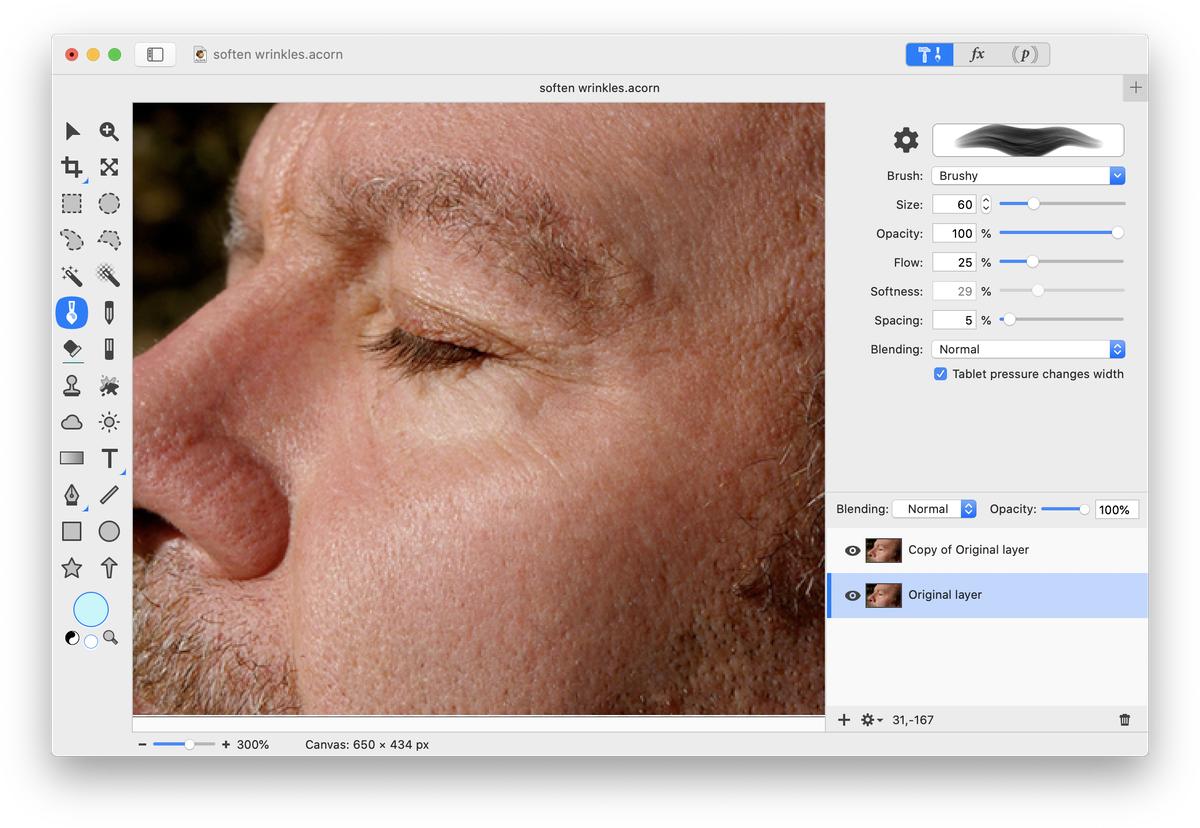
Select the clone tool. Option click to select a clone source close to where you want to cover up a blemish or wrinkle, but not overlapping with the brush. For more details on how to do this read, “Using the Clone Tool”. Draw over the blemish.
You may need to experiment with different brushes, brush sizes, and softness and flow settings to get the desired appearance. The brush used here is ‘Brushy’, with a flow of 25% and a softness of 29%. Continue to brush over areas you want to improve. Change the clone source as needed to avoid cloning hair, wrinkles, or areas that are too light.

You can use keyboard shortcut ⌘Z to quickly undo any mistakes. Play around with reducing the opacity of the duplicated layer if the effect turned out too strong.


Pro Tip: The clone tool can be used to clone across layers, which means you can use it non-destructively (there’s no need to alter your original layer). Set your clone source on the layer you want to clone, then click on the layer in the layers list where you want to clone to. Click on the canvas to begin cloning.