Red Eye Removal
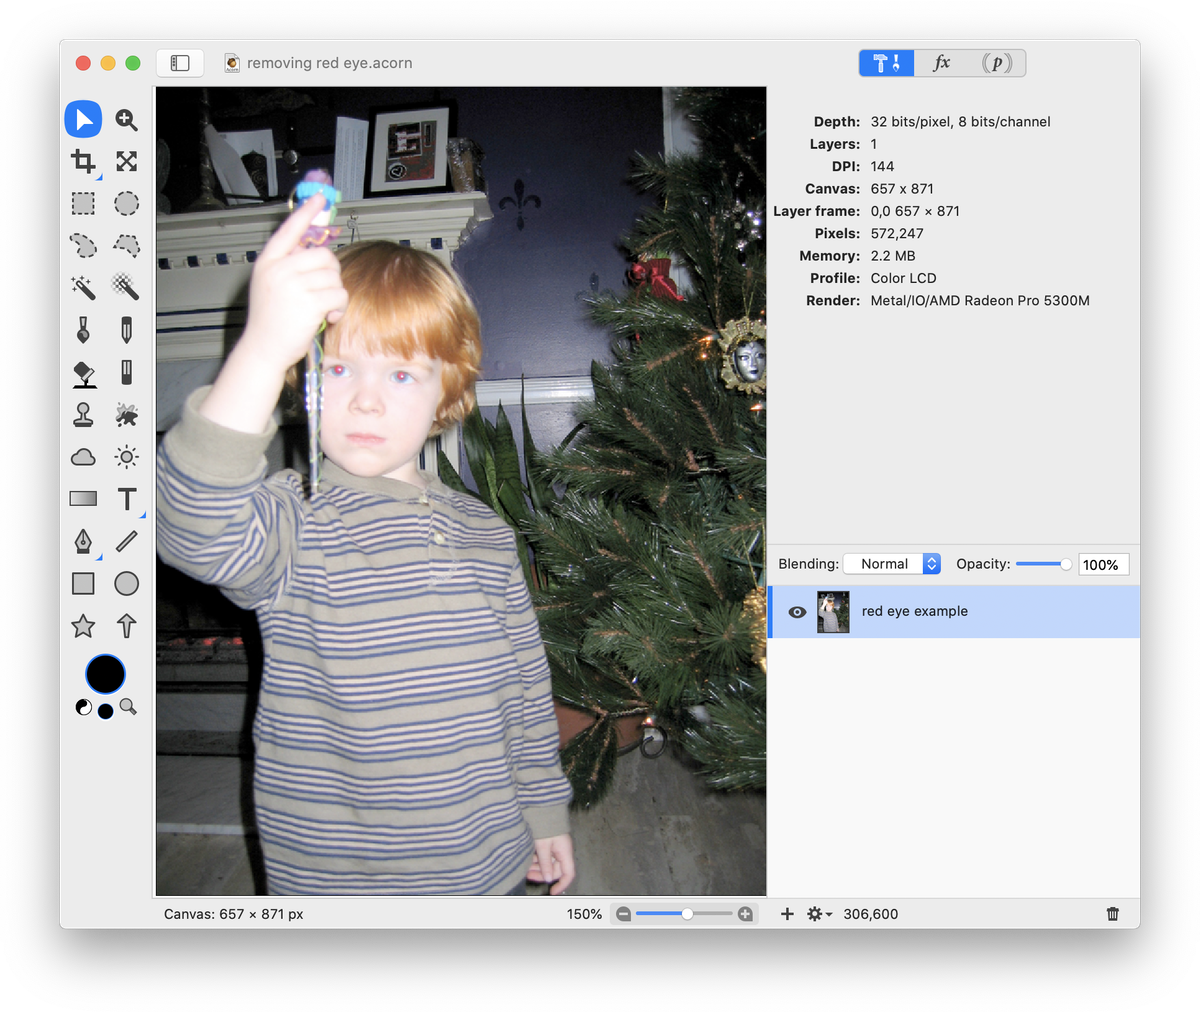
This tutorial will outline a simple technique for removing red eye. To start, open your image in Acorn, File ▸ Open.
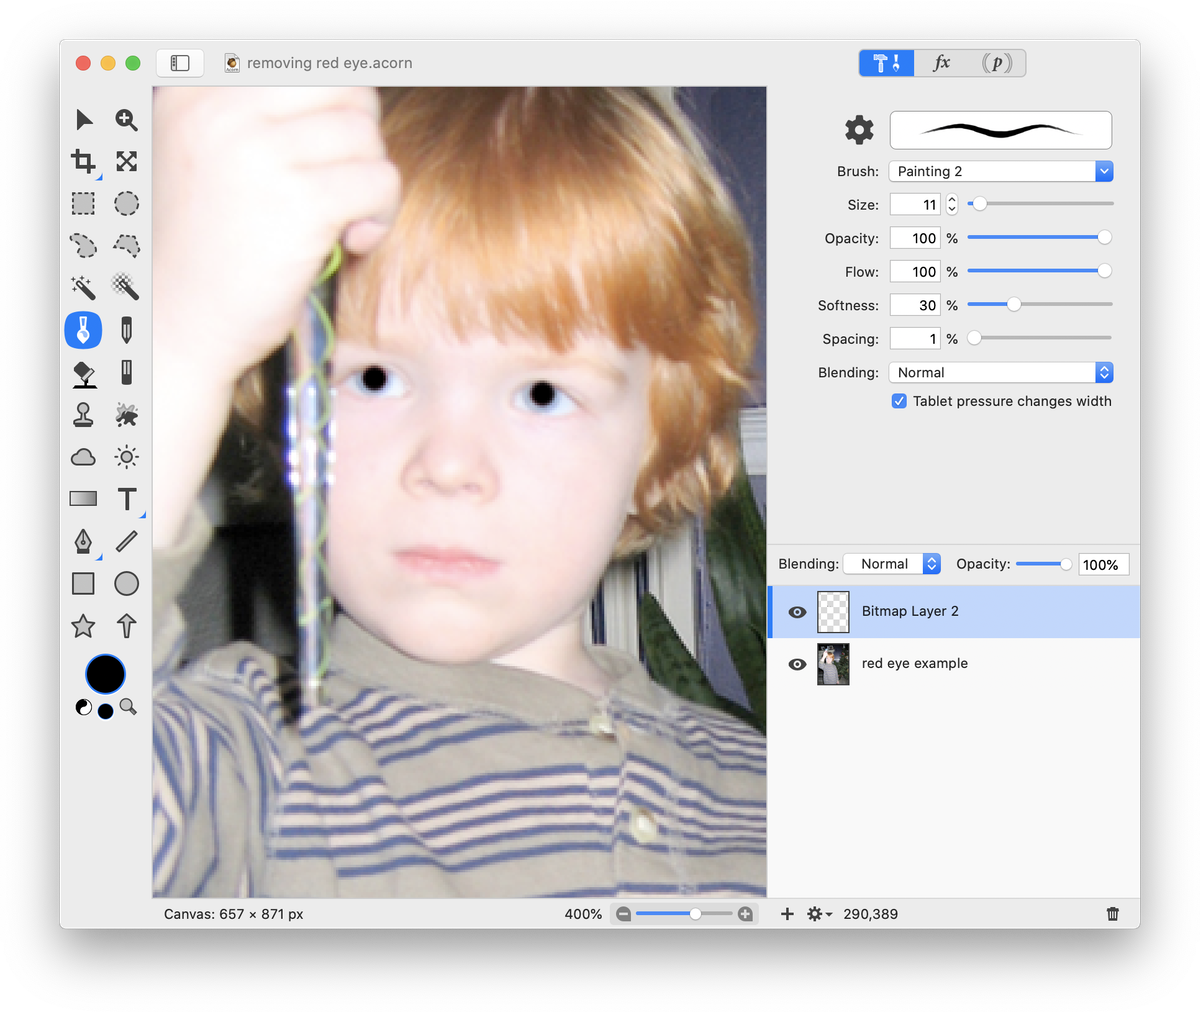
Create a new layer, Layer ▸ New Layer (⇧⌘N). Then, select the paint tool and select black as your color in the tools palette color well. Adjust the size of the brush to fit over the subject's pupils. You can do this easily by placing the brush over the subject's pupils and pressing the left bracket ( [ ) to make the brush smaller or the right bracket ( ] ) to make it larger. Draw a dot over each pupil on the new layer. You will likely want to zoom in on the pupils to accurately perform this step.
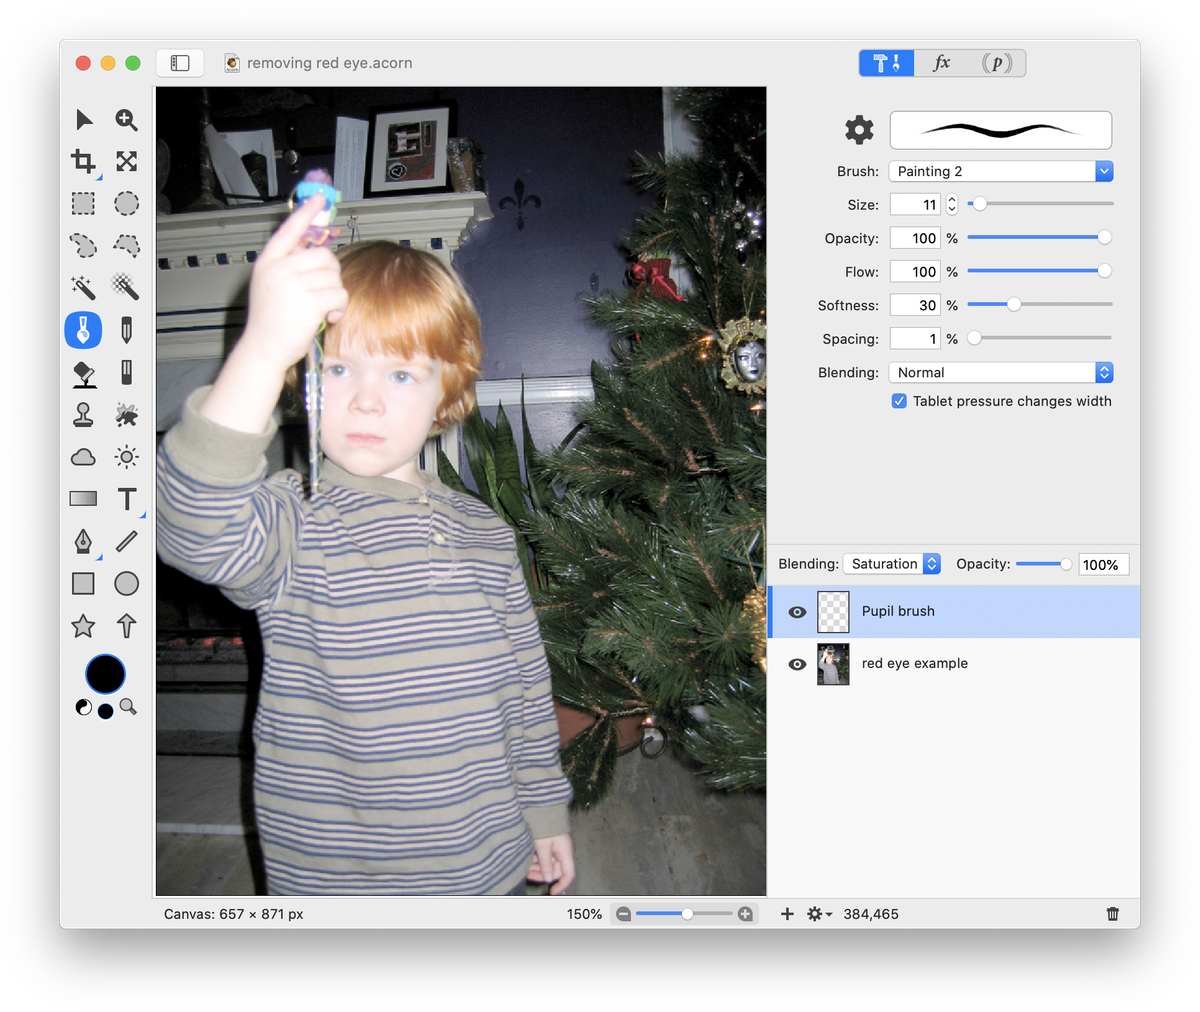
Now, set the blending mode of the new layer to 'Saturation'. The 'Color' blend mode also work for this example (see blending modes for the complete list of blend modes).
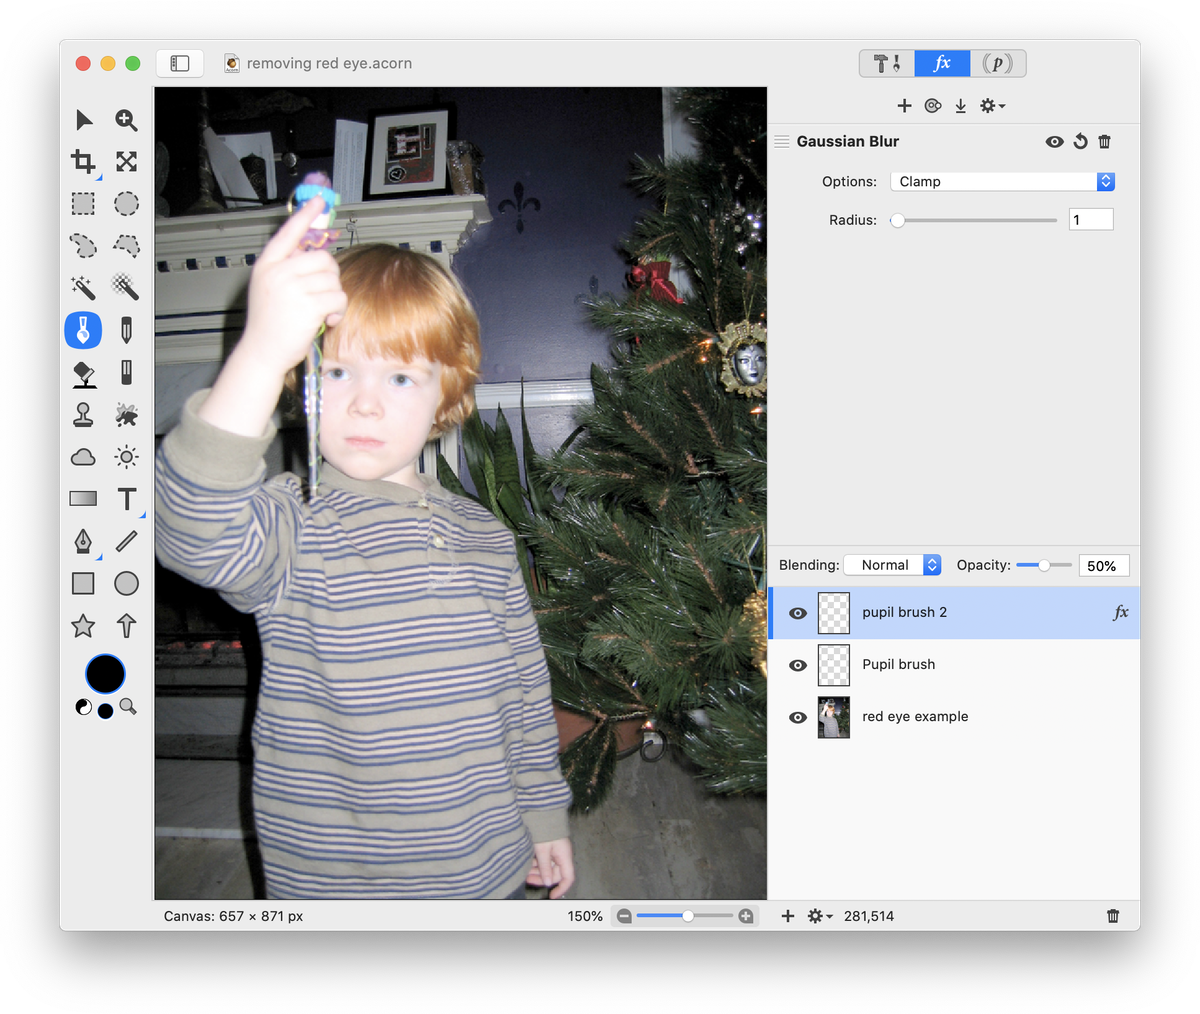
Add a new layer, Layer ▸ New Layer (⇧⌘N). Use the paint tool to again draw a small black dot over the pupils. Decrease the opacity of this layer to around 50%.
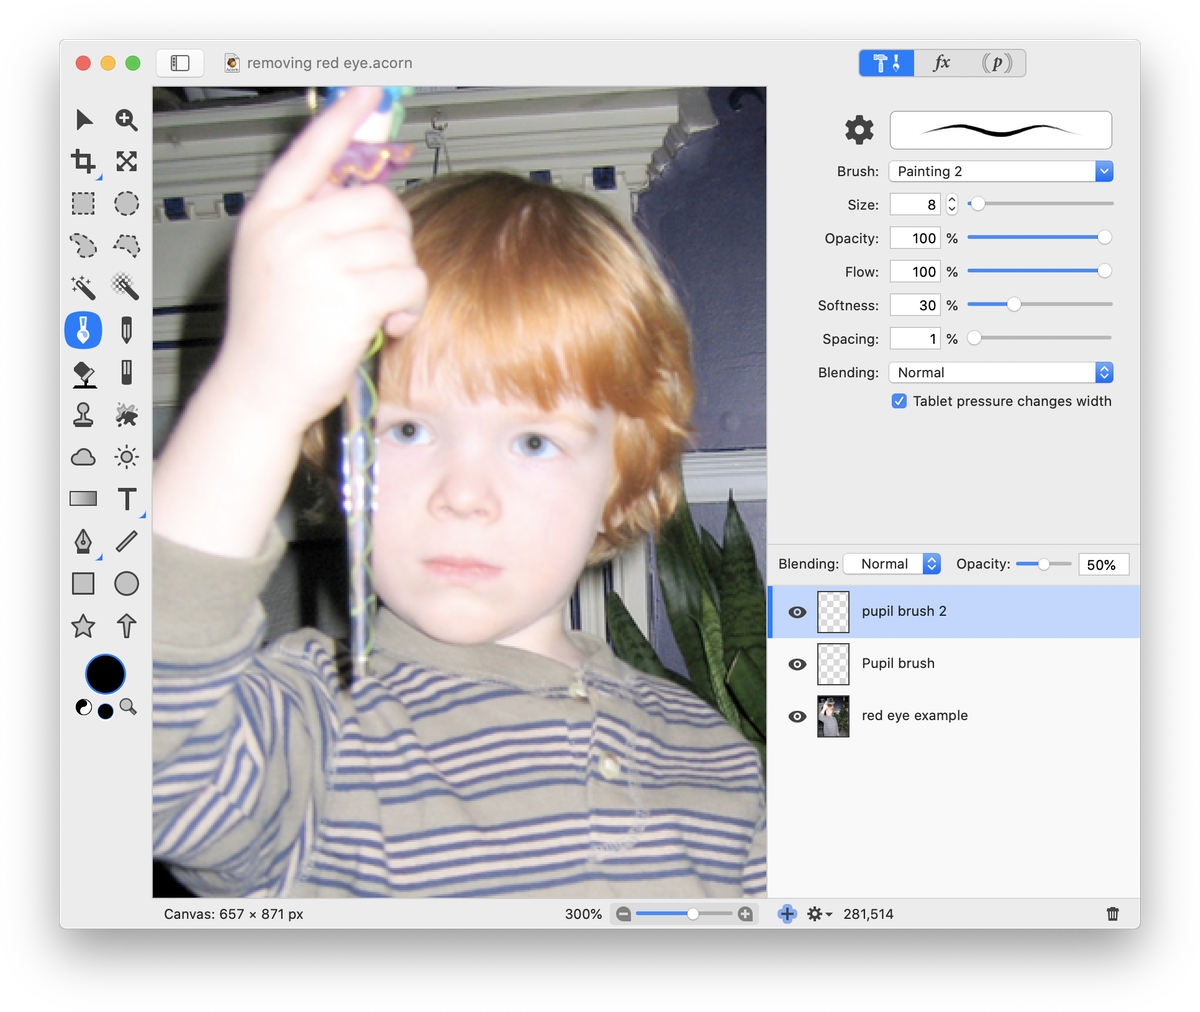
Go to Filter ▸ Blur ▸ Gaussian Blur. Adjust the blur radius of the black pupils to around 1-3. The red eyes are gone!
