Gradient Tool
|
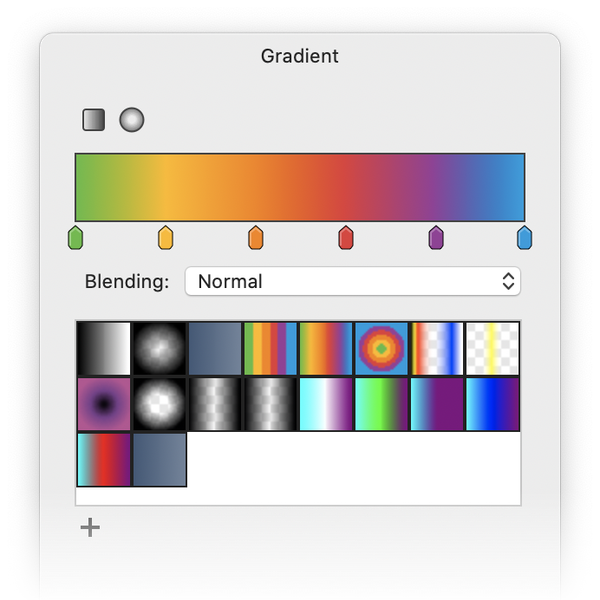
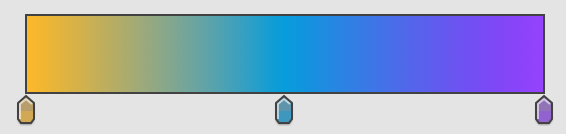
Gradient Tool Basics The gradient tool allows you to create a blend of colors fading into one another on your image. The colors of your gradient depend on the colors you have selected with the tabs located just below the gradient display. A rainbow linear gradient is shown to the right. You can see in the gradient palette that it shows a sample of what these colors will look like as a gradient. You can choose a linear or radial gradient by clicking one of the buttons towards the top left of the gradient palette. Below the gradient display bar is a drop down menu offering you different blending modes for your gradient. The blending mode you wish to use must be selected prior to drawing the gradient. Saved gradients presets can be found below the gradient blending mode menu. Acorn comes stocked with a handful of useful gradient presets. Just click on a preset and it will load in the gradient preview. |
|
Linear Gradient
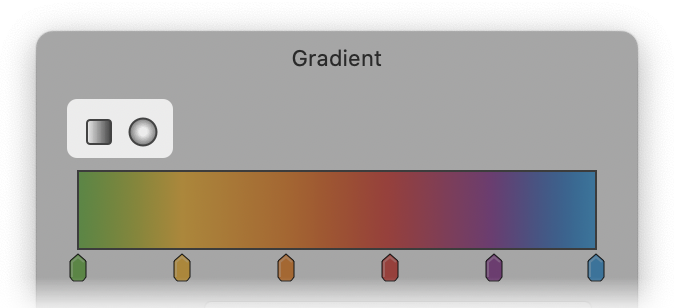
Select the gradient tool from your tools palette (keyboard shortcut “G”). You can choose a linear gradient by clicking on the square button towards the top left in the gradient palette. When you move your cursor over your canvas, it will become a crosshair. Click and drag your cursor over your canvas and the gradient will grow as you drag. When you release the click, the gradient you have drawn can no longer be modified. The further you drag the cursor, the more mixed the colors will be in the gradient. To create a perfectly horizontal, 45 degree diagonal, or vertical gradient, hold the Shift key while dragging out your gradient.
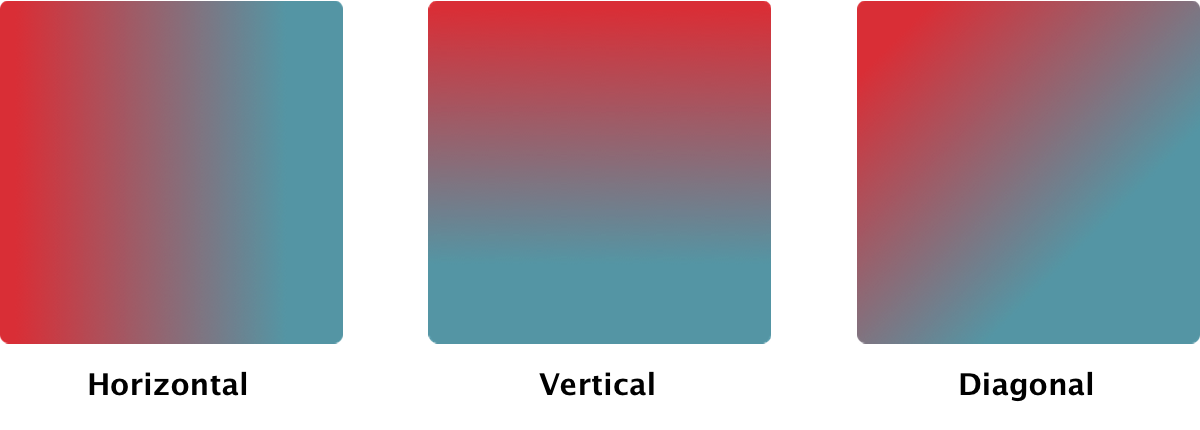
Here are examples of horizontal, vertical, and diagonal linear gradients:
|
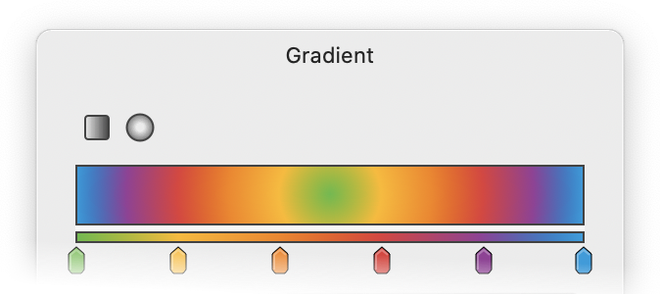
Radial Gradient Select "Radial Gradient" by clicking on the circular button towards the top left in the gradient palette. Moving the tabs in the radial gradient has different effects than in a linear gradient, so there are two gradient displays showing how the gradient looks both radially (top display) and linearly (bottom display). Creating a radial gradient is similar to a linear gradient, but the point where you start your cursor will be the center of the gradient. The farther you drag your cursor, the more the colors expand. |
|
|
Gradient Colors The gradient color positions are controlled by the tabs just below the gradient display. Moving the tabs left and right will change the position and ratio of the colors. To remove a color, just click and hold on that color's tab then drag and drop it off of the gradient palette. Poof! It's gone! To add a color to your gradient, open the colors palette. Select your desired color so that it shows up in the colors palette top display window (just to the right of the magnifying glass). Drag and drop the color from the colors palette into the gradient display. |
|

An additional method to add a color to your gradient is to click just below the preview of the gradient where the tabs are located. A tab will be added to your gradient, and its color will be whatever color you currently have present in the tools palette color well.
To change a color in your gradient, double click on that color's tab. Its current color will show up in the colors palette. Now you can change the color by selecting a new color.
To duplicate a color in your gradient, hold down the option key while clicking and dragging on that color's tab.
|
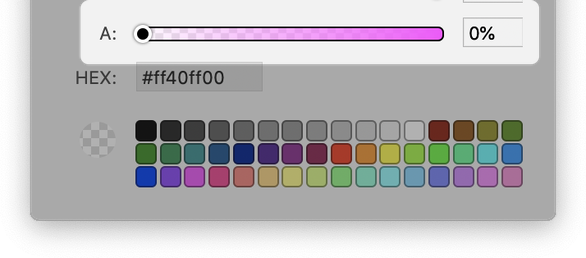
Creating a Transparent Gradient To create a transparent gradient, you must make one of your tab colors transparent. To do this, double click on the gradient tab of the color you wish to transition into transparency. Once you double click on the tab, the colors palette will open. Slide the opacity (also known as alpha) of the color down to zero. And the gradient in your Inspector Palette will look similar to this:
|
|

|
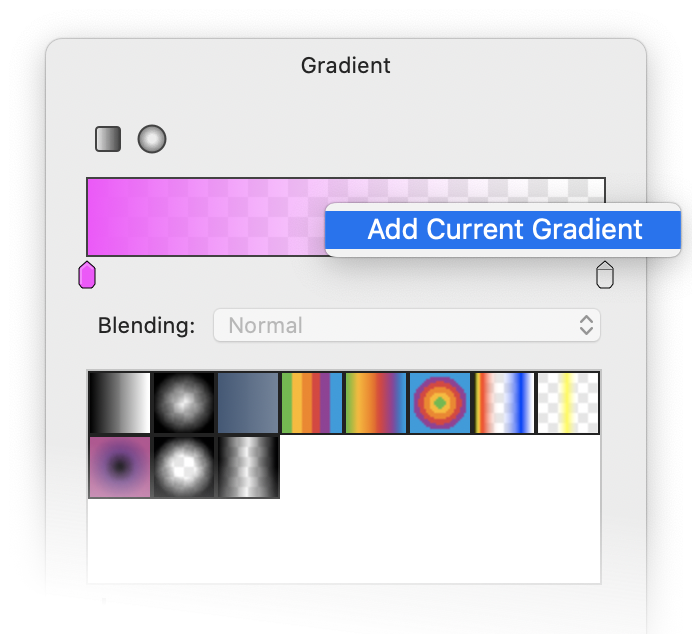
Saving and Deleting Gradients You can store gradients you create for future use. Just create your gradient, then click on the "+" button towards the bottom left of the gradient palette. You can also click on the gradient display window and drag it down to the list of gradients. Or, right click in the gradient list area and choose "Add Current Gradient". Acorn comes with a handful of gradients pre-loaded. You can delete previously stored gradients by right clicking on the gradient in the list, then selecting "Delete Gradient". |
|
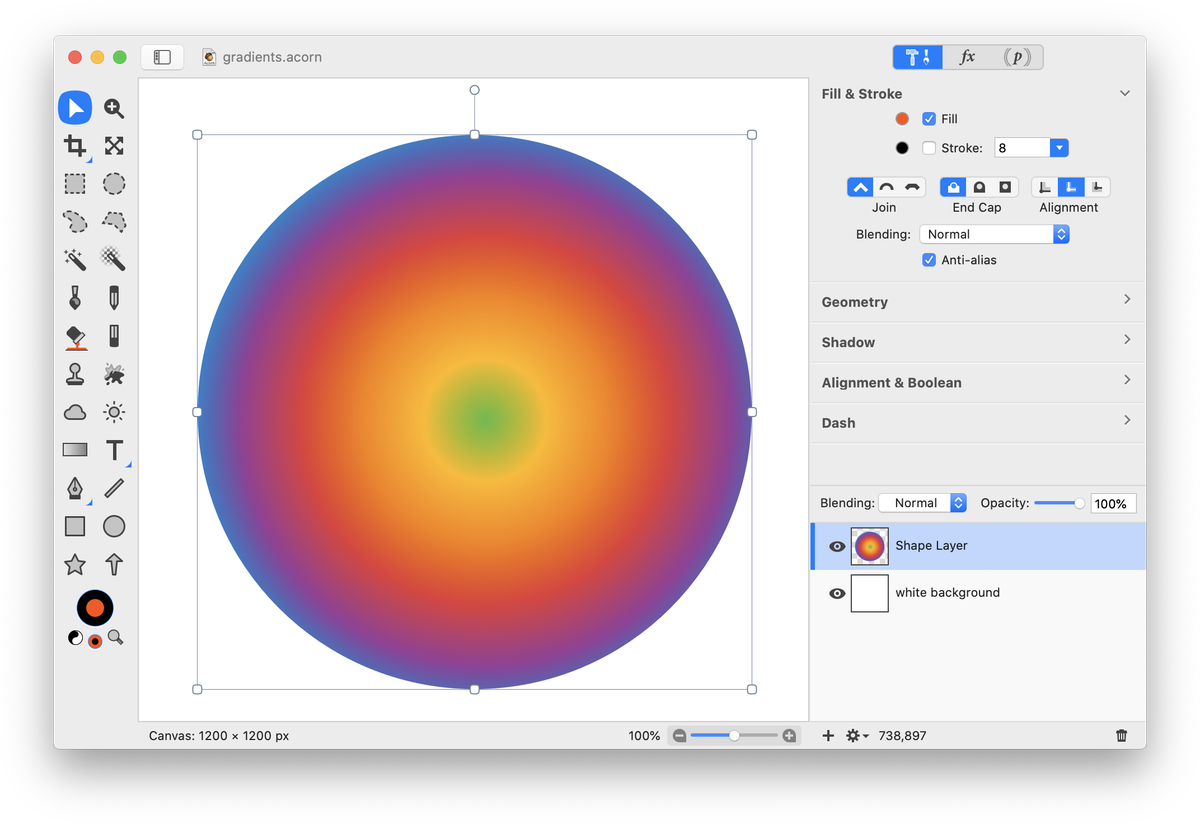
Applying a Gradient to a Shape
To apply a gradient to a shape, first draw out your desired shape (read shape tool for more details). The shape must have a "fill" in order to be able to apply a gradient, so make sure the fill box is checked. A stroke is not necessary, but the gradient will not be applied to the stroke. Using the move tool, select your shape. Next, click on the gradient tool. Set your gradient colors. Drag the gradient across your shape.
See Also: Gradient Text