Photo Cutout
Open your image in Acorn, File ▸ Open. Duplicate the layer by going to Layer ▸ Duplicate Layer (⇧⌘D).
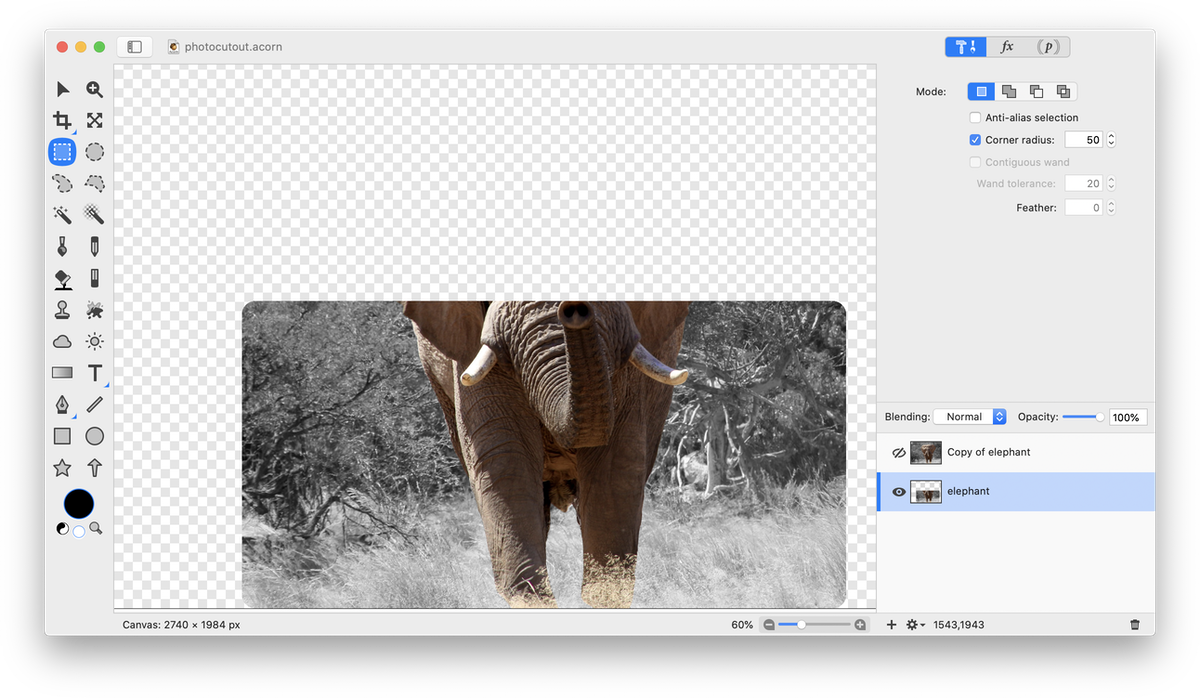
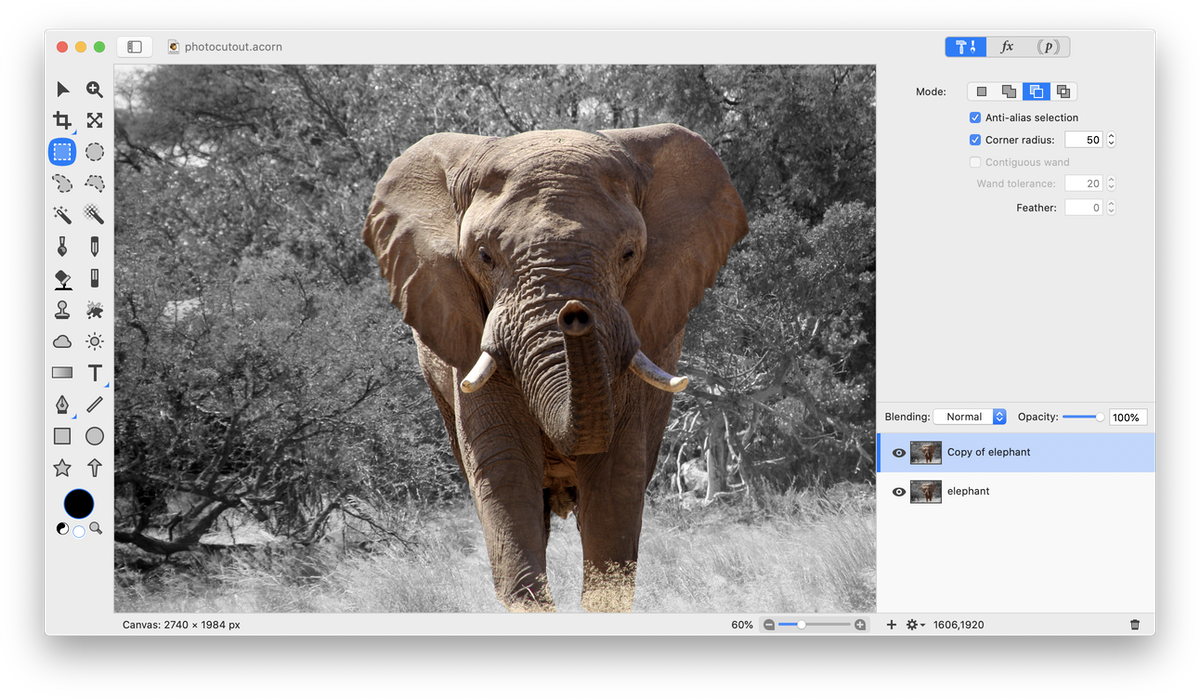 Click on the bottom layer in the layers list and use the selection tool to select the area you want in your photo. You can use either the rectangle or the oval selection tool. The rectangle with rounded corners was used in this example. Don't include most of the elephants head in the selection, since the goal is to have it sticking out the border of the photo in the final image. After you have your selection made, go to Select ▸ Inverse (⇧⌘I). This will select the area you don’t want to keep. Hit the delete key.
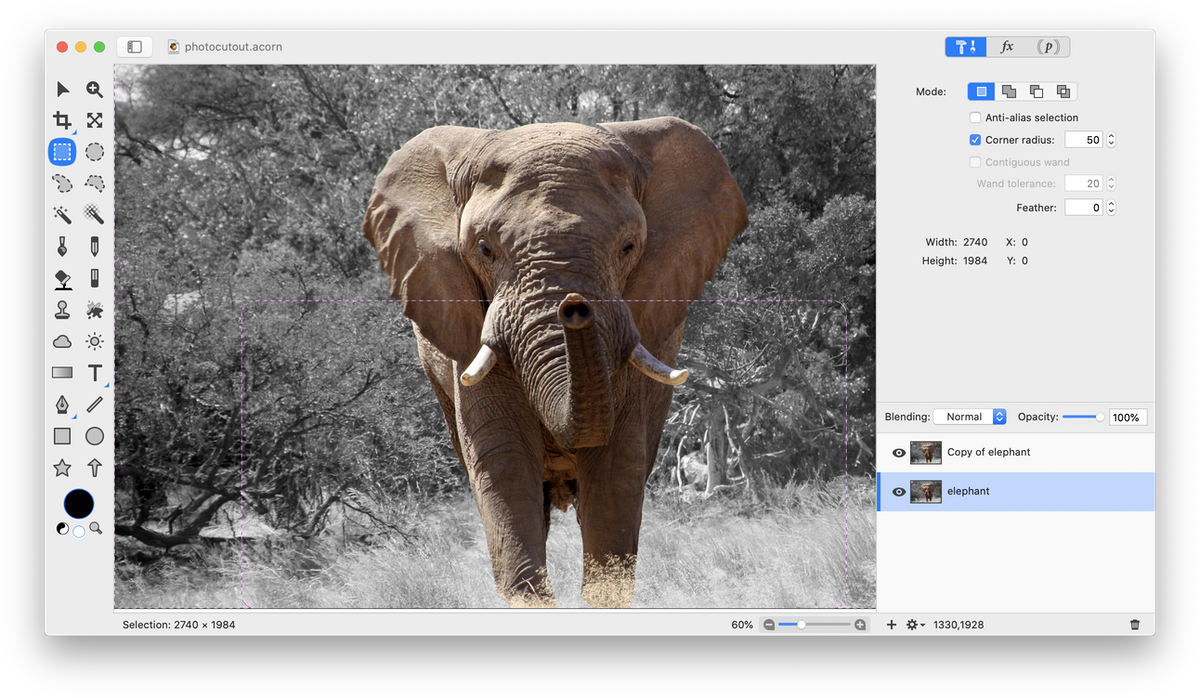 Deselect (⌘D). Your bottom layer should look like this if you hide the visibility of the top layer:
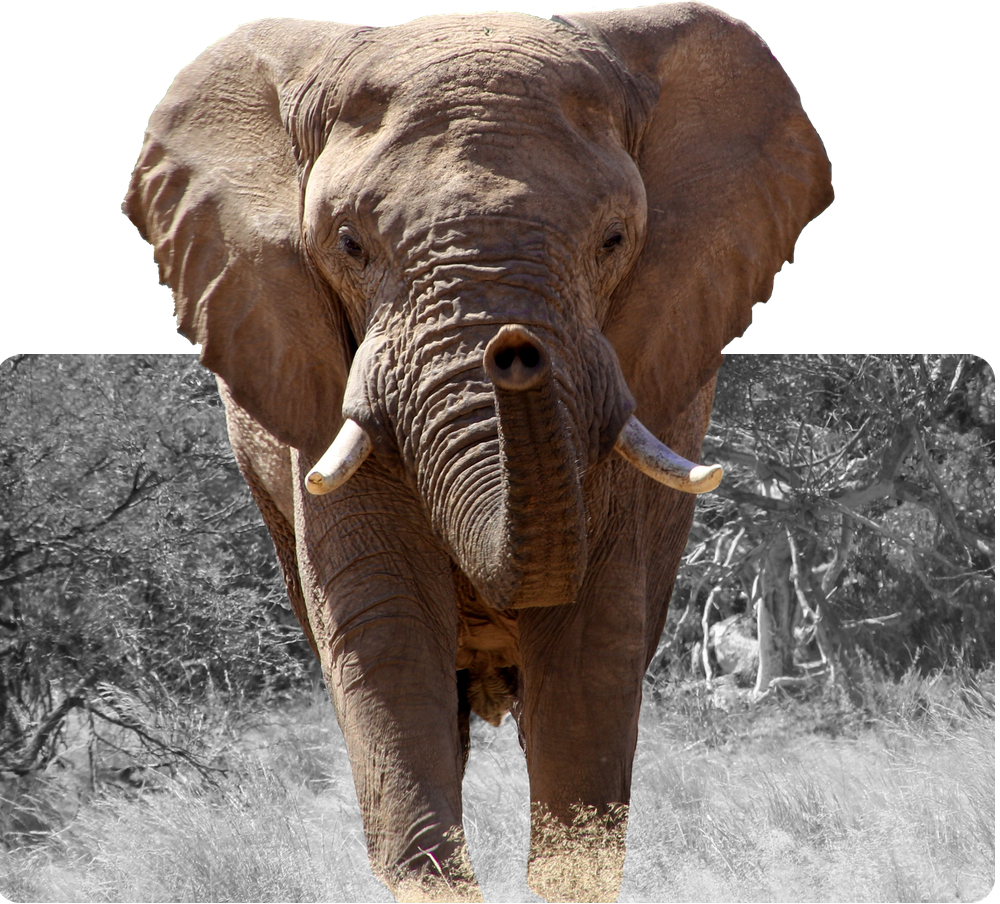
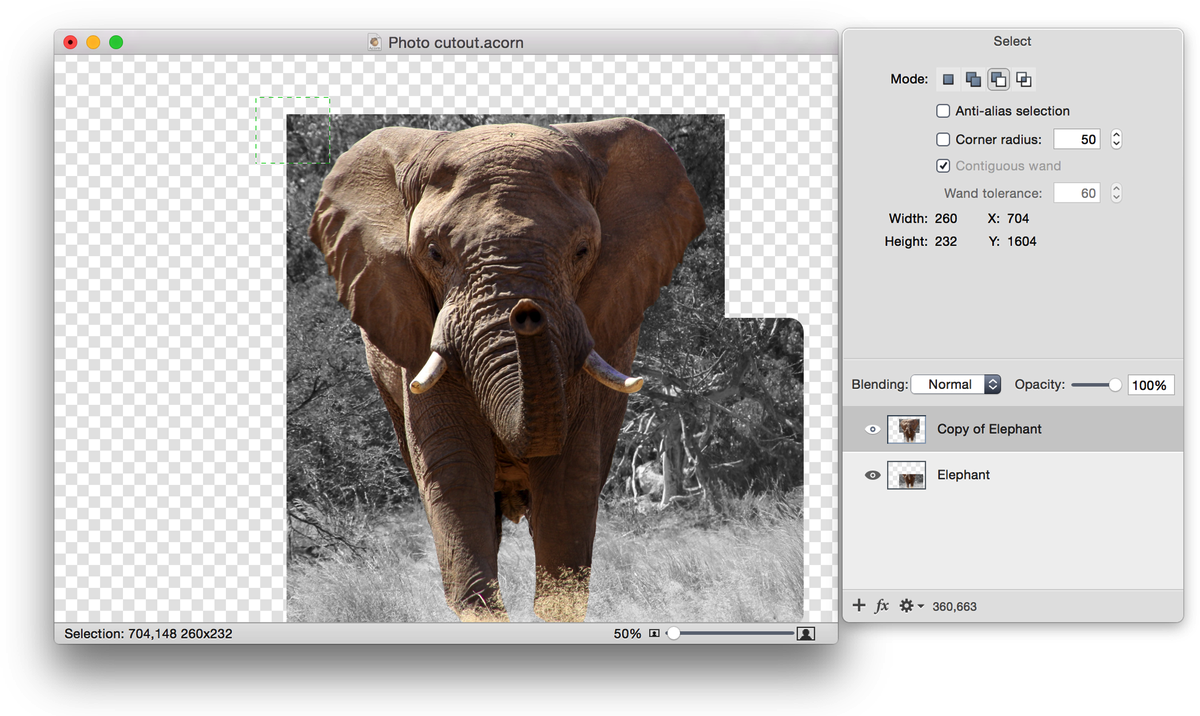
 Now, click on the top layer in the layers list to select it. Erase everything but the head. The easiest way is to select large areas with the selection tool. Then hit the delete key. See how the bottom layer shows through? Continue selecting and deleting the areas you want to take out. Be sure to deselect when you are done (⌘D).
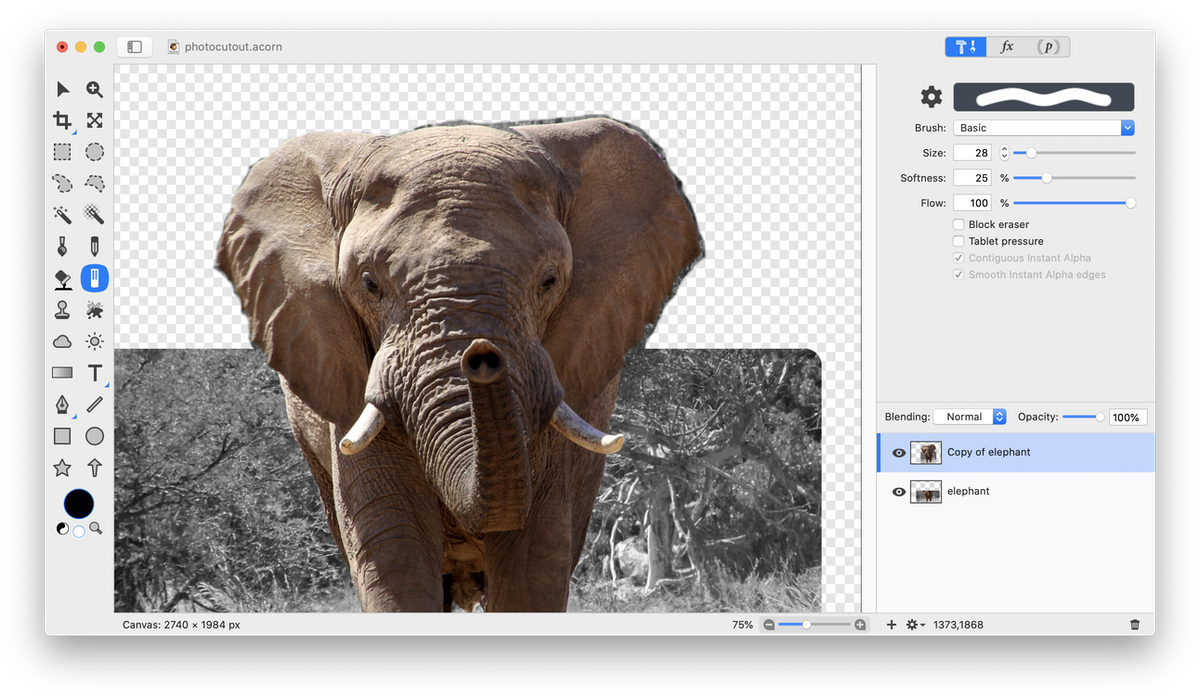
 When all the large parts have been removed, erase around the ears and head using the eraser tool from the tools palette. This is the tedious part. You will have to erase all around the part of the image you want to be on the outside boundary. It's easier to start with a larger sized eraser then work your way to smaller sizes. Zoom in to more easily see the edges when erasing. Alternatively, read the ‘how to remove a background’ tutorial for other techniques.