Silhouette
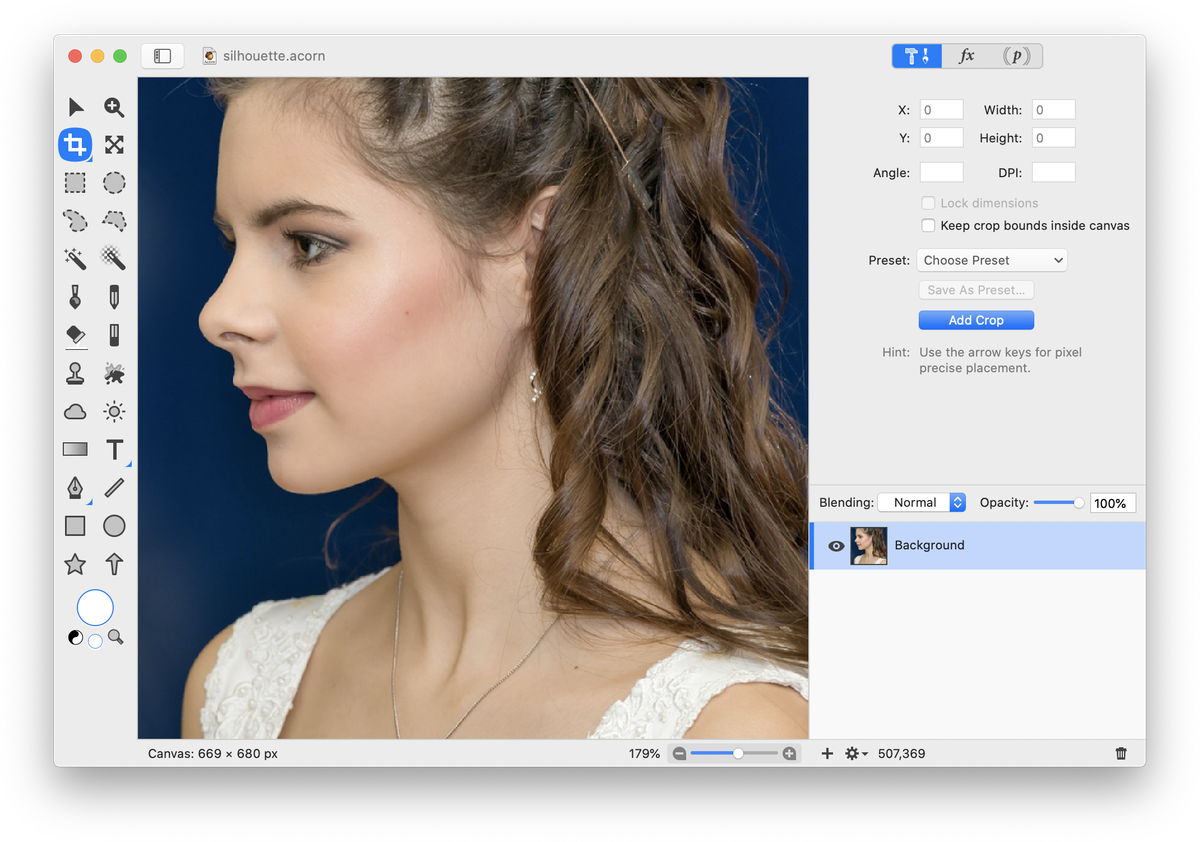
 This tutorial will outline how you can create a silhouette of a person using Acorn. To start with, open your image in Acorn, File ▸ Open.
Technique 1
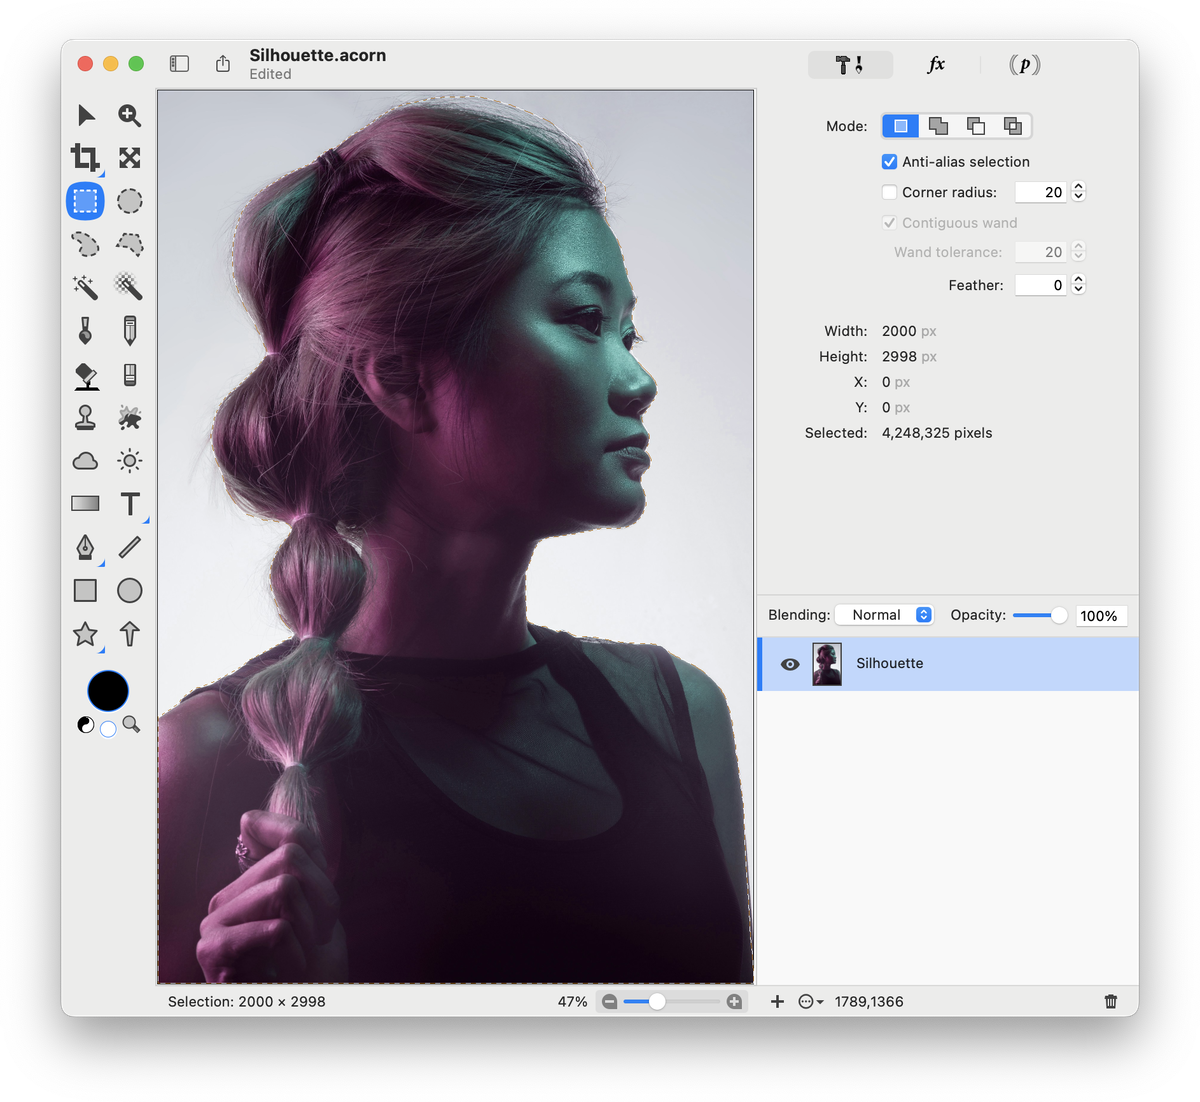
Go to Select ▸ Select Subject.
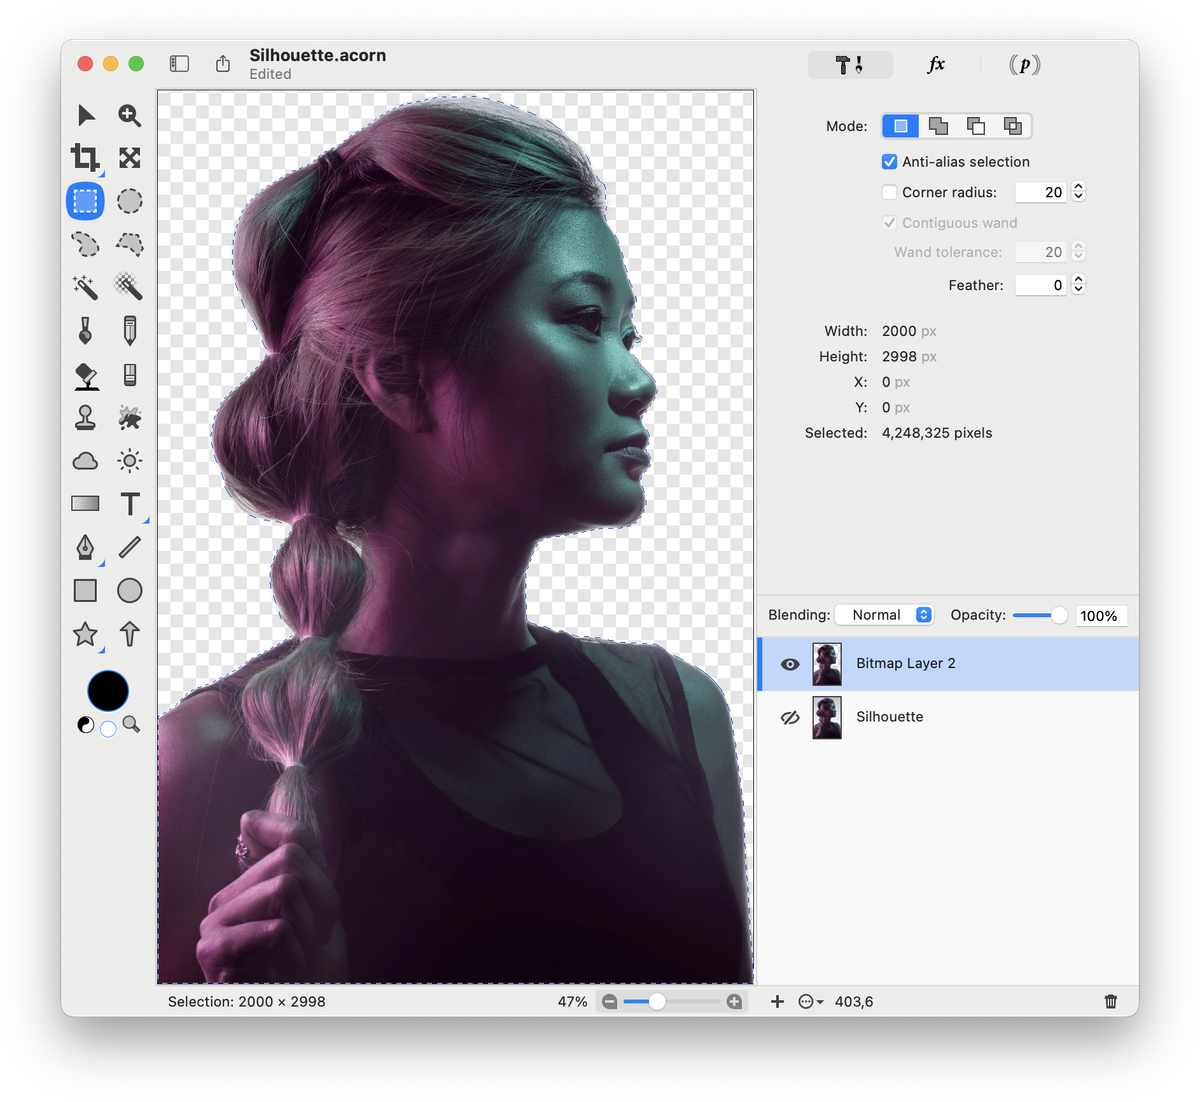
Create a new layer by going to Layer ▸ New Layer with Selection. Hide the bottom layer by clicking on the visibility icon on that layer.
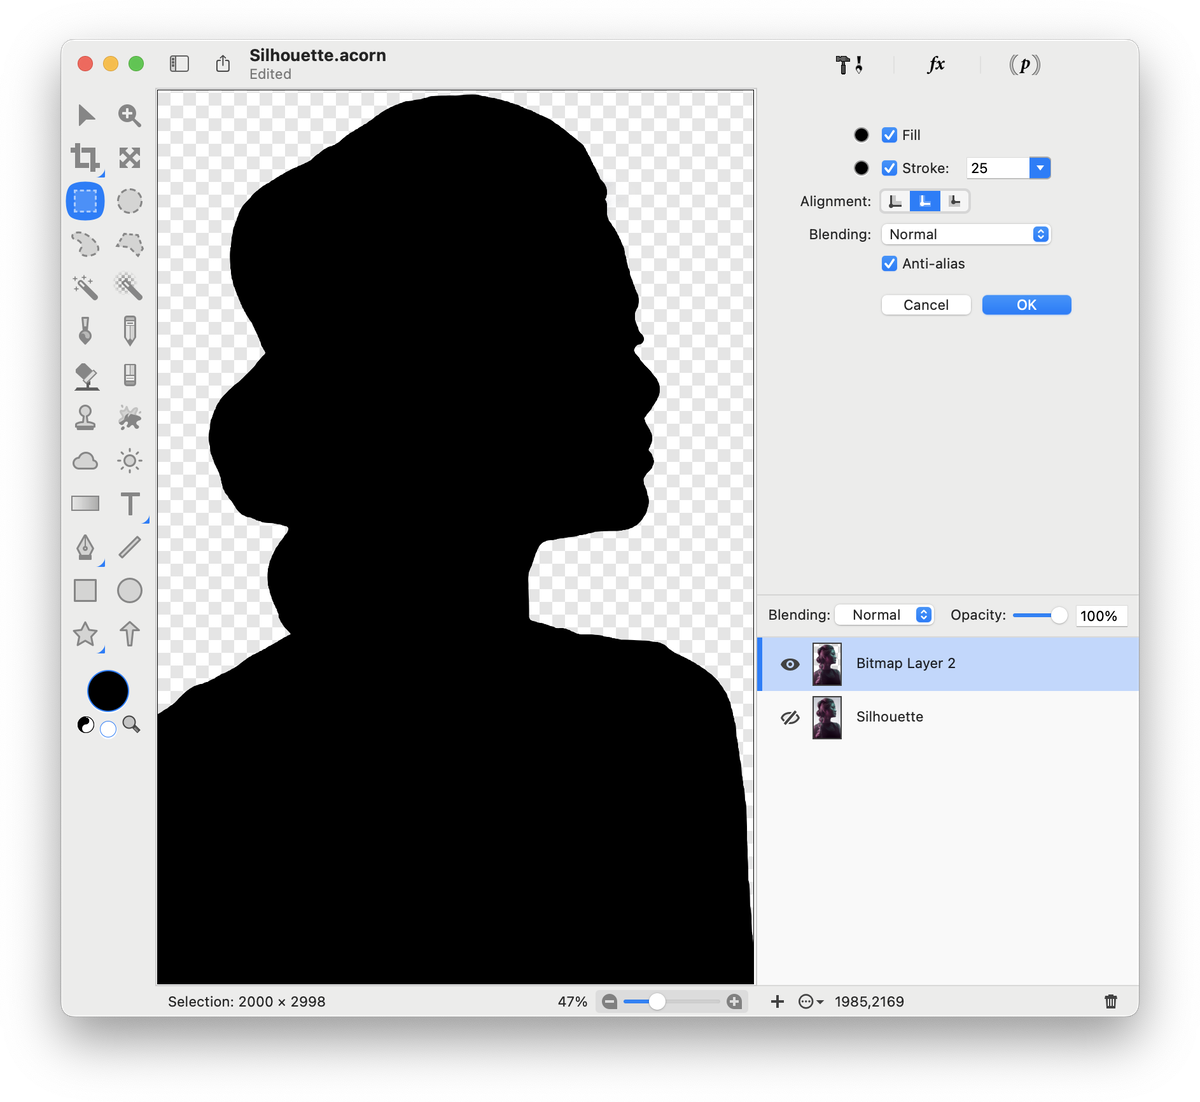
Go to Select ▸ Stroke Selection. Adjust the stroke settings in the inspector palette and check the 'fill' box. Choose the colors of the stroke and fill for your silhouette. When you are done, click the 'OK' box.
Technique 2
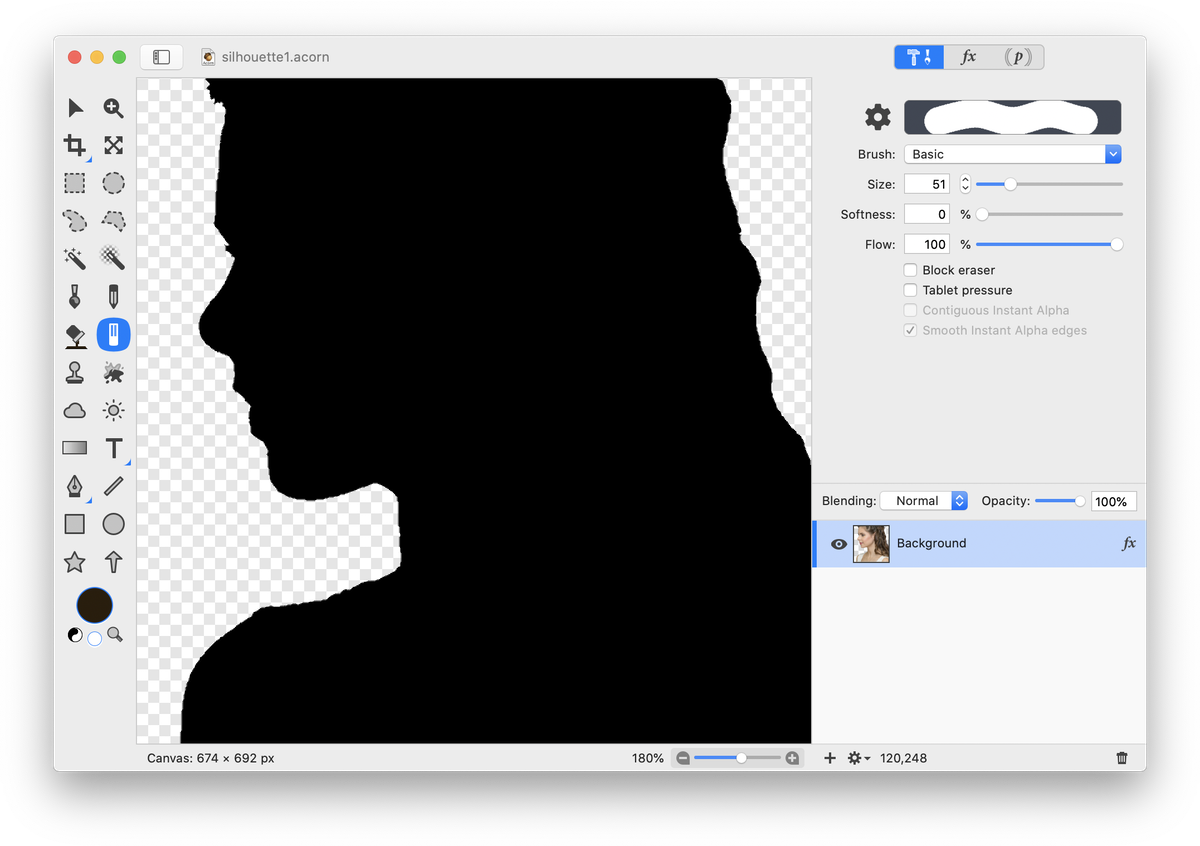
 If your image has a light background without any detail in it, you may be able to skip ahead to applying filters to your image without removing the background. For the image in this example the background needs to be removed. For more details on how to accomplish this, read ‘How to Remove a Background’. A combination of the magic wand tool and eraser tool was used here.
 Go to Filter ▸ Color Effect ▸ Color Posterize. Decrease the levels slider setting to 1. If your silhouette isn’t completely black, click on the ‘+’ at the bottom of the filters window and choose Color Effect ▸ Minimum Component.
 If you are happy with your silhouette, you can stop here!
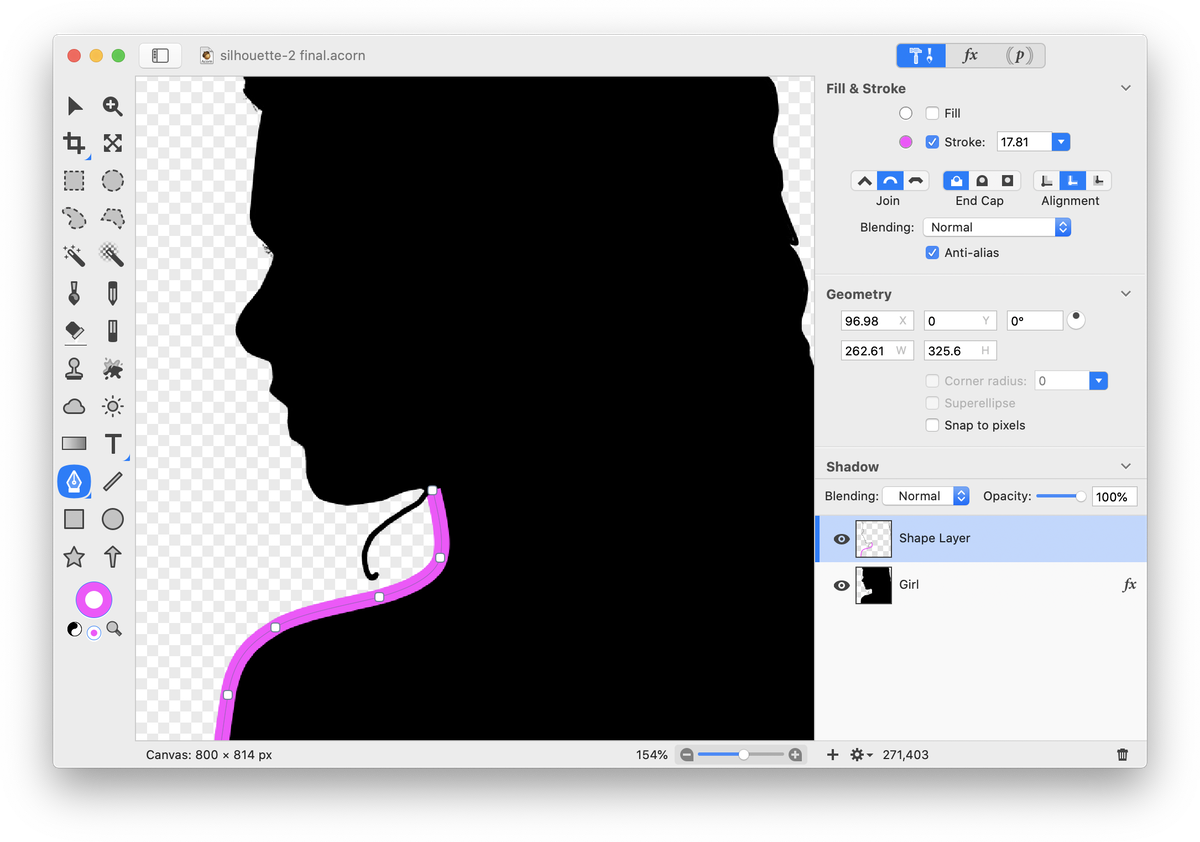
If you want to smooth any rough edges, use the bezier line tool to trace the outline of your silhouette. Select the bezier line tool from the tools palette and choose a stroke but no fill. Click along the outline, similar to this tutorial: Bezier Curve Tool Basics. See also: Bezier Tool, and Bezier Curve Tool Basics 2. It’s helpful to set the stroke color to something besides black to help you see where you have clicked.
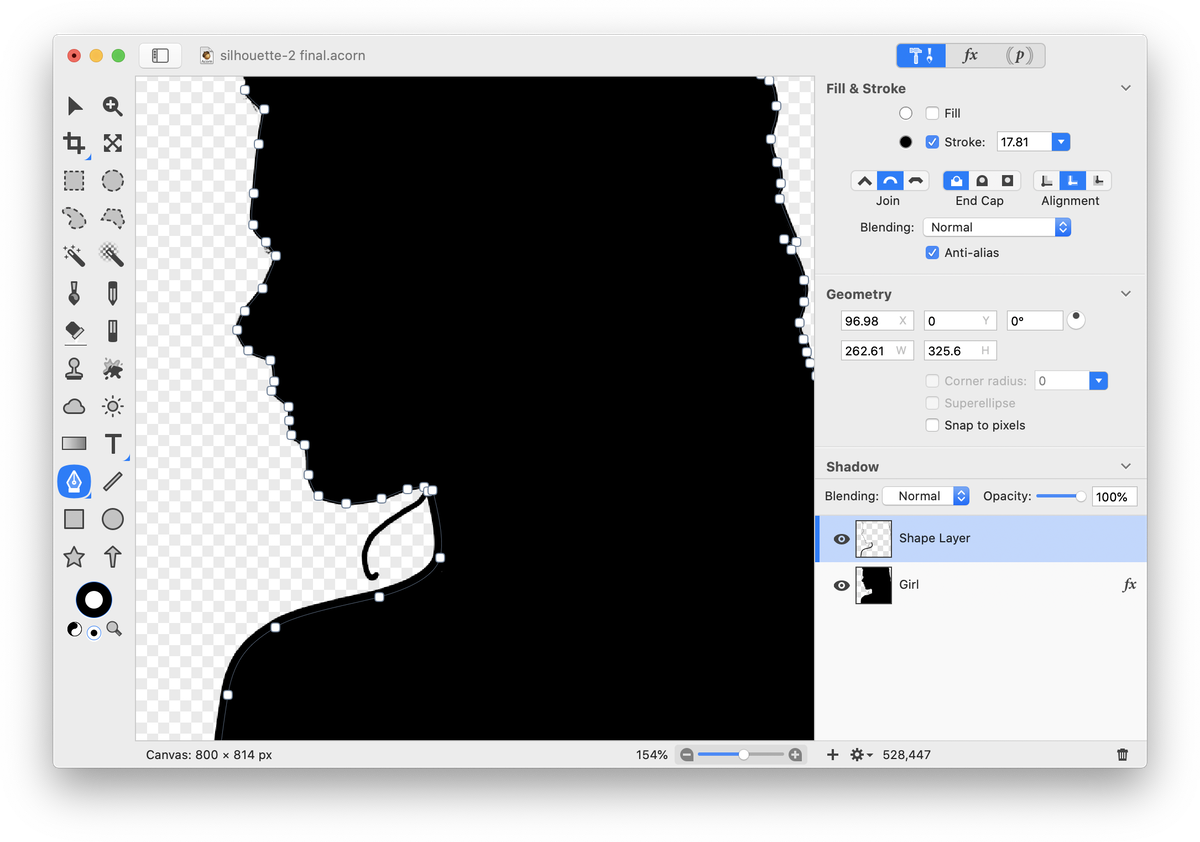
 Change the color back to black when you are ready and play around with the stroke width value.
 And you have a silhouette!
