Vignette Effect
 This tutorial will outline a couple of different methods for creating a vignette effect with your images.
Vignette Effect Using a Radial Gradient Filter
Using a radial gradient filter is probably the easiest and quickest way for creating a circular vignette effect. To start, open your image in Acorn, File ▸ Open. Go to Filter ▸ Gradient ▸ Radial Gradient.
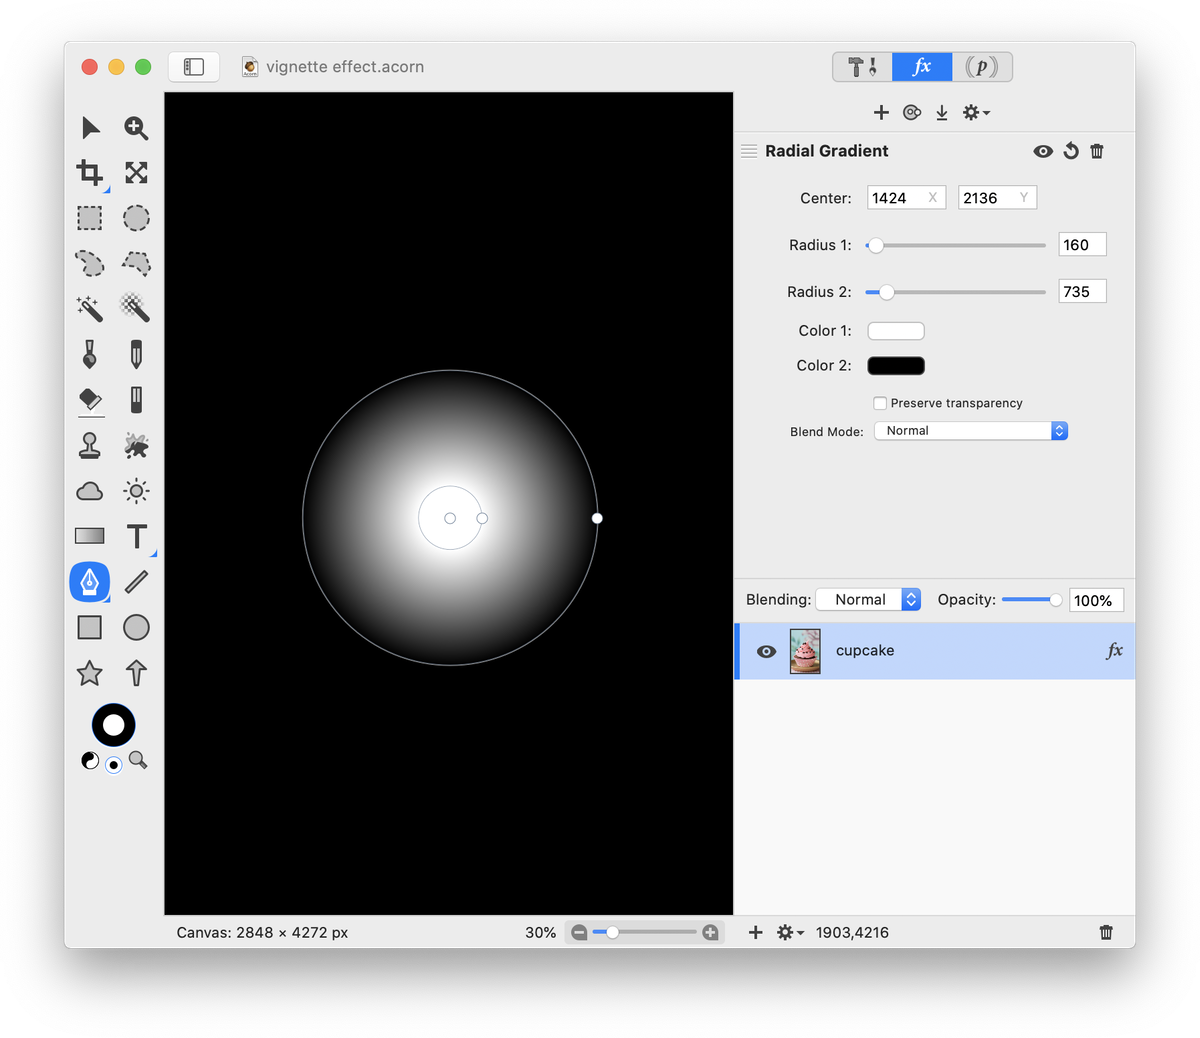 Click on the 'Color 1' color well to bring up the colors palette. Drag the opacity (aka alpha) slider down to 0%.
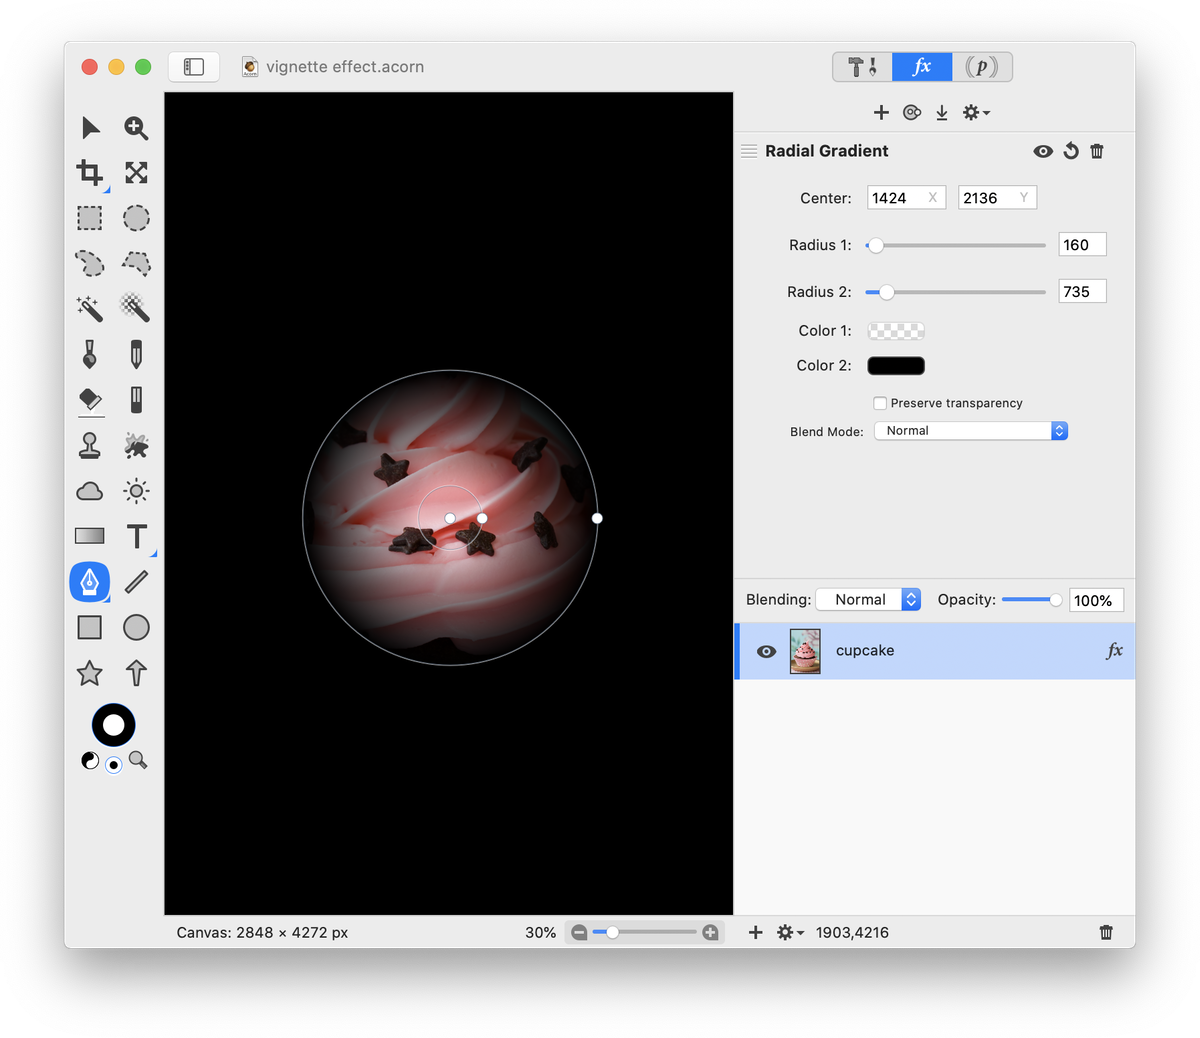 Click on the 'Color 2' color well and choose the color for your vignette. White will be used here. Select the move tool from the tools palette and drag the gradient radius adjusters and the center point located on your image to your liking. Alternatively, you can use the radius sliders and center point fields in the filter window.
 And that's it!

Vignette Effect Using Selections and Filters
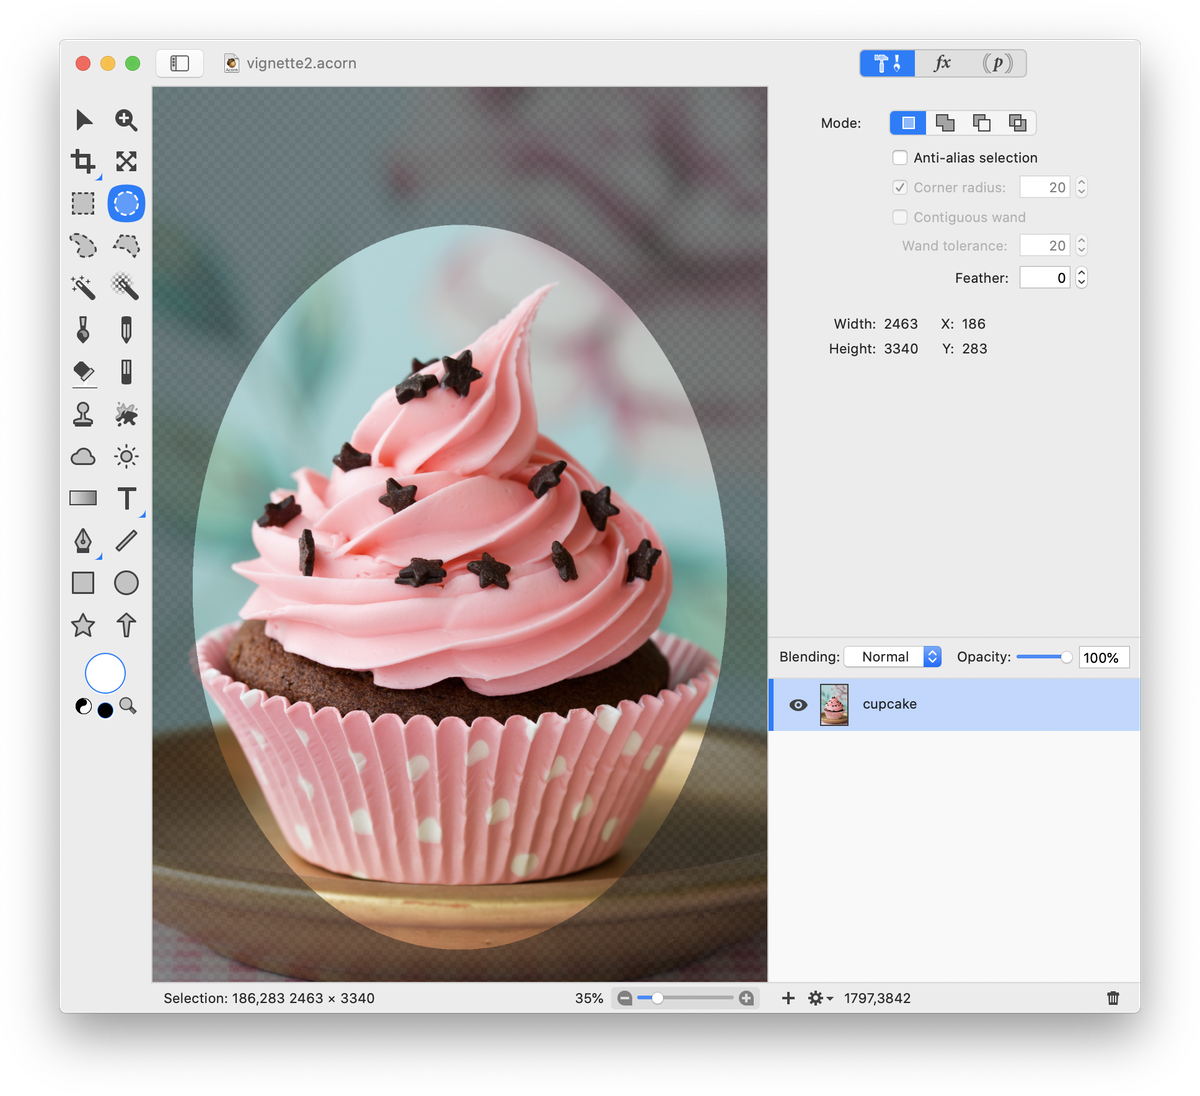
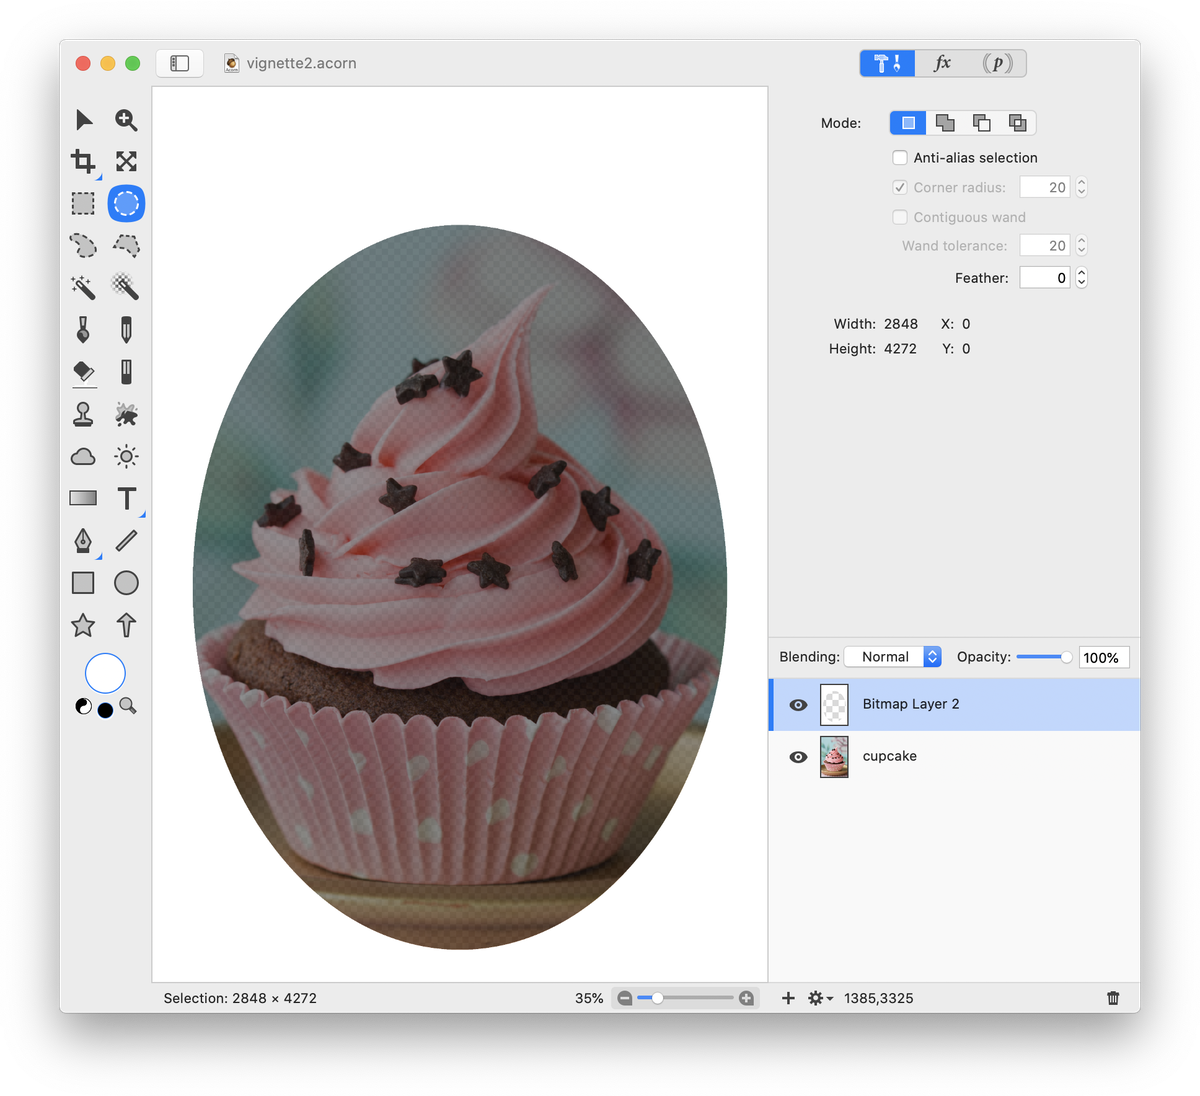
This method involves more steps than the first technique outlined, but you have more flexibility with creating the shape of the vignette. To start, open your image in Acorn, File ▸ Open. Select the elliptical selection tool from the tools palette and make a selection around the area of the image you wish to focus on. The selection is viewed as ‘clipped out’ here to make it easy to see where the selection lies.
 Choose Select ▸ Inverse. Then go to Layer ▸ New Layer with Selection.
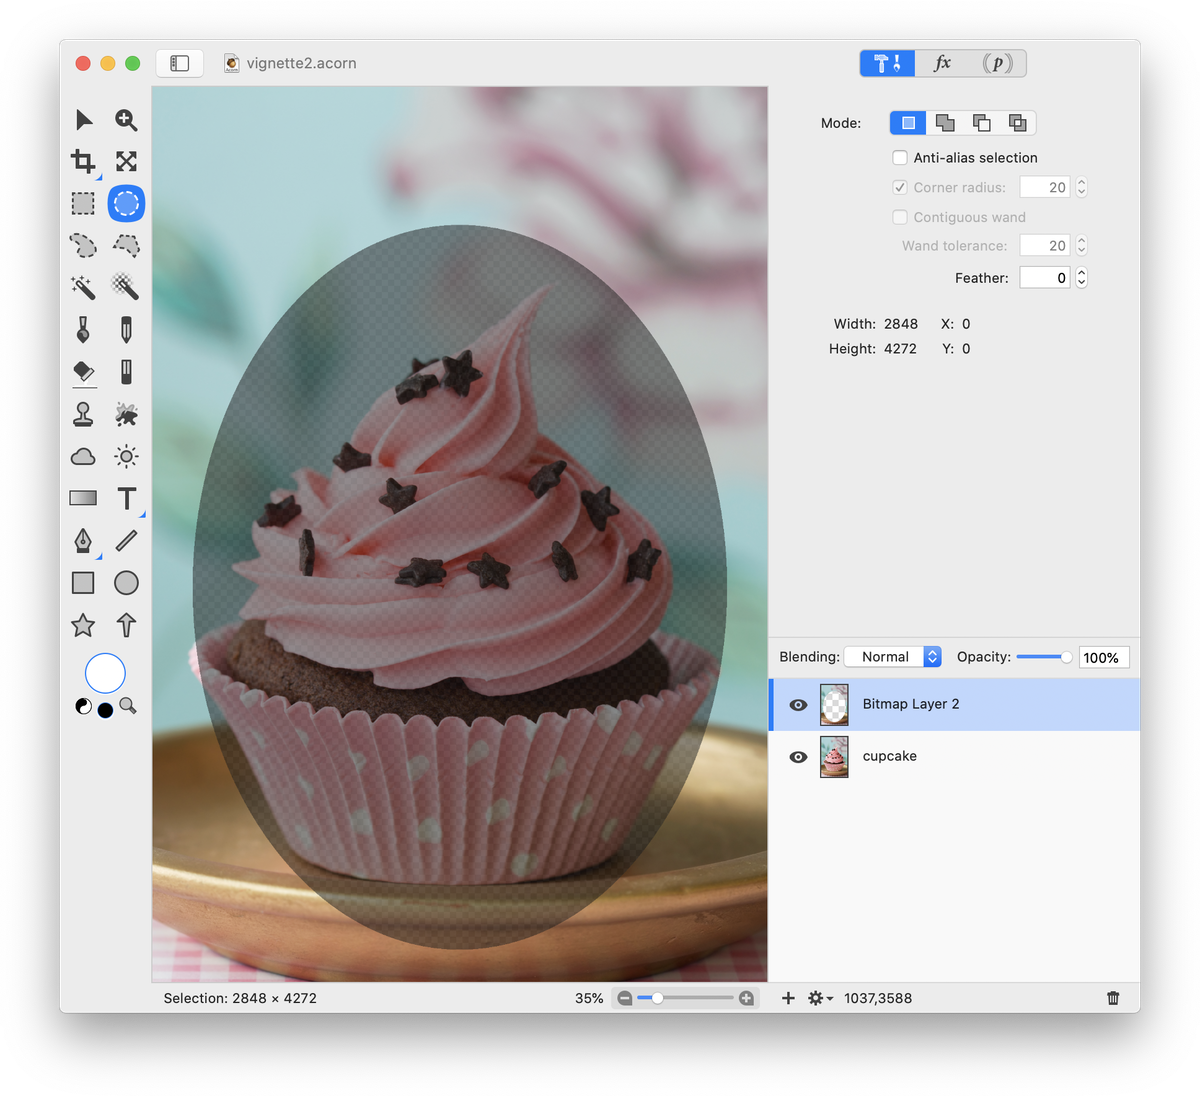 Now select Edit ▸ Fill. Click on the color well in the pop up window to select the color you want around the borders of the image. White, black, and gray are commonly used colors for this effect. Click 'OK'.
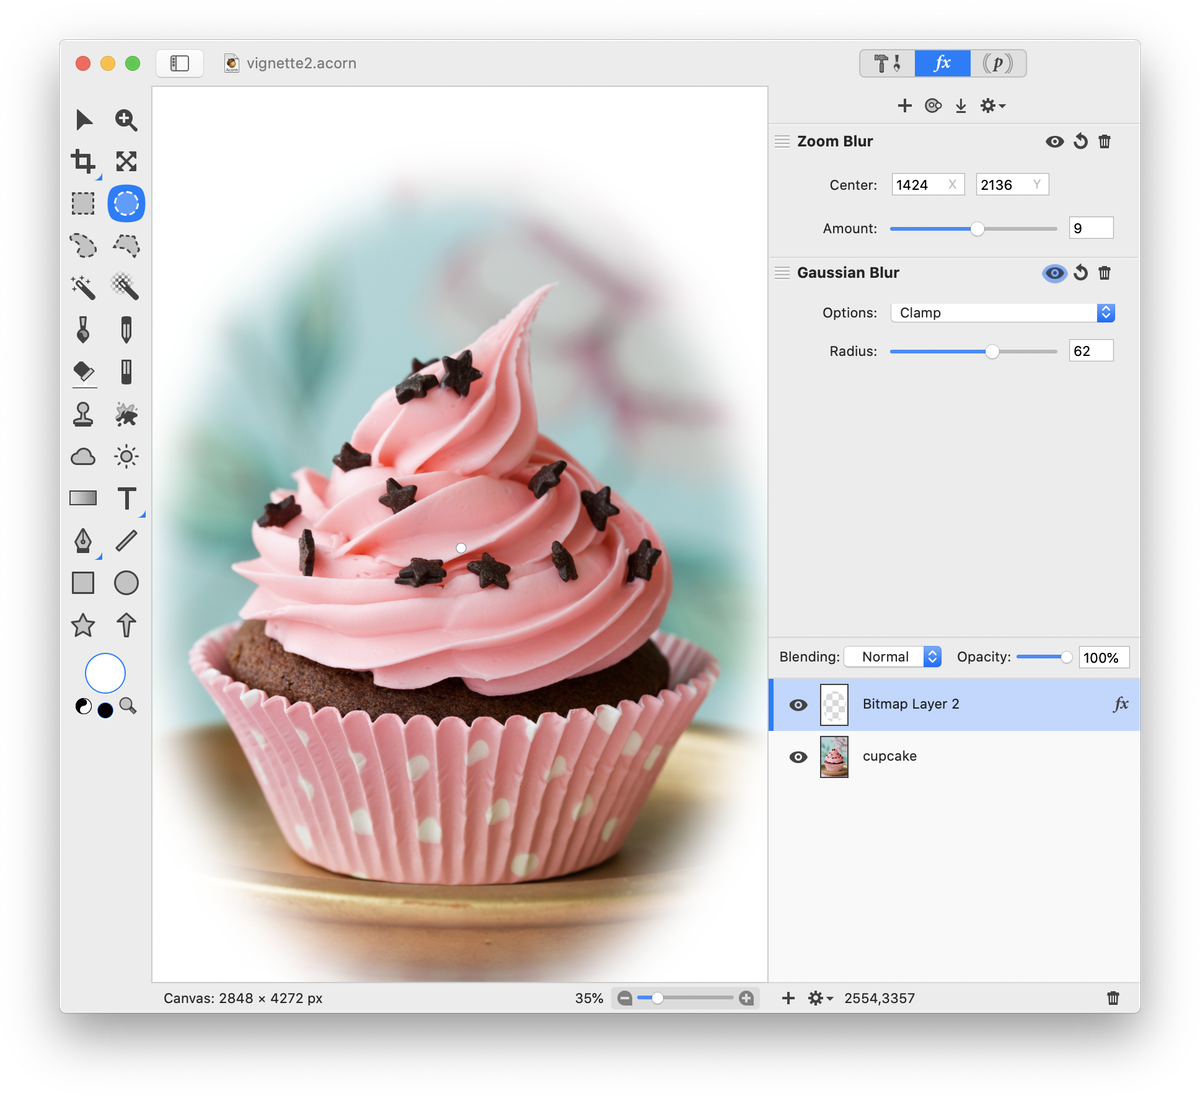
 Deselect (⌘D). Choose Filter ▸ Blur ▸ Gaussian Blur. Adjust the radius slider. Click the '+' towards the bottom of the filters window. Choose Blur ▸ Zoom Blur. Adjust the position of the blur to center the vignette effect by clicking and dragging on the 'zoom blur center' in the canvas window. Adjust the amount of the blur to your liking. Once things are looking good, click 'Flatten'.
 If the effect turned out too strong, you can try decreasing the opacity of the vignette effect layer.
Photo Credit
© Ruth Black
If the effect turned out too strong, you can try decreasing the opacity of the vignette effect layer.
Photo Credit
© Ruth Black