Turning an Image into an Outline Drawing
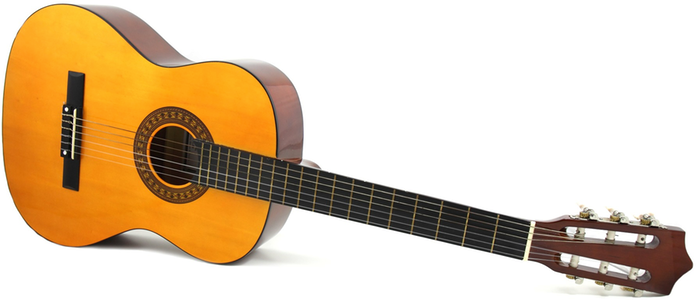
This tutorial will teach you how to turn a photo of a guitar into an outline drawing using two different methods.
Method #1
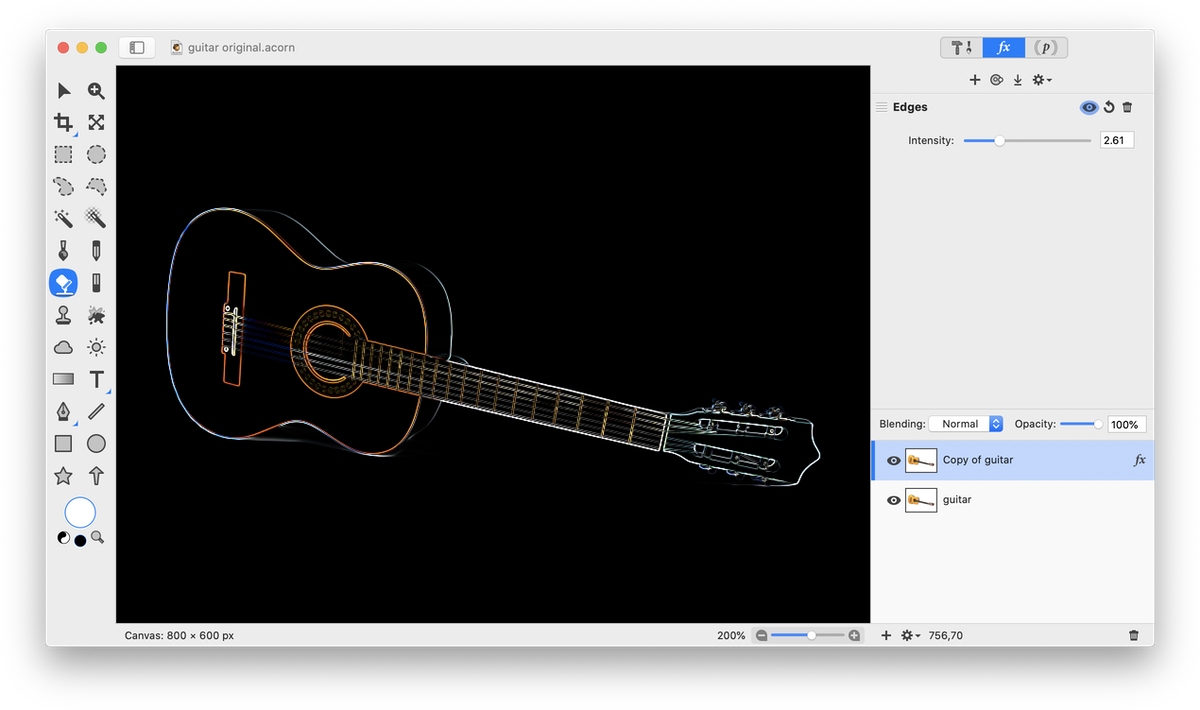
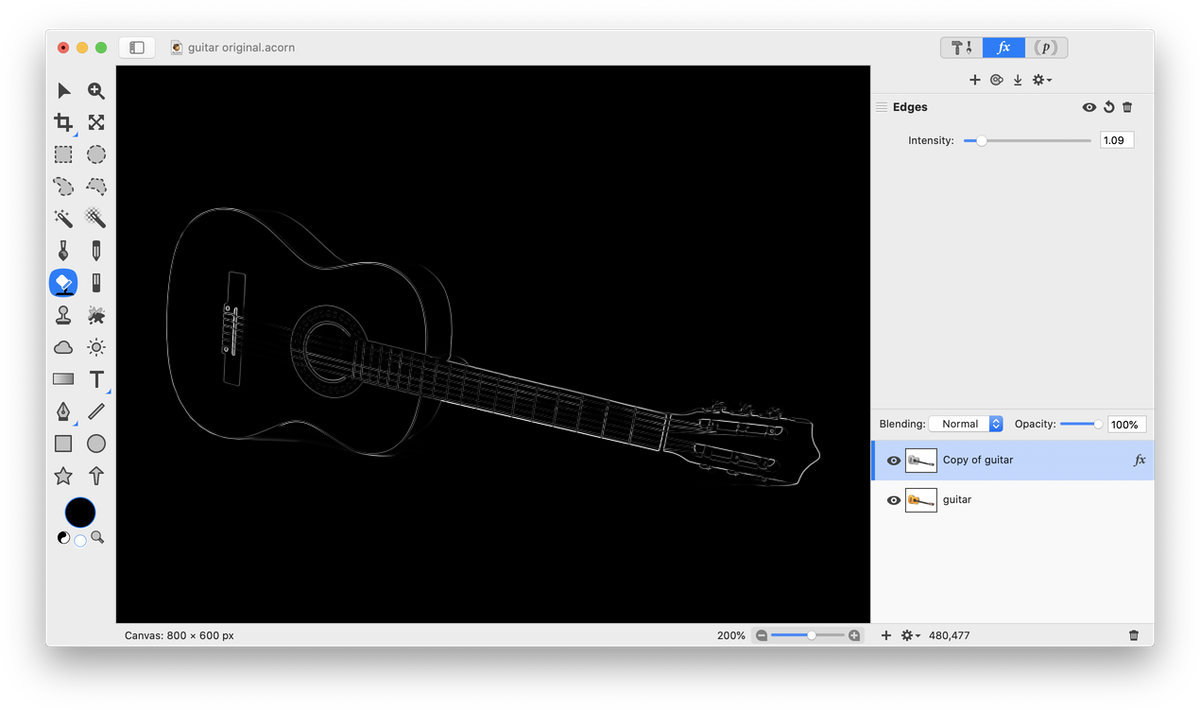
Start by duplicating your layer so you have 2 layers with the guitar photo on it, Layer ▸ Duplicate Layer. Then, on the top layer, apply the Edges filter under Filter ▸ Stylize ▸ Edges. Adjust the intensity of the outline.
 Now create a new layer on top of your outline layer, Layer ▸ New Layer. Fill this new layer in with black using the flood fill tool and set the blending mode to Saturation. This will make the outline white. Merge the black fill layer down, Layer ▸ Merge Down (⌘E) into the outline layer so they become one layer.
 Now, use the Filter ▸ Color Effect ▸ Color Invert menu. This will make the background white, and the outline black.
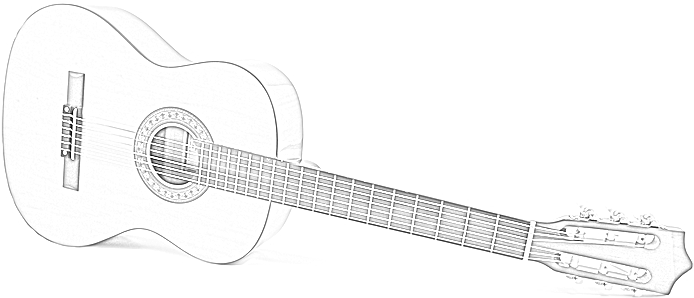
 And your outline is done and free to colorize any way you choose!
Method #2
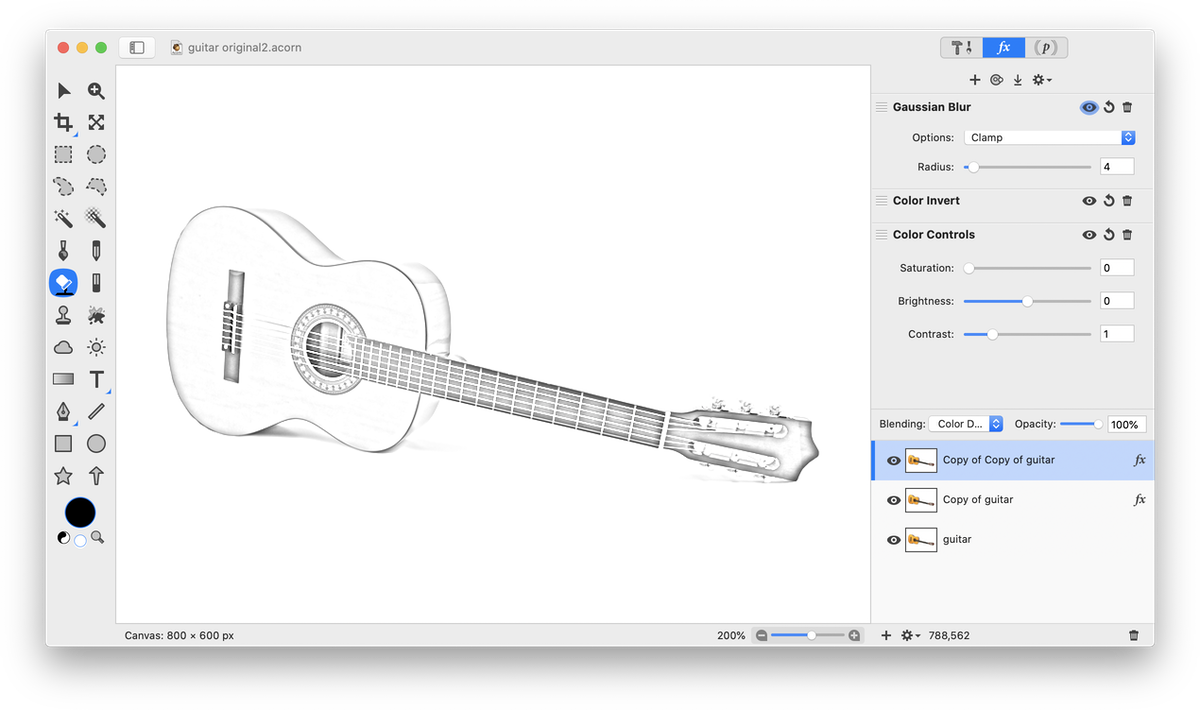
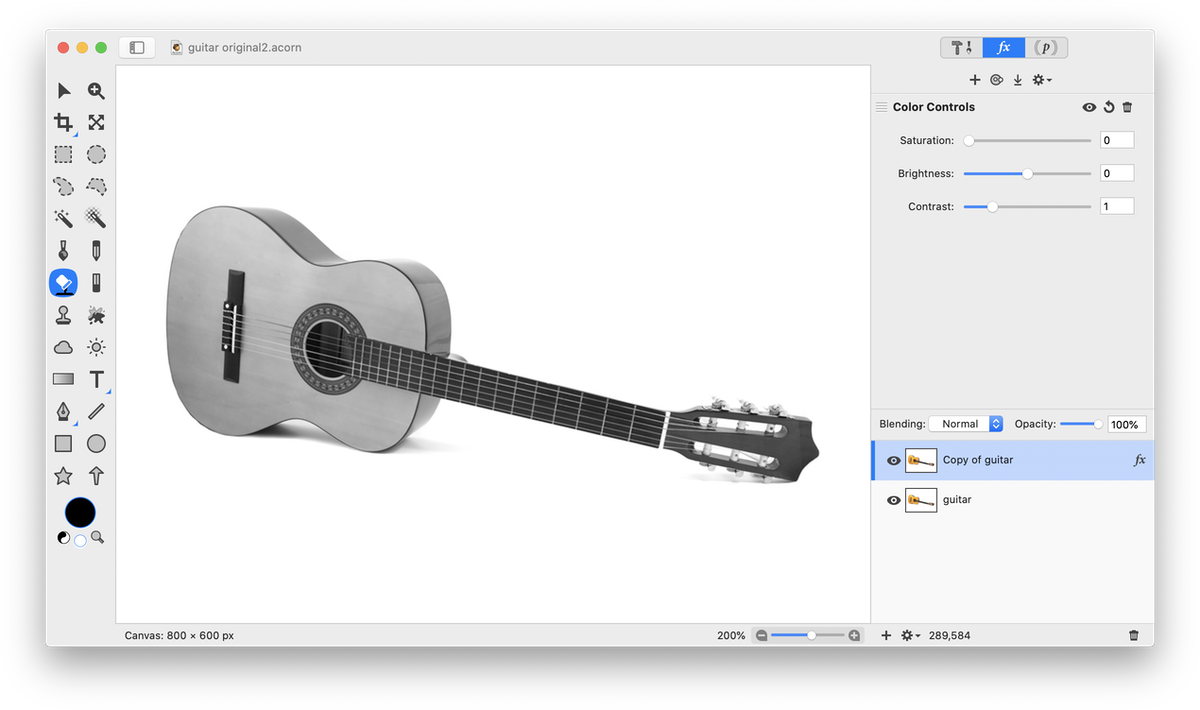
Start by duplicating your layer so you have 2 layers with the guitar photo on it, Layer ▸ Duplicate Layer. Desaturate the duplicated layer by choosing Filter ▸ Color Adjustment ▸ Color Controls. Decrease the saturation to 0.
 Now, duplicate the desaturated layer, Layer ▸ Duplicate Layer. Choose Filter ▸ Color Effect ▸ Color Invert.
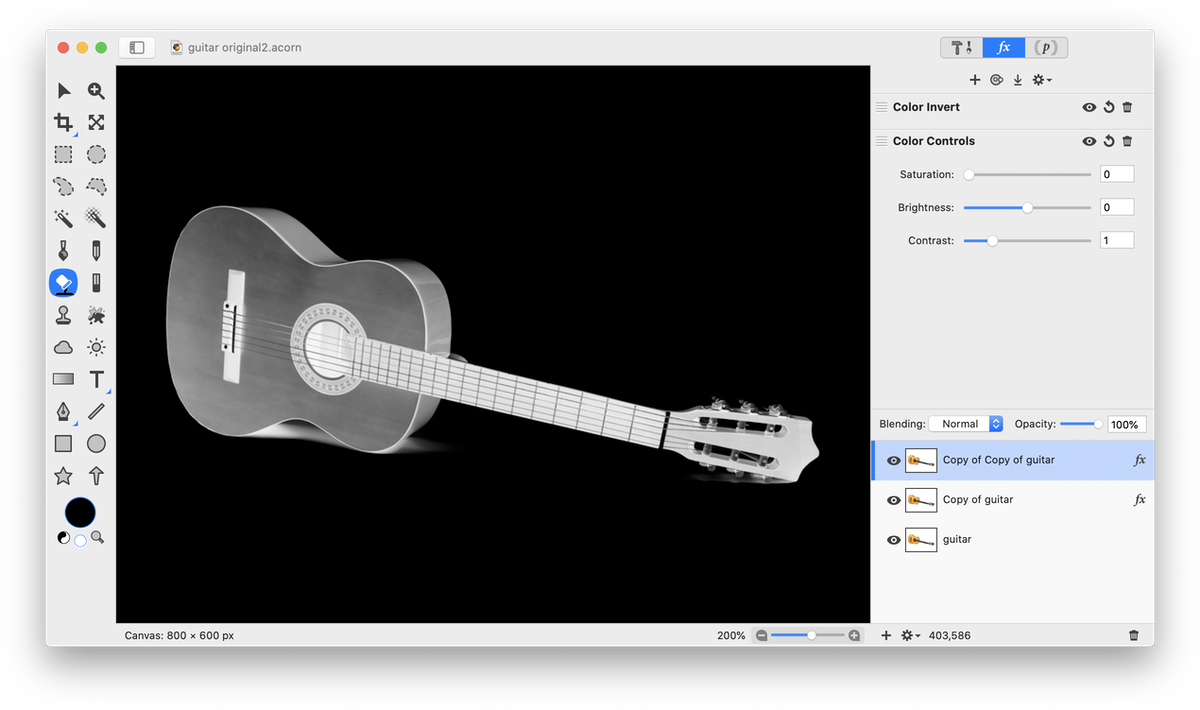 Change the blending mode of the inverted layer to 'Color Dodge'. It is likely your canvas will be almost completely white at this stage. Choose Filter ▸ Blur ▸ Gaussian Blur and play around with the radius setting. The setting used here is a radius of 4.