Layer Masks
Layer masks allow you to show or hide certain parts of a layer without actually having to modify the layer itself. This can be tremendously helpful when working with layers without committing to permanent modification.
Creating a Layer Mask
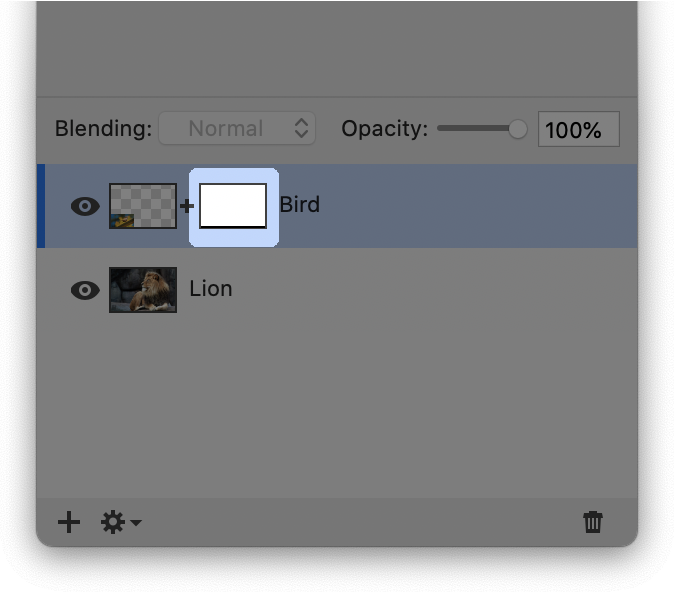
Select the layer that you would like to add on a layer mask. At the bottom of the layers list, click on the action menu (cogwheel) and select "Add Layer Mask". You can also control-click on the layer to bring up the canvas contextual menu, or choose Layer ▸ Add Layer Mask.
The mask shows up to the right on the layer as you can see highlighted on the image to the right.
Working with Layer Masks
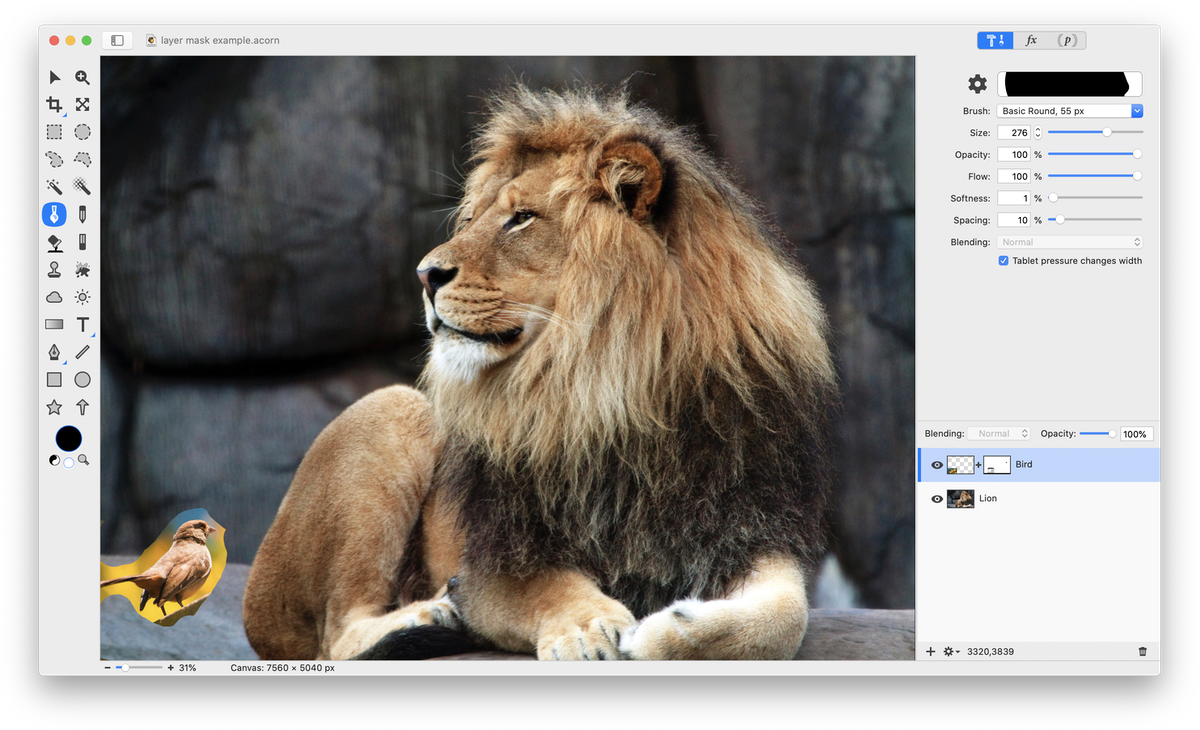
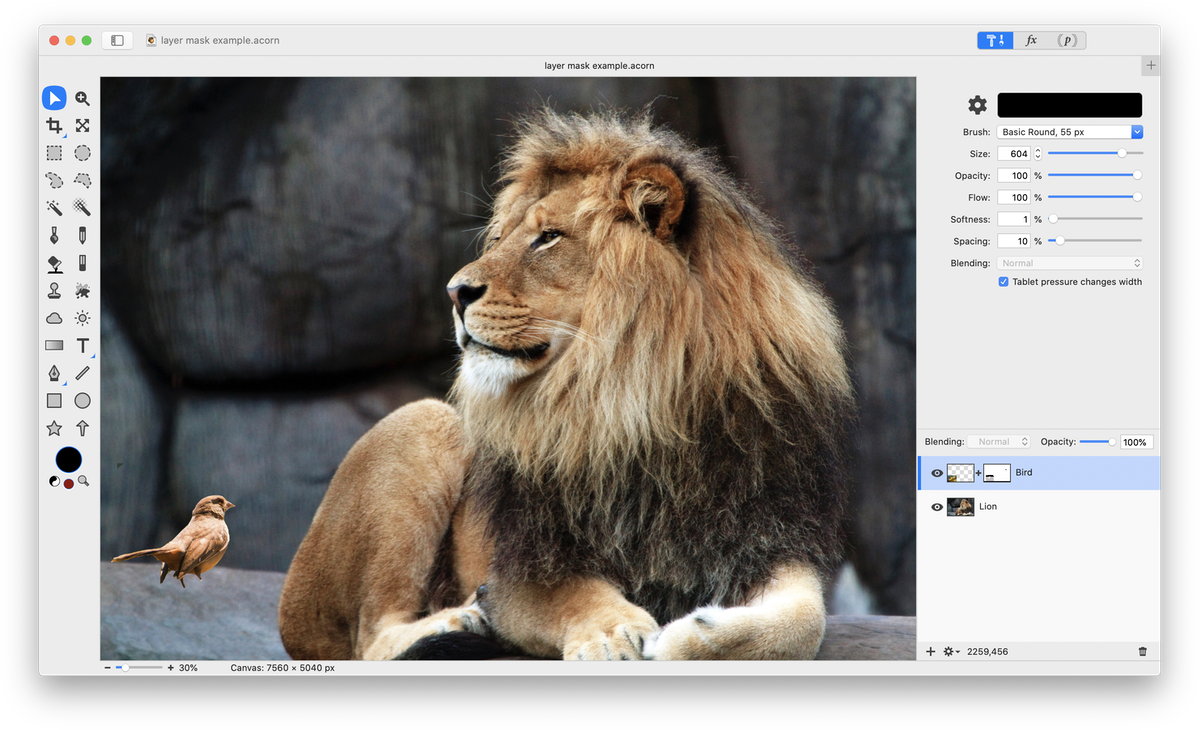
In layer masks, black that is drawn or painted on the mask hides pixels in the linked layer thus exposing the layer below in those areas. In this example the bird layer has the layer mask, and the lion is in the layer below. By selecting a brush and the color black, the bird's background can appear to be removed by drawing on the layer mask.
Drawing on the layer mask in different shades of gray changes the opacity. A light shade of gray will expose less of the layer below than a dark shade of gray. If you are drawing on the mask using a color, Acorn converts the color to a shade of gray between black and white.
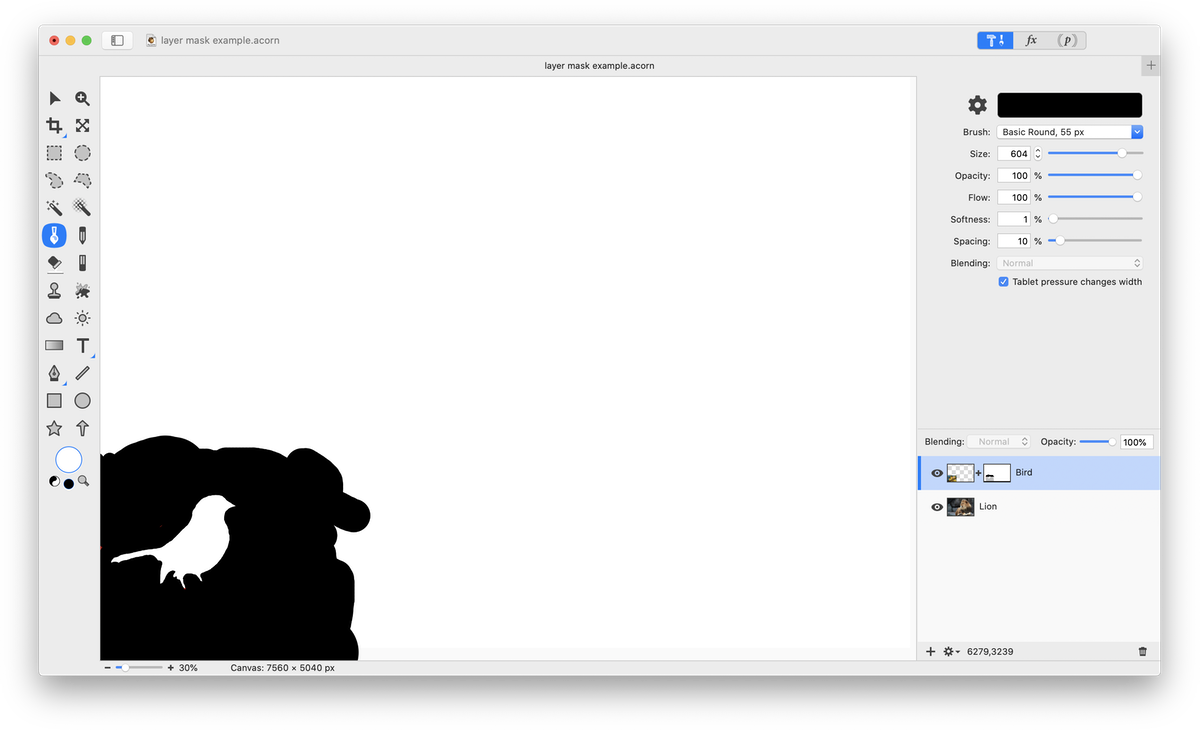
To edit and see your work on the layer mask directly option click on the layer mask thumbnail. Option click on the thumbnail again to return to the full layer view.
Moving, Disabling, Selecting, Committing, and Deleting Layer Masks
To move a layer around on the canvas without also moving the layer mask, click on the "+" that is located between the layer and layer mask in the layers list. Re-clicking in this location will cause the "+" to appear again and allow the layer mask to move with its layer in the canvas.
To move a layer mask, click on the layer mask and drag and drop it onto another layer mask. Hold down the shift key to move the layer mask to a layer that doesn’t already have a layer mask. Hold down the option key to make a copy of the layer mask, or drag and drop the layer mask onto the ‘+’ icon to copy it. To bring up the menu item, click on the layer mask to select it then hold down the shift and option keys and navigate to Layer ▸ Eject Layer Mask.
Disabling a layer mask allows you to see what things look like in your project without the layer mask present. Hold down the shift key while clicking on the layer mask to enable/disable it. You can also disable a layer mask by right clicking on the layer to bring up the contextual menu and selecting "Disable Layer Mask". The layer mask will turn dark gray to show that it is disabled. The layer mask can be turned on again by selecting "Enable Layer Mask" from the contextual menu. You can also perform these functions via the Layer ▸ Disable Layer Mask/Enable Layer Mask menu items.
To make a selection out of the mask, command click on a layer mask's thumbnail.
To commit a layer mask, hold down the option key and choose the Layer ▸ Apply Layer Mask menu item.
To delete a layer mask, make sure you have the mask selected. Then you can right click on the layer and select "Delete Layer Mask”, or use keyboard shortcut command delete. Another way to accomplish this is to click on the action menu at the bottom of the layers list and the option to delete the layer mask will be presented. You can also choose the Layer ▸ Delete Layer Mask menu item or drag and drop the layer mask to the trash icon at the bottom of the layers list.
Vector Shapes and Layer Masks
Currently layer masks are bitmap only, which means you cannot draw shapes in them. If you would like a shape in a layer mask, there is a technique you can perform as outlined in the Shapes in Layer Masks tutorial.
Additional Relevant Documentation
Clipping to a Shape Layer (video tutorial)
Shapes in Layer Masks
Layer Mask Examples