Crop Tool
![]()
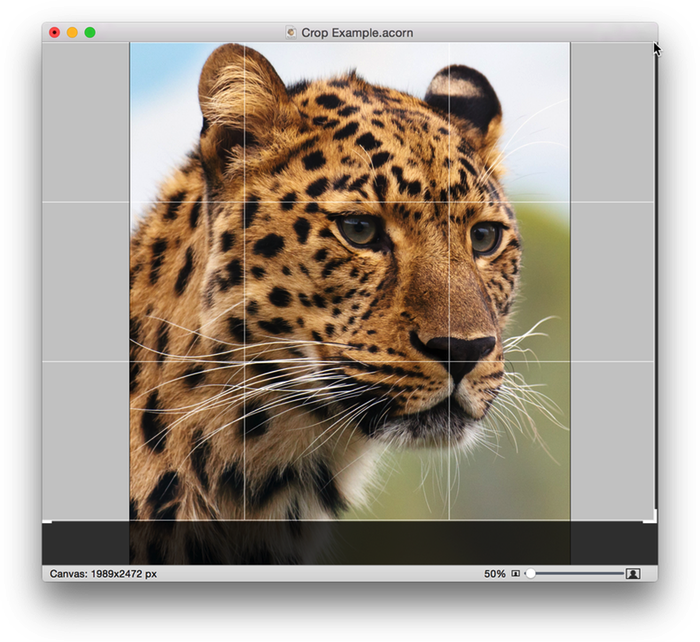
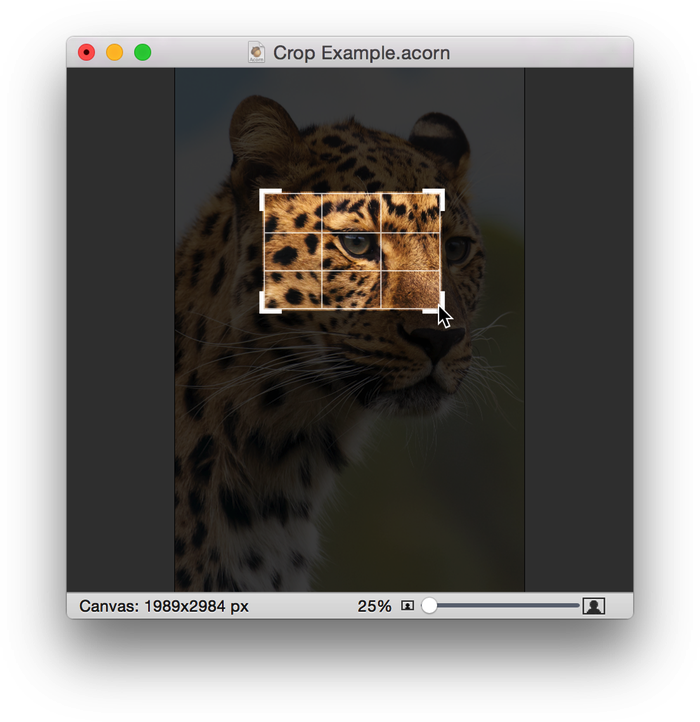
Select the Crop Tool (Shortcut key "C") and click and drag on your canvas to place a crop on your image.
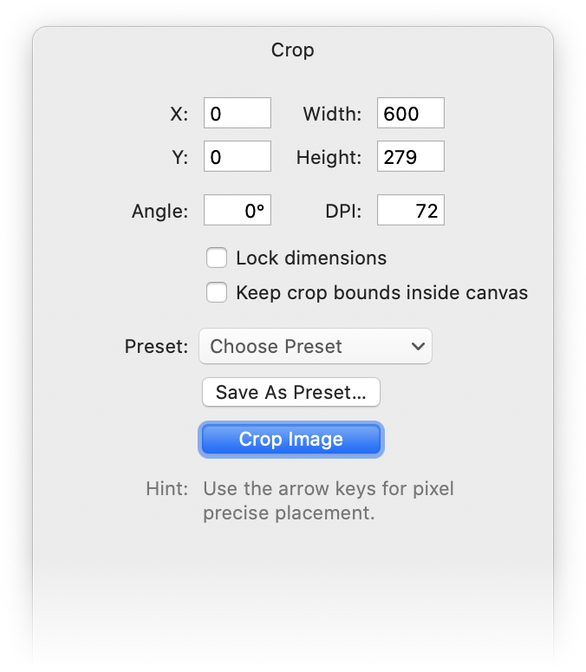
You can then click and drag in the middle of the crop to move it around, use the arrow keys to move your crop by small increments, or remove the crop by hitting the escape key (esc). You can resize the crop by moving the edges and corner handles, or using the width and height fields in the inspector palette.
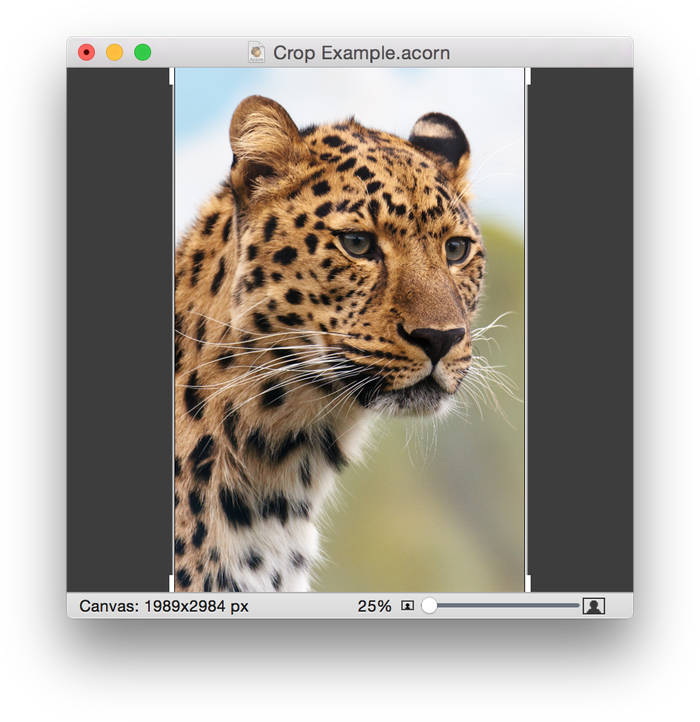
To finalize the crop, press the Return key, press ⌘⌥K, or click the “Crop Image“ button in the crop palette.
You can rotate the canvas while cropping by clicking and dragging on the canvas outside the crop boundary, or by using the angle field in the inspector palette.
In order to maintain the aspect ratio of a crop while resizing the crop, hold down the shift key while moving a corner of the crop edge in or out.
Pro Tip: Pressing 'h' while in crop will toggle hiding the areas outside of your crop frame.

Cropping Presets
Acorn provides preset cropping choices which are useful if you want your image cropped to a standard width and height.
If you wish to swap the dimension of the crop preset (for example, you want 3x2 instead of 2x3), hold down the shift key while clicking on the crop preset you want. Be sure not to release the shift key until after you have clicked and released your choice. Alternatively you can select the dimensions, then hit the ‘x’ key to swap the width and height.
The crop preset 'Document' adds a crop to the canvas at 90% of the canvas size, and will keep its aspect ratio when resizing.
You can also create your own crop presets. This is especially useful if you frequently use crop dimensions not already present in the preset list. Enter a width and height into the crop fields, then click "save as preset" in the crop palette. You will be asked to name the preset. The preset will show up towards the bottom of the "choose preset" list. To delete a custom preset, hold down the option key while clicking on that preset.
Cropping presets maintain their aspect ratios if you drag in or out on a corner boundary of the crop.
Crop Tips & Keyboard Shortcuts
Cropping a Layer - hold down the option key then hit the return key to crop only the current layer (bitmap layers only), or use keyboard shortcut ⌘⌥⇧K.
Temporarily Turn Off Snapping - start dragging on your crop then hold down the control key.
Rotate From Anywhere in the Crop - hold down the option key while dragging anywhere on the canvas.
DPI - adjust the DPI of the image at the same time as cropping.
Lock Dimensions / Resizing - the crop palette has a checkbox for ‘Lock Dimensions'. When you check the box, your crop and the final size of your image will be the pixel dimensions you have set. For instance, let's say you add a 100x100 crop on your image, and then check ‘lock dimensions’. Then you click and drag on the crop boundary to make it larger. When you hit crop, your image will crop and then resize down to 100x100. You will have set your image size at the same time you made a crop.
Auto Crop - auto crop is a built in function that attempts to look at what is on the screen and crop out the extraneous space. This is perfect for any picture with a solid color border you are trying to remove. To do this, choose the Image ▸ Crop menu item. If auto crop can help you, it will.
Perspective Crop - go to Edit ▸ Tool ▸ Perspective Fix & Crop, or click on hold on the crop tool in the tools palette to bring up Perspective Fix & Crop. Draw out a crop and a grid will appear on the canvas which you can use to help fix images where there are problematic perspective distortions. Drag the edges of the grid to outline the areas of the image you want to keep.
Cropping a Selection - if you have a selection (using the various selection tools), you can use the Image ▸ Crop command to crop to the bounds of the selection. To crop a single layer to a selection, hold down the shift key when choosing Image ▸ Crop.
Panning While Cropping - if you are cropping a large image where scroll bars are present, you can pan the image while in crop by holding down the space bar then clicking and dragging. This makes getting to the area of the image you want to crop easier.
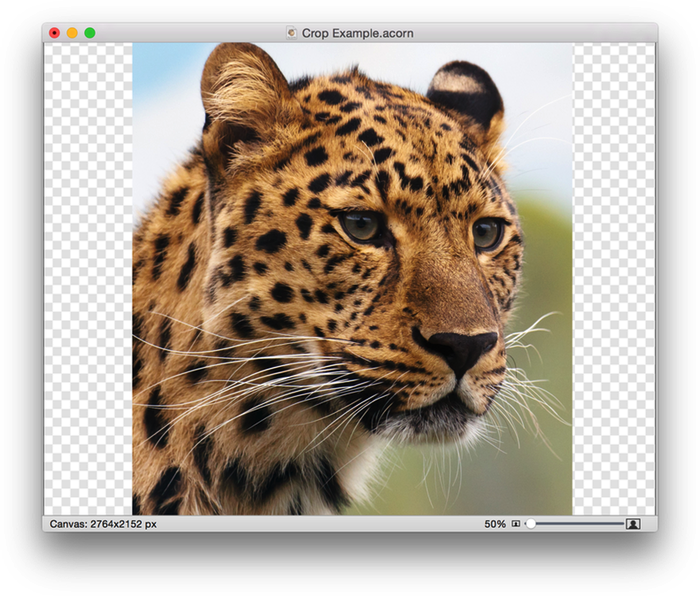
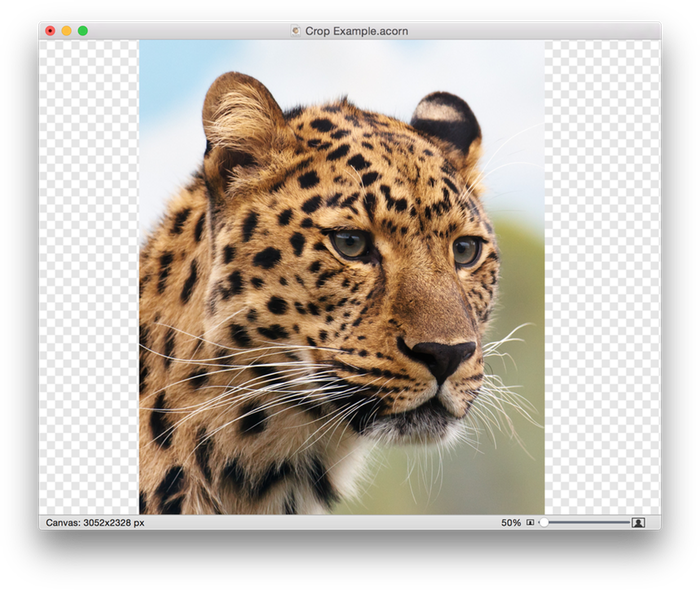
Keep Crop Bounds Inside Canvas - crop gives you a check box option to keep the crop inside the canvas. If you turn this option off, you can make a crop outside the canvas. Why would you want this? Well, consider the crop below. When the crop is applied, transparent pixels will be present in the area of selection outside the canvas. This is handy if you would like to resize your canvas while doing your crop. Pressing 'b' while in crop mode will toggle the “keep crop bounds inside canvas" option.
Additional Relevant Documentation
Cropping a Photo for Printing
Straightening a Crooked Image (written documentation)
Straighten a Crooked Image (video tutorial)