Acorn Acorn 7

Straightening a Crooked Photo


There are a couple of techniques for straightening crooked images in Acorn.  
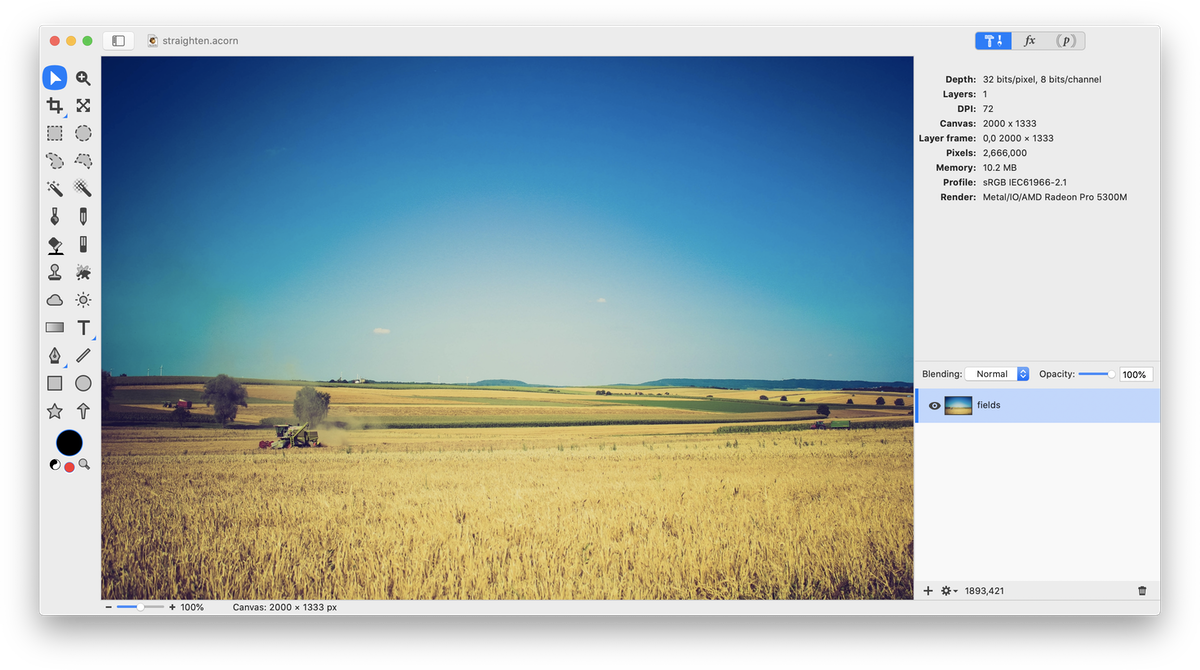
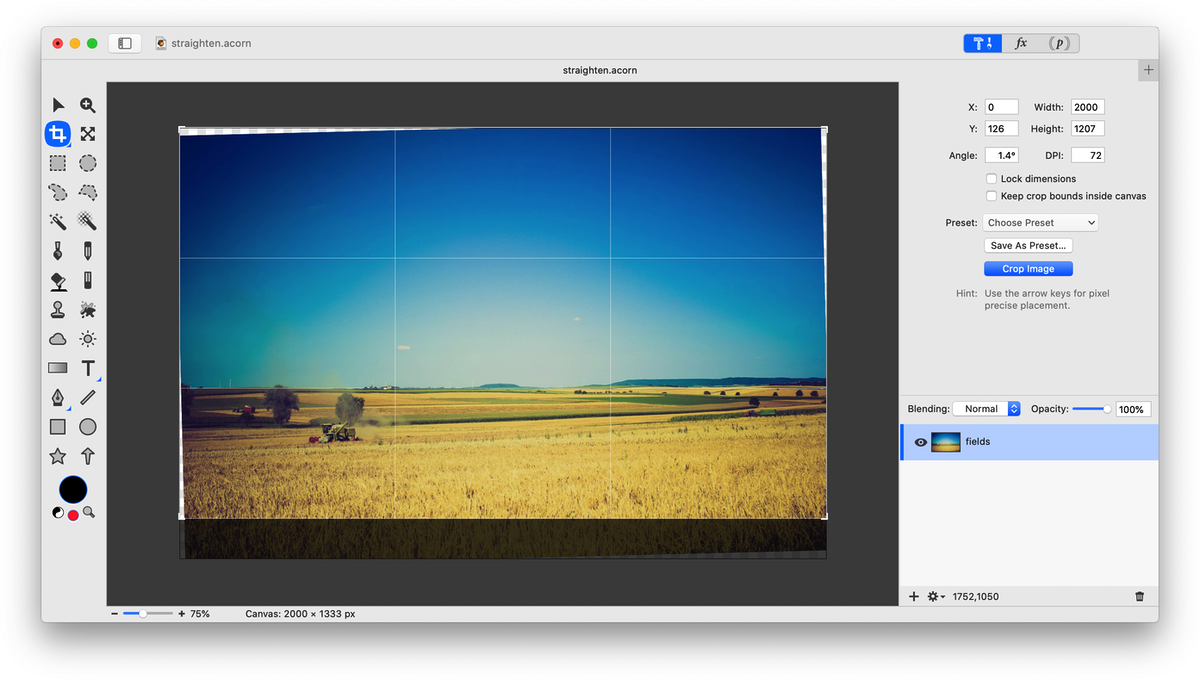


Crop Tool Technique


Open your image in Acorn, File ▸ Open. 

Screen Shot 2021-01-28 at 4.41.12 PM.png

Increase the size of the canvas window by dragging outwards on a corner of the canvas.  Select the crop tool and click and drag on your image to create a rough crop.  You can change the crop dimensions later.  Then, click and drag within the gray space of the window to rotate your image until it matches up with a horizontal or vertical reference of the crop tool.  You can move your crop around to assist with lining things up.

 Open in Acorn - -0AC3CDEC-9E34-4A20-BFE2-C513EACB51C8.tiff

Increase or decrease the size of your crop by dragging on the crop corners to eliminate any transparent areas in the image that were created.  Click ‘Crop Image’ when you are done.


Using Grids 


For additional horizontal or vertical reference points to straighten an image, add a grid. Open your image in Acorn.  Turn on your grid, View ▸ Show Grid or keyboard shortcut ⌘'. If you wish, you can change your grid settings by going to View ▸ Grid Settings. The grid helps line things up horizontally or vertically. Follow the above steps for using the crop tool to rotate and crop the image.   


See Also:  Straighten a Crooked Photo (video tutorial); Crop Tool Basics