Shape Tools
Besides altering bitmap images, Acorn also provides tools to add your own simple vector shapes. Please note that the only file format that can save your shapes for editing at a later time is the native Acorn file format. Acorn's shape tools consist of bezier (P), rectangle (R), ellipse (O), line (;), arrow, star, and polygon. Please read bezier curves for more detailed information on the bezier tool.
Acorn's Shapes
When you click on a shape tool, the inspector palette will load the shape options. Among other things, you can change the dimensions of your shapes, turn stroke and fill on and off, alter the angle of the shape, and add a drop shadow.
You can move your shapes around in the canvas using the move tool (V).
![]() Rectangle Tool (R)
Rectangle Tool (R)
The rectangle shape tool (R) is how you create rectangles and squares. To create a perfect square, hold down the shift key while you are creating the shape. Press the spacebar while creating the shape to reposition the origin.

![]() Ellipse Tool (O)
Ellipse Tool (O)
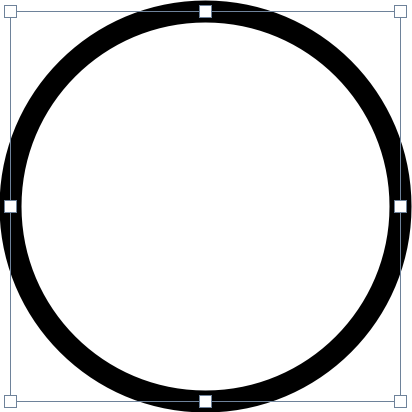
Creating an ellipse is similar to creating a rectangle. You can create oval shapes simply by dragging out the shape. You can create a perfect circle by holding down the shift key while dragging. Press the spacebar while creating the shape to reposition the origin.
![]() Line Tool ( ; )
Line Tool ( ; )
The line tool can be used to create lines at any angle of any length. You may also create a perfect horizontal, vertical, or diagonal 45º angle line by holding down shift and dragging the shape out in the direction you wish.
![]() Arrow Tool
Arrow Tool
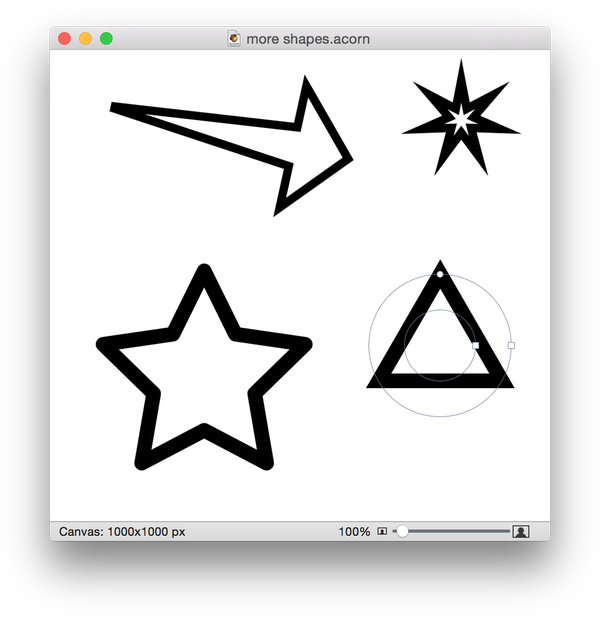
The arrow tool provides you with a flexible and easy way to create arrows in your image. Once you've drawn out your arrow, you can adjust the size of the arrowhead by dragging the selection point in the head towards the tail or towards the tip. To learn more about this tool, read the arrows tutorial.
![]() Star Tool
Star Tool
The star tool defaults to a 5 point star, but you can edit the number of points to create many different variations including triangles and diamonds. You can modify the number of points with the on-canvas controls, or in the inspector palette. To learn more about this tool, read the stars tutorial.
![]() Polygon Tool
Polygon Tool
Click and hold on the star tool in the palette to see the polygon tool. The polygon shape tool defaults to 8 sides, but you can adjust the number of sides to create many different variations. You can modify the number of points with the on-canvas controls, or in the inspector palette.
Stroke, Corner Radius, & Fill
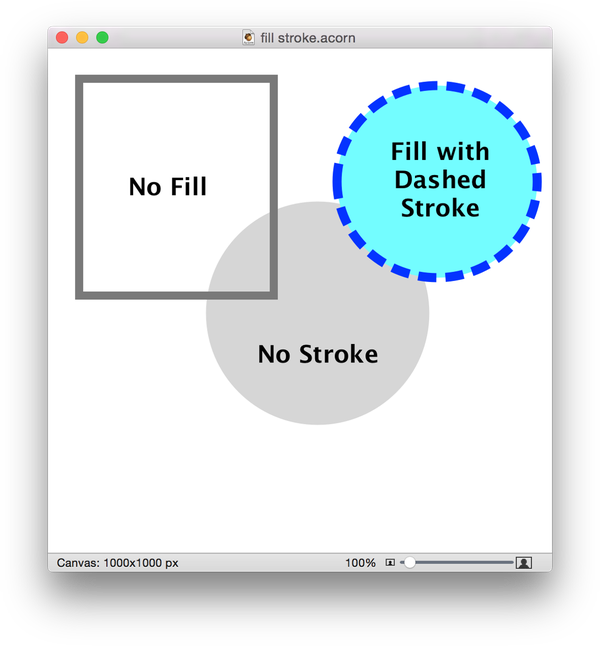
You have the option to turn on/off fill, and adjust the stroke value in the inspector palette. The stroke is the outline of the shape and the fill is the inner color. Line shapes have no fill, only stroke. Checking the corner radius box and adding a value in the drop down menu will give your shape rounded edges. Increasing values increases the amount of curve in the corners for a more "rounded rectangle" appearance.
Shape Color
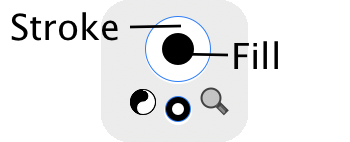
In the tools palette, color can be applied to both the fill and stroke of a shape (the exception is line shapes as the line has no fill). The outer circle is the stroke color and the inner circle is the fill. To change the color of the fill or stroke you can click on a color well in the tools palette to access the colors palette. Alternatively, you can select your shape and bring up the color palette by going to Window ▸ Colors, or typing the keyboard shortcut ⇧⌘C.
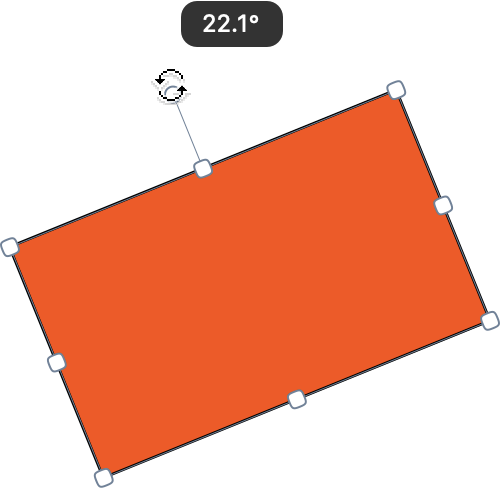
Rotating Shapes
The angle of the shape can be modified by altering the angle value in the shape palette. Another option is to hover over a corner of the selected shape, and a circular arrow will appear. Click and drag once the circular arrow has appeared to achieve your desired rotation. Hold down the shift key when dragging to constrain your rotation to 45 degree increments.
Snap to Pixels
When creating, modifying, or moving vector shapes, you have the option for the shape to "snap to pixels". If this box is checked your shape will move within the x,y coordinates of whole numbers only. This prevents the bounds of the shape from appearing blurry should it be placed on coordinates that involve a fraction. To turn this option off, uncheck the box.
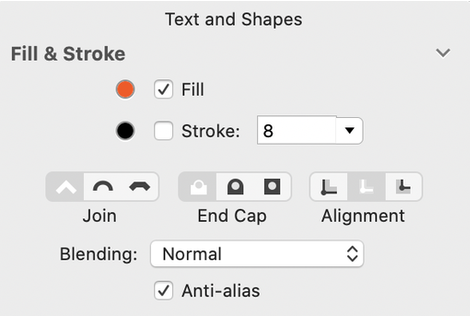
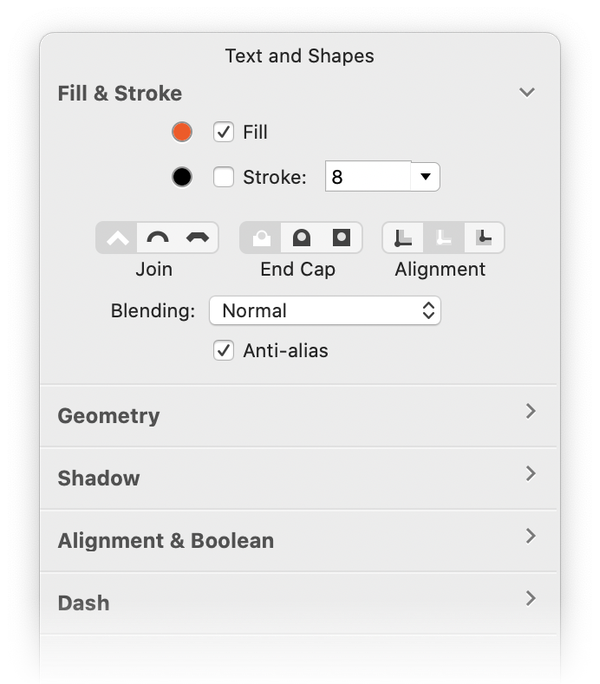
Fill & Stroke
Change the blending mode of your shape via a drop down menu. Edit the line join style if your shape has a stroke including miter, round and bevel. Add an end cap to a line shape including butt, round, or square. Stroke alignment options include inside, center, and outside. Enable anti-aliasing via a checkbox. Read shape editing for further details.
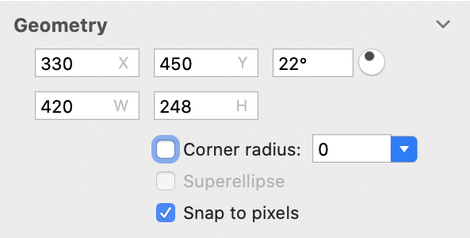
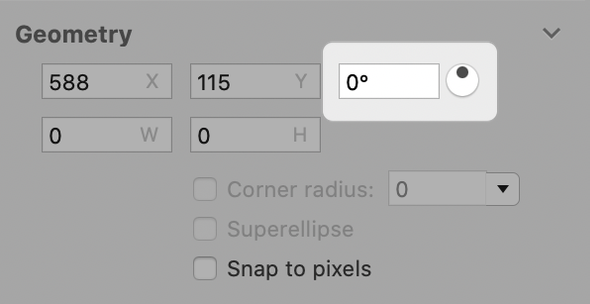
Geometry
With the shape selected, you can modify its coordinates on the (x,y) axis and its width/height dimensions either by changing the values in the inspector or by clicking and dragging on the bounding edge of the shape. If you have a star shape selected, the option to adjust the radius and star points will be available here.
Pro Tip
When using the circular angle widget to change the angle of selected shapes, the values will be rounded to whole values. However, if you hold down the Option key, no rounding will occur, and you will get precise fractional values.
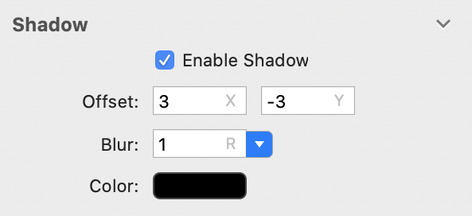
Shape Shadow
Give your shape a drop shadow and customize the shadow position, color, and blur values. Click on the shadow color well once to select it, then change the color in the colors palette.
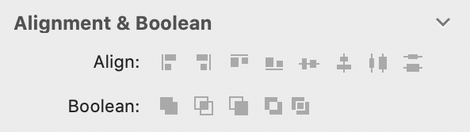
Alignment and Boolean
Select two or more shapes and choose from the alignment options to arrange the shapes by their edges or centers. Select two or more shapes to perform Boolean operations including union, intersect, difference, exclude, and divide.
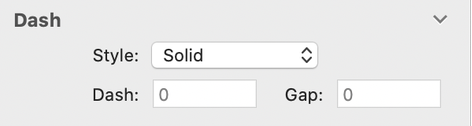
Dash
With the shape selected, you can alter its stroke style from solid to dashed. With style set to "custom", you can enter your custom dash and gap values. The align option at the top section of the shape inspector allows you to set your stroke to the outside, center, or inside of the shape.
Selecting Shapes
In order to modify a shape after it has been drawn, the shape must be "selected". You can alter the shape size, color, fill, stroke, position, etc. without having to re-draw the shape. Make sure that you are currently on the shape layer in the layers list. There are a few different ways to select your shape:
- Using the move tool (keyboard shortcut 'v'), click on the shape. This works well if you only want one shape selected.
- Select ▸ Select Next Shape (^⌘]), or Select ▸ Select Previous Shape (^⌘[). This works well if you only want one shape selected.
- Select ▸ Select All. This works well if you have only one shape on the layer, or if you want all the shapes on the layer selected.
- To select multiple shapes, hold down either the command key or the shift key and using the move tool select your shapes. The bounding box will appear encompassing the shapes you select.
You will know that your shape is selected if it has a thin line boundary with control points.
Shape Selection Settings
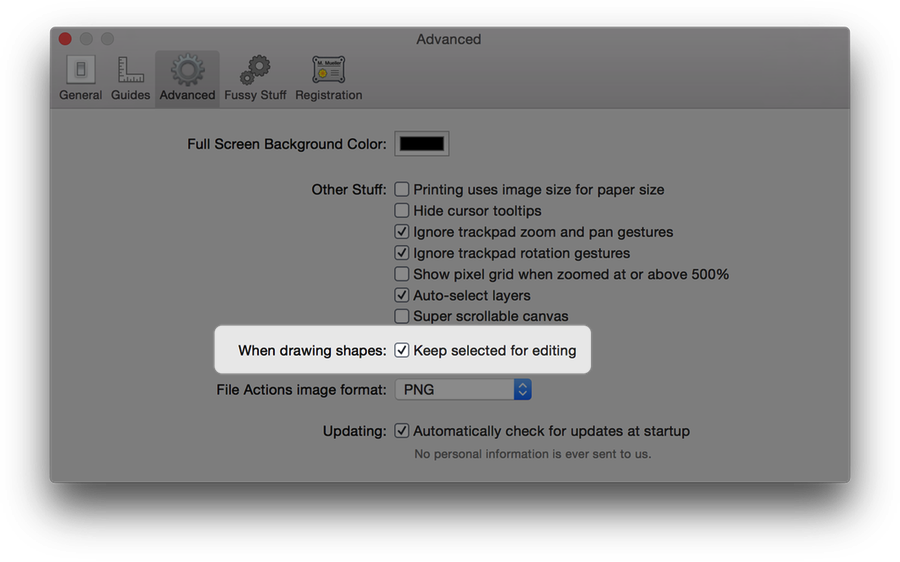
Under Acorn ▸ Settings ▸ Advanced, there is the option to keep the shape selected after you draw it: 'keep selected for editing'. This can be helpful if you find yourself needing to modify your shapes frequently immediately after you draw them.
Random Shape Tips
Did you know you can use the arrow keys to move selected shapes? And if you don't have any selected already, pressing an arrow key will select all the shapes on the current shape layer and begin moving them for you. In addition, you can hold down the shift key when pressing an arrow key to move the selected shape(s) ten pixels at a time instead of one. And if you hold down both command and option while pressing an arrow key, Acorn will move the selected shapes half a pixel for you.
Vector layers (shapes and text) are different from bitmap (or raster) layers. Vectors revolve around lines and shapes, where as bitmaps are pixel oriented. You cannot draw on or use the eraser on a vector layer unless you have rasterized the layer by selecting Layer ▸ Rasterize Shape Layer. Once you have rasterized a vector layer you cannot go back and modify the shapes or text without undoing subsequent work.
Additional Relevant Documentation
Shape Tools Basics (video tutorial)
Shape Editing
Bezier Curves
Arrows, Stars
Drop Shadows