Clone, Smudge, Burn, and Dodge Tools
The touch-up tools include the clone, smudge, burn, and dodge tools. You can find them in the middle section of the tools palette. Hold the shift key and press "O" repeatedly to toggle through the touch-up tools. To quickly resize a touch-up tool, hold down the control and option keys while clicking and dragging your mouse on the canvas back and forth.
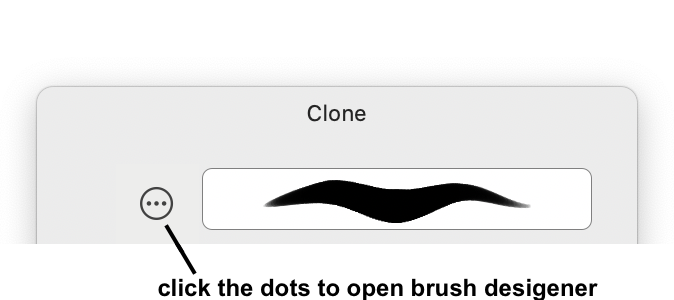
You can configure and modify any touch-up tool brush via Acorn’s brush designer. Just click on the action menu icon in the inspector palette to open the brush designer window. From there you can modify spacing, softness, flow, and jitter among other variables. For more on this topic, read about the Brush Designer. If you want to use one of Acorn’s preset brushes for your touch-ups, just click on the brush drop-down menu and make your selection.
Pro Tip: When working with the touch-up tools it is best to work on a duplicate layer in order to preserve your original image.
Clone
![]()
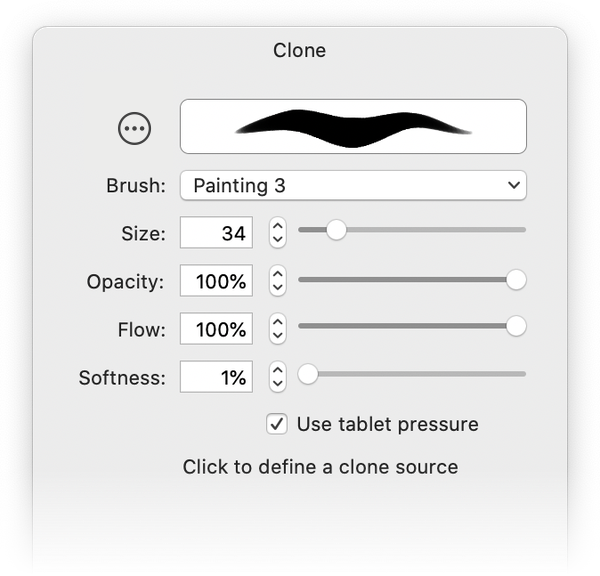
With the clone tool you are able to copy a part of your image and apply that over an unwanted item to cover it. The clone tool works across layers, different images, and can even use group or shape layers as a cloning source.
In the Inspector Palette you can adjust the size of the clone tool, modify the flow setting, and turn tablet pressure on and off. The flow setting adjusts how much paint is laid down with each stroke of the brush.
An on-canvas widget was added in Acorn 7.4, which allows you to easily move around your cloning source location.
Pro Tips: The clone tool can operate as a stamp tool if you hold down the shift key when clicking. This will reset the origin of the clone with each click.
Keep the shift key held down to clone in a straight line. Option click to define a new clone source.
To see a specific example of the clone tool in use, read 'Using the Clone Tool'.

Smudge
![]()
The smudge tool takes a color from where you start clicking and smears it into other colors of your image as you drag your cursor, like smearing wet paint. This is useful for removing flaws from photos.
The smudge options in the Inspector Palette are the same as the clone tool.

Burn and Dodge
![]()
![]()
The burn tool darkens the pixels you paint. This is great if you want to darken certain areas of your image. The dodge tool works in the same way as the burn tool, only it lightens the pixels, rather than darkens them.
The Inspector Palette shows the size, flow, exposure, and range of the burn and dodge tools.
- The exposure adjusts the amount of darkening or lightening the tool will perform. To make subtle changes, change the exposure to a lower setting.
- The range determines which tones are affected by the tool. Highlights will affect lighter tones, midtones will affect the middle tones, and shadows will affect the darker tones.
————————
Additional Relevant Documentation
Using the Clone Tool
Stamp Tool
Clone Tool Basics (video tutorial)