Photo Booth Layout
 This tutorial will outline how you can create a photobooth style image layout using Acorn. The settings used below are assuming the end result will be printed. All images used in this tutorial have a beginning resolution of 300 PPI. Be sure to read all about DPI, PPI, and Printing to understand more on this topic.
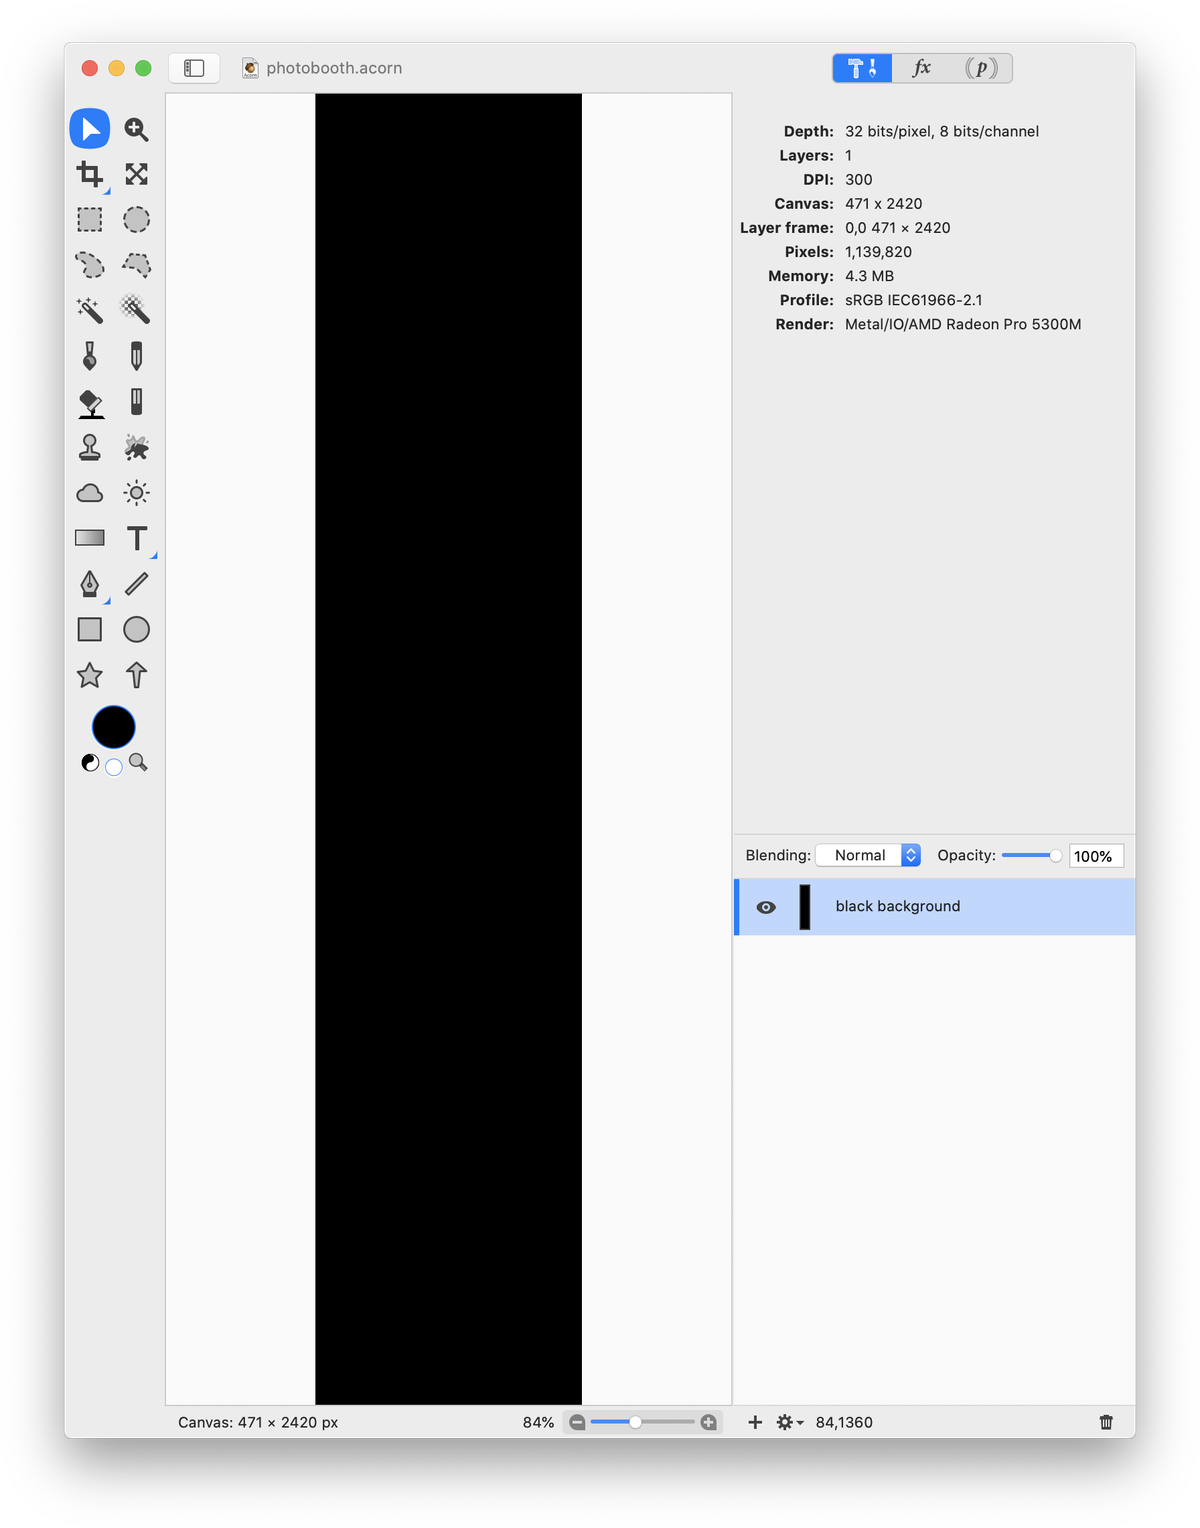
To start, create a new image in Acorn, File ▸ New. Set the width and height dimensions to 472 x 2420 pixels. Set the resolution to 300 and the background color to black. These dimensions and resolution will give a printed result that is around the same size as old photo booth strips (approximately 1.57" x 8.07").
 Go ahead and save this file, File ▸ Save, and put it aside for now. It will be used again later.
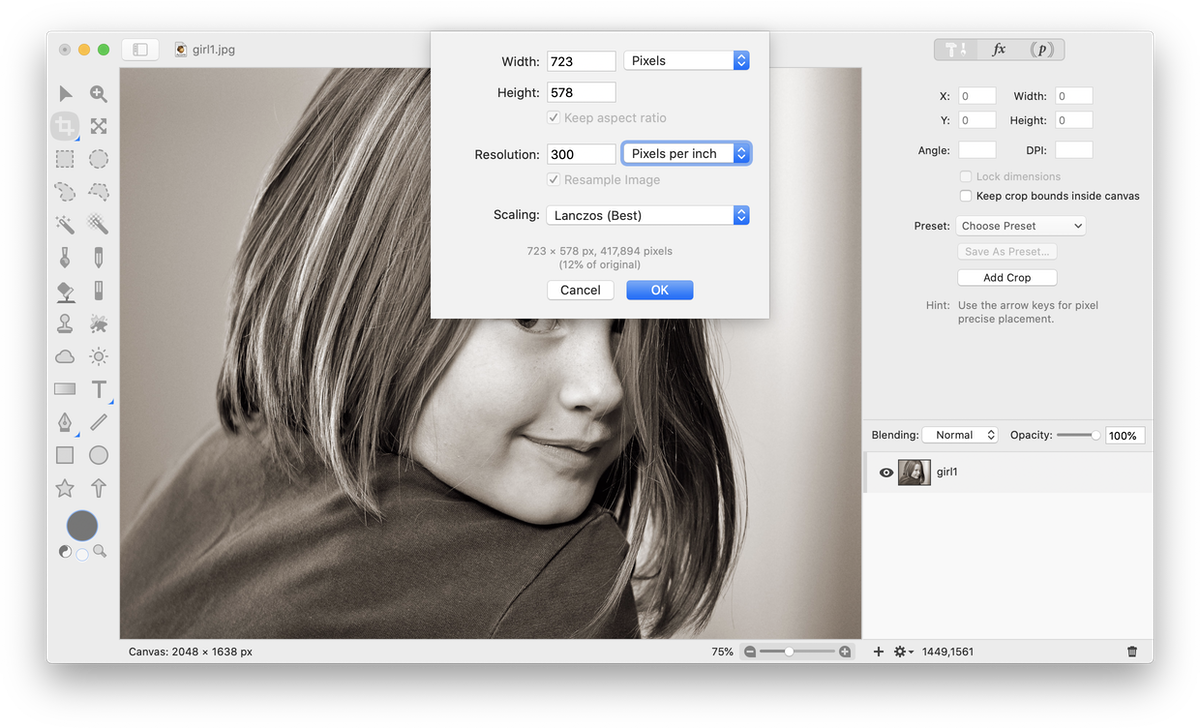
Now open one of the images you want included on your photo strip in Acorn, File ▸ Open. Resize the image so that at least one dimension matches 450 x 578 pixels without going under those dimensions, Image ▸ Resize Image. The image below is matched in height, but will still be too wide. The width will be fixed in the next step.
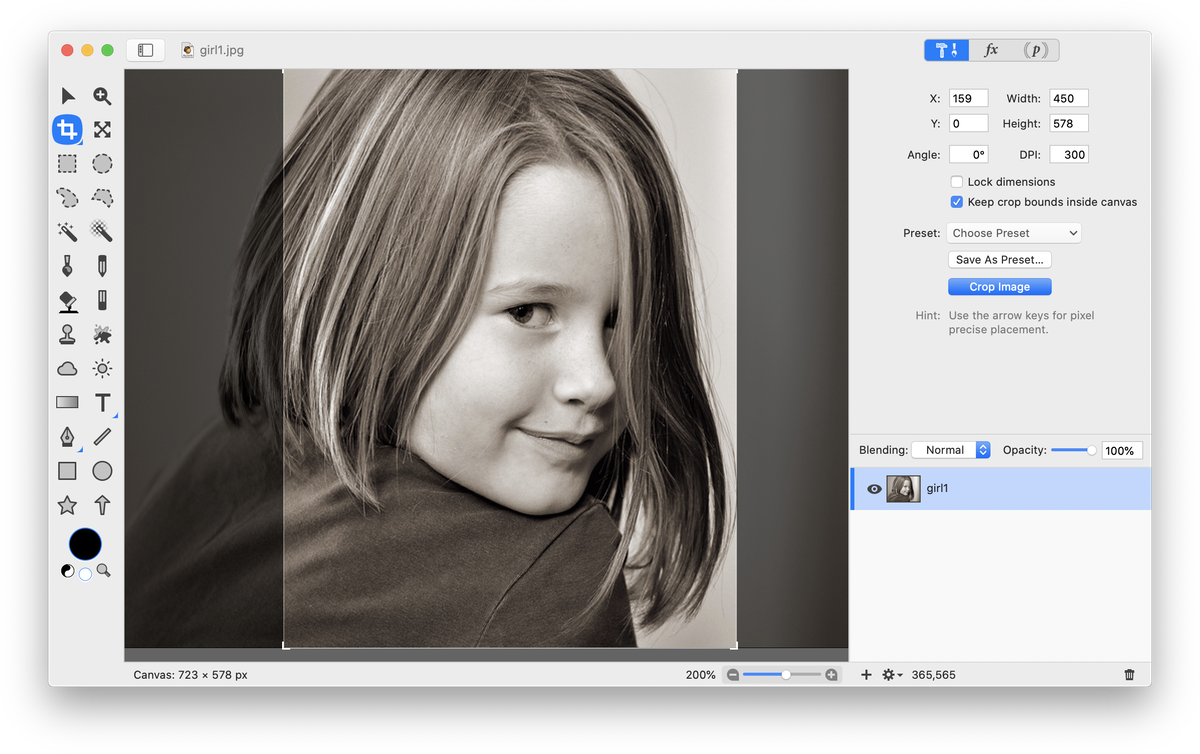
 Select the crop tool in the tools palette. Using the dimensions 450 x 578 pixels in the width and height fields in the inspector palette, crop your image.
 Save the image with a new name so you don't accidentally lose your original!
Repeat the steps outlined above for opening, resizing, cropping, and saving the other 3 images you want included in your strip.
Go back to the original image you created with the black strip. Go to File ▸ Add Images, and select the 4 images you prepared in the above steps (or you can drag and drop the images into the canvas). Using the move tool, re-arrange the images in the order you want them laid out. Don't worry about exact spacing yet.
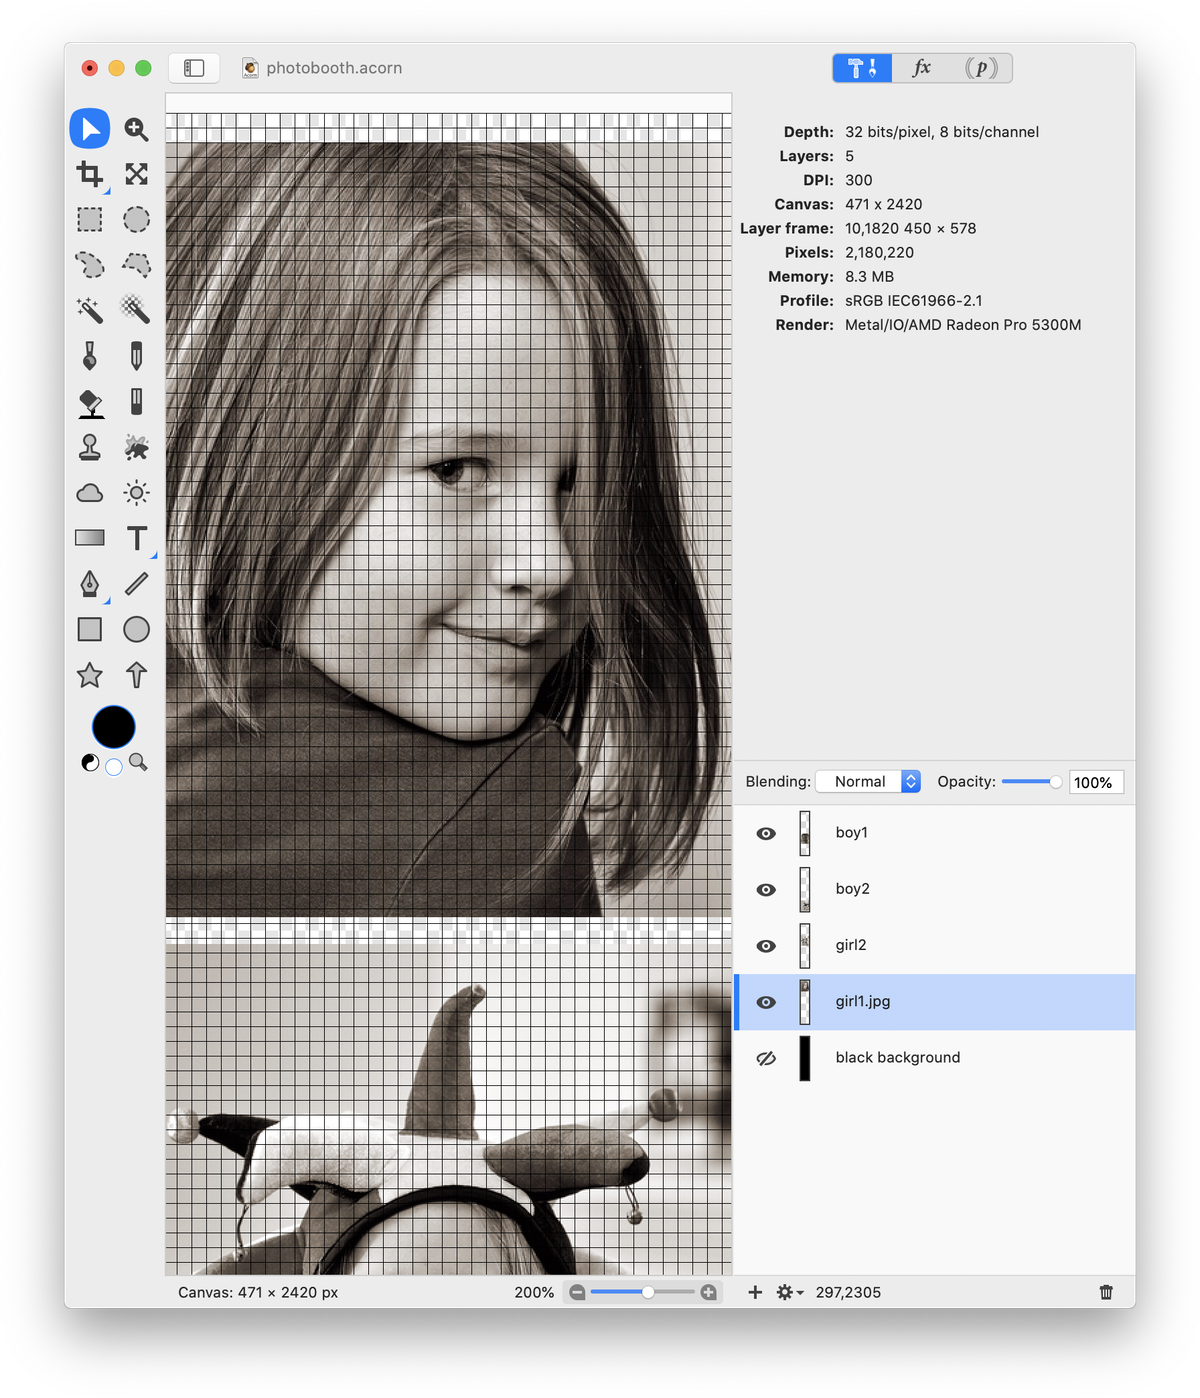
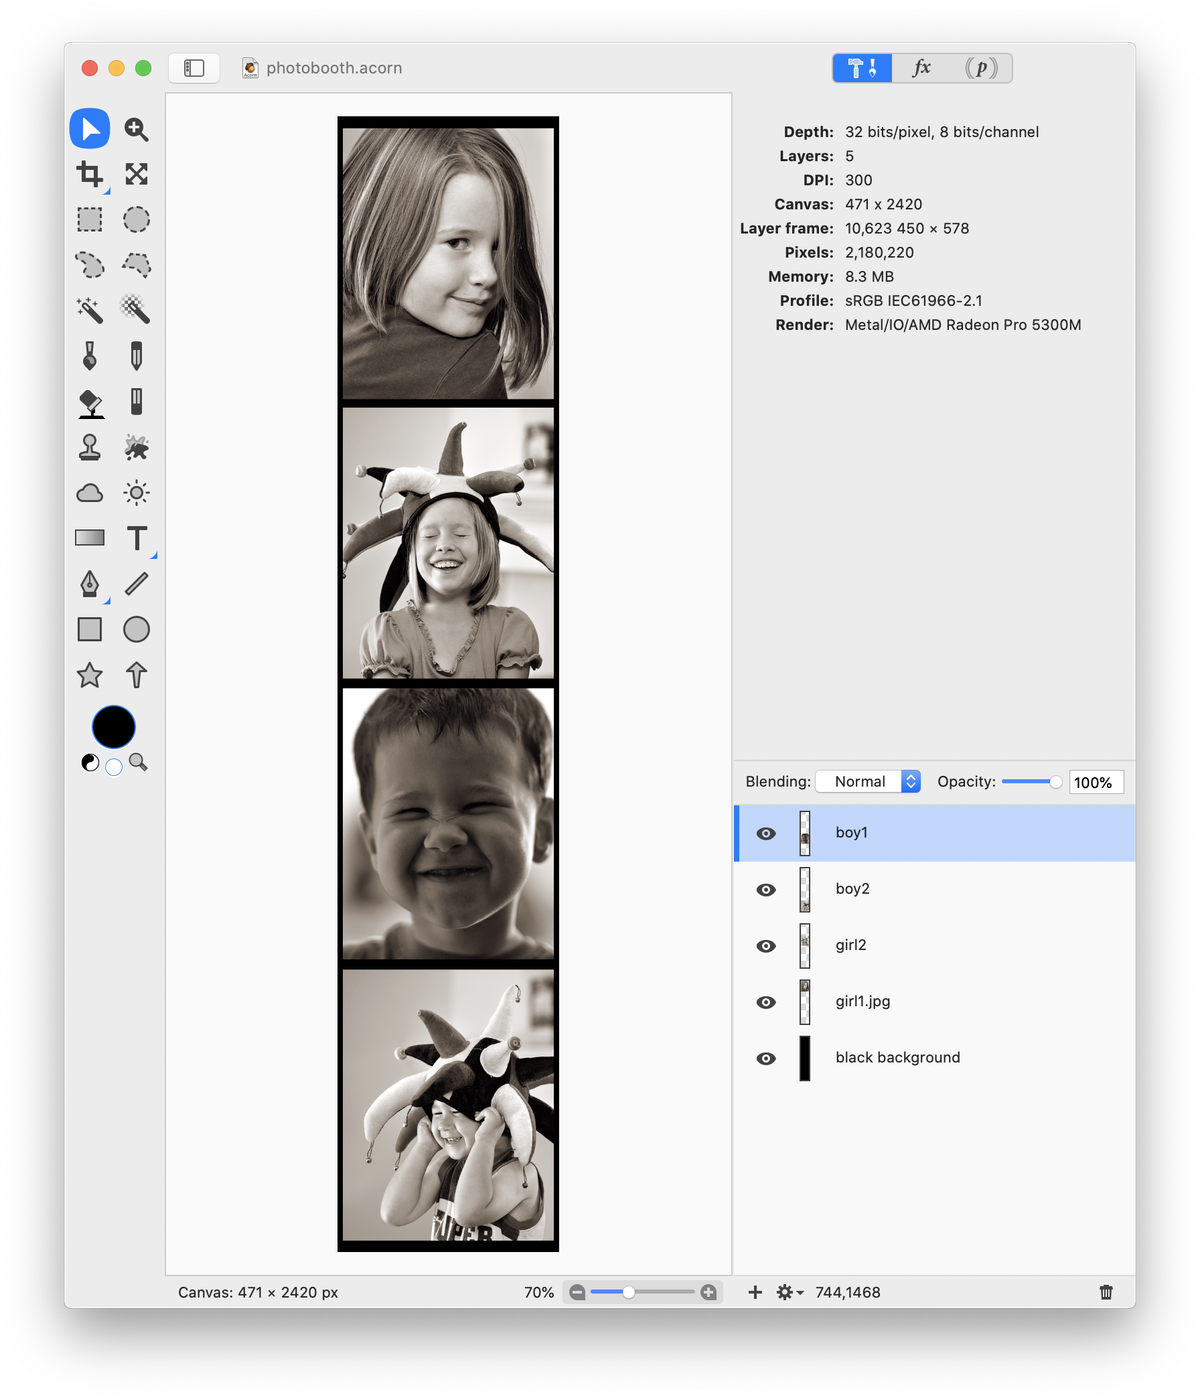 Make sure View ▸ Guides and Grids ▸ Snap to Canvas is checked. Line up each photo layer with the center of the canvas. Select View ▸ Guides and Grids ▸ Show Grid, then View ▸ Guides and Grids ▸ Grid Settings. Set the grid spacing to 11, then 'ok'. Zoom in on your image as much as you need to in order to be able to line your images up with the grid. Select the move tool and align your images. The images should be approximately two grid spaces away from one another and from the top and bottom (22 pixels). The black background layer is hidden in the image below to make the grid easier to view.
 Turn the grid off, View ▸ Guides and Grids ▸ Hide Grid. Check out your work and see how you did!

Photo Credits
girl 1; girl 2; boy 1; boy 2