Jagged Image Edge
 This tutorial will outline how you can give your image a jagged edge. To start, open your image in Acorn, File ▸ Open.
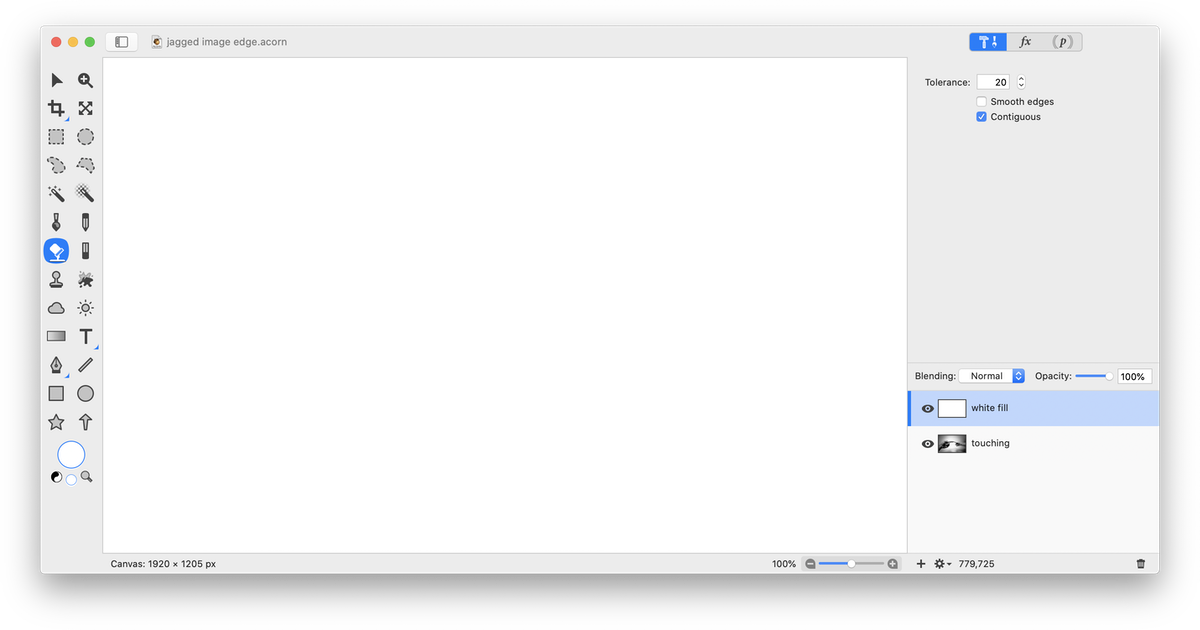
 Create a new layer, Layer ▸ New Layer. Using the flood fill tool, fill the layer with white.
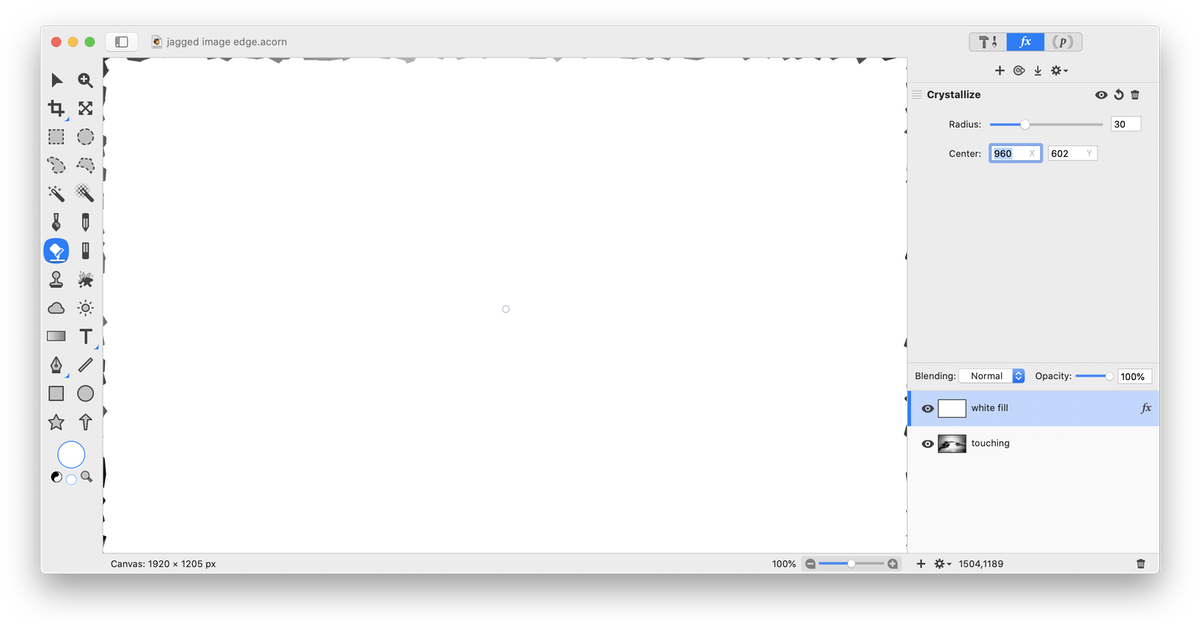
 Go to Filter ▸ Stylize ▸ Crystallize. Play around with the settings to achieve more or less of a jagged appearance. Click the ‘Flatten' button in the inspector palette (looks like a downward arrow).
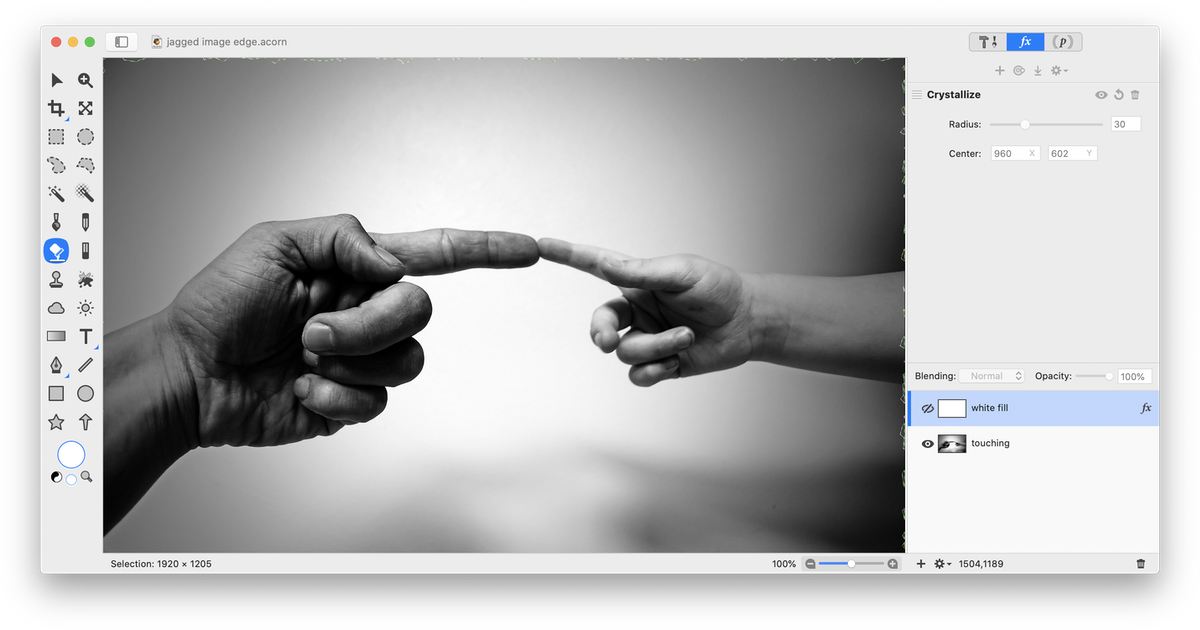
Go to Select ▸ Make Selection from Layer, then Select ▸ Inverse. Click on the visibility icon of the white layer to hide it.
 Click on the main image layer and hit the delete key. Deselect (⌘D). Make your canvas slightly bigger to really see the boundary, Image ▸ Resize Canvas.
You can also add a border around the jagged edge. For more information read the 'Add a Border' tutorial, and follow the steps for 'Add a Border Using a Layer'.