Aging a Face
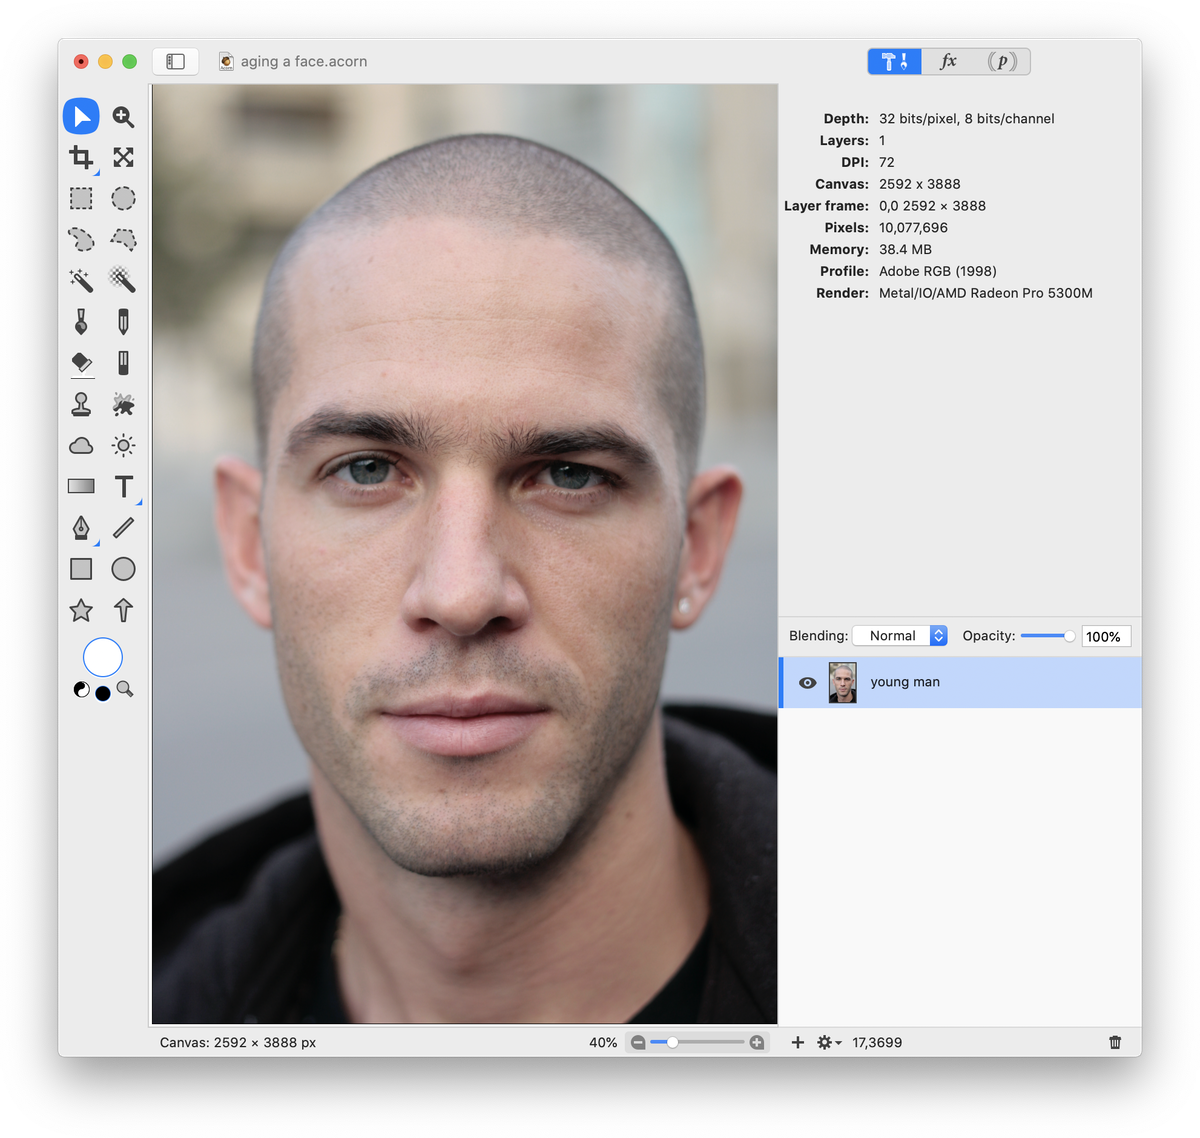
 Open the image you wish to make look older in Acorn, . The one used here can be found in the photo credits below.
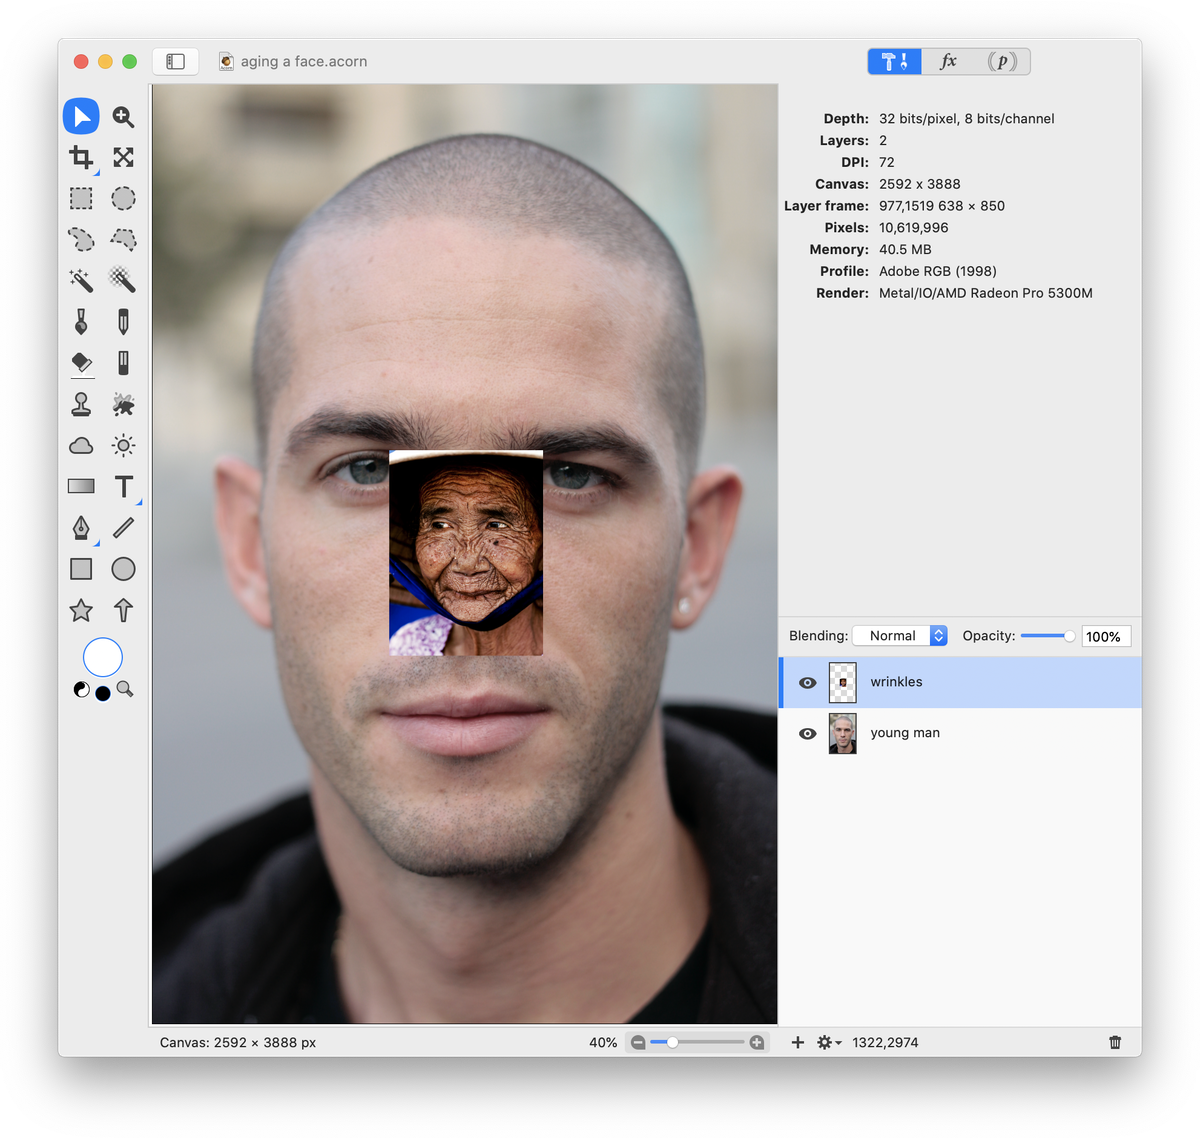
 Next, add an image of a wrinkled face to your layers list by choosing .
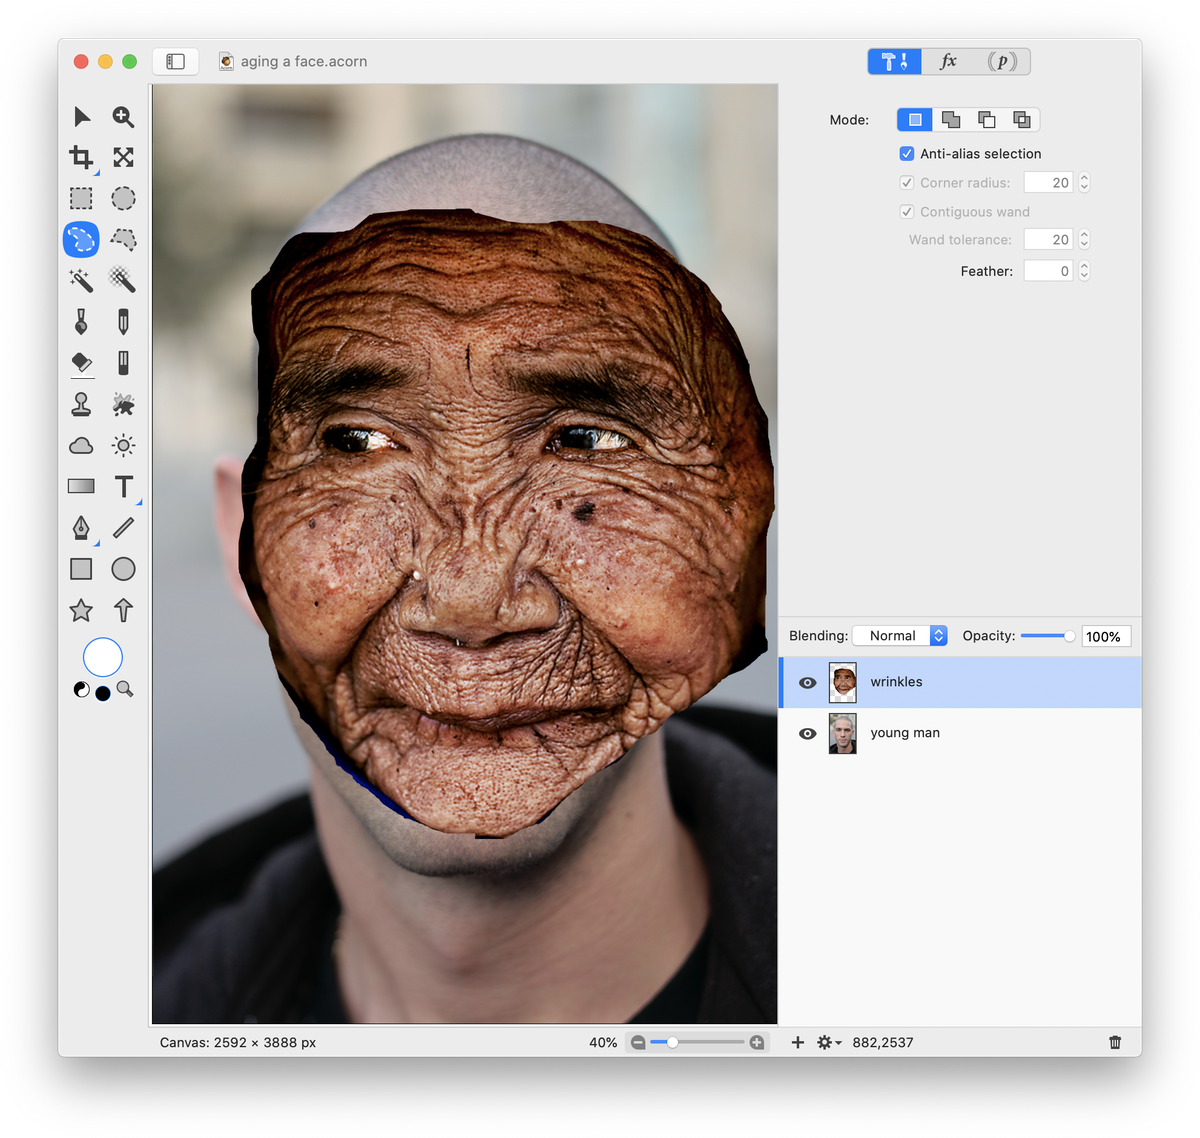
 If the image you added needs to be larger or smaller, choose (⇧⌘T) and adjust as needed. Now, choose the polygonal or free hand selection tool from the tools palette and select the areas of the wrinkled face image that you want to keep.
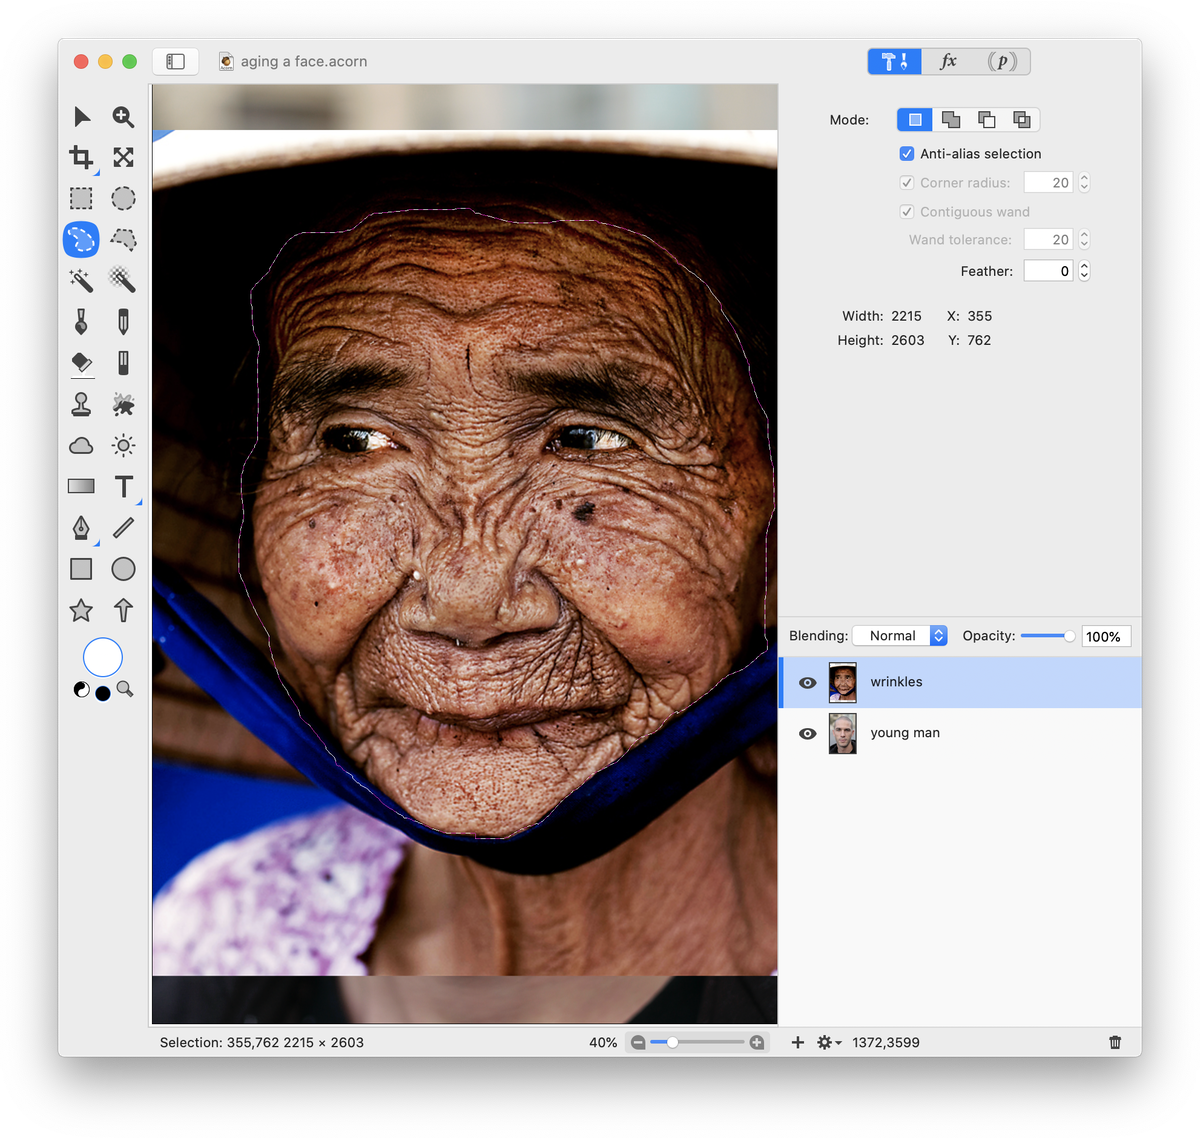 Go to . Hit the delete key. Deselect (⌘D). This will remove all other parts of the wrinkled face image within your canvas that aren't needed.
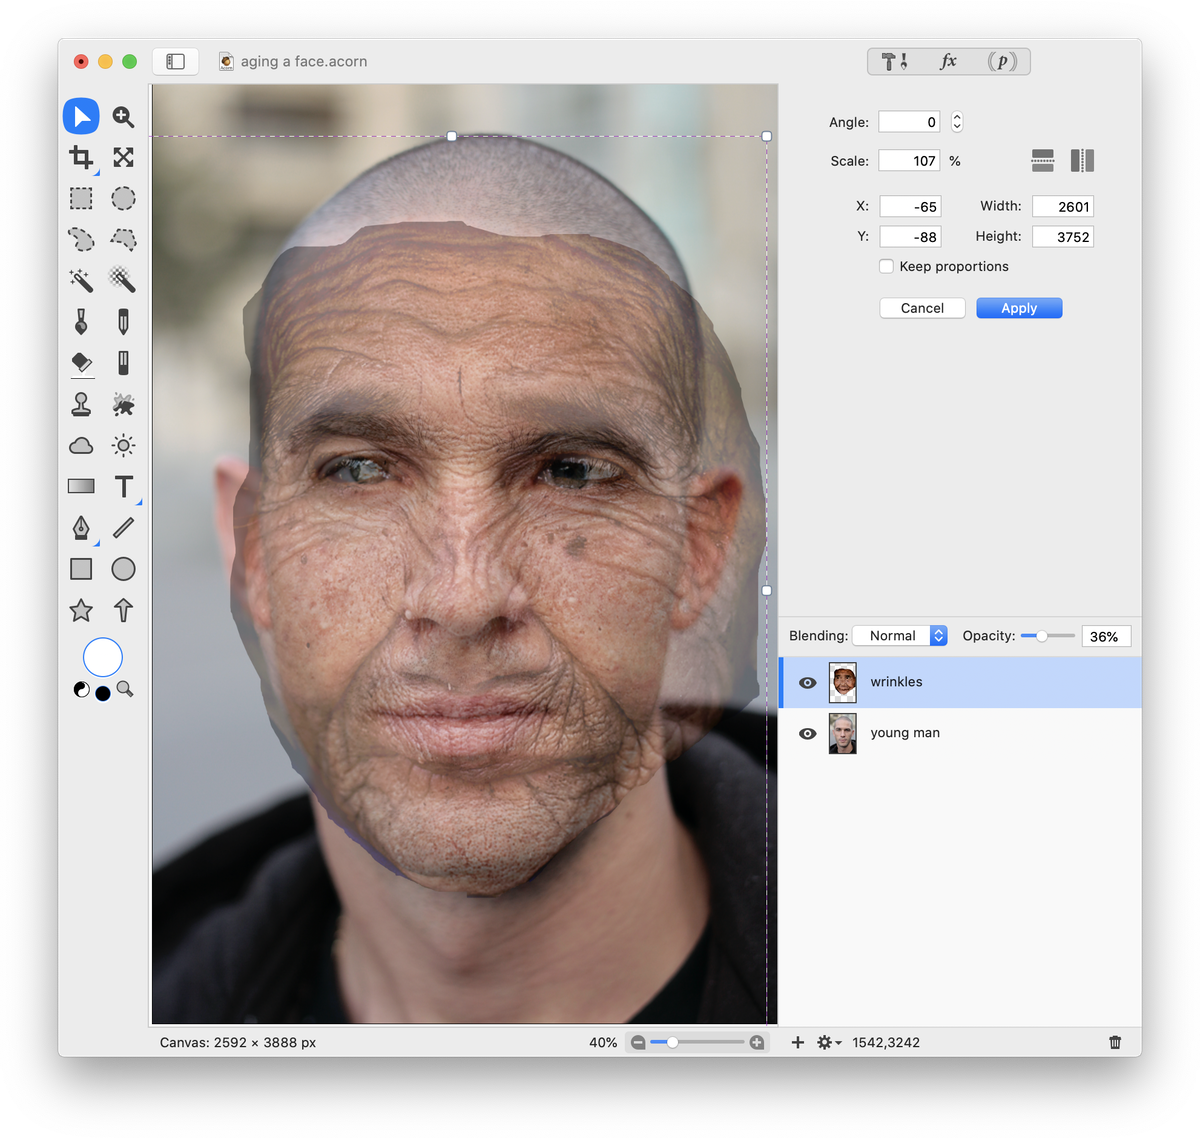
 Decrease the opacity of the wrinkled face layer to around 50% so that you can see the young man's face below the wrinkled face. Choose . Uncheck the ‘keep proportions’ box. Use the handles of the transform to make the wrinkled face cover the young man's face. Try to roughly line up the eyes of the wrinkled face to the young man's face to make sure that the eye wrinkles fall in the correct location. Double click to commit the transformation.
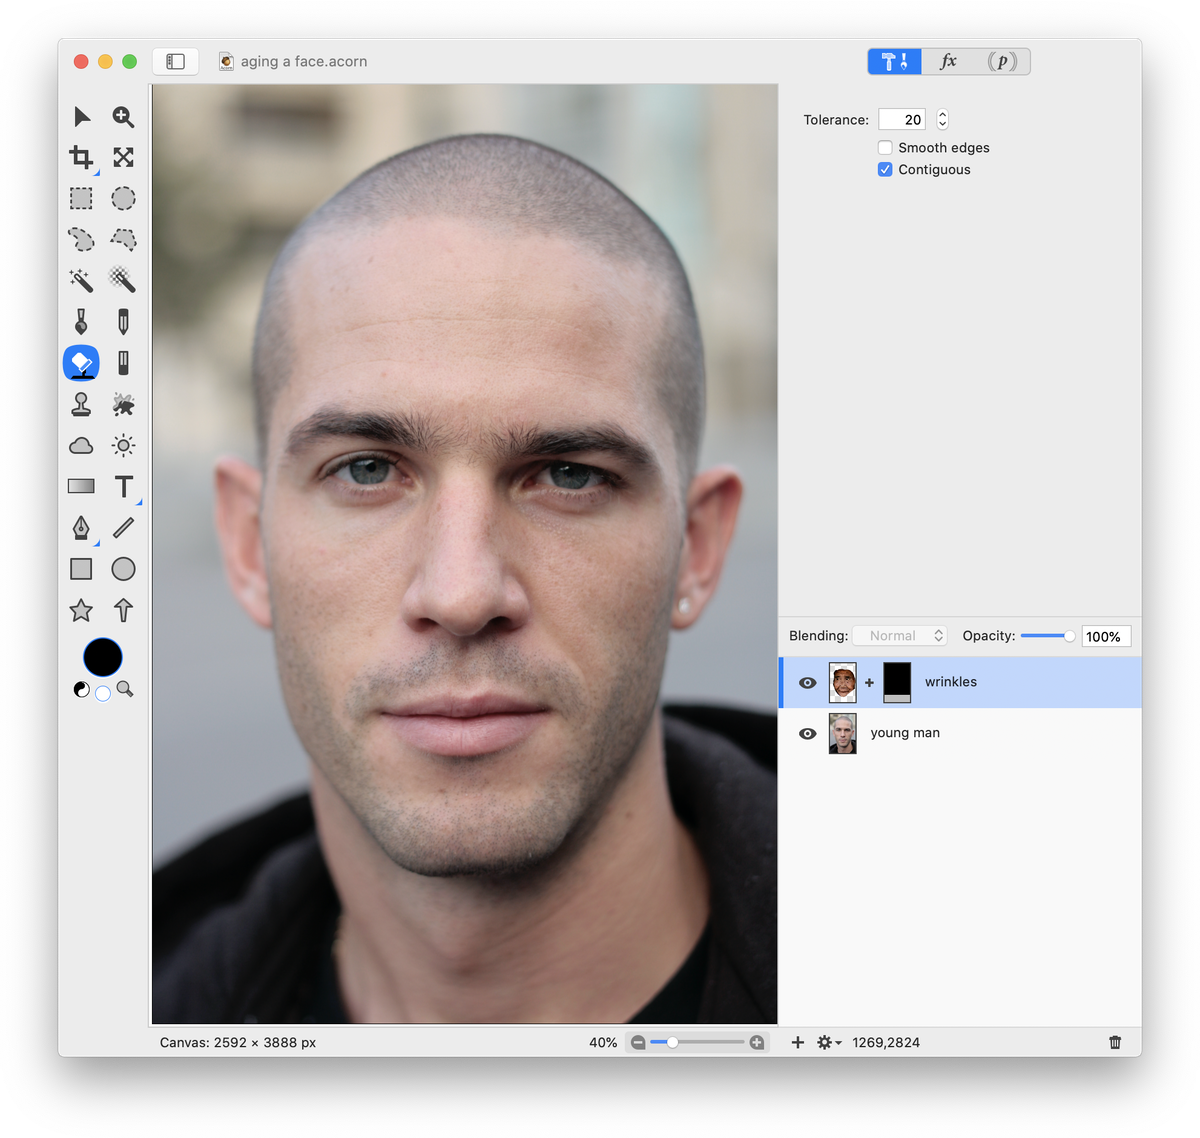
 Increase the opacity of the wrinkled face layer up to around 70%. Add a layer mask to the wrinkled face layer, . Fill the layer mask with the color black using the flood fill tool. This will completely hide the wrinkled face layer for the time being. For more information on how to use layer masks, read Layer Masks and Layer Mask Examples.
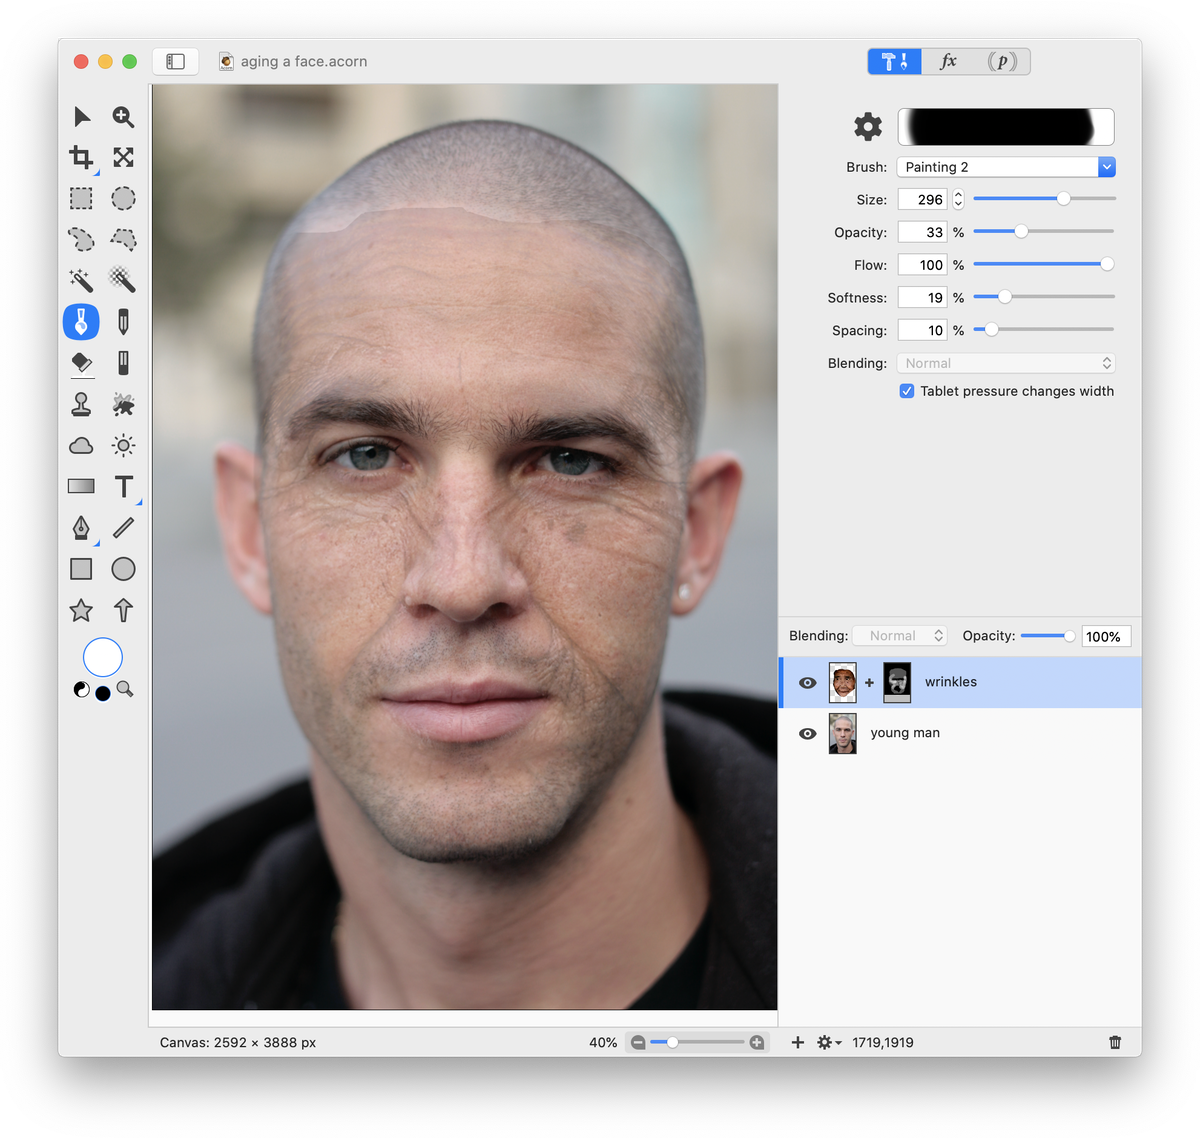
 Choose the paint tool and set the opacity to around 25%. Set the color well in the tools palette to either white or a light gray. Begin brushing within the layer mask over areas of the young man's face where you want wrinkles to appear. Don't worry about being too exact. You can change the color of your brush to black and brush over any areas you want to repair or undo.
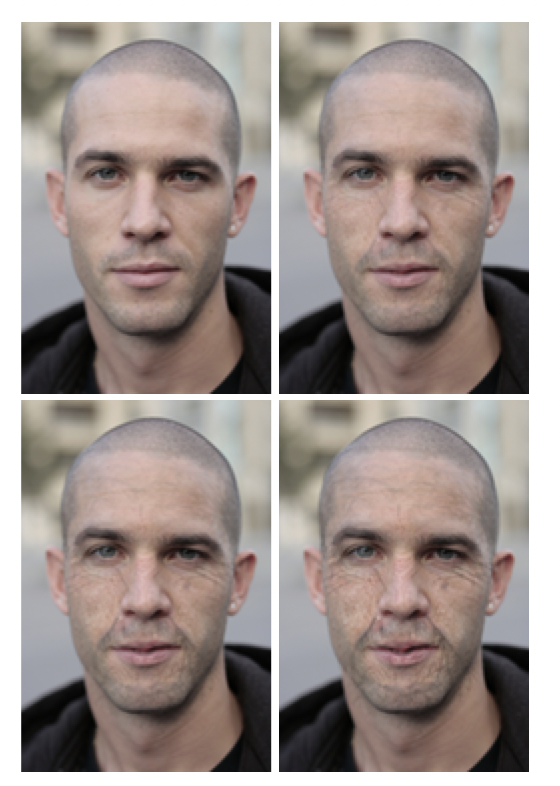
 You can change the blending mode of the wrinkled face layer to 'luminosity' which will keep the wrinkles but minimize the skin color of the wrinkled face from showing through. Also, play around with the opacity of the wrinkled face layer. You can make it appear as if the young man has aged significantly by changing this setting alone!
Wrinkled face layer opacity at 0%, 50%, 75%, and 100%:
Photo Credit
Wrinkled Face -© Bui Linh Ngan; Young Man - © Julien Haler