Vintage Photo Effect
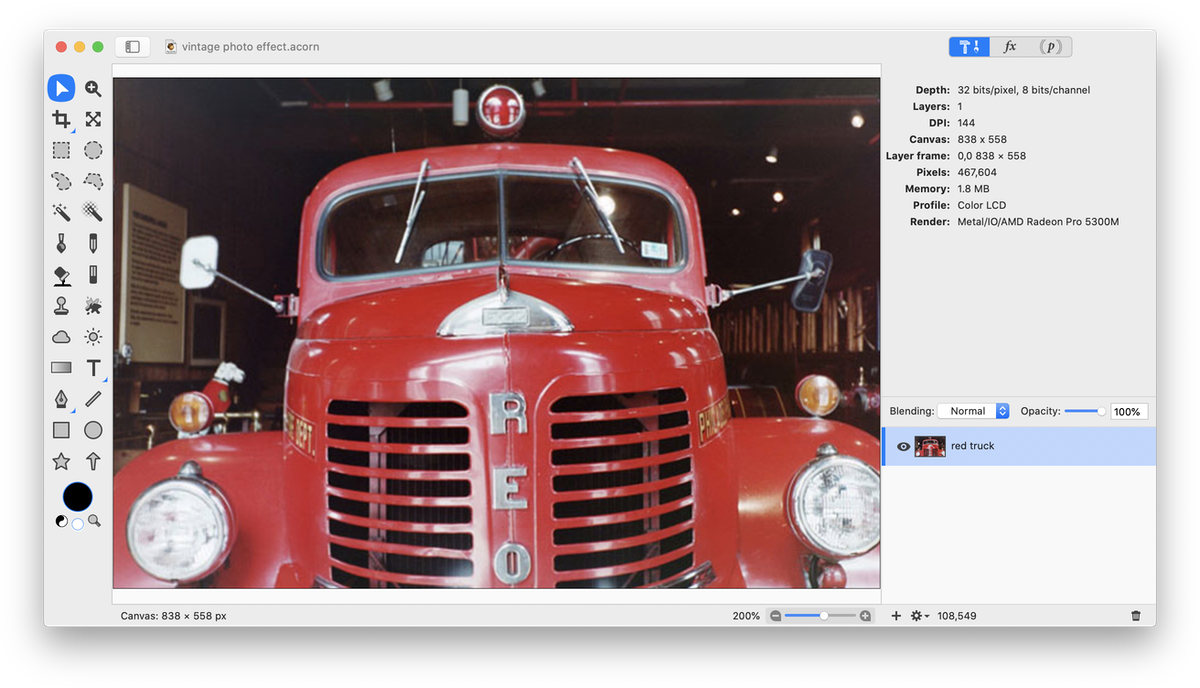
This simple tutorial will outline how to give your images an older appearance. Below is the original photo.
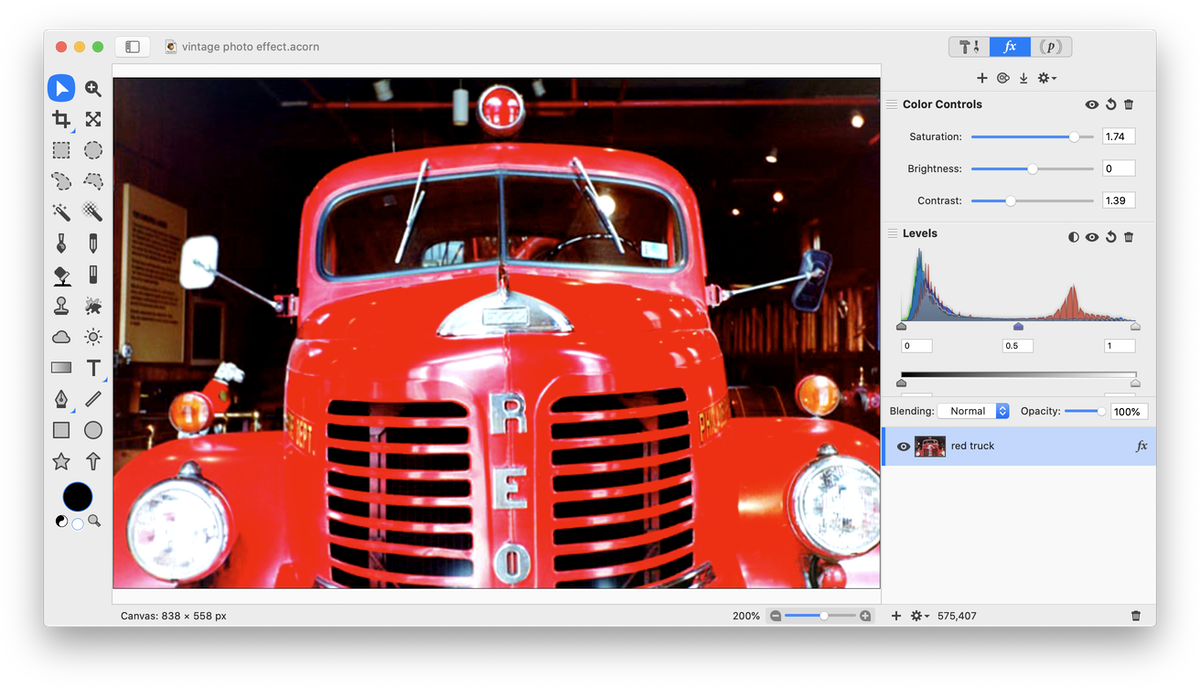
 First, adjust the levels by choosing Filter ▸ Color Adjustment ▸ Levels and clicking the auto levels button
  (keyboard shortcut ⇧⌘L). Then click the filters button (fx button at top right of canvas) and choose Color Adjustment ▸ Color Controls and adjust contrast, brightness, and saturation. The contrast and saturation of this image was increased.
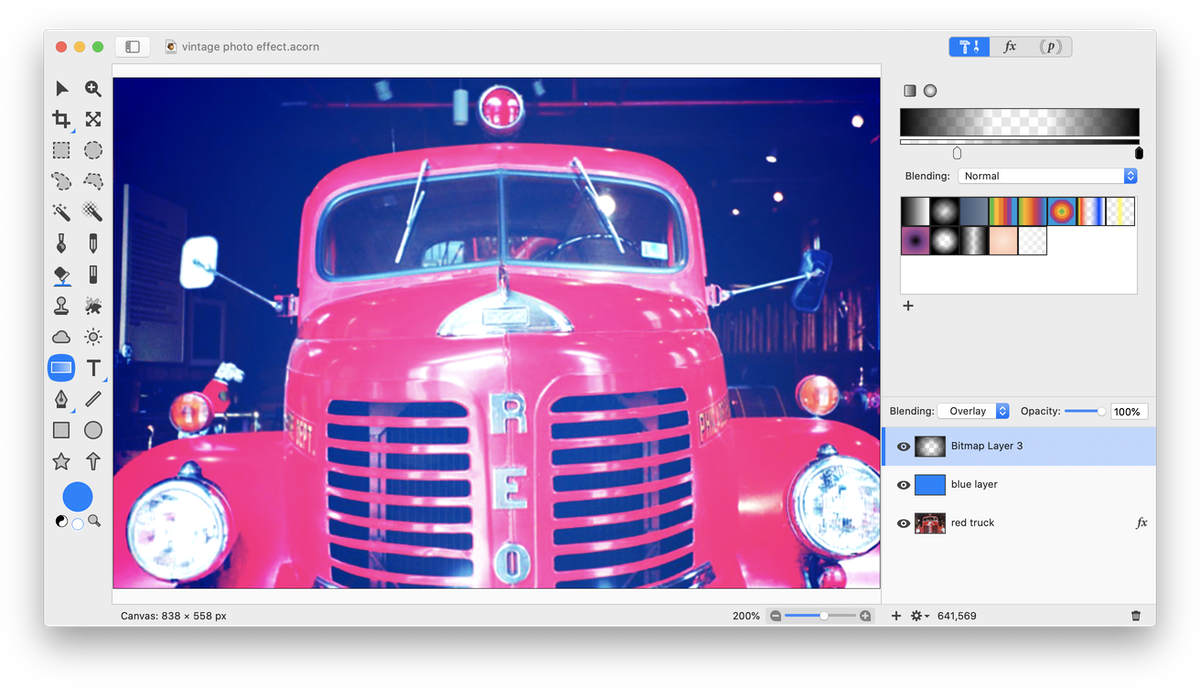
 Create a new layer, Layer ▸ New Layer, and use the flood fill tool to fill it with a yellow or a blue, depending on whether you want the image to look warm or cool. Click on the color well in the tools palette to select the color you want. For this example use a blue fill. Change the blending mode to 'screen' and set the layer opacity to about 70%. What you set your opacity to really depends on the color in the original photo.
 Now create a new layer, Layer ▸ New Layer. On this new layer create a black to transparent radial gradient. There should already be a preset black to transparent radial gradient that you can use, but if you want to create your own you can read here for more about gradients. Set the blending mode of this layer to 'overlay' and adjust the opacity.
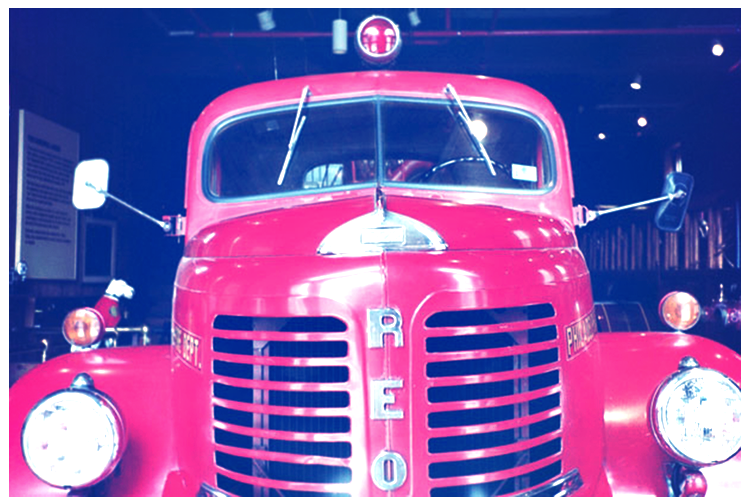
 Final Product:

Blue Screen Layer / Yellow Screen Layer