Frame Your Image
 This tutorial will guide you on how to create a custom frame for your image using Acorn.
Color Frame
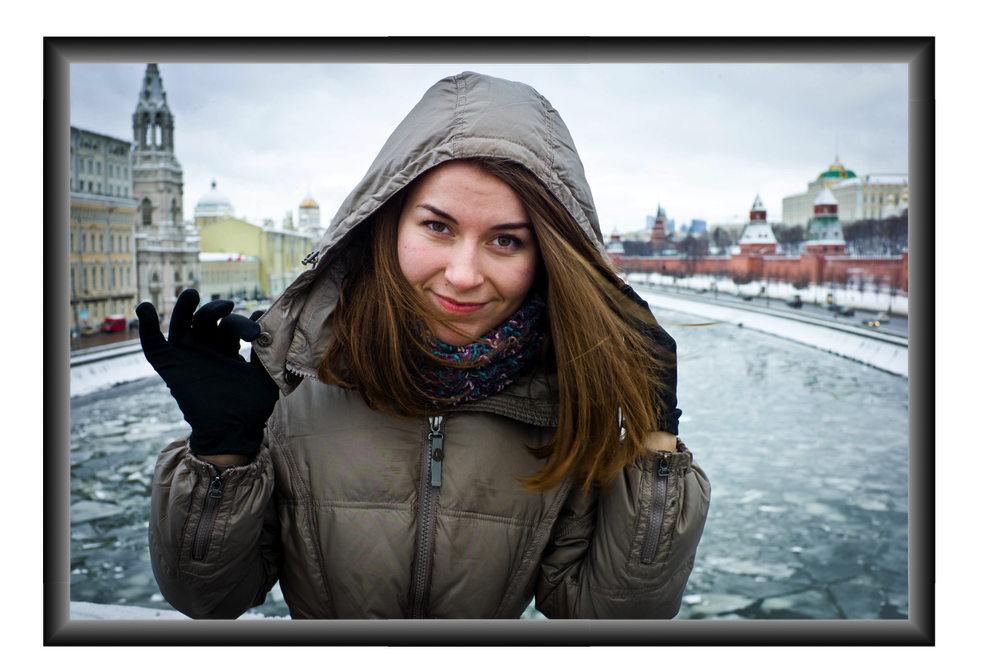
Open your image in Acorn, File ▸ Open. To assist with showing the framing process, a white background has been added to the example image using Layer ▸ New Layer and filling it with white.
 Add a new layer above your main image, Layer ▸ New Layer (⇧⌘N). Create a long skinny rectangular selection using the selection tool. Make sure 'corner radius' is unchecked in the inspector palette.
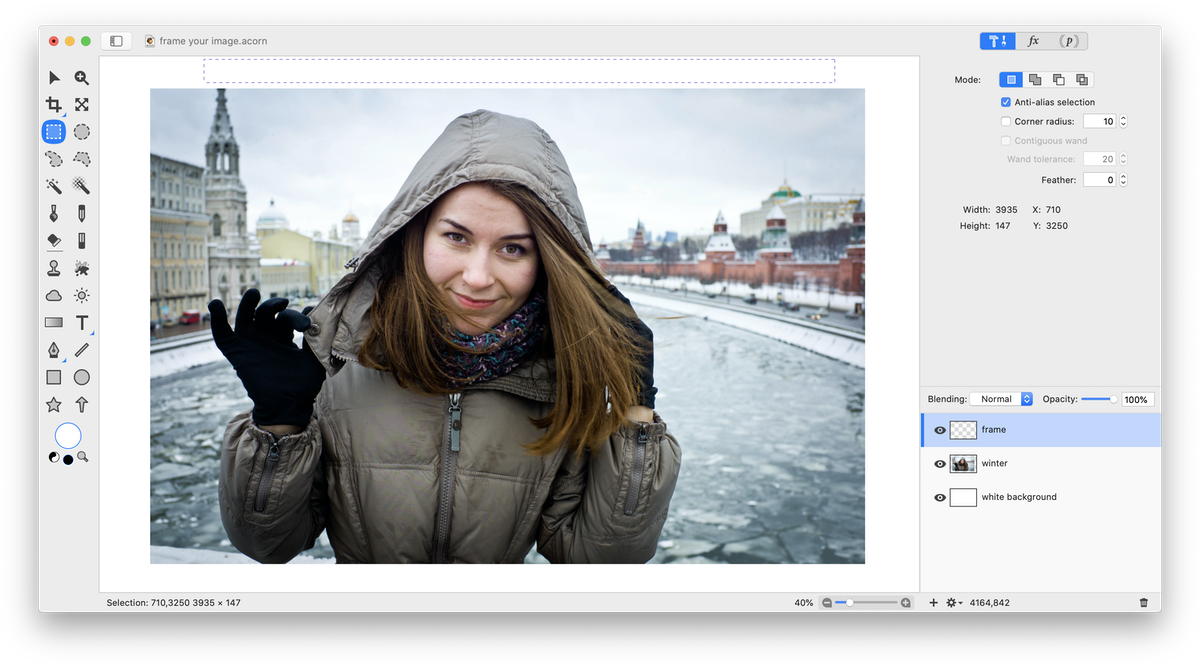 Select the gradient tool and create a black to white vertically oriented gradient within your selection. Hold down the shift key while drawing your gradient to easily make it straight.
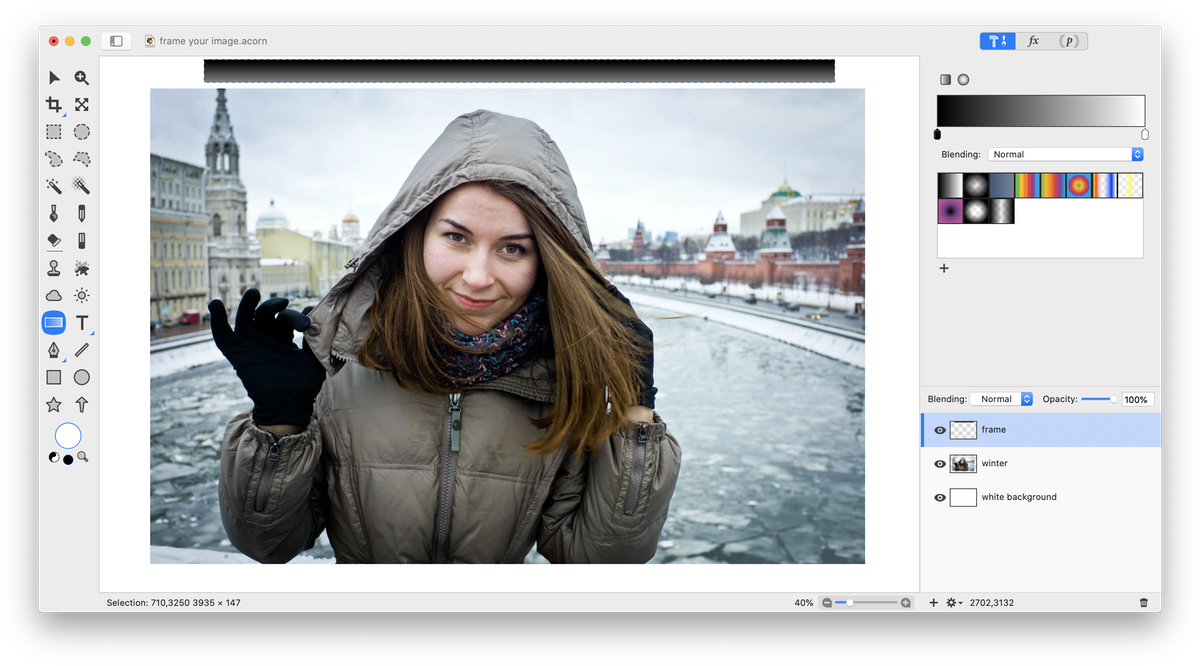 Deselect by clicking ⌘D. If necessary, adjust the width of your rectangle by selecting Layer ▸ Rotate and Transform ▸ Free Transform. Now is a good time to make this adjustment, as it will be much more difficult to make your frame skinnier or fatter later.
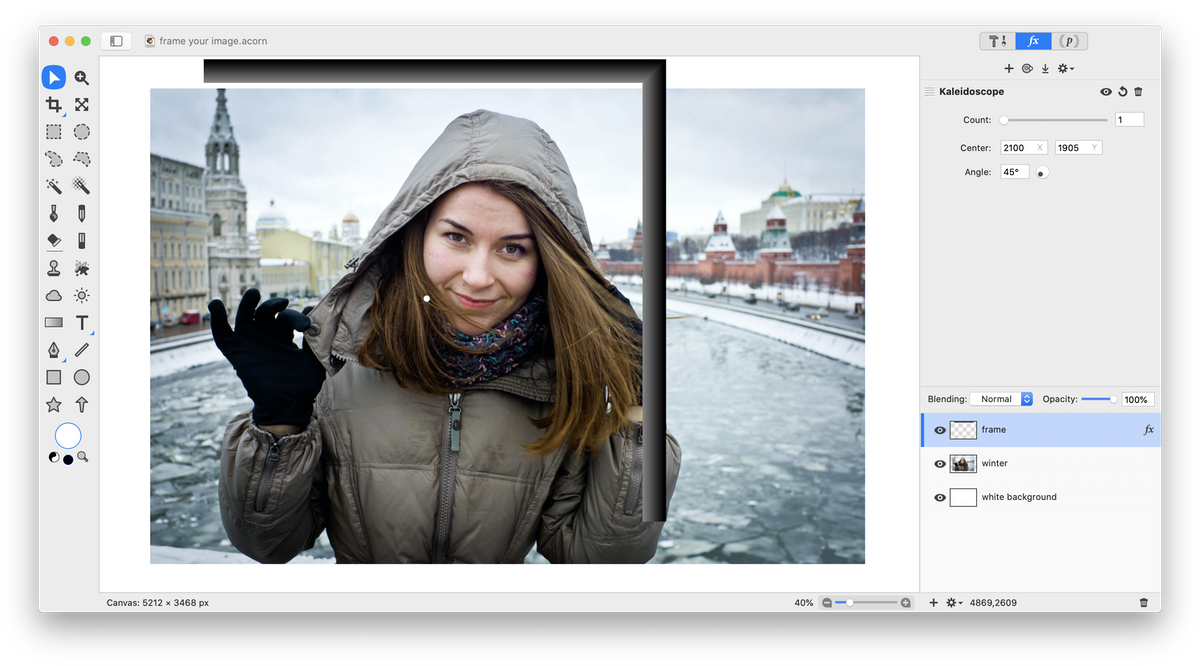
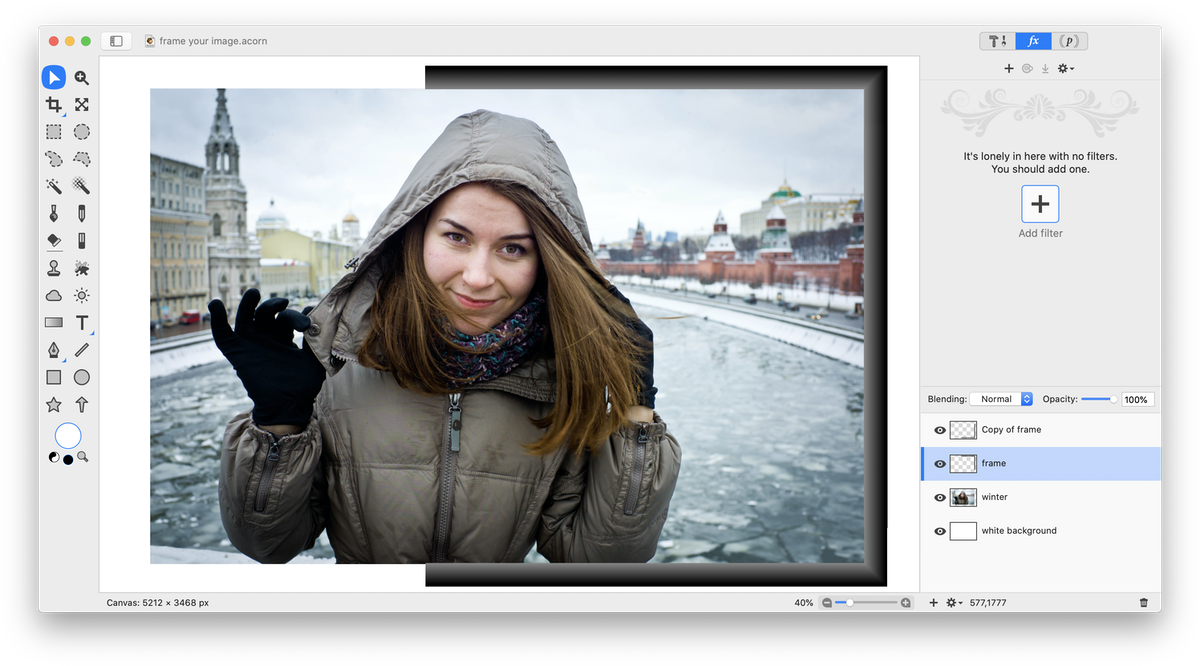
Go to Filter ▸ Tile Effect ▸ Kaleidoscope. Decrease the count to 1 and change the angle to 45 degrees. Drag the kaleidoscope center around until your frame is a little over half the width/height of your image. Click the ‘Flatten’ button at the top of the inspector palette (looks like a downward pointing arrow).
 Duplicate the frame layer, ⇧⌘D. Rotate the new layer by selecting Layer ▸ Rotate and Transform ▸ Rotate Layer 90° Clockwise. Move your new layer to its appropriate corner and line it up using the move tool.
 Repeat this process two more times for the remaining two corners.
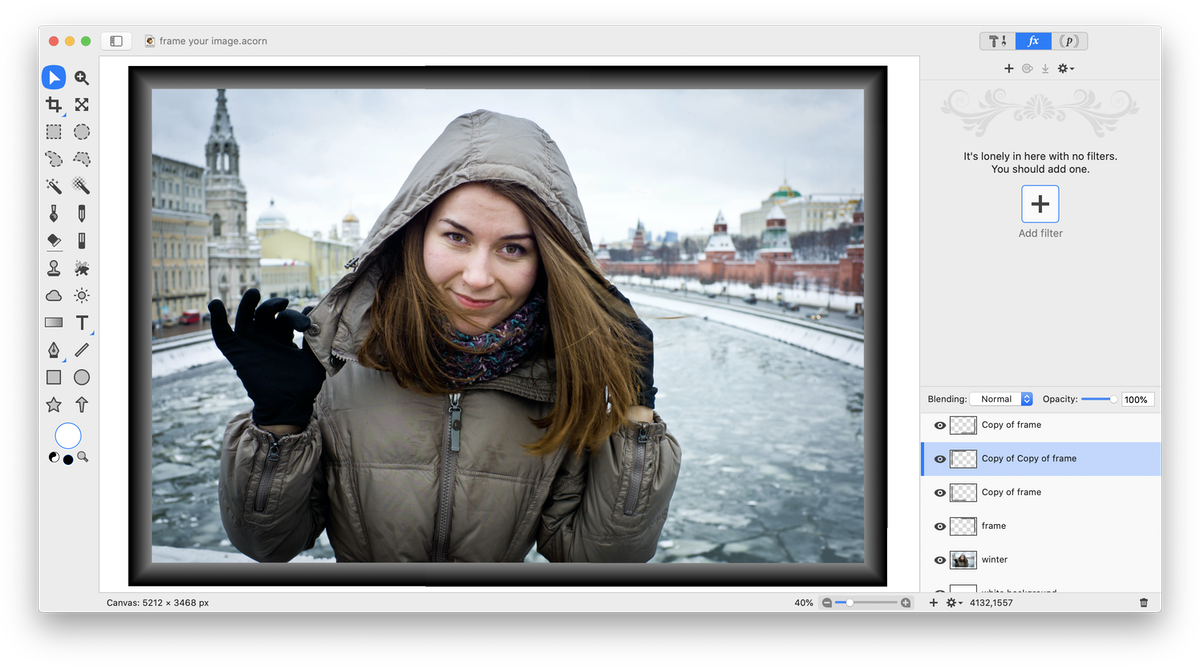 Once you have your frame lined up and sized the way you desire, you can merge your frame layers down Layer ▸ Merge Down (⌘E) to make the frame contiguous. This will make it easier to make small placement adjustments.
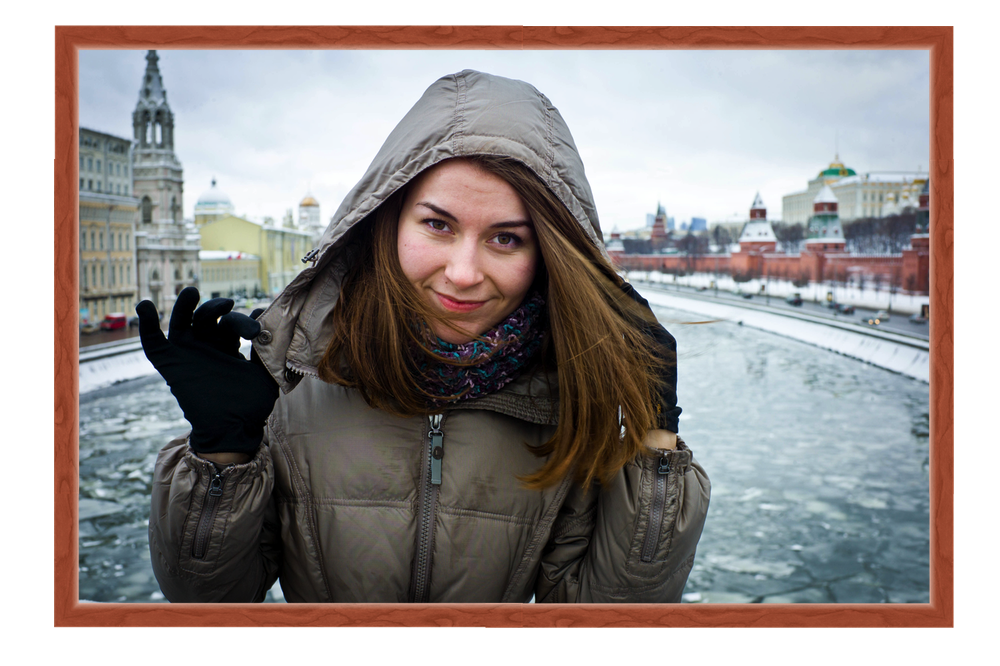
Texture Frame
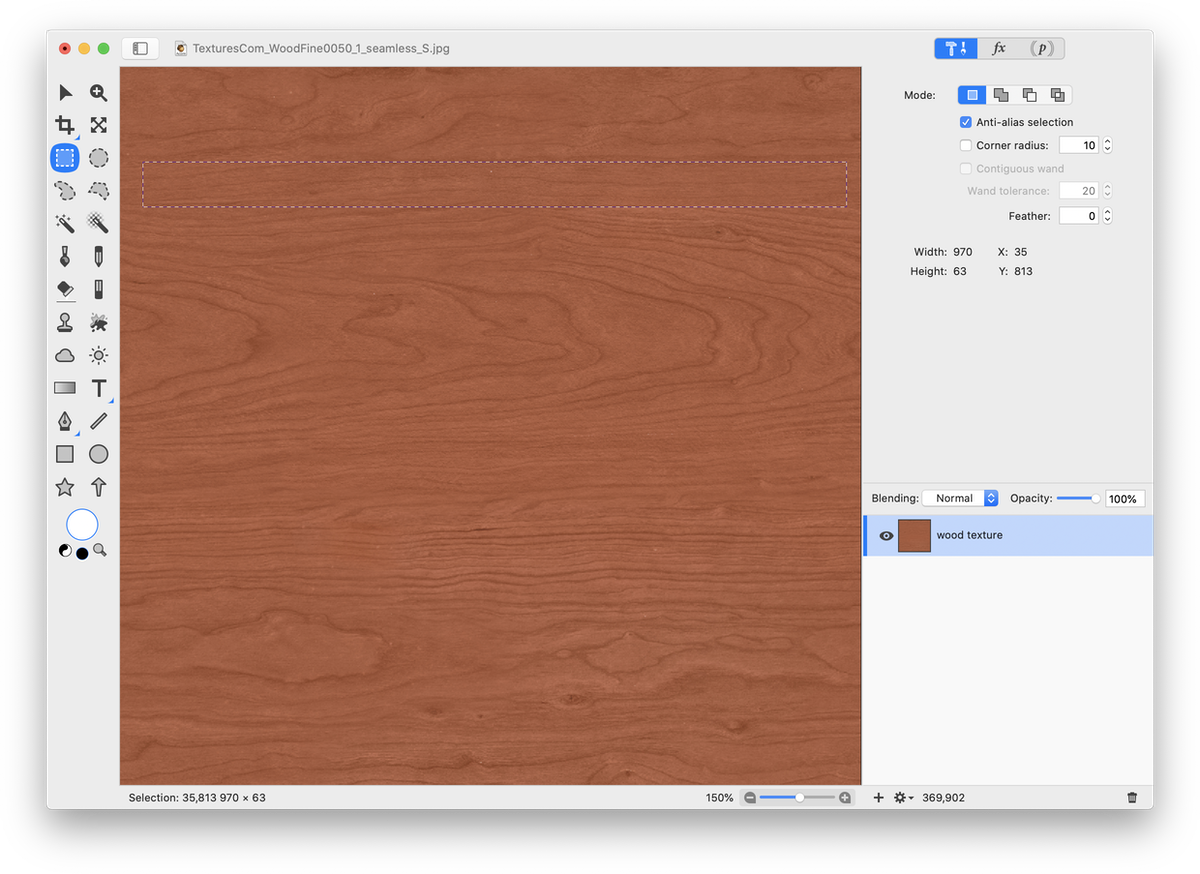
Experiment making frames with different textures, colors, and gradients! Using a texture involves just a few different steps from what is outlined above. Open a texture in Acorn, File ▸ Open. The texture seen here is from http://www.cgtextures.com. Using the selection tool, make a long skinny rectangular selection.
 Copy (⌘C) and paste (⌘V) your selection into the image you want to frame. Then choose Select ▸ Make Selection from Layer. Apply a white to transparent gradient to the wood layer. Deselect (⌘D).
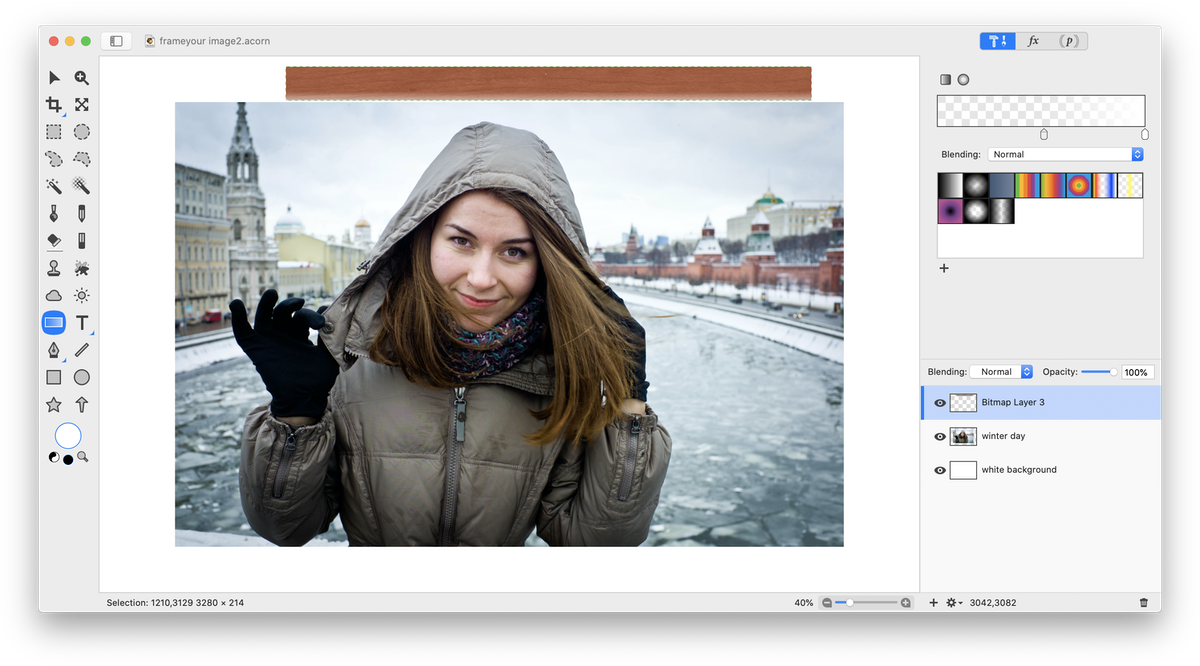 Follow the previous steps to apply a gradient to the wood, change its width with free transform, and use the kaleidoscope filter. A white to transparent gradient was used in this example to give the wood an appearance of depth or curvature.
 Tutorial Credit: Thank you to Troye Hering for creating the steps to this tutorial.
Photo Credit
© d3vilh