Custom Clouds
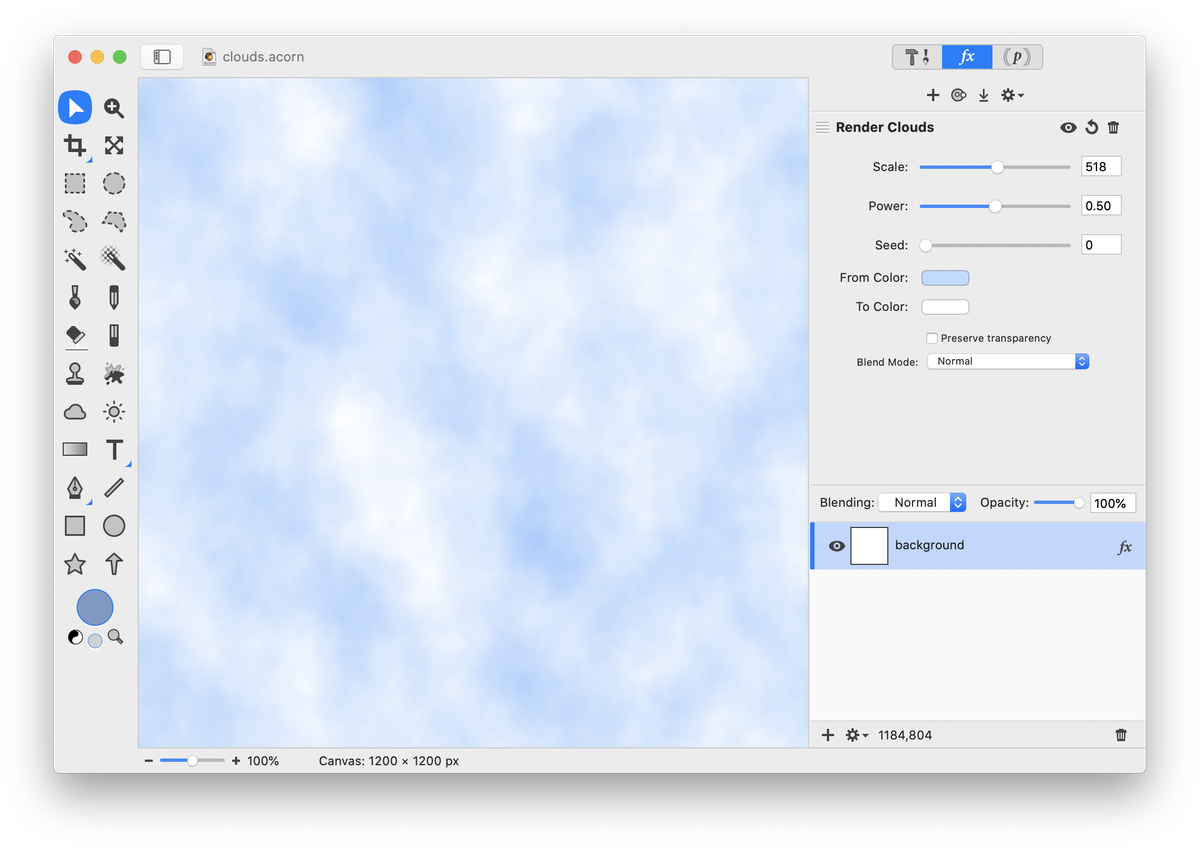
 Follow along with this tutorial to learn how to create clouds from scratch in Acorn. To start, create a new image in Acorn with a white background, File ▸ New. Go to Filter ▸ Generator ▸ Render Clouds. Click on the 'From Color' well and change its color blue. Click on the 'To Color' well and change its color to white.
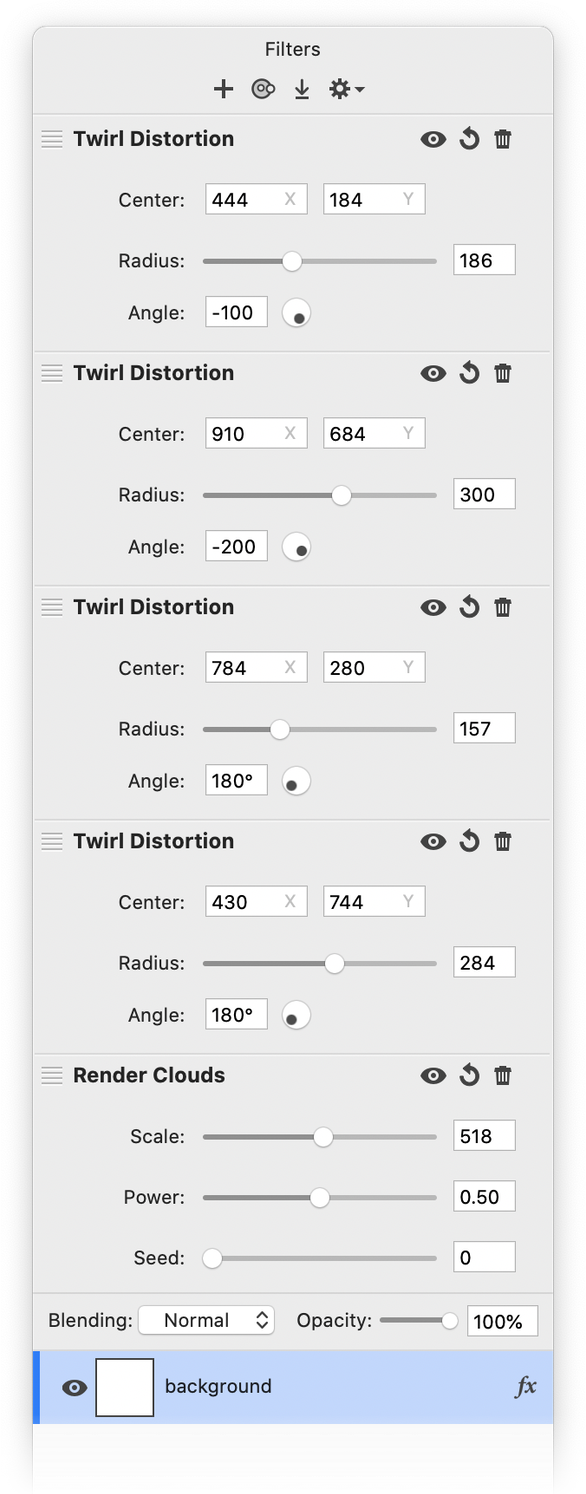
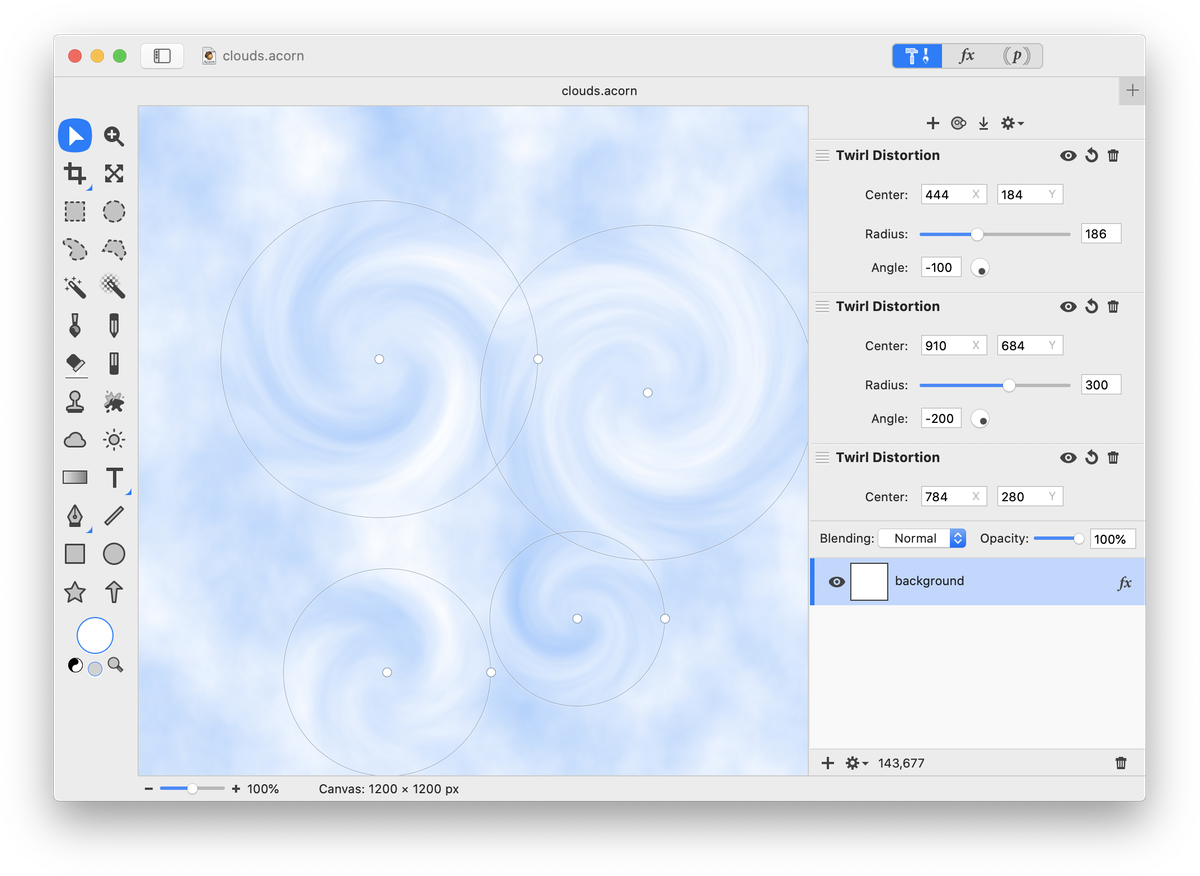
 Click on the '+' at the top of the filters palette, and select Distortion Effect ▸ Twirl Distortion. Add 2 to 4 more twirl distortion filters. Adjust the twirl radius and angle values, and move the twirl centers using the center position. The values used in this example can be seen in the image below. Click the ‘Flatten' button at the top of the filters window when you have everything looking good.
 Now go to Layer ▸ Rotate and Transform ▸ Scale and Rotate. Uncheck the ‘keep proportions’ box. Stretch your cloud layer out to whatever size you desire. The cloud layer seen below was stretched beyond the image canvas boundaries to eliminate the transparent areas. Double click to commit the transformation.
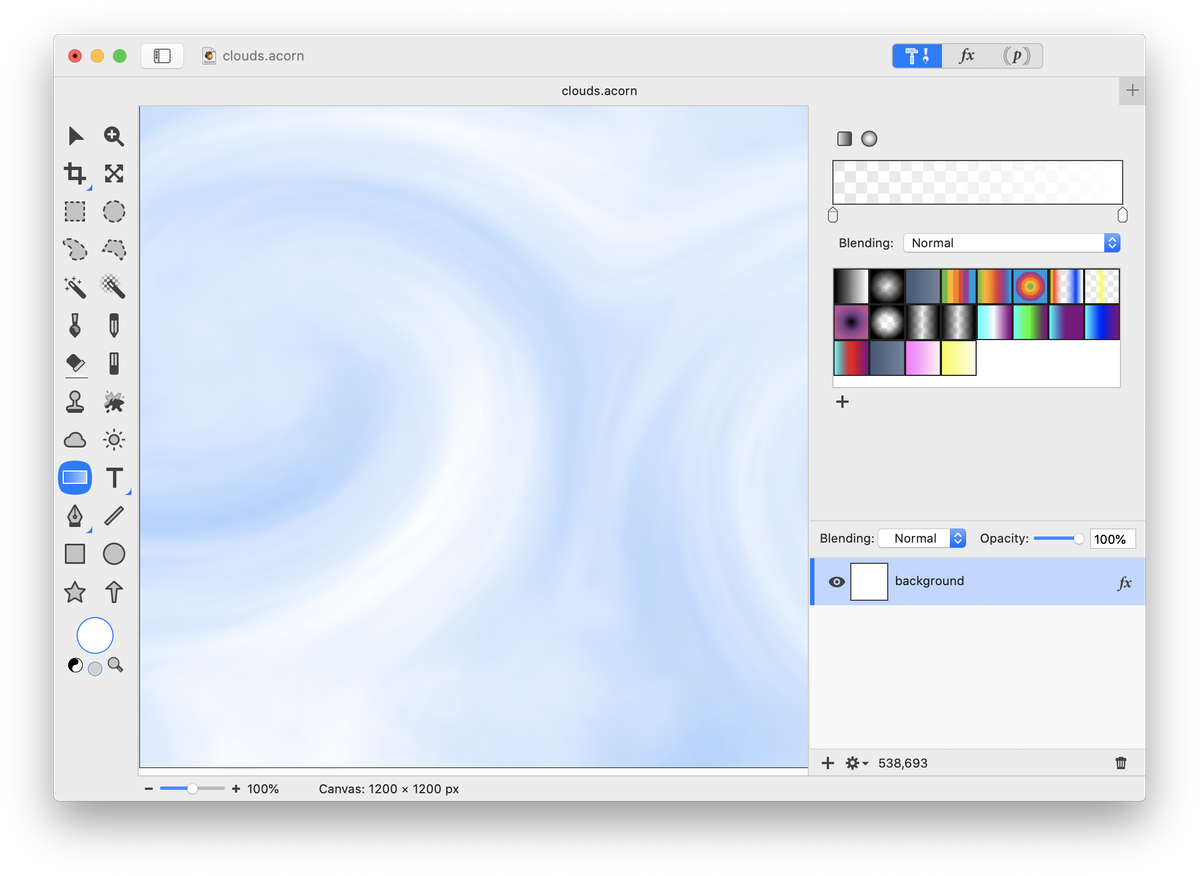 Apply a white to transparent gradient to make the clouds and sky more realistic.
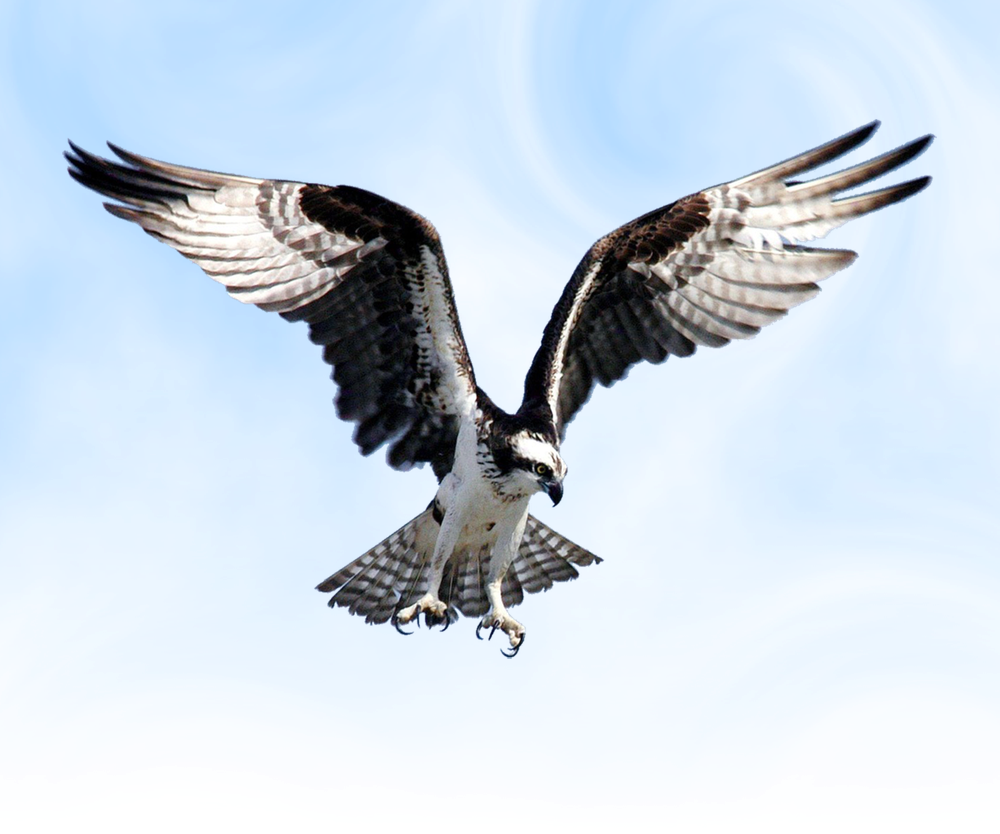
 Remove the background of another image and insert your home-made clouds!
Tutorial Credit: Thank you Troye Hering for outlining the steps to the clouds tutorial.