Different Ways to Remove a Background
This tutorial will cover how to use the Select Subject, Magic Wand, Instant Alpha Eraser, Blending Modes, and Filters to remove the background of an image. You can also check out this video tutorial created by MacMost.
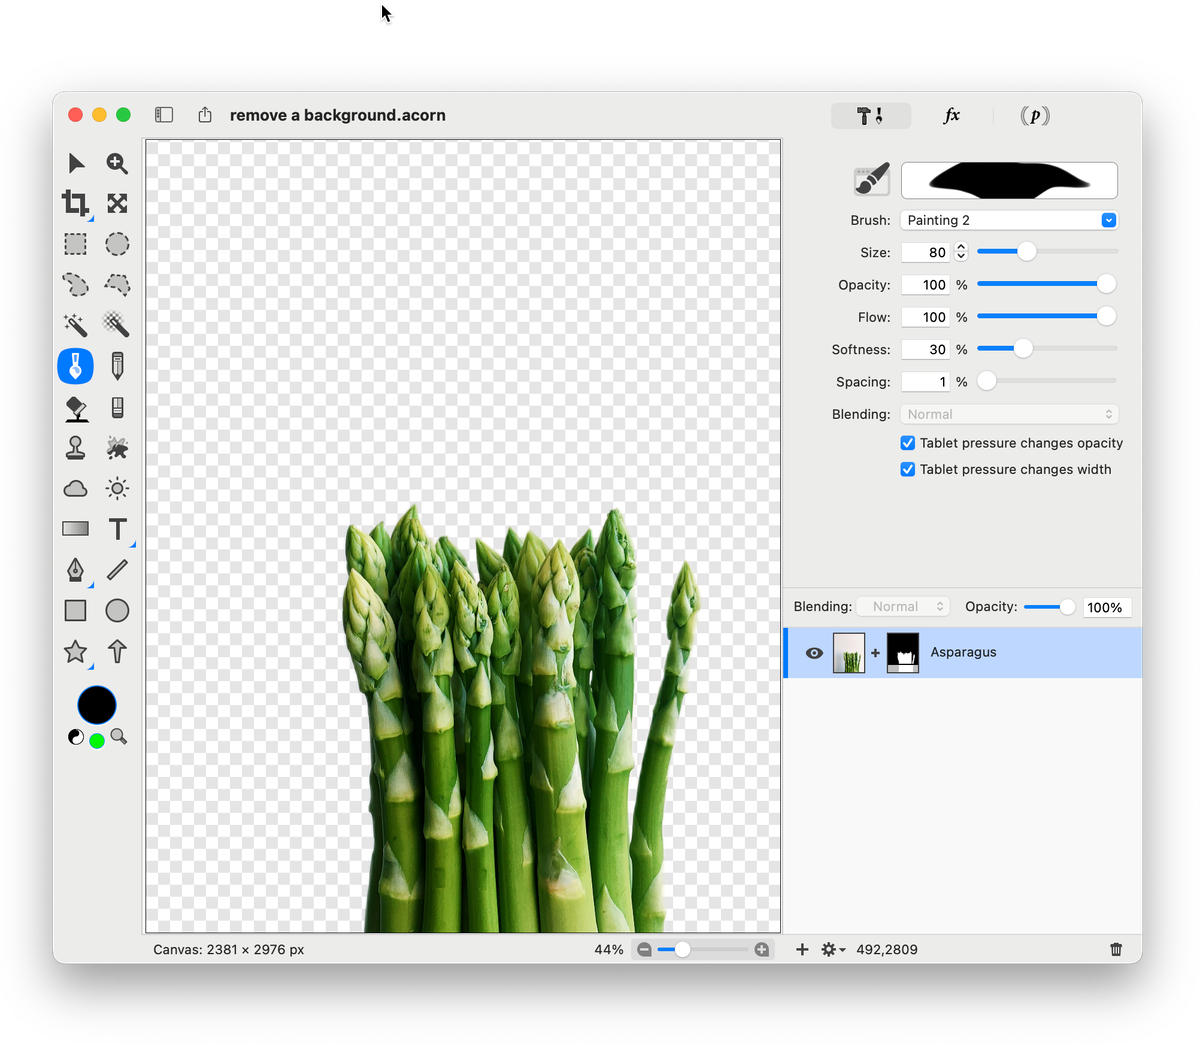
The original image in this example is asparagus with a grey background. The goal is to remove the grey background.
The Remove Background Method
Open the image in Acorn. Go to Layer ▸ Remove Background. Remove background uses Machine Learning / AI to find the main subject in an image and then deletes the background. You can see the original background has been removed completely. The checkered pattern indicates transparency.
The Select Subject Method
Go to Select ▸ Select Subject. Select subject uses Machine Learning / AI to find the main subject in an image and then selects it.
To get rid of the background you can either create a new image with the asparagus, File ▸ New from Selection, or you inverse the selection Select ▸ Inverse Selection then hit the delete key. Deselect by going to Select ▸ Clear Selection (⌘D).
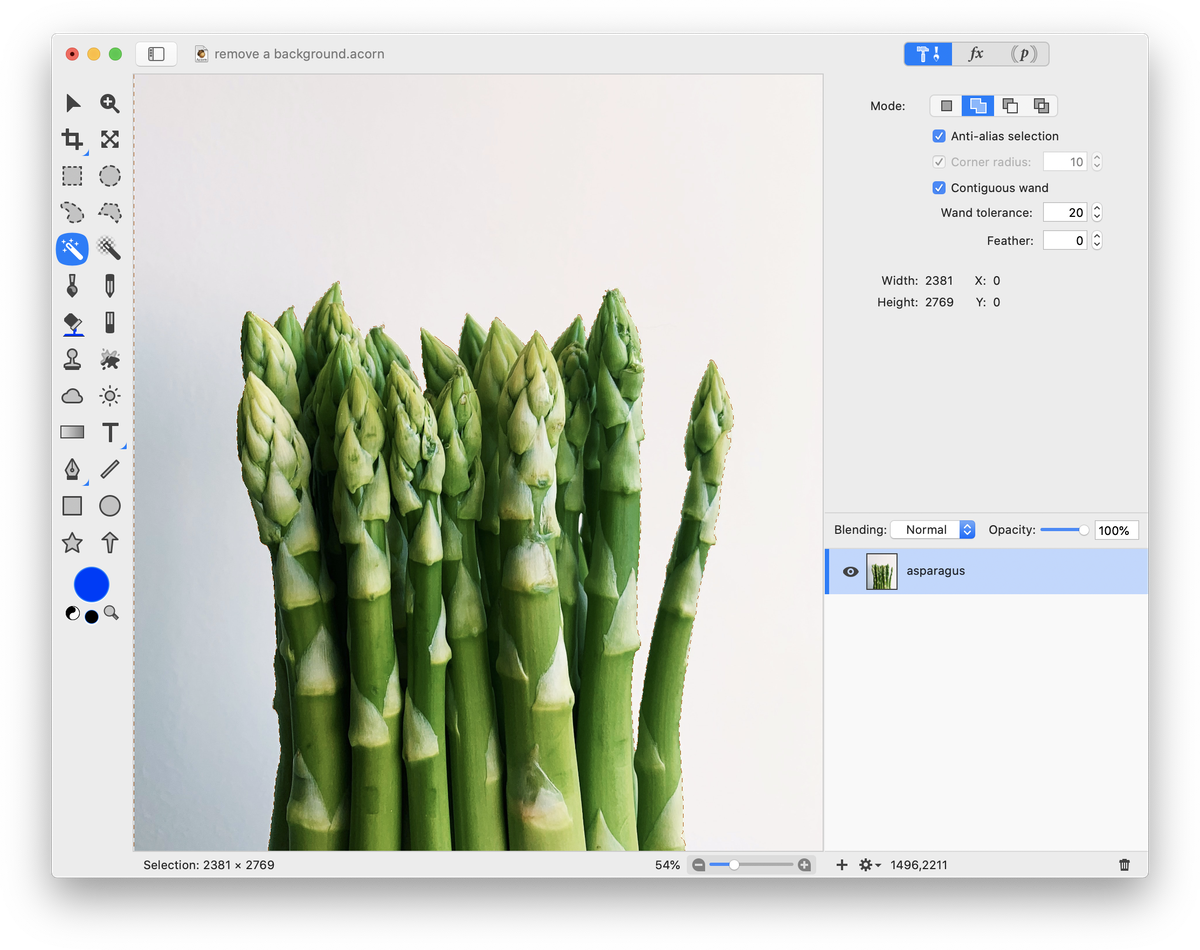
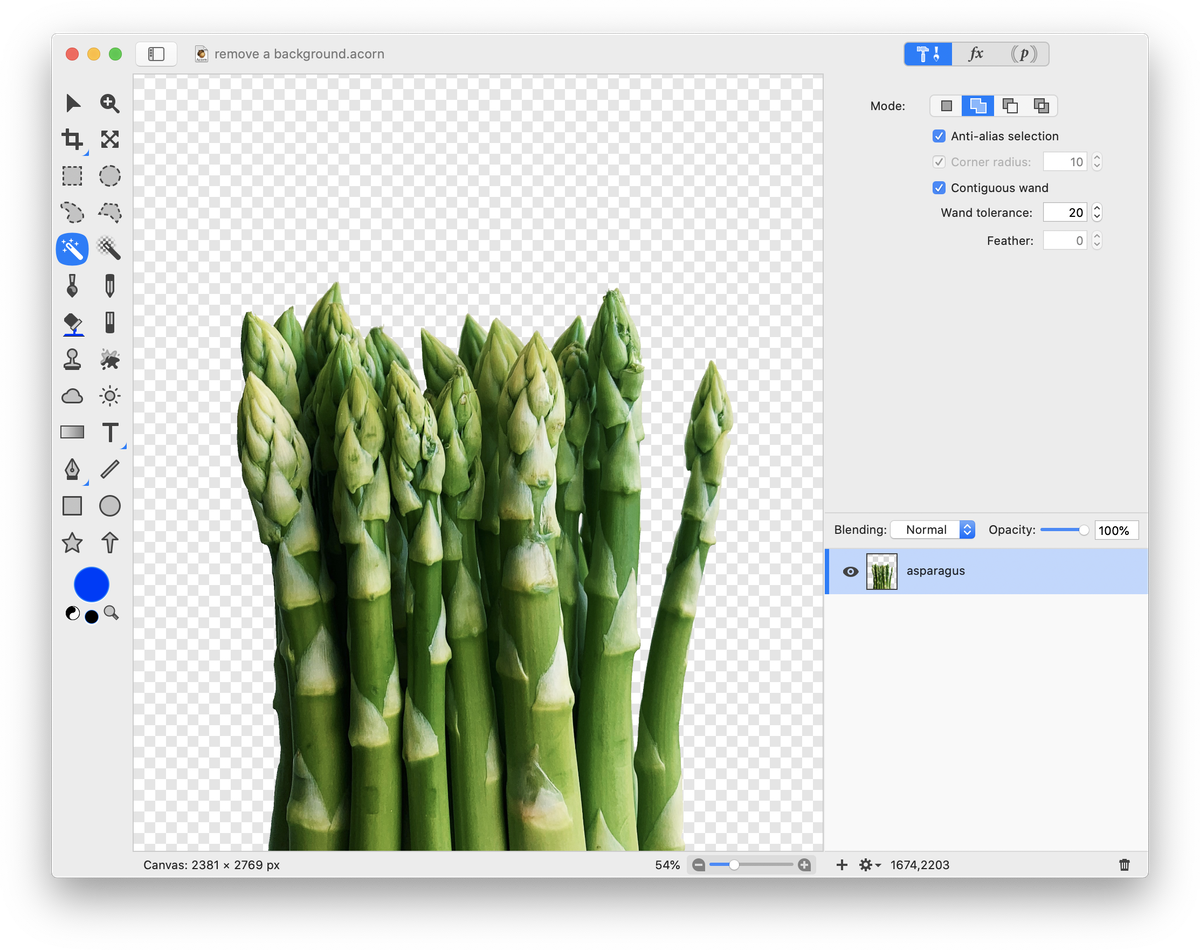
The Magic Wand Method
Select the magic wand in the tools palette. Notice in the inspector palette there is a field labeled Wand Tolerance. This number adjusts the range of colors that the magic wand will select. Using the magic wand, click and drag on the background to select it. You will see a circle near your cursor increase or decrease in size in response to the change in tolerance. How far you drag in or out will determine the amount selected and you can see in real time how your selection grows or shrinks. You can tell the background has been selected by all of the little ants marching around it.
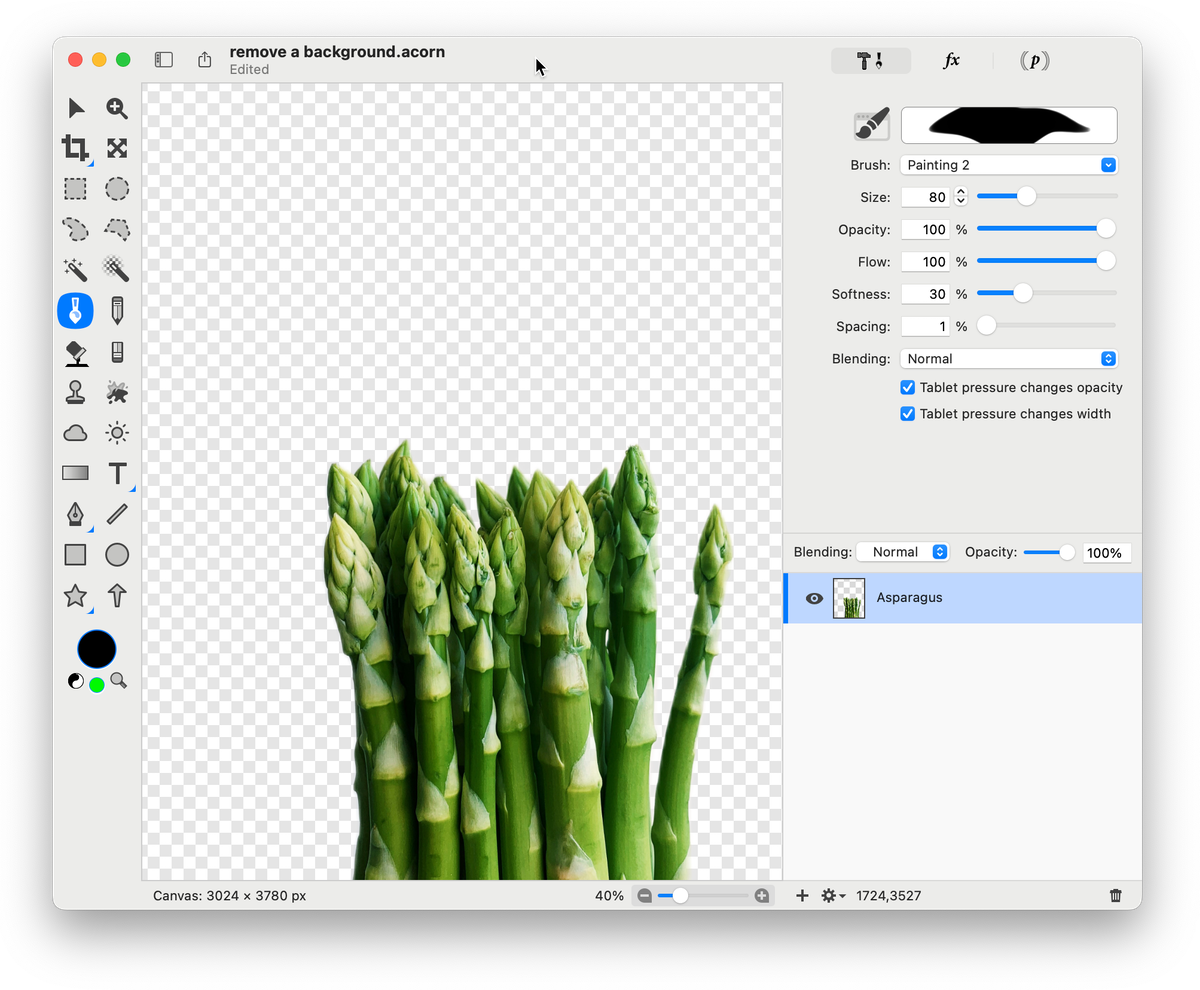
The Instant Alpha Erase Tool Method
Click on the instant alpha tool in the tools palette. Instant alpha is an erasing tool that has similar qualities to the magic wand selection tool. Click on the color you want erased and simultaneously click and drag outwards to increase the erasing tolerance, or inwards to decrease. The results will be seen in real time as you drag inwards and outwards.

The Mask Subject Method
Go to Select ▸ Mask Subject. The background will be masked. Layer masks are a great way to non-destructively remove an image background. To learn more about how layer masks work, read Layer Masks.
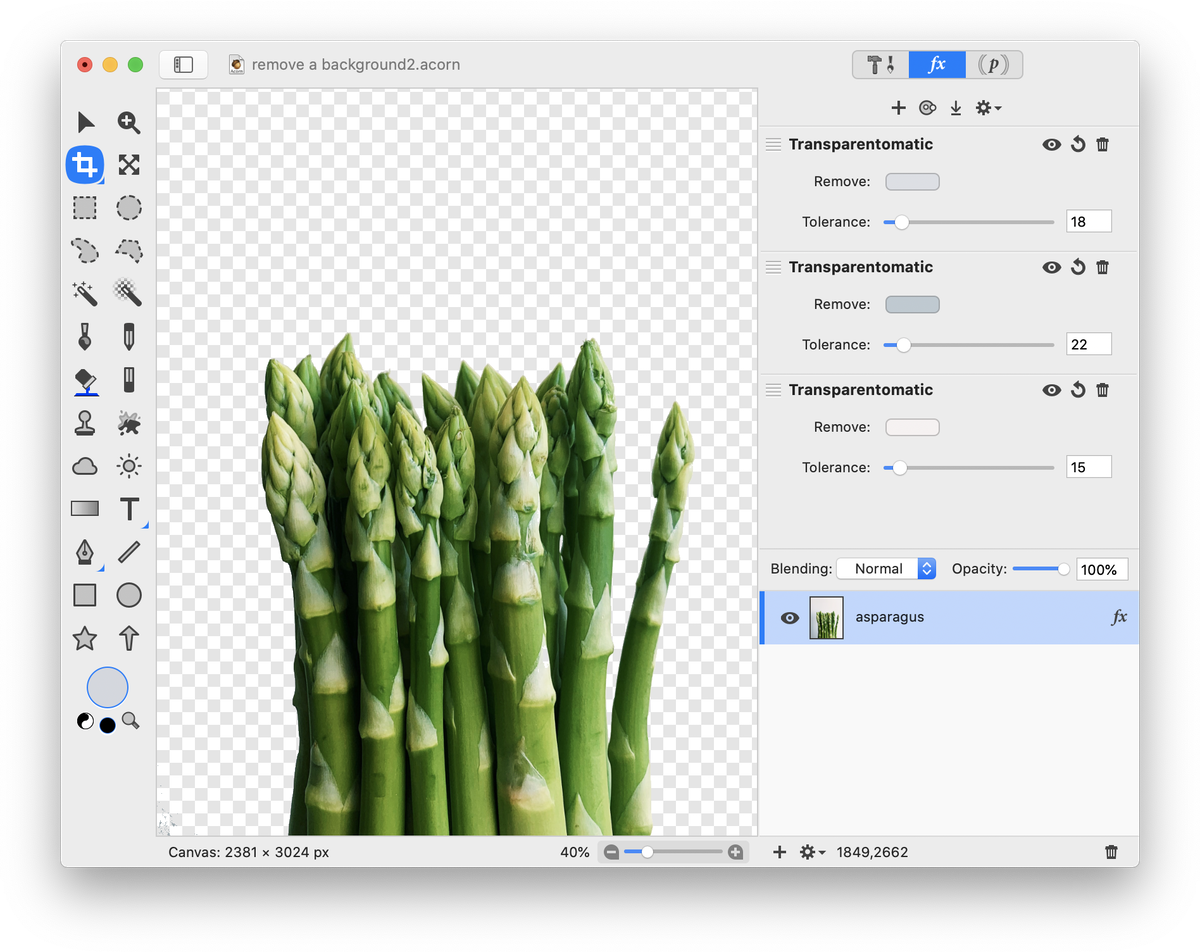
The Transparentomatic Filter Method
Go to Filter ▸ Color Adjustment ▸ Transparentomatic. Click once on the color well to the right of where it says 'Remove'. This will bring up the colors palette. Click on the magnifying glass to the left of the colors display in the colors palette. Using the magnifying glass click on the background in the image. That color will be removed. Play around with the tolerance level of the filter until things look right. Multiple transparentomatic filters can be added to remove multiple background colors.
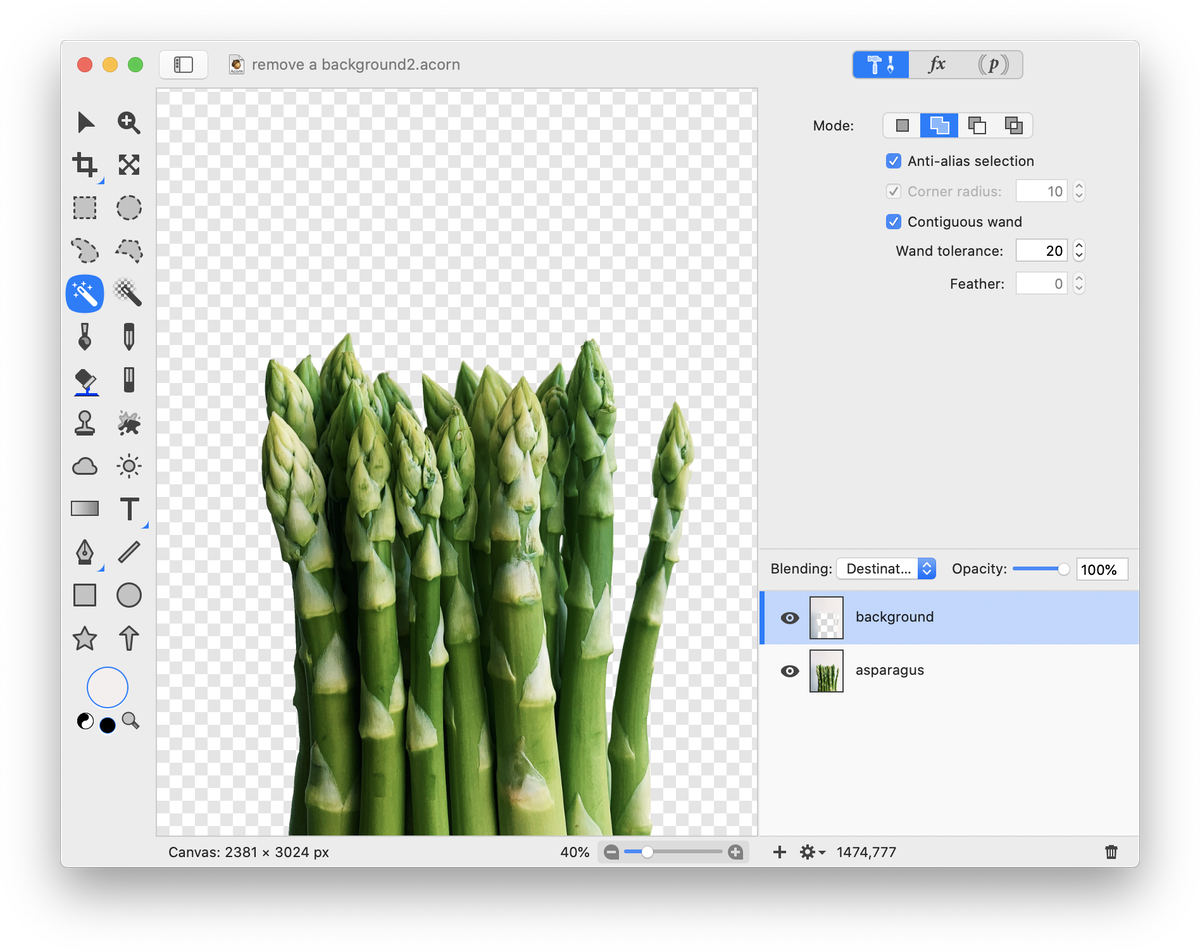
The Blending Modes Method
Select your background using the magic wand tool. Go to Layer ▸ New Layer with Selection. Deselect (⌘D). Now change the blending mode of the layer to Destination Out. This will create a transparent background that is easily hidden or visible by turning the visibility of the new layer on and off.