Selecting Basics
This is a beginner level tutorial on using selection tools. Making selections is frequently a part of image editing. Being comfortable with the different types of selection tools, keyboard shortcuts, modifying your selections, and moving your selections is key to getting the most out of this tool.
Adding or Subtracting from a Selection
To start, choose the rectangular selection tool (keyboard shortcut 'M' or ’S’). Clicking ’S’ repeatedly will cycle through the different selection tools. The goal is to draw a rectangular selection around the woman in the image below in order to place the selected area on its own layer. Go ahead and draw your rectangular selection. Don't worry about getting it absolutely perfect, there are ways to correct it later. Select ▸ View Selection Clipped Out is used here to highlight the selection boundary.
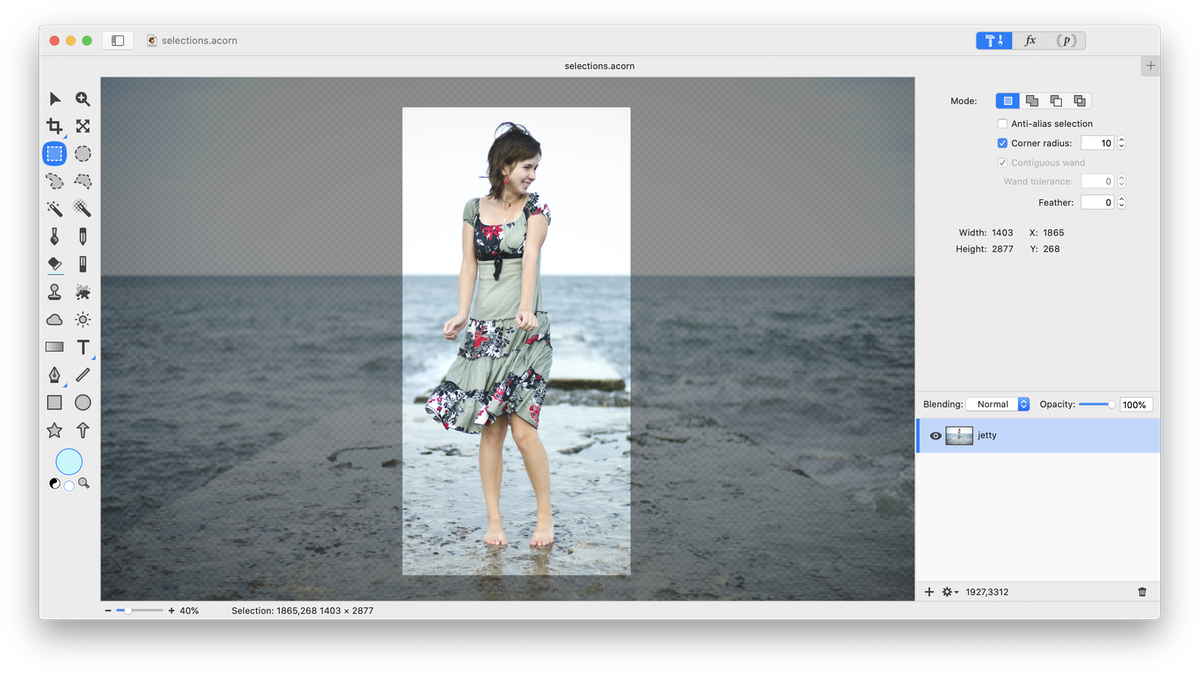 Hmmmm, maybe the selection should be a bit longer at the bottom. You could deselect (⌘D) and completely start your selection over, or you can add to your current selection. Try adding to the selection. You can either click on 'addition mode' in the selection tools palette or hold down the shift key before you start your selection. The selection cursor will change to include a plus sign. Make a selection encompassing the area you want added. Be sure to end the selection by overlapping inside your current selection.

 Nevermind, adding to the selection at the bottom isn't really what you wanted. Click ⌘Z to undo it. You want to subtract from your selection at the top instead. Follow the steps outlined for adding to a selection, except choose 'subtraction mode'. Alternatively, hold down the option key before you start your selection. The selection cursor will change to include a minus sign.
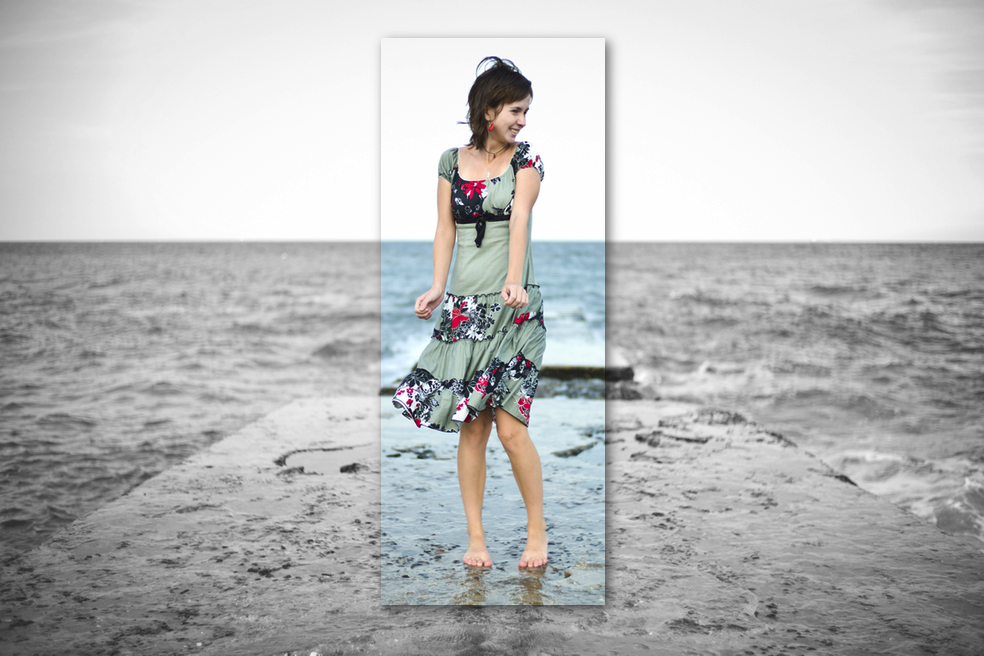
 Once your selection looks right, make what you selected into its own separate layer by choosing Layer ▸ New Layer with Selection. To achieve the results shown below, you can follow the 'photo inside a photo' tutorial.
Moving a Selection
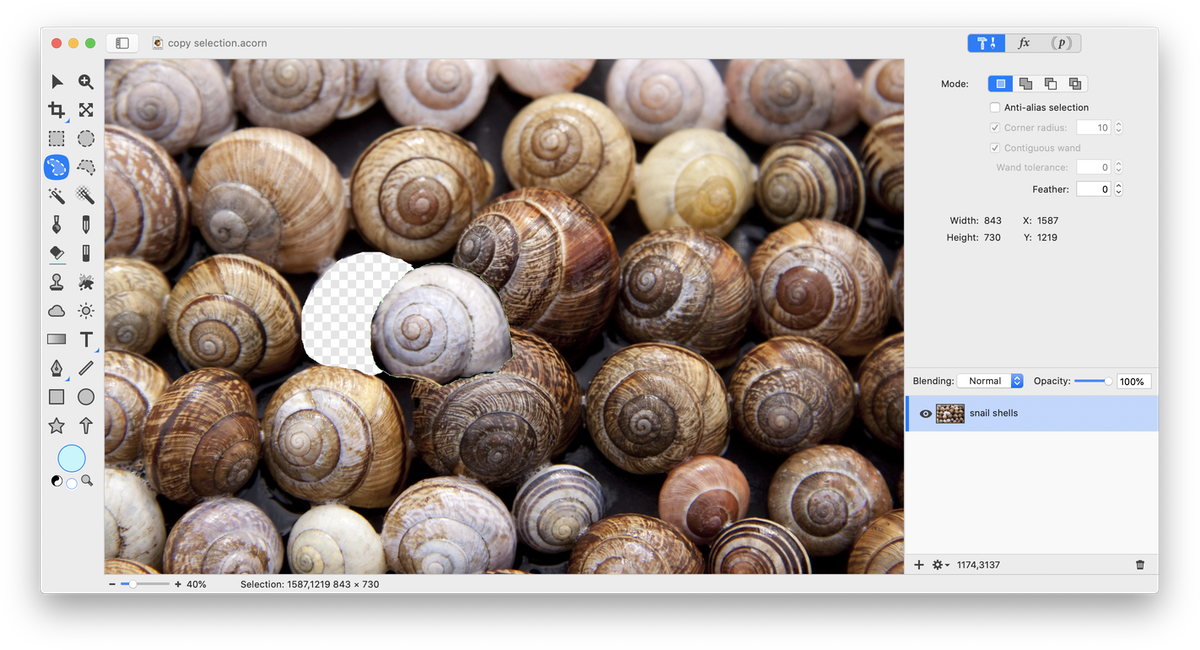
Once you have made a selection, you can move it around with the move tool or the arrow keys. In addition to this, you can hold down the ⌘ (command) key while clicking and dragging on your selection and Acorn will first cut out the selection and then move it around your image. Letting go of ⌘ will then place your floating selection. You can see below that the snail shell has been selected, cut out, and moved to the right.
 To copy your selection without cutting it out, choose the move tool then hold down the option key while clicking and dragging on your selection. You can hold down ⌘ and ⌥ (option) when clicking and dragging and Acorn will continually copy + place your selection each time you release the mouse. You can see below that the snail selection has been copied 8 times using this technique.
 You can also use Edit ▸ Copy and Edit ▸ Paste on your selection and the selection will be placed on a new layer. The same white snail shell here has been selected, then the keyboard shortcuts ⌘C and ⌘V were used to copy and paste it on a new layer. The blending mode was changed to Multiply to make the white snail shell appear darker.
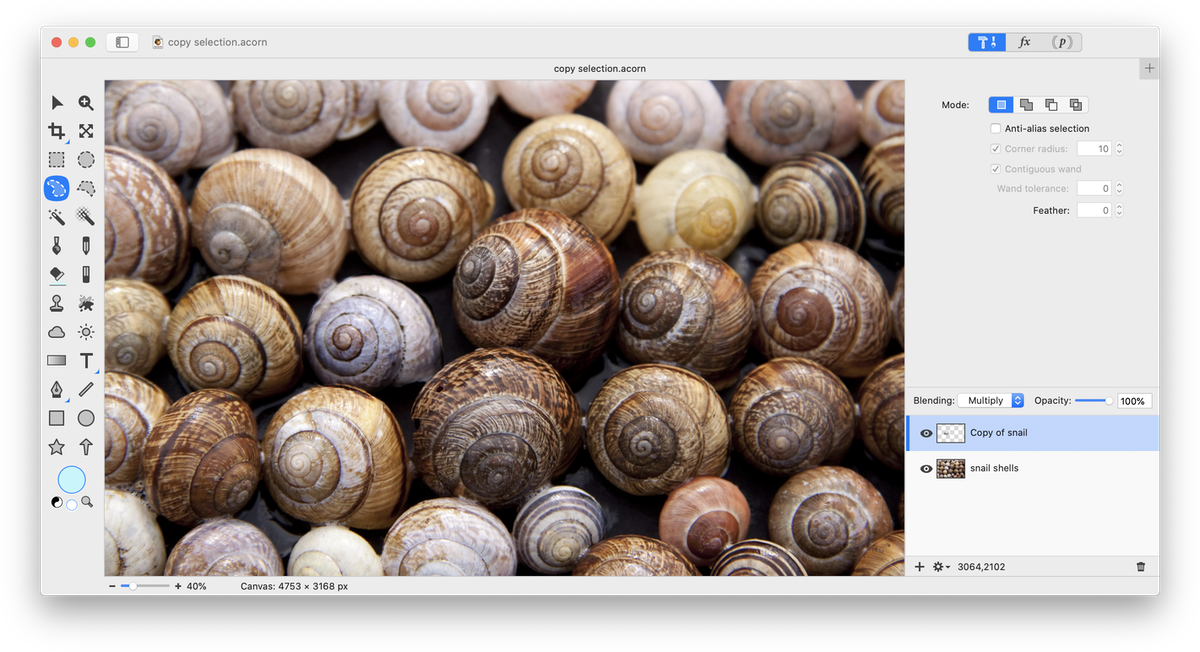 Photo Credits
Girl © d3vilh
Photo Credits
Girl © d3vilh