How to Fade Out Your Image
This tutorial will show you a few different techniques for transitioning your image to a transparent background.
Technique 1: Using a Gradient in a Layer Mask
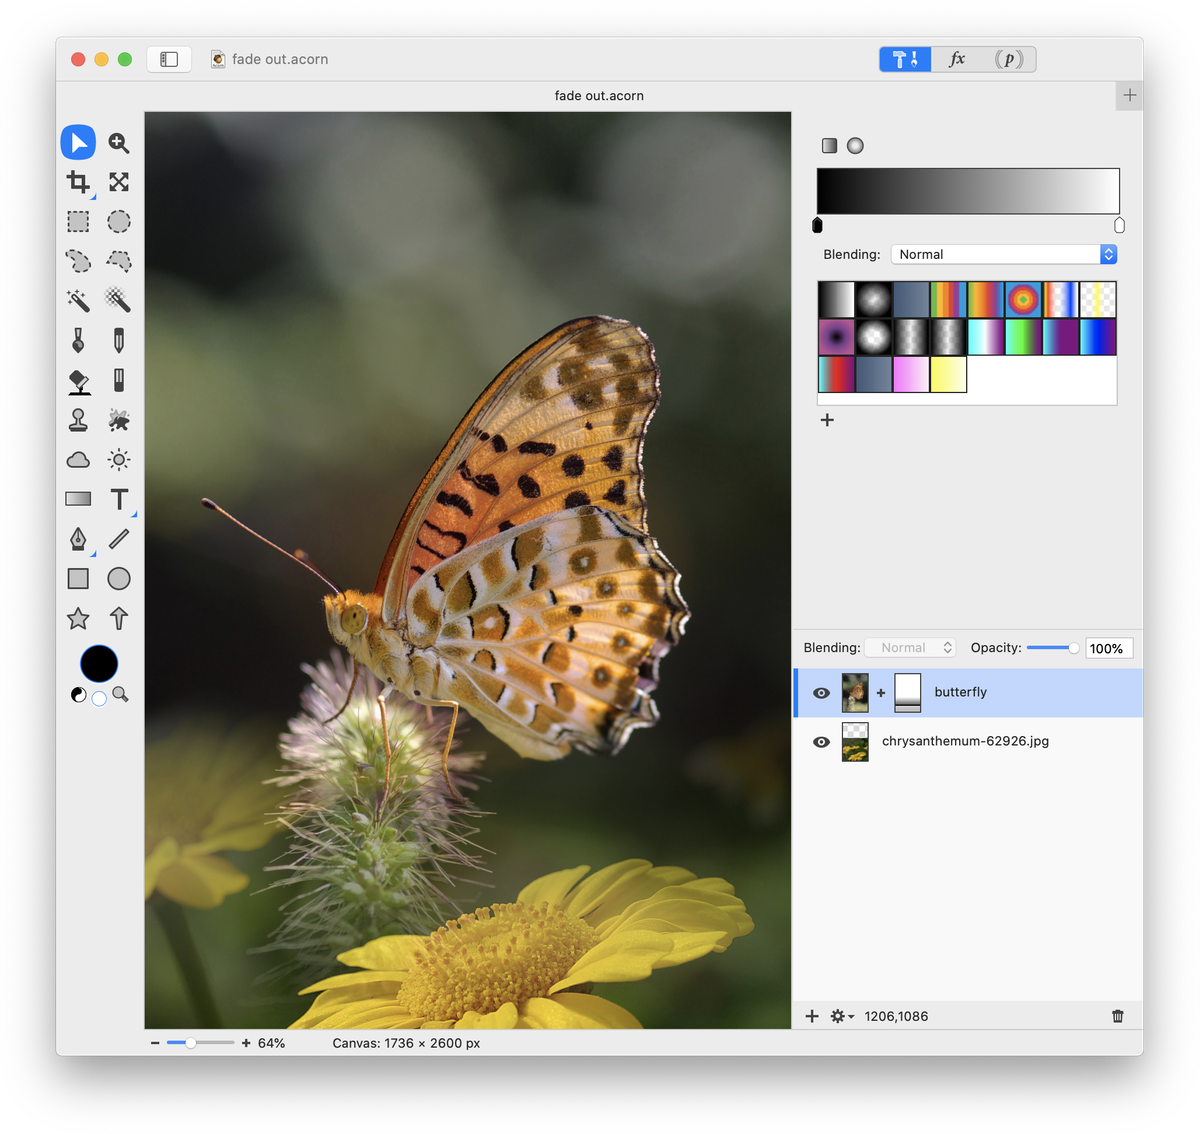
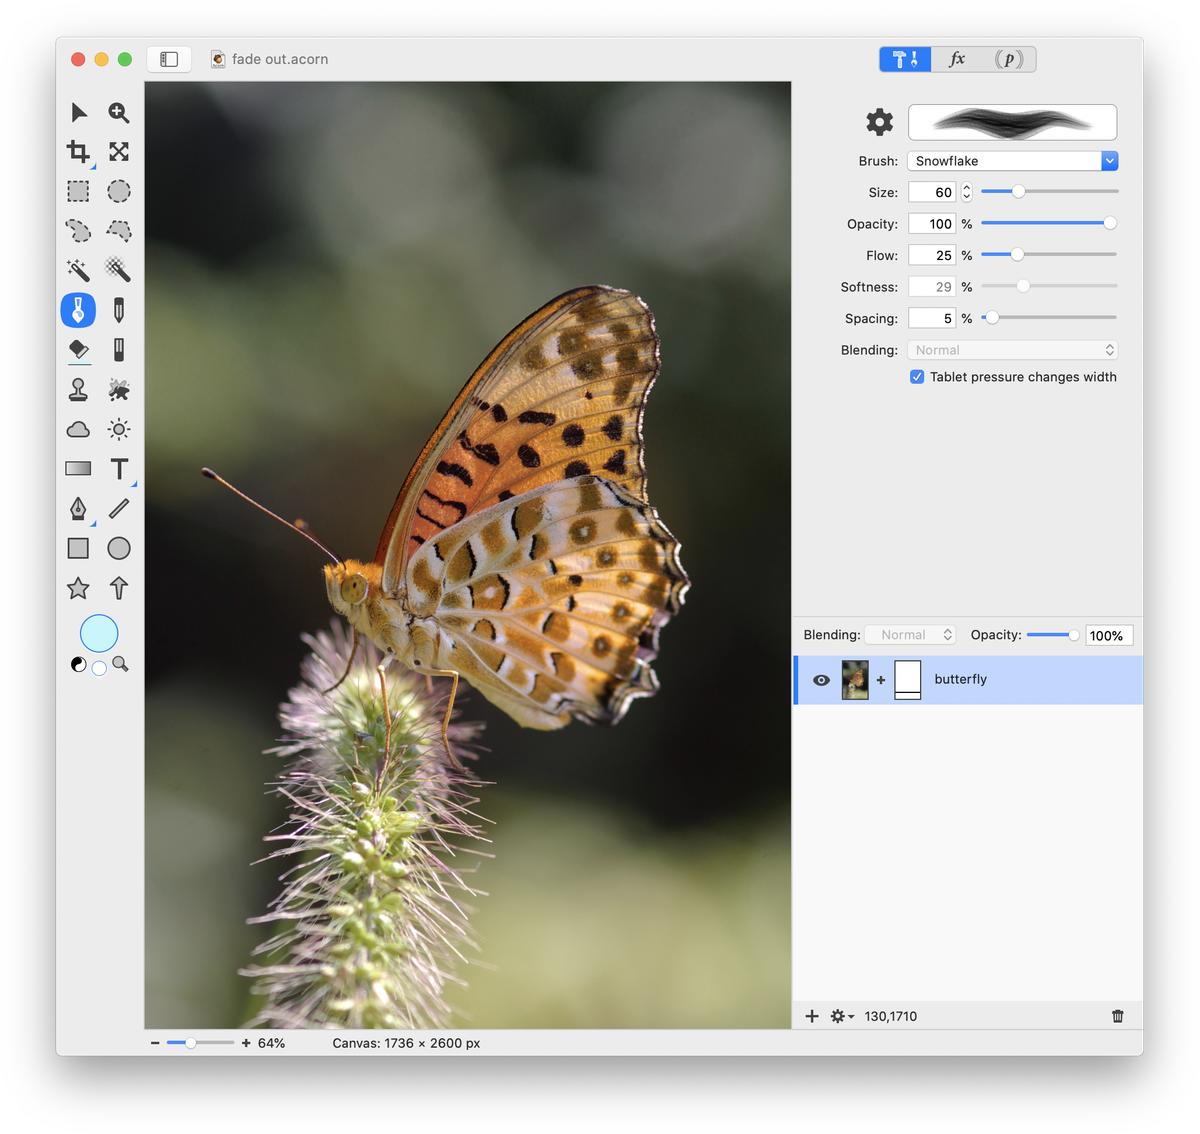
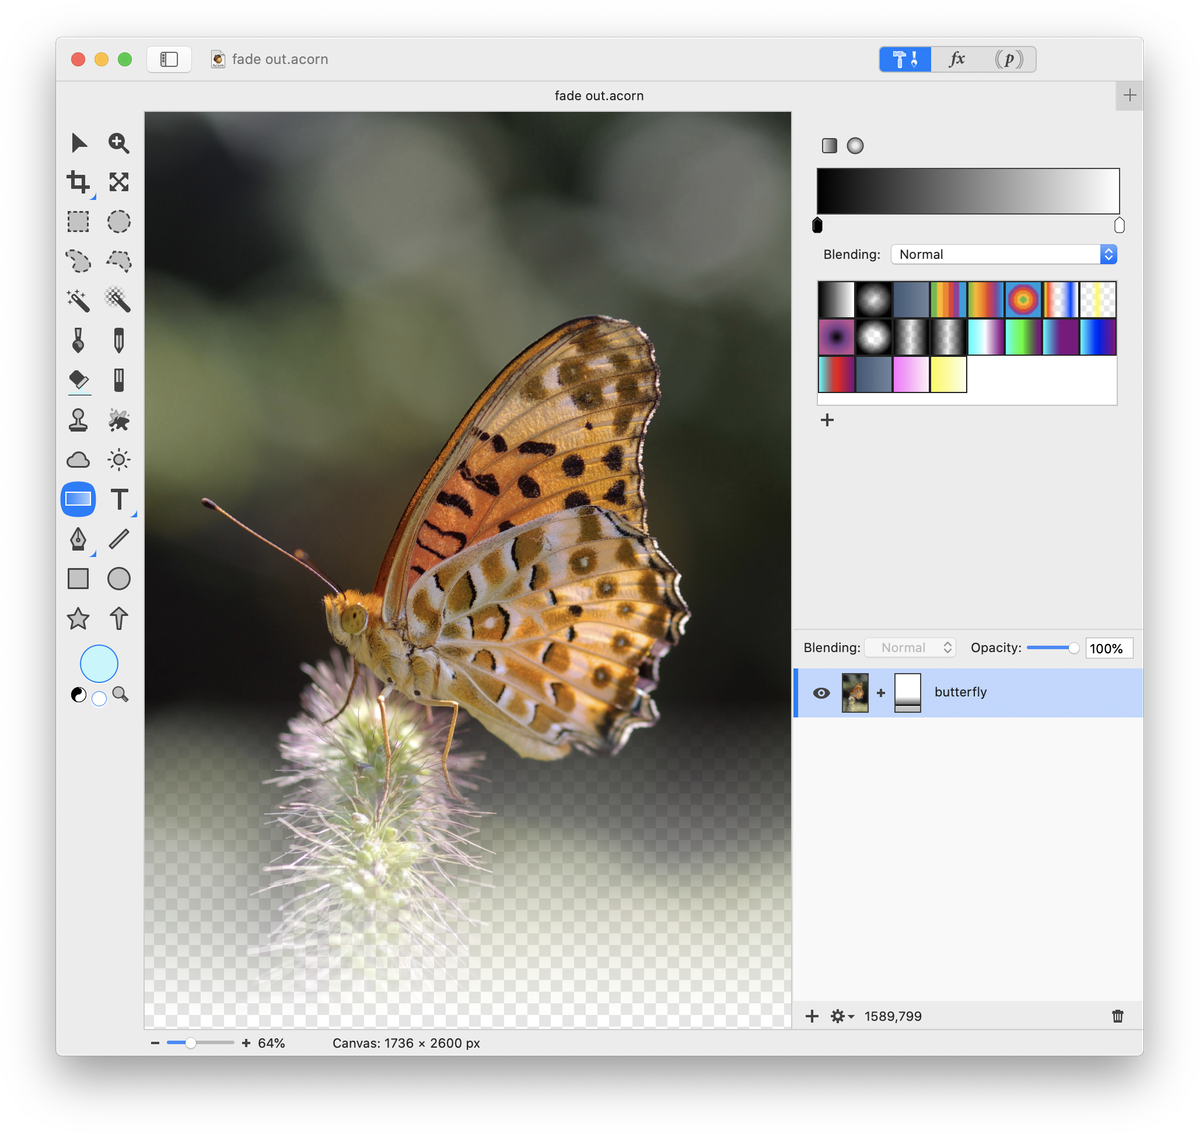
Creating a gradient in a layer mask is by far the easiest technique for fading out an image. Open your image in Acorn, . Click on the action menu on the lower left hand corner of the layers list in the inspector palette. Select 'Add Layer Mask".
Be sure to also check out the Fade Out Techniques video tutorial.
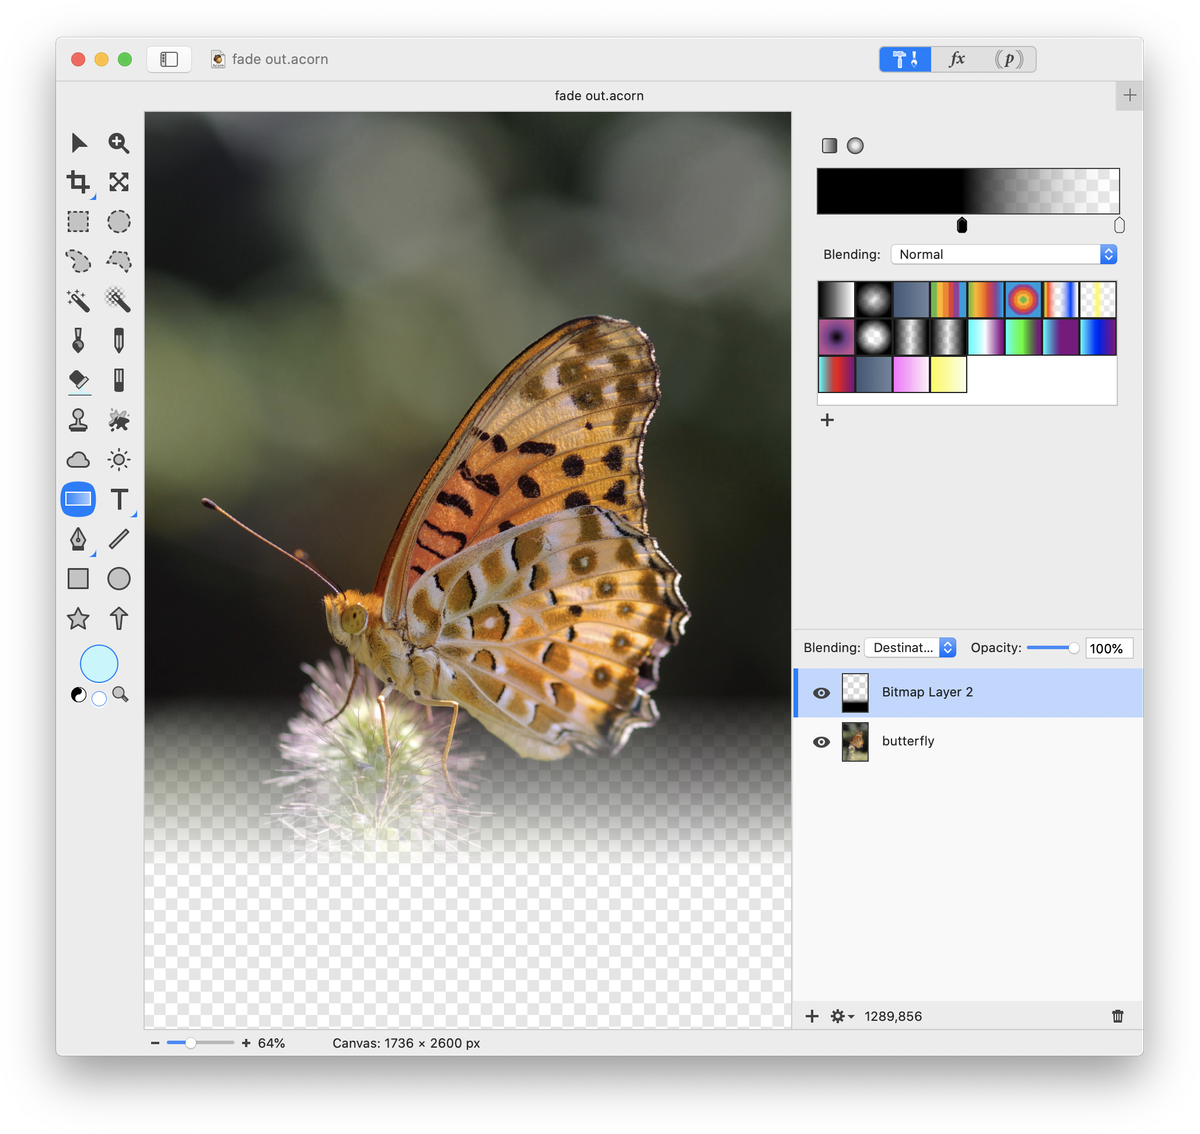
Technique 2: Using Gradients and Blending Modes
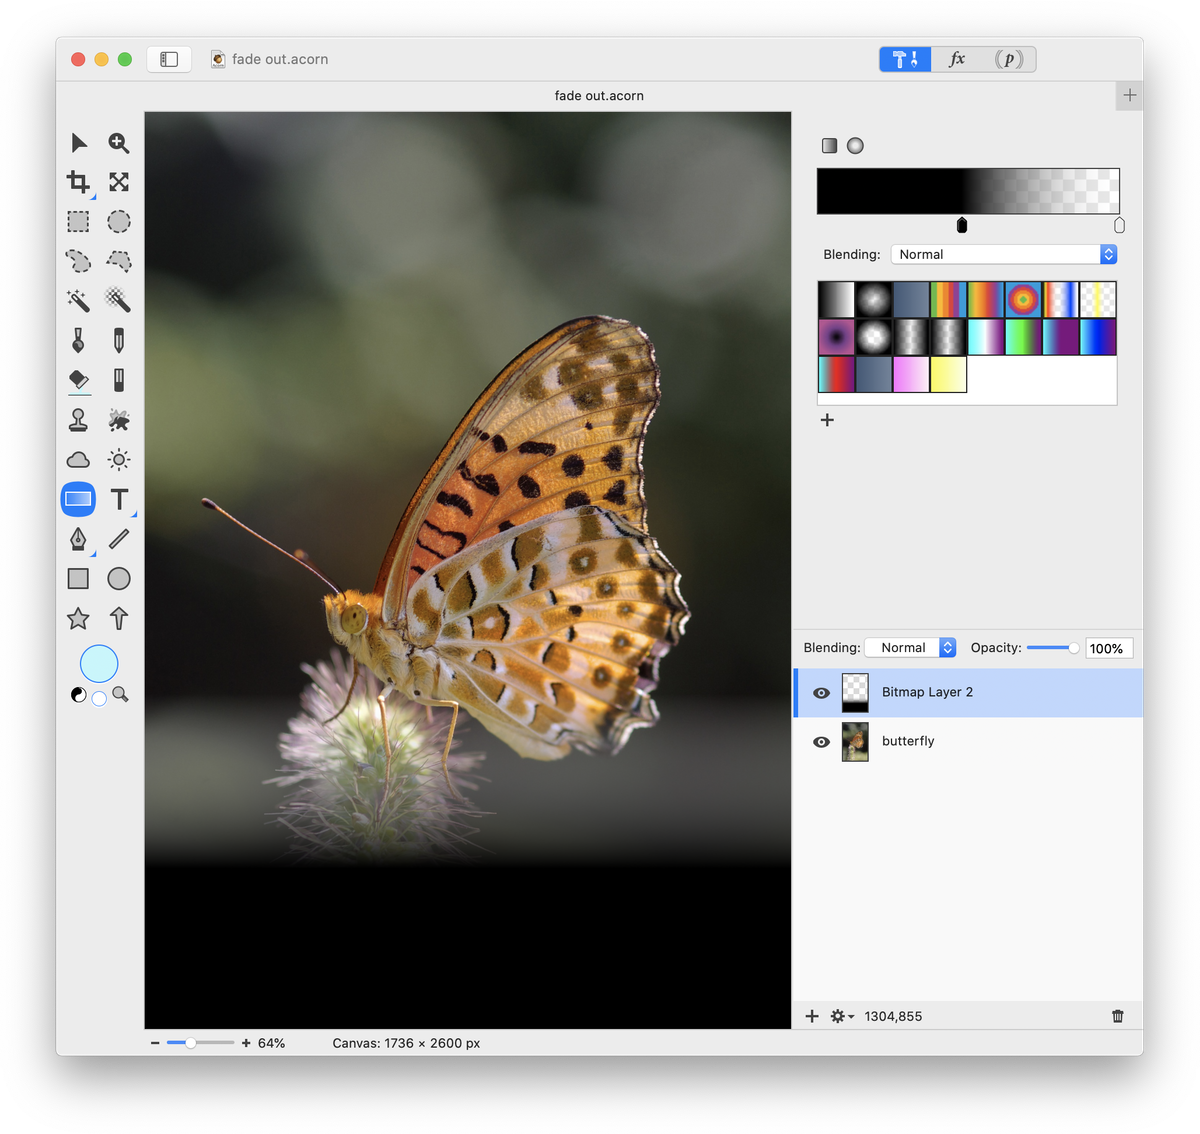
This technique uses layer blending to achieve the fade out effect. Make a new layer, . Draw a black to transparent gradient on the new layer.
Technique 3: Using the Feather Tool
Choose a selection tool from the tools palette. The elliptical selection tool is used here. Select the area of the image you want to keep. The selection is viewed as ‘clipped out’ here to make the selection easier to see.
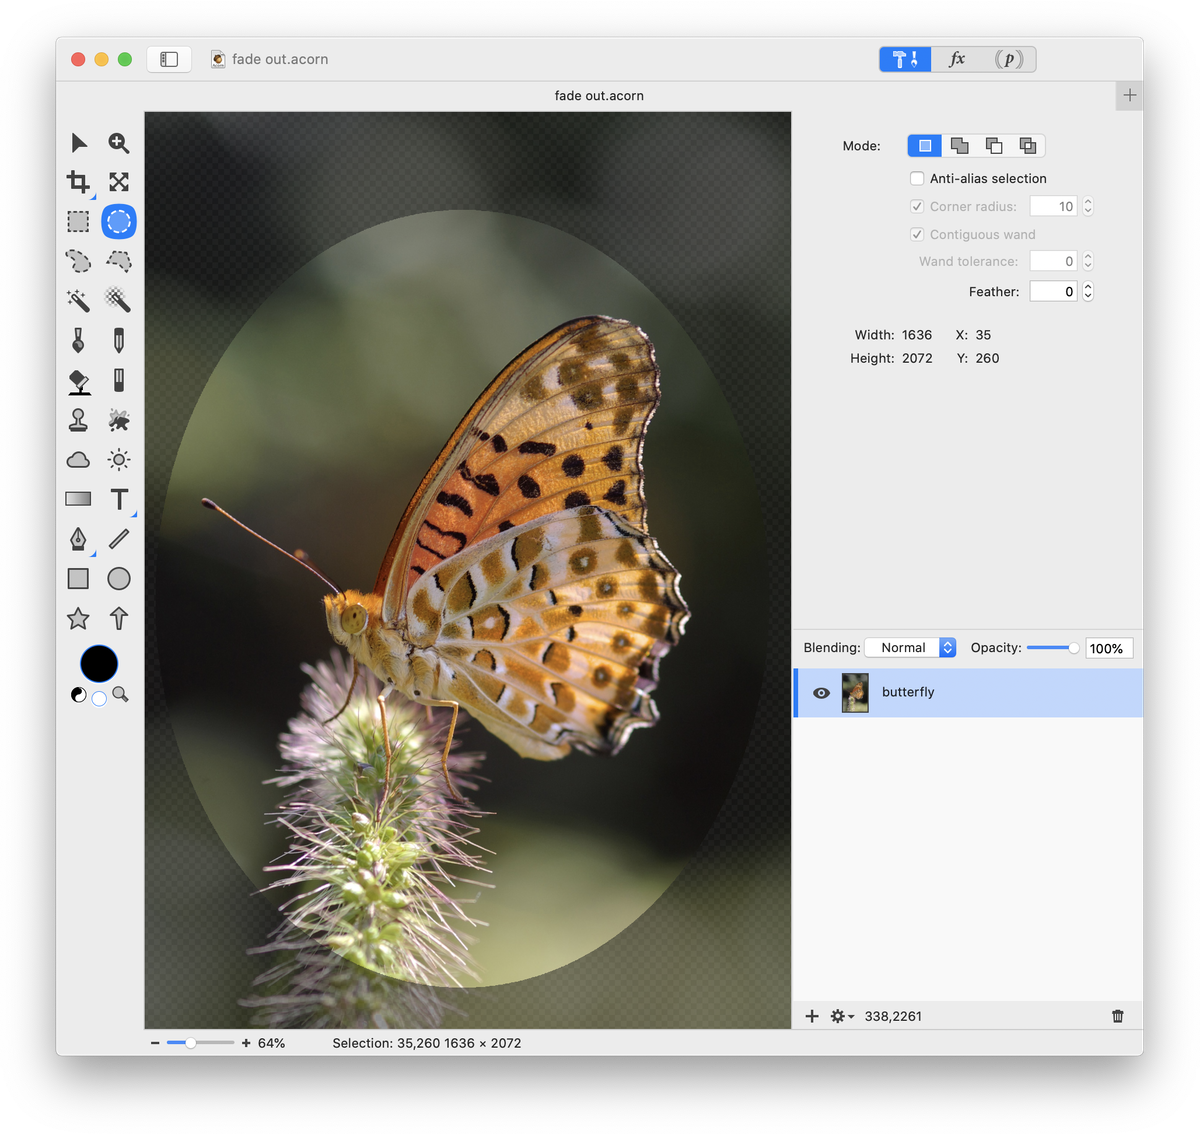
Next, adjust the feather value in the inspector palette. The amount you enter in the radius field depends on the size of your image. A radius of 40 is used here.
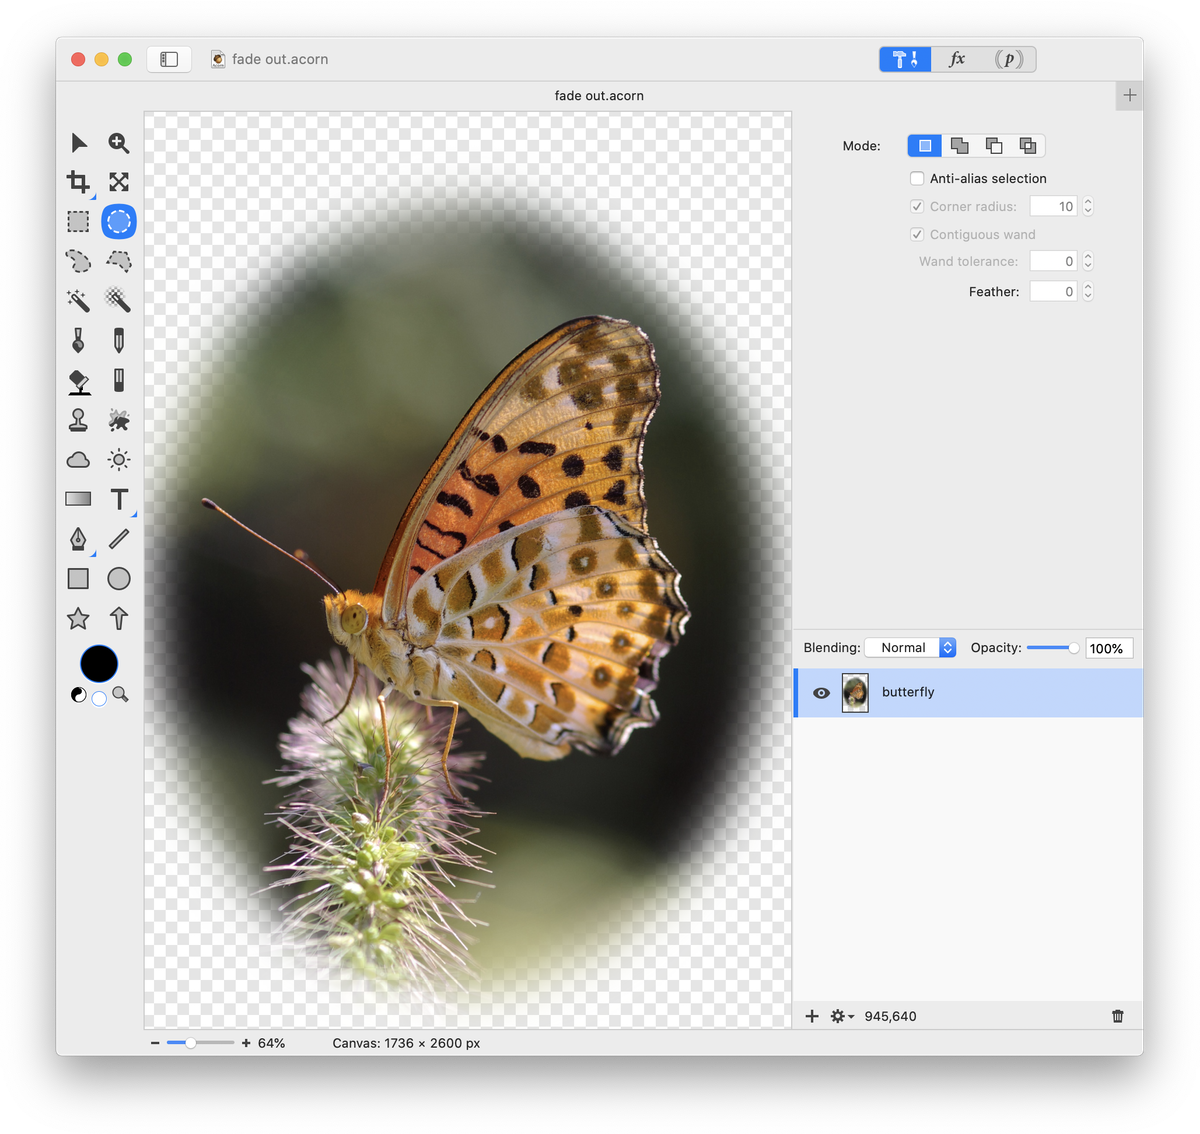
Notice anything different? Probably not. But what has happened is that the selection has changed slightly so that it's softer on the edges. Choose the Select ▸ Inverse menu item. This will take the selection and turn it inside out, selecting the areas that weren't selected before, and unselecting the areas that were previously selected. Hit the delete key and deselect (⌘D).
Fading Two Images Together
To take this a step further, you can blend two images together. This example uses the layer mask fade out technique outlined previously. Then, using to bring in your second image. Move the new image layer down to the bottom of the layers list. Using the move tool, position the new layer, and tada! You have 2 images blended together.