Acorn Acorn 7

How To Apply Textures


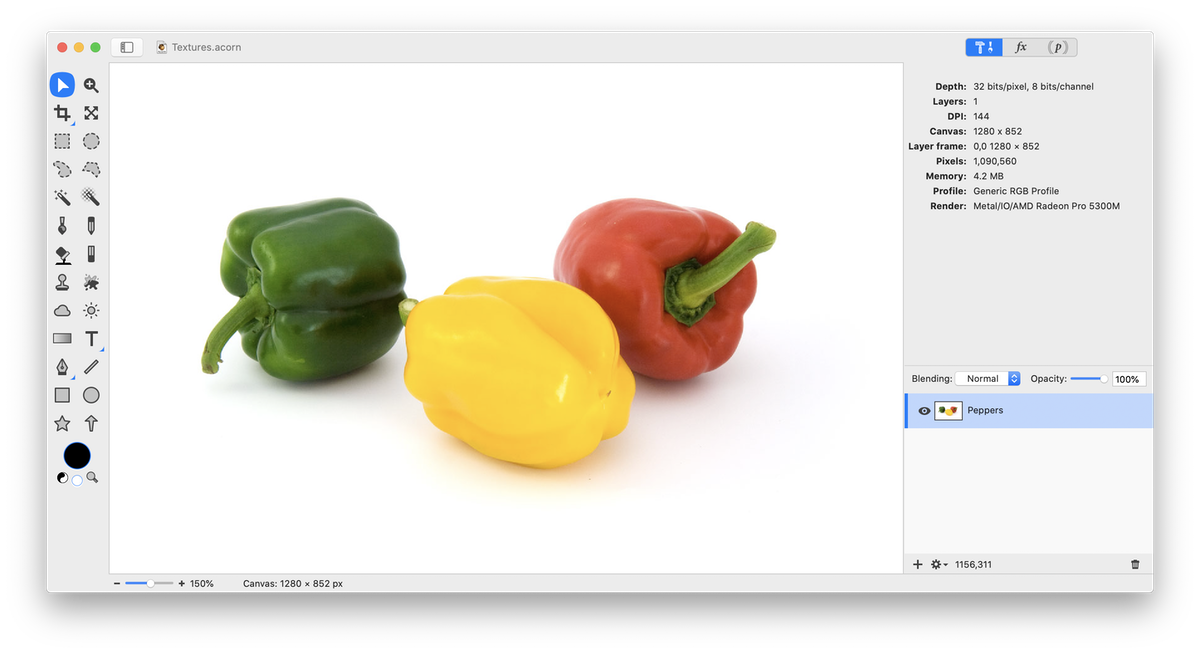
This tutorial will show you how to apply textures to your image using blending modes.  All the textures in this tutorial are from http://www.cgtextures.com.

Screen Shot 2021-02-04 at 11.28.56 AM.png

Open your image in Acorn, File ▸ Open.  The image used here is of 3 bell peppers.  Each of these peppers will have a different texture applied using blending modes. Images of marble, rocks, and clover textures were chosen.  Choose File ▸ Add Images... to add each of your texture images in separate layers.  For more assistance with this, see Adding Images & Resizing Layers.


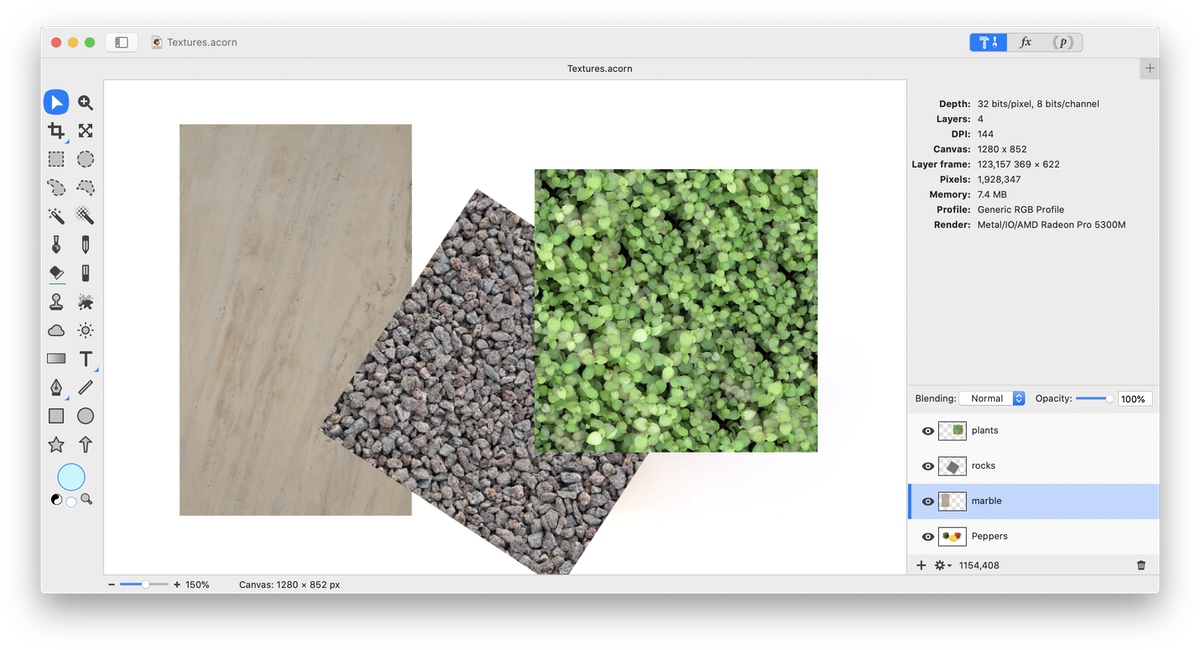
Use the Layer ▸ Rotate and Transform ▸ Scale and Rotate (⌘⇧T) menu to move the textures images around and change their size and angle.   


Screen Shot 2021-02-04 at 11.40.21 AM.png


Change the blending mode of each texture layer to Overlay.


Screen Shot 2021-02-04 at 1.45.34 PM.png


The texture should be noticeable on the flesh of the peppers, not the stems or shadows. To do this you need to erase the texture on the areas where it is not wanted.  


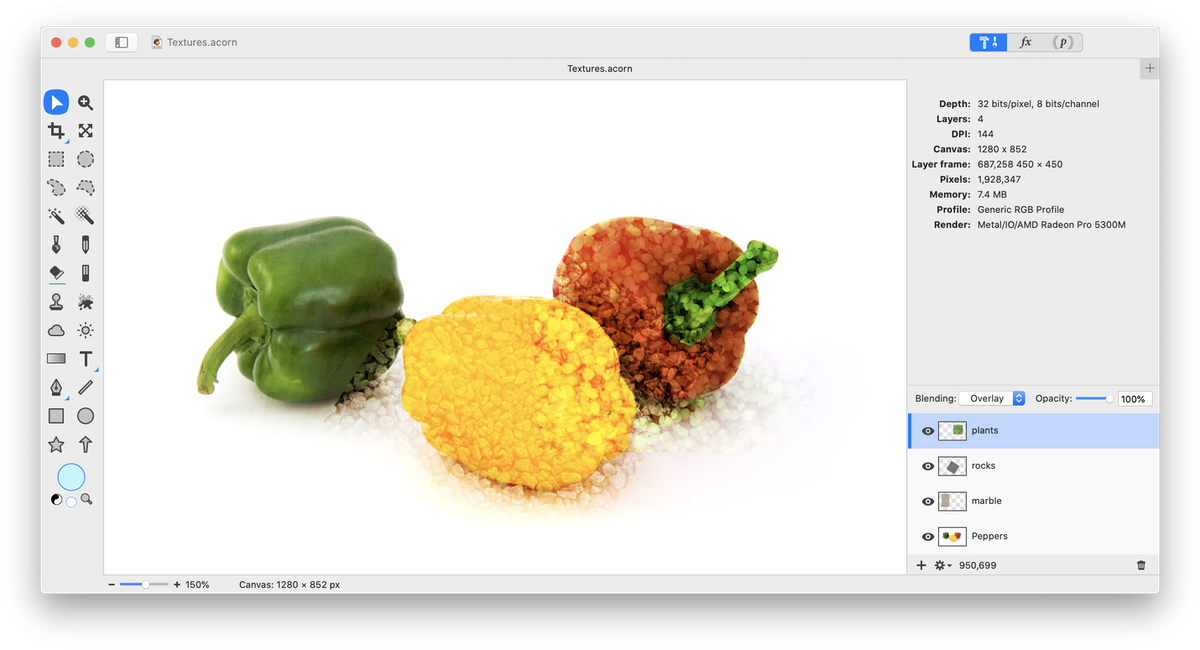
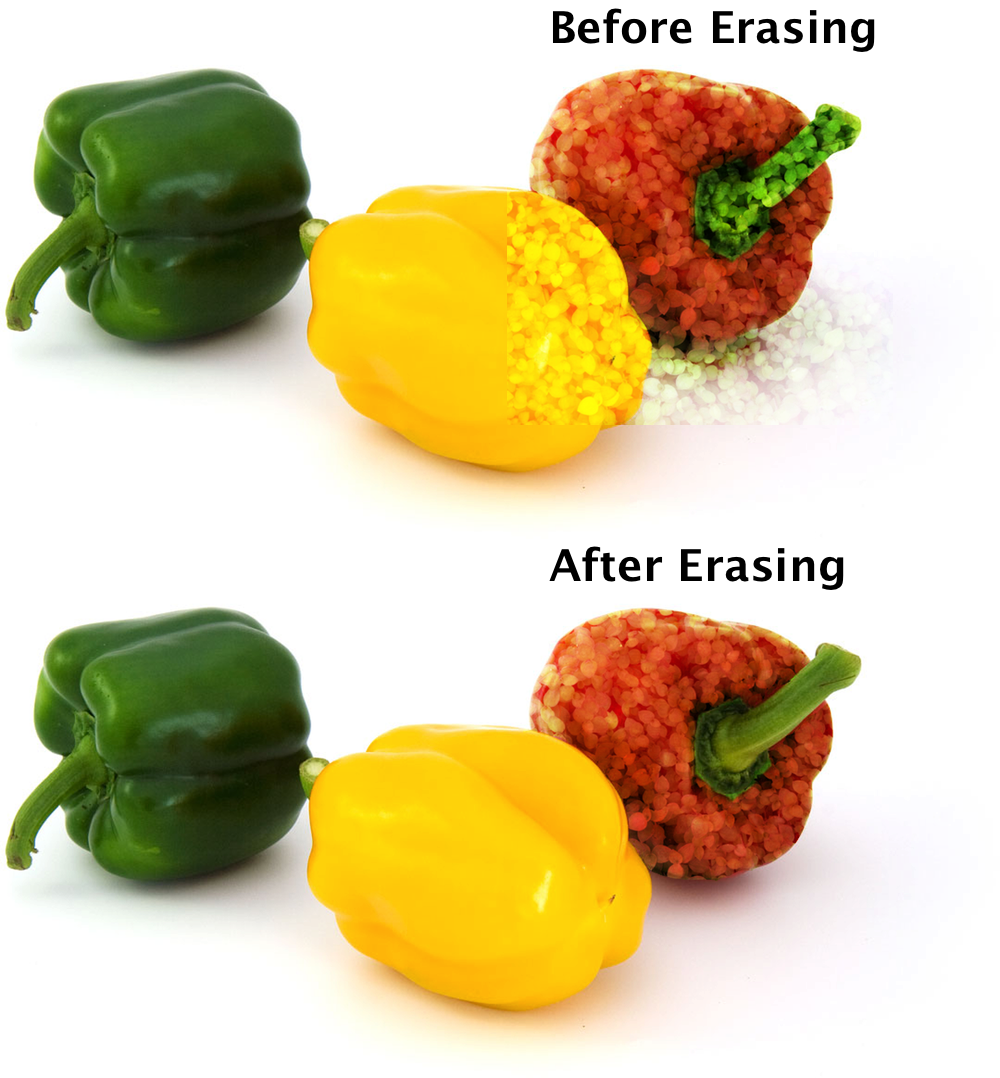
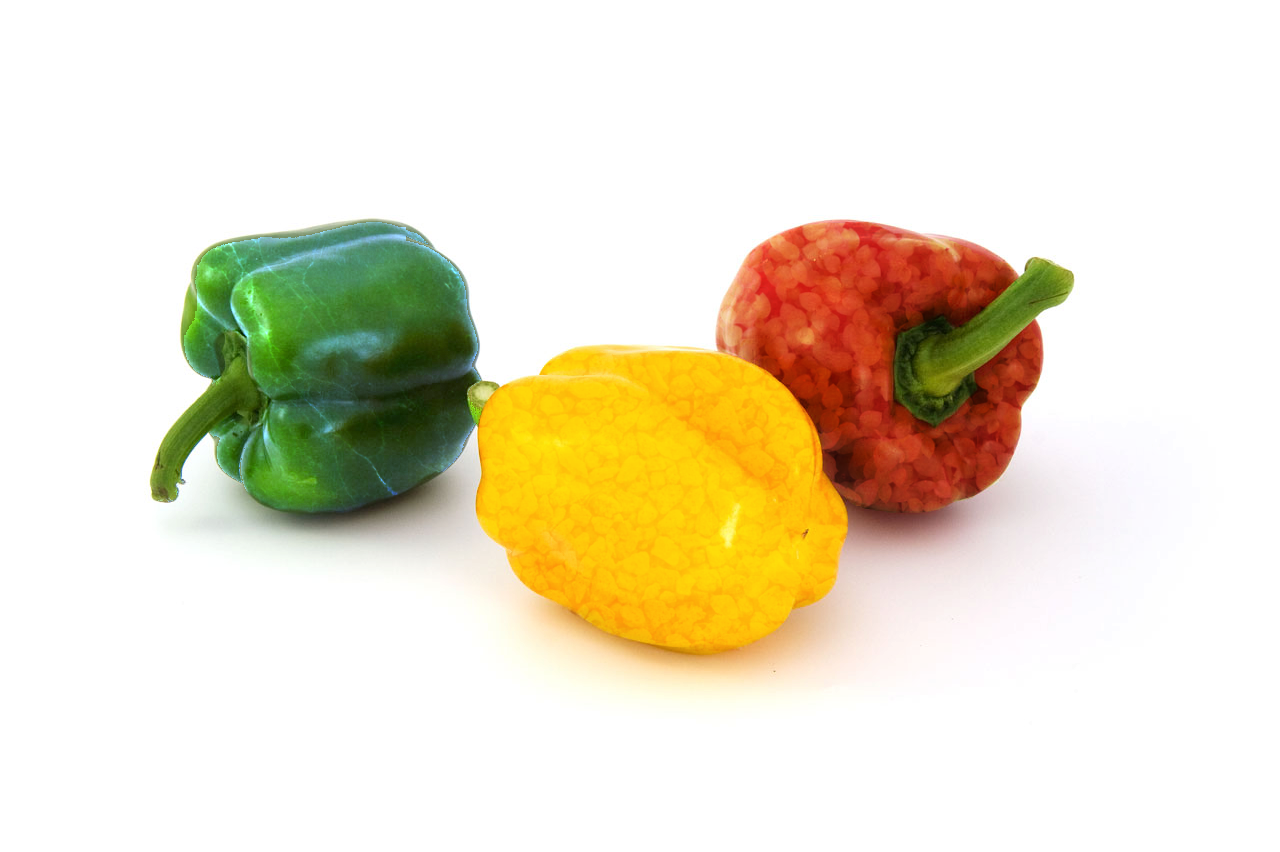
To make this easier, turn off the visibility on the other texture layers by clicking the visibility icon to the left of the layers in the layers list.  Leave only the original image and the texture you wish to edit visible.  Select the layer of the texture you wish to edit by clicking on it in the layers list.  Start with the red pepper.  Choose the erase tool in the tools palette and erase any unwanted areas of texture.


before erasing.acorn


Repeat this with the remaining textures.  Now all the peppers have their own texture.   Be sure to experiment with different blending modes and opacity settings!


applying_texture4.png


See Also:  resizing layers, adding images & resizing layers