Custom Brushes
 This tutorial will cover how to create your own shape brush. Making a brush can be a time saver if you find yourself using a simple image repeatedly in your projects. Ideally a brush should start out with the image being black and on a transparent background. For more detailed information on removing a background read How to Remove a Background.
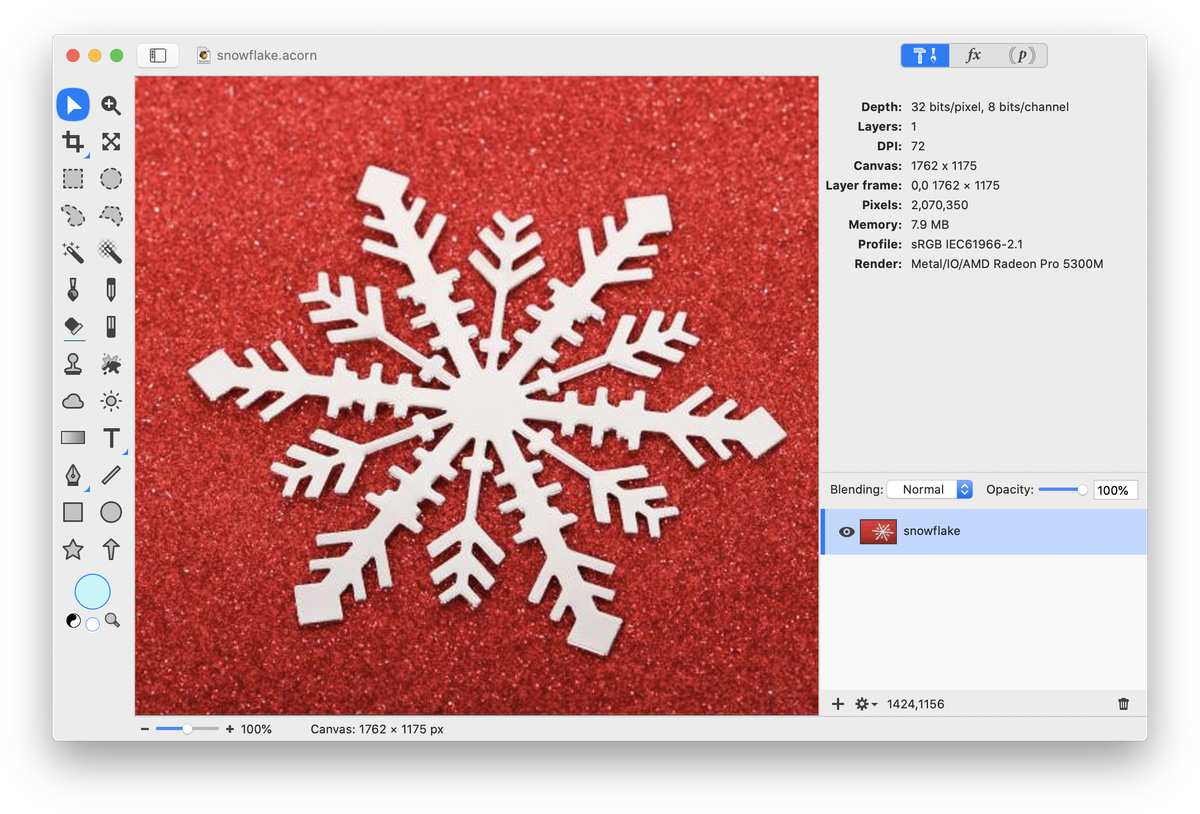
First, open the image you want to create a brush from in Acorn, File ▸ Open. This tutorial will use a snowflake image.
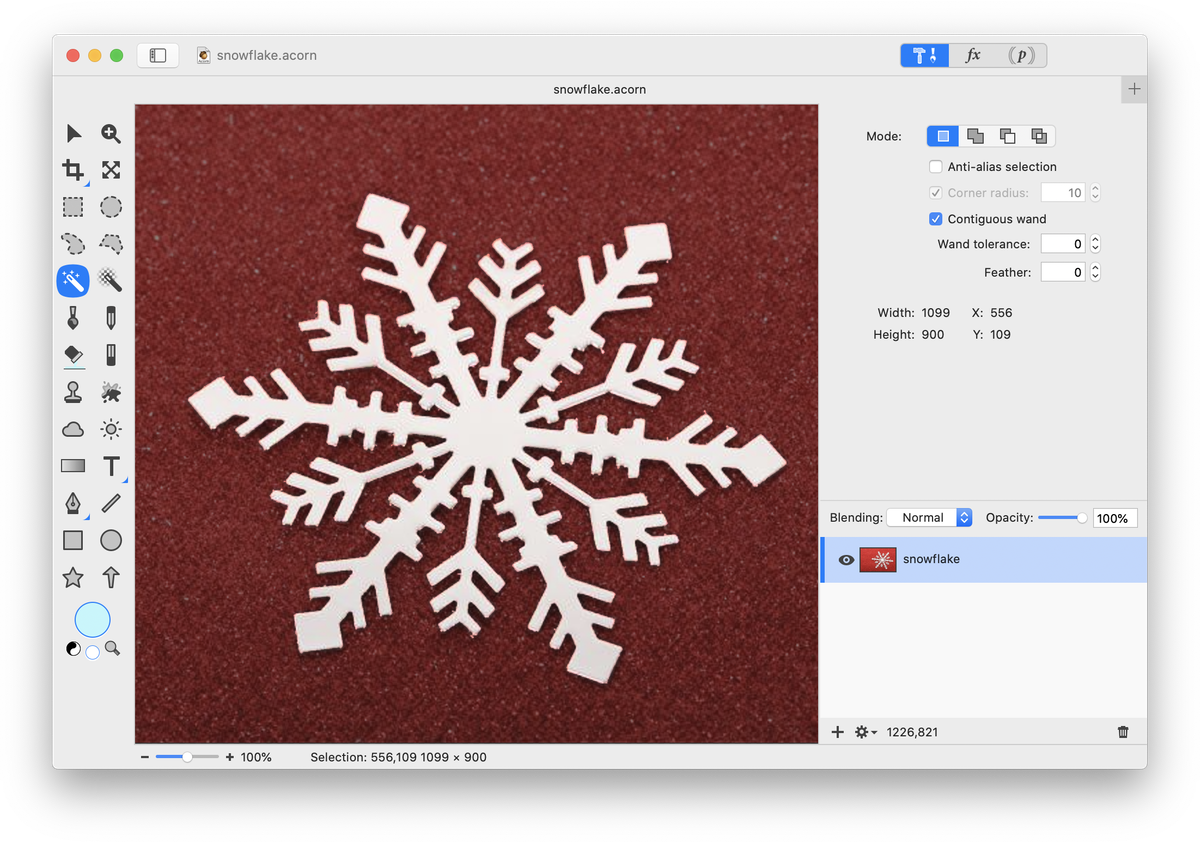
 Using a selection tool such as the magic wand, select the snowflake. A wand tolerance of around 100 was used here. The selection is viewed as ‘clipped out’ in this image just to aid with seeing the selection.
 Go to File ▸ New from Selection. The snowflake will now be on a transparent background. In order to change the snowflake's color from white to black, go to Filter ▸ Color Effect ▸ Monotone. Use black as the color. Click the 'Flatten' button at the top of the filter inspector palette. Alternatively, you could use Filter ▸ Color Adjustment ▸ Replace Color. Use the crop tool to remove the excess areas around the snowflake and the erase tool to clean up any little bits of color that aren't part of the snowflake. Now is a good time to save your new image.
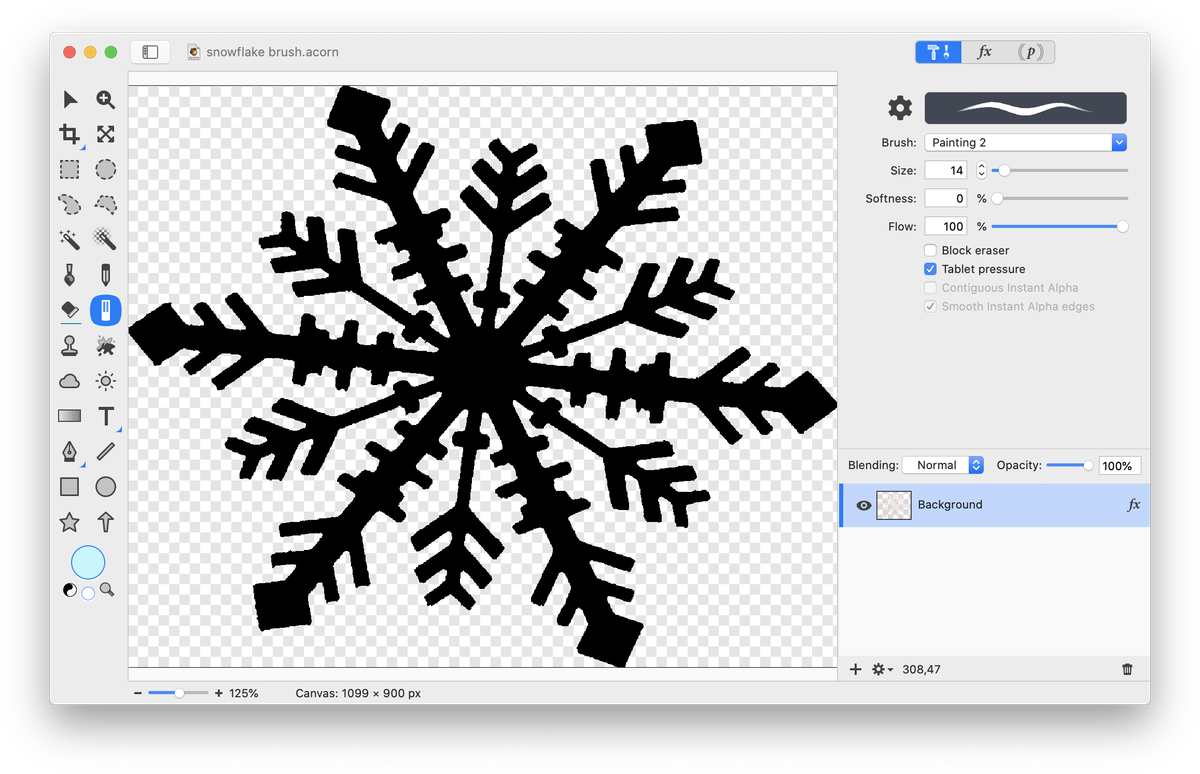 The image is ready to be brought into the brush designer. To open the brush designer choose Window ▸ Brush Designer. Click on "use image" and select your saved file. Your image will show up in the window.
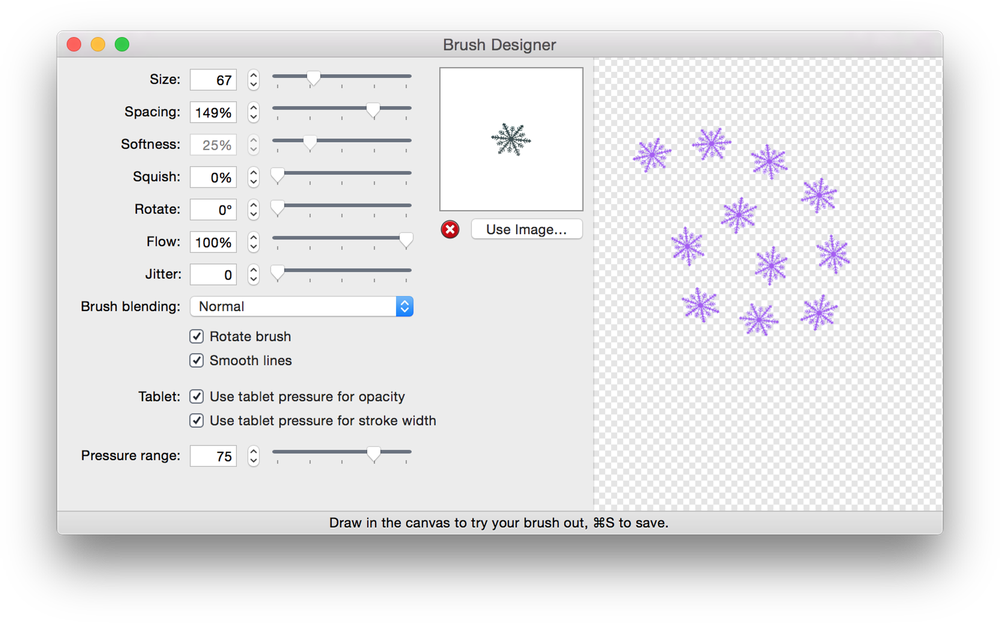 Here is a rundown of the various options for modifying your brush:
- Size - This is the width and height of your brush. To make your brush bigger or smaller, modify this setting.
- Spacing - Acorn uses a dabbing (also known as stamping) method for its brushes. In essence, a brush stroke is a whole bunch of stamps of the same image over and over again. The spacing option decides how close together those stamps appear.
- Softness - This option alters the brush stroke to have a softer or harder edge.
- Squish - Do you want your brush to have a a slight angle to it, like a felt tip pen might have? Use this option to decide how much of an angle.
- Rotate - This will rotate your brush dab to your desired angle.
- Flow - The flow slider adjusts the amount of paint the brush applies with each stroke.
- Jitter - This option adds a range of randomness to your brush strokes.
If you click on a color from the color palette while you are in the brush designer, it will apply the color to your brush. Notice at the bottom of the window it states, "Draw in the canvas to try your brush out, ⌘S to save". Once you click ⌘S you will be asked to name your brush and which brush folder to place it in. It makes the most sense to place it under "shapes".
Now click on the paint tool in your tools palette. The brush you just saved can be found under "shapes":
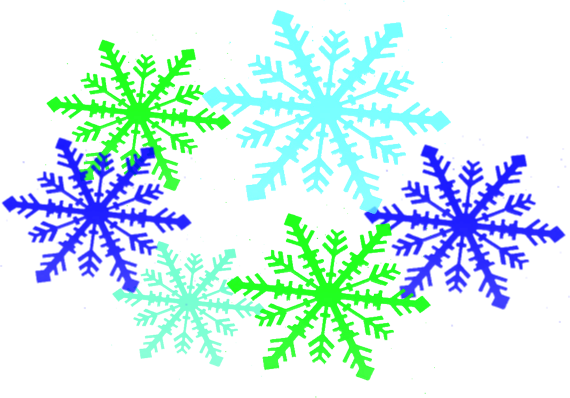
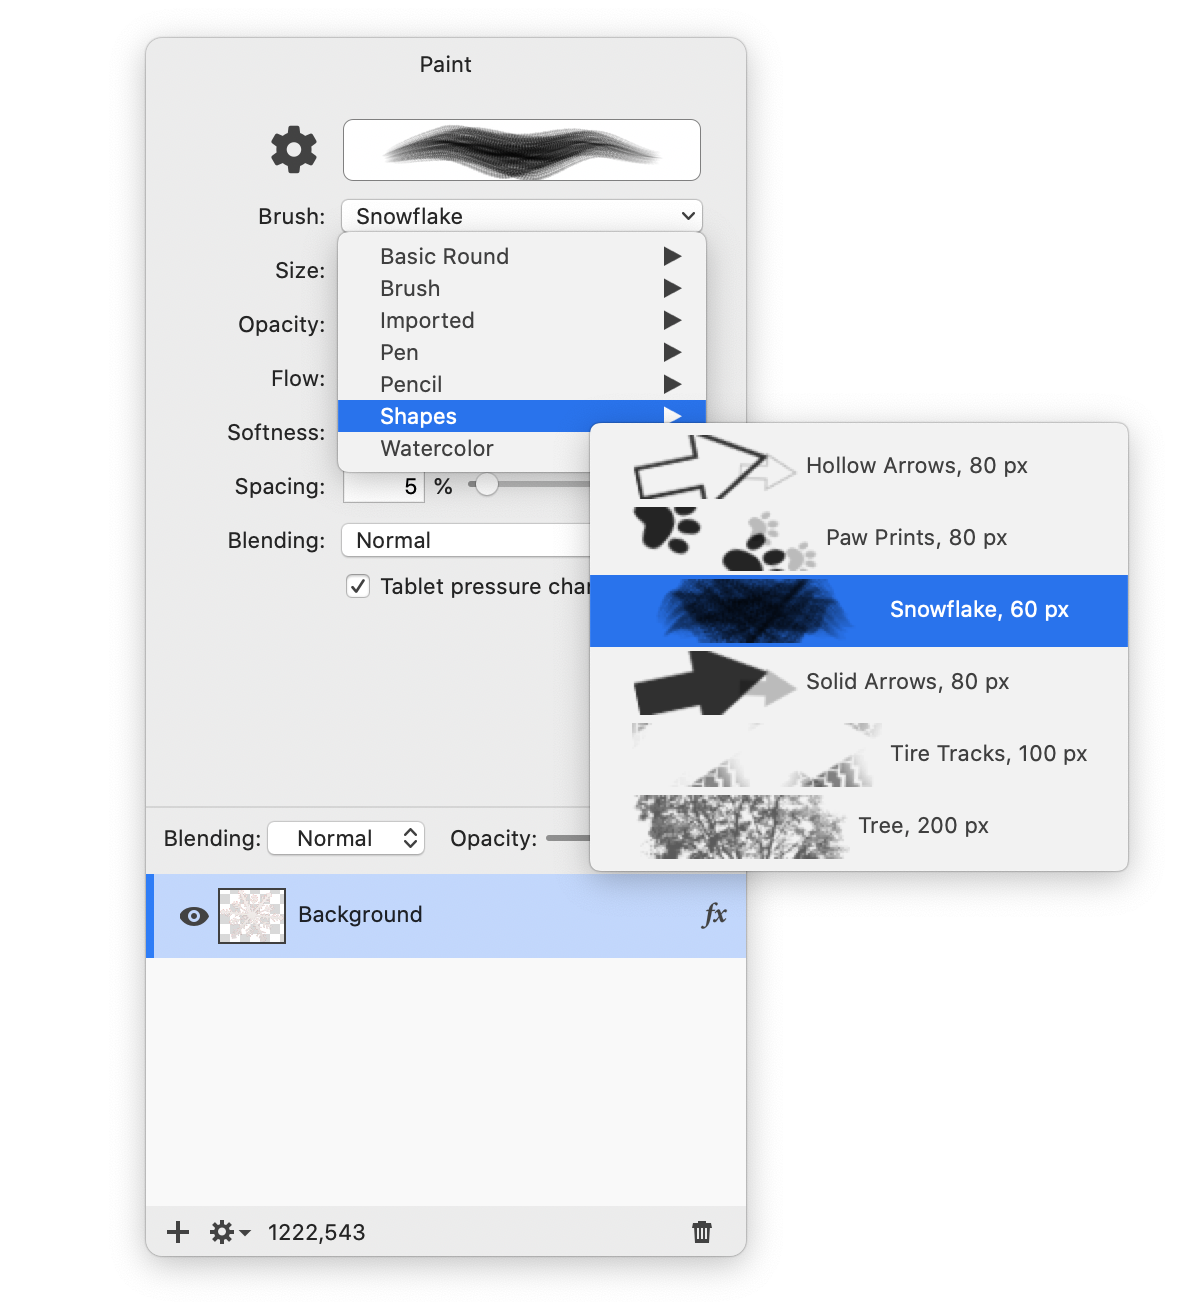 Congratulations! You have now created your own shape brush! Play around with the size, color, and opacity:
Photo Credit
Congratulations! You have now created your own shape brush! Play around with the size, color, and opacity:
Photo Credit
© Petr Kratochvil