Creating Creases and Folds
 This tutorial will outline how you can add creases and folds to your images in Acorn. Open your image in Acorn, File ▸ Open. The decorative paper texture in this example is from http://www.textures.com/.
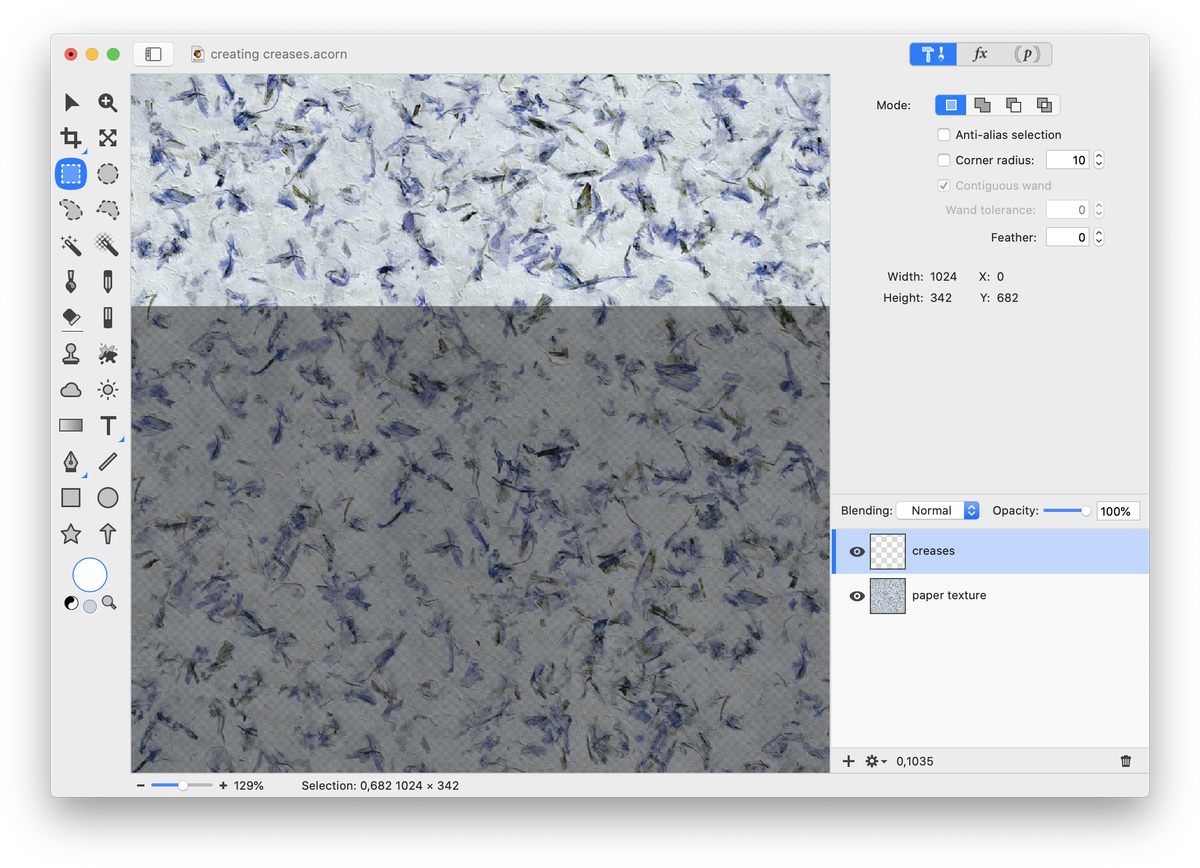
Create a new layer on top of the original, Layer ▸ New Layer. Using the rectangle selection tool in the tools palette select the top third portion of your image. The selection is show as “clipped out” below to highlight its position.
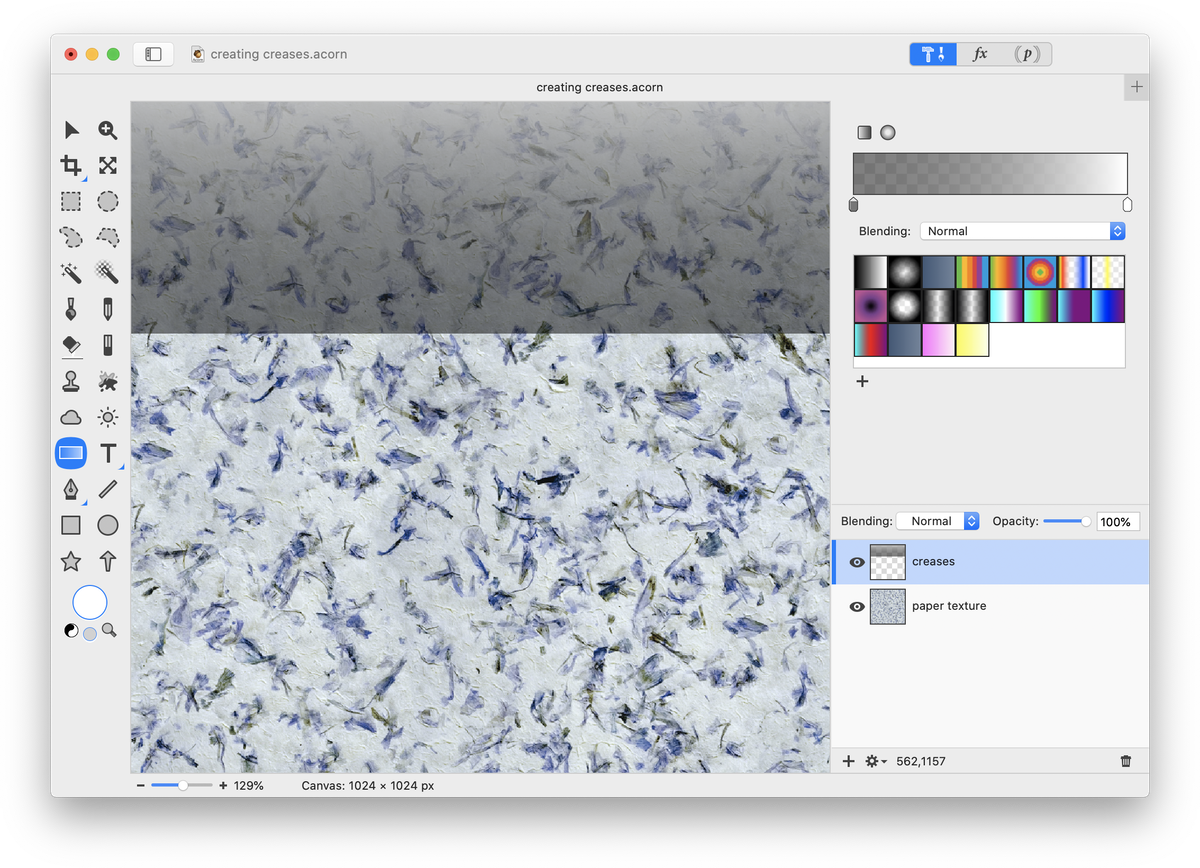
 Select the gradient tool. Choose a linear black to white gradient, and lower the opacity of the black in the gradient to 50%. To learn more about how to do this, read 'gradient tool'. Create a vertical gradient in your selection. Holding down the shift key as you draw your gradient will keep it straight. Deselect (⌘D).
 Select the move tool in the tools palette. While holding down the option key, click and drag the gradient area downwards. By holding option and dragging you will make a copy of the gradient area. Place this copy below the original. Do this again to cover your entire image as shown below.
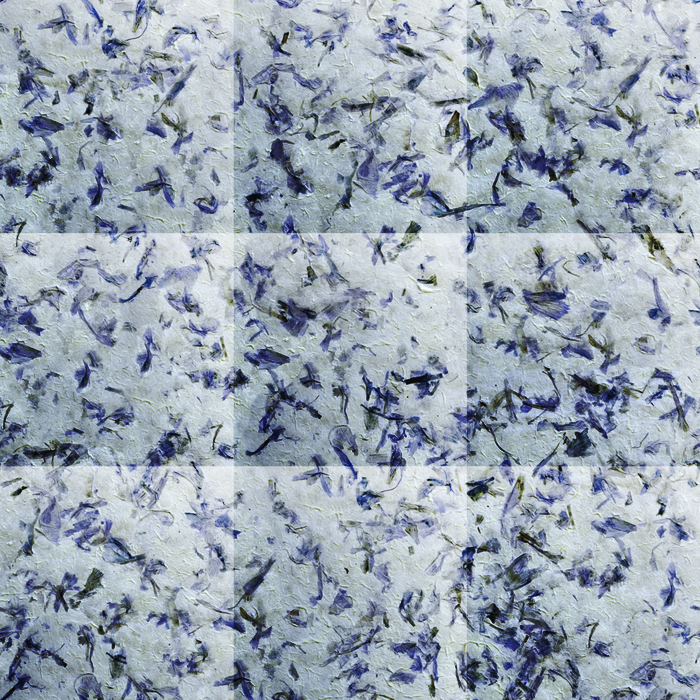
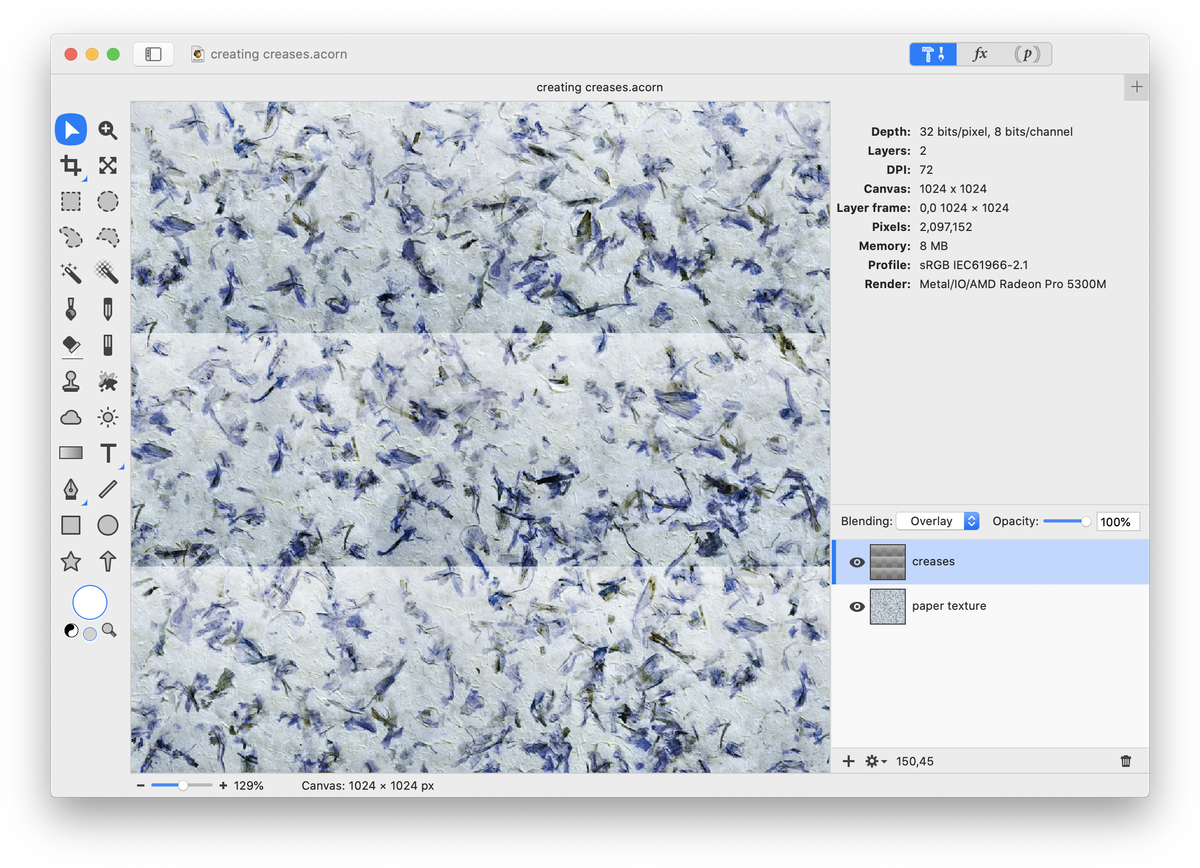
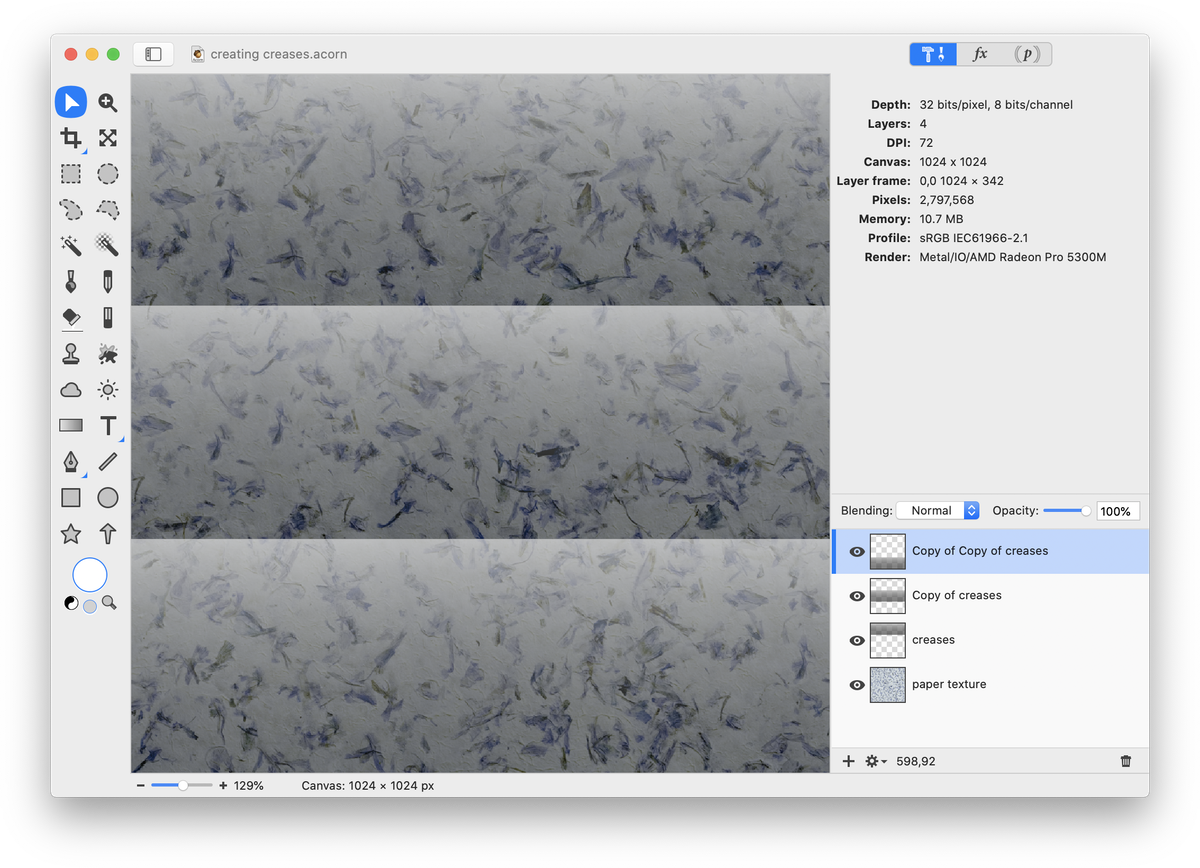 Merge your gradient layers down into one layer, Layer ▸ Merge Down (⌘E). Set the blending mode of the folds layer to Multiply or Overlay. You can also adjust the opacity of the layer to create more subtle folds using the opacity slider at the top of the layers list.
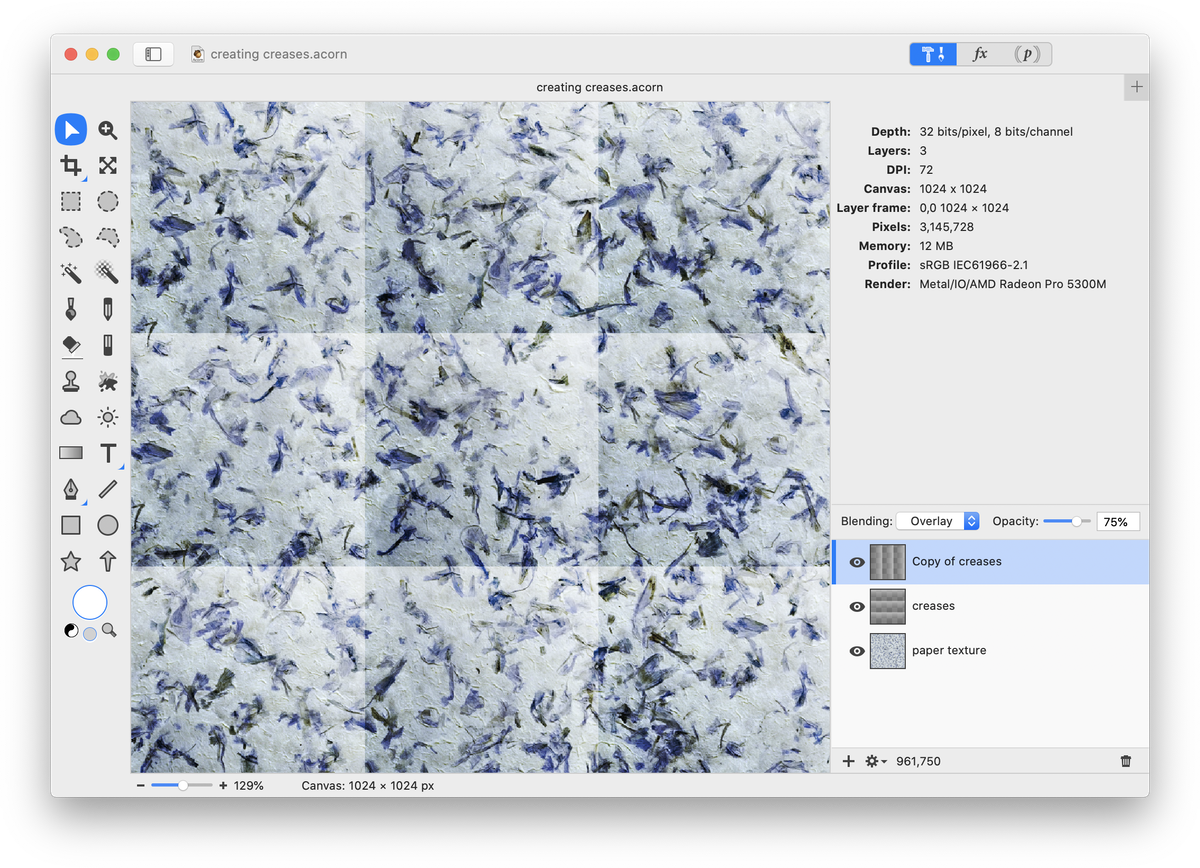
 You can create more folds by duplicating the layer with the gradients on it, Layer ▸ Duplicate Layer. Using Layer ▸ Rotate and Transform ▸ Scale and Rotate (⌘⇧T) you can rotate and adjust the layer so that the creases intersect. Set the blending mode of the new layer to Screen or Overlay.