Make a Puzzle
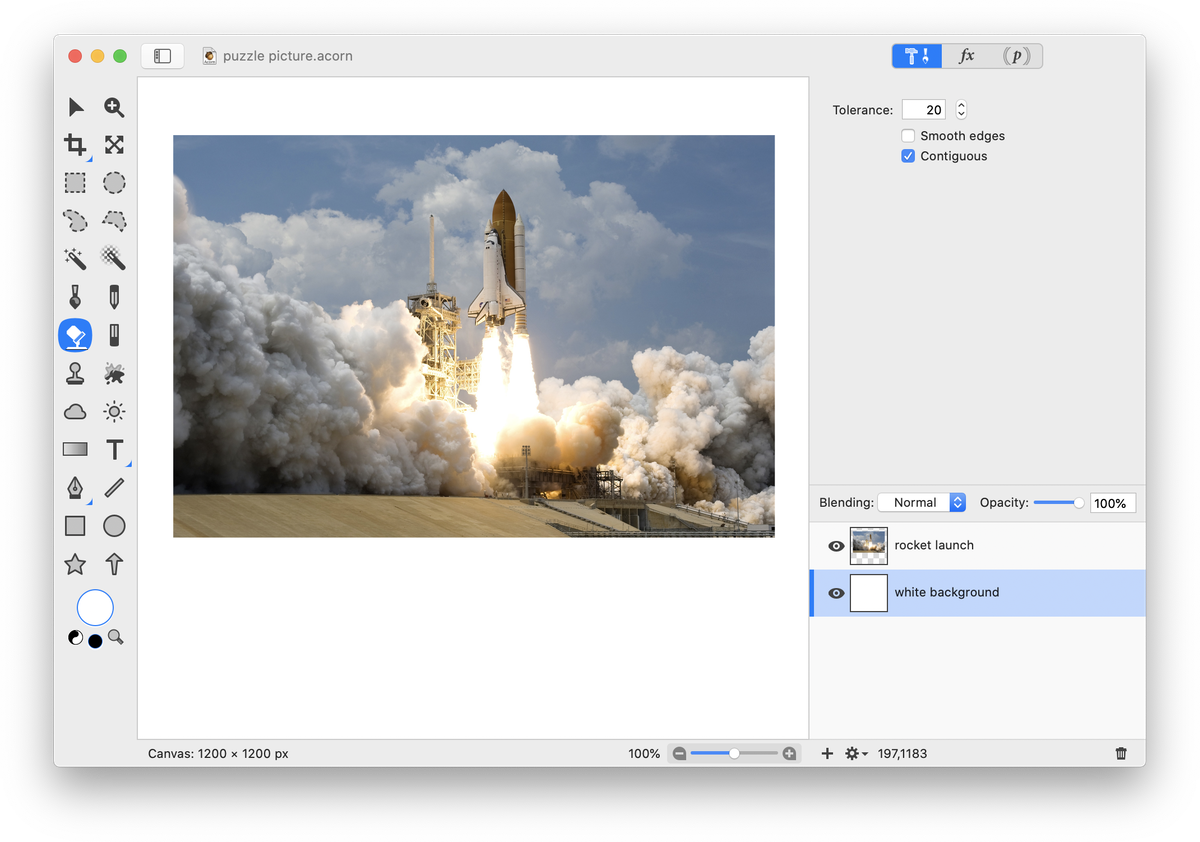
 Create a new image in Acorn, File ▸ New (⌘N). The dimensions used here are 1200 x 1200 pixels with a white background. Add your image, File ▸ Add Images. You may need to scale your image to fit in the canvas using Layer ▸ Rotate and Transform ▸ Scale and Rotate (⇧⌘T). The image seen here has been scaled down to leave a bit of room on all sides with more space towards the bottom of the image. This will allow you to place some puzzle pieces along the bottom later.
 Now using File ▸ Add Images, add the image of a puzzle template. Many free puzzle templates can be found online. The one used here can be downloaded via the link provided under 'Photo Credits' below. Using the rectangular selection tool from the tools palette, select an area of the template that you want to use.
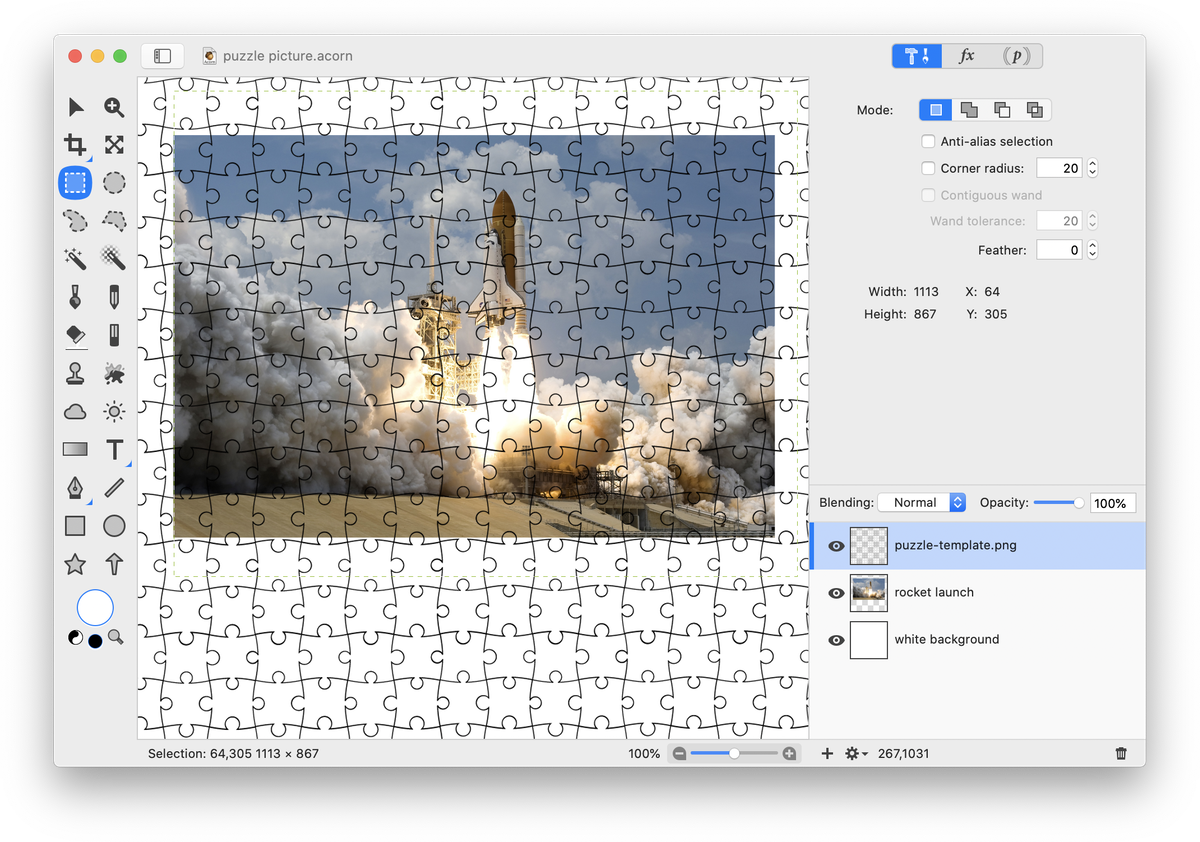 Choose Layer ▸ New Layer with Cut Selection. Deselect (⌘D). Right click (or control-click) on the original puzzle template layer and choose 'Delete Layer'. Make sure you are now selected on your remaining puzzle template layer and use Layer ▸ Rotate and Transform ▸ Free Transform to match up the edges of the puzzle template over your image. Double click once you are done. You may need to use the eraser tool to get rid of any areas of the puzzle template you didn't mean to select.
 It's time to give the puzzle template an outer border. Choose the rectangle shape tool from the tools palette. Make sure 'fill' is unchecked and set the stroke to a fairly small number such as 1 or 2. Black should be the color in the stroke color well. Draw out a rectangle and match up the edges to the boundaries of the puzzle template. It is helpful if View ▸ Guides and Grids ▸ Snap to Layer is checked.
 Move your border layer to the top of the layers list if it isn't located there already. Merge your border layer down with the puzzle template layer, Layer ▸ Merge Down (⌘E).
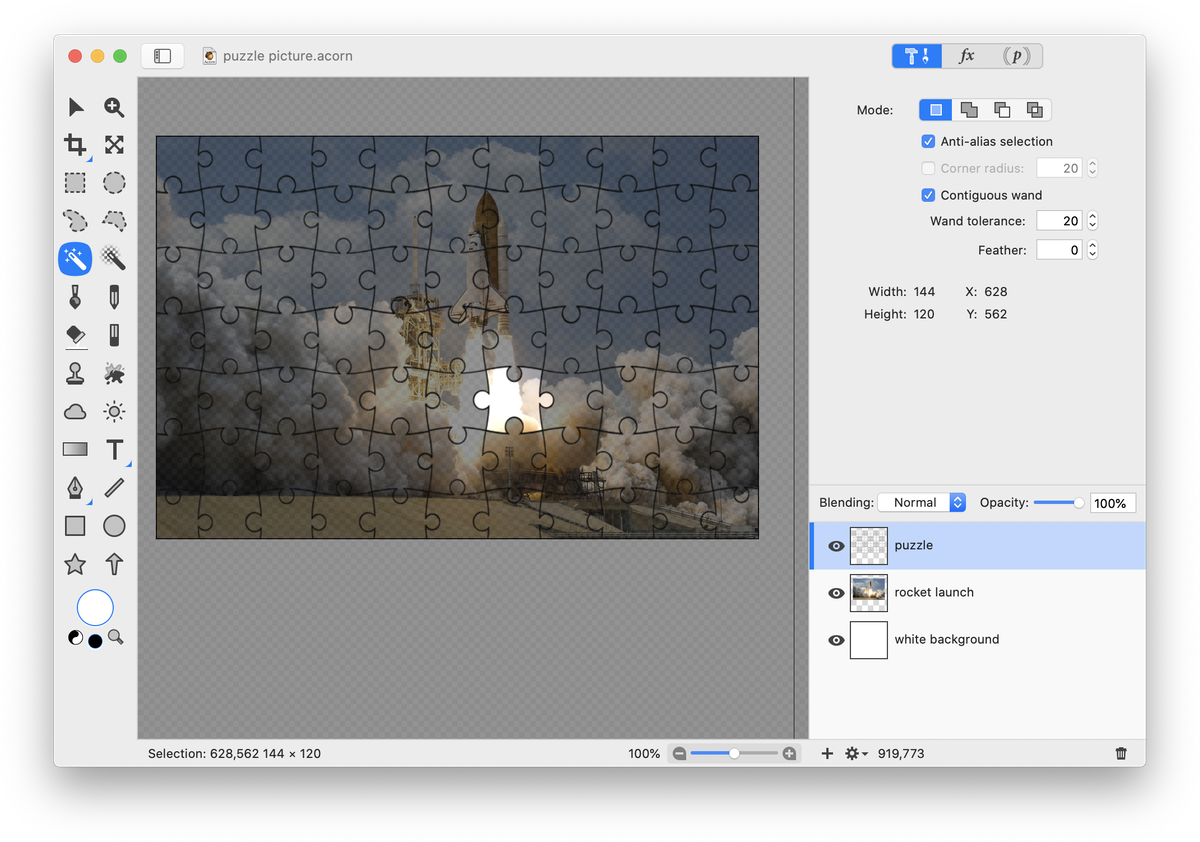
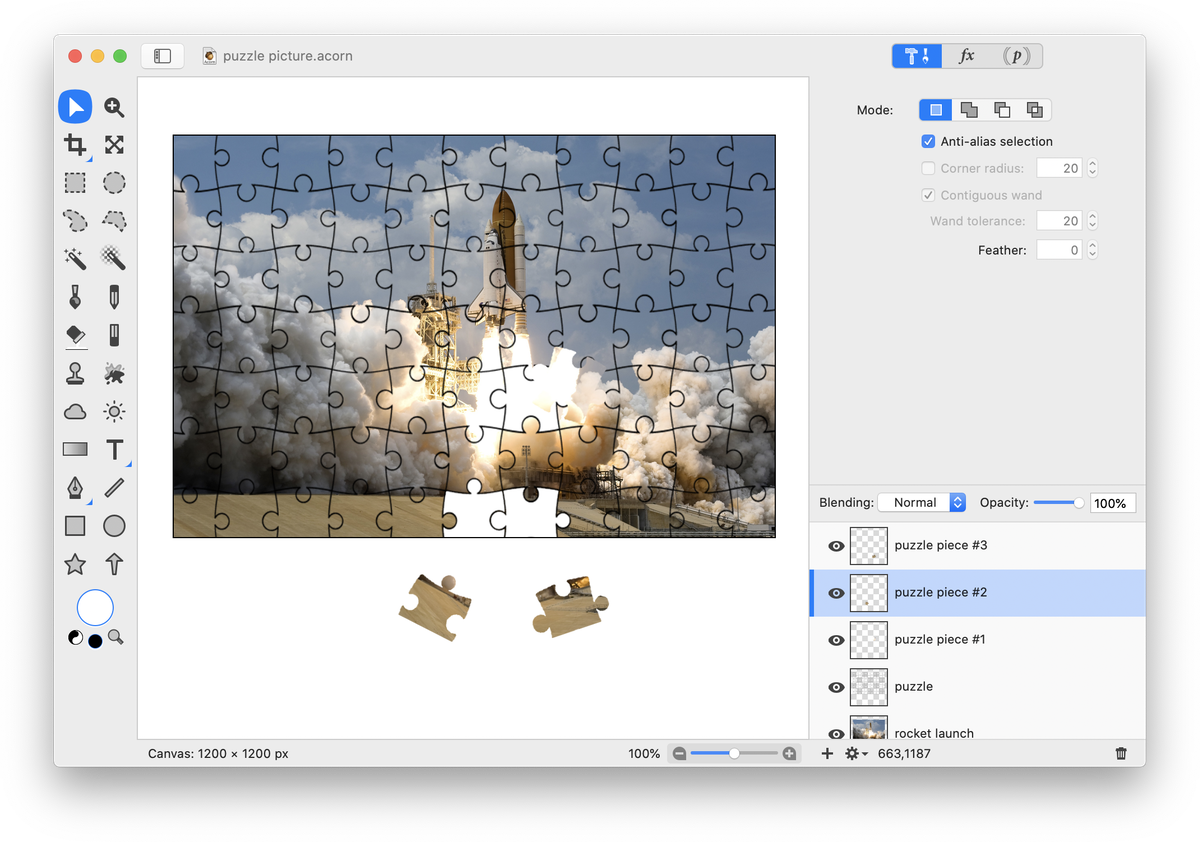
Choose the magic wand selection tool and check the ‘contiguous wand’ and ‘anti-alias selection’ boxes in the inspector palette. Make sure you are still on the puzzle template layer, and click and drag inside a puzzle piece that you want to remove from the puzzle in order to select it. Make sure the marching ants are inside just that one puzzle piece. The image below shows the selection as clipped out to highlight where it is located.
 Now click on your main image layer (in this case the layer named ‘Rocket Launch’), and choose Layer ▸ New Layer with Cut Selection. Deselect (⌘D). Move the newly created layer to the top of your layers list. Here it has been renamed 'Puzzle piece #1'. Using the move tool, reposition the newly created layer so that it appears slightly beyond where it would snap into the puzzle.
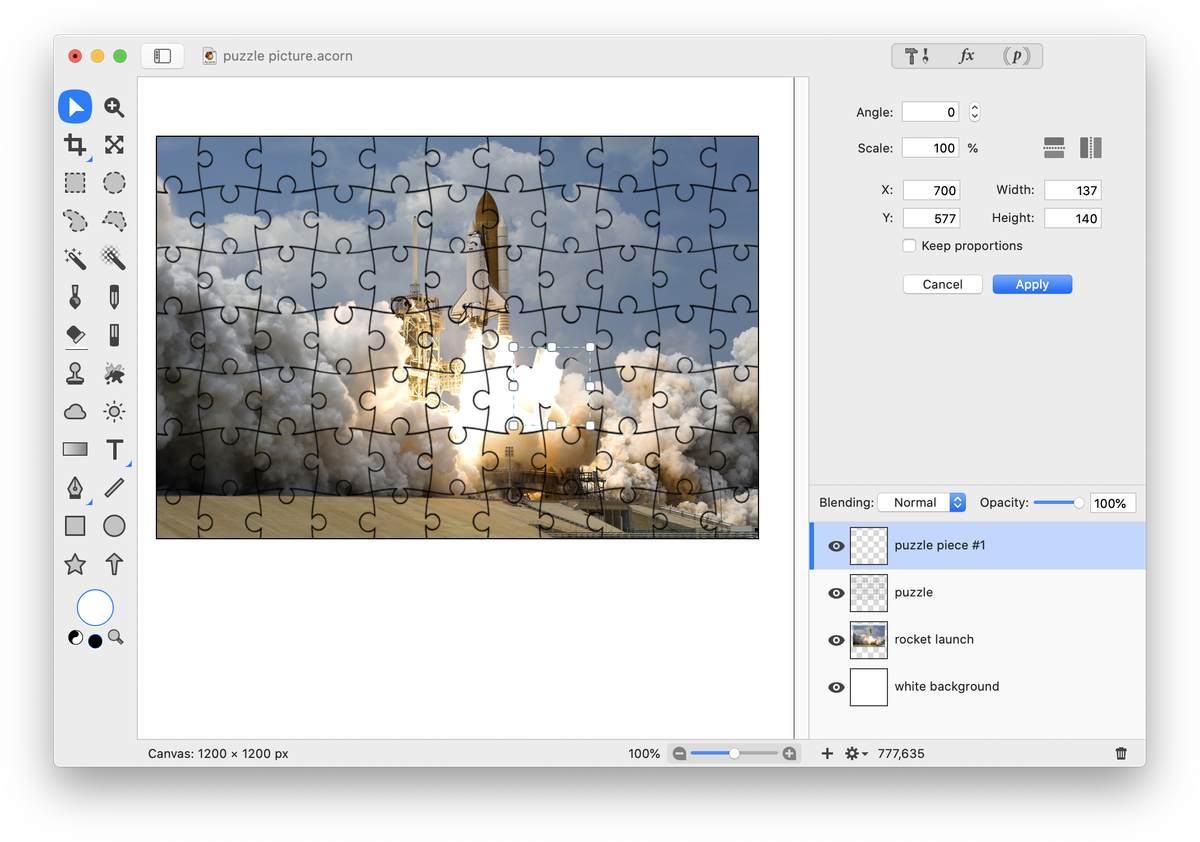 Use Layer ▸ Rotate and Transform ▸ Scale and Rotate (⇧⌘T) to rotate the puzzle piece you just created. Repeat the above steps for creating cut out puzzle pieces as many times as desired.
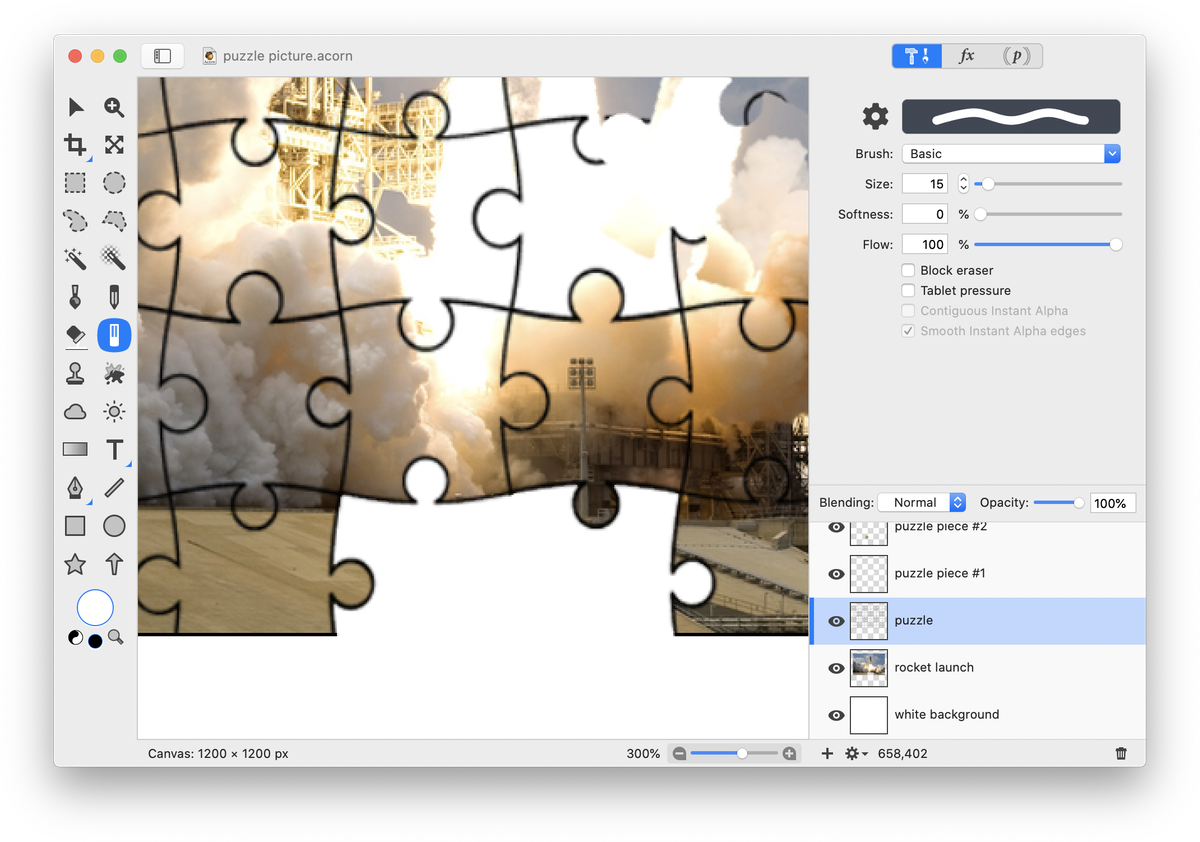
 Use the eraser tool to remove any puzzle template outlines that shouldn't be present after moving puzzle pieces. In this example, puzzle outlines were erased from the bottom puzzle cut-out area from both the ‘puzzle’ layer and the ‘rocket’ layer.
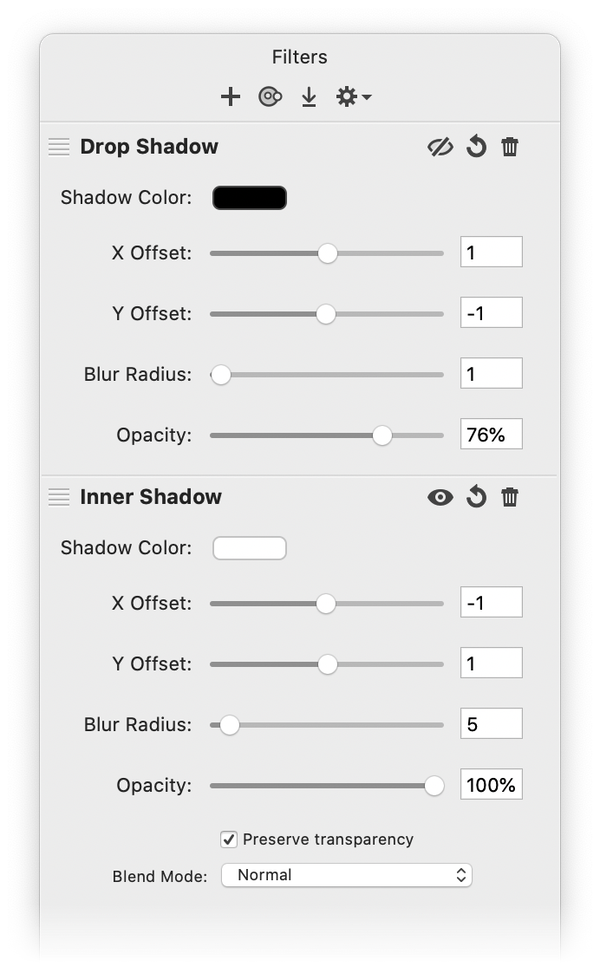
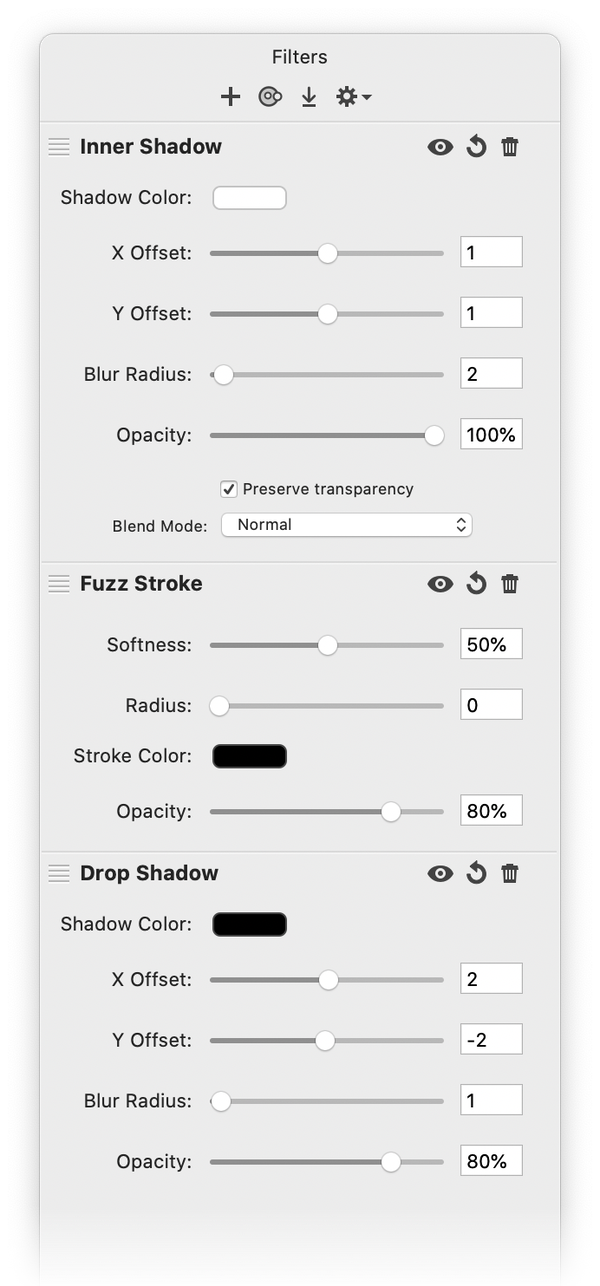 Click on one of your puzzle piece layers and choose Filter ▸ Stylize ▸ Fuzz Stroke. Click on the '+' button towards the top left of the filters window and add Stylize ▸ Drop Shadow. Then add Stylize ▸ Inner Shadow. The settings used here are shown:
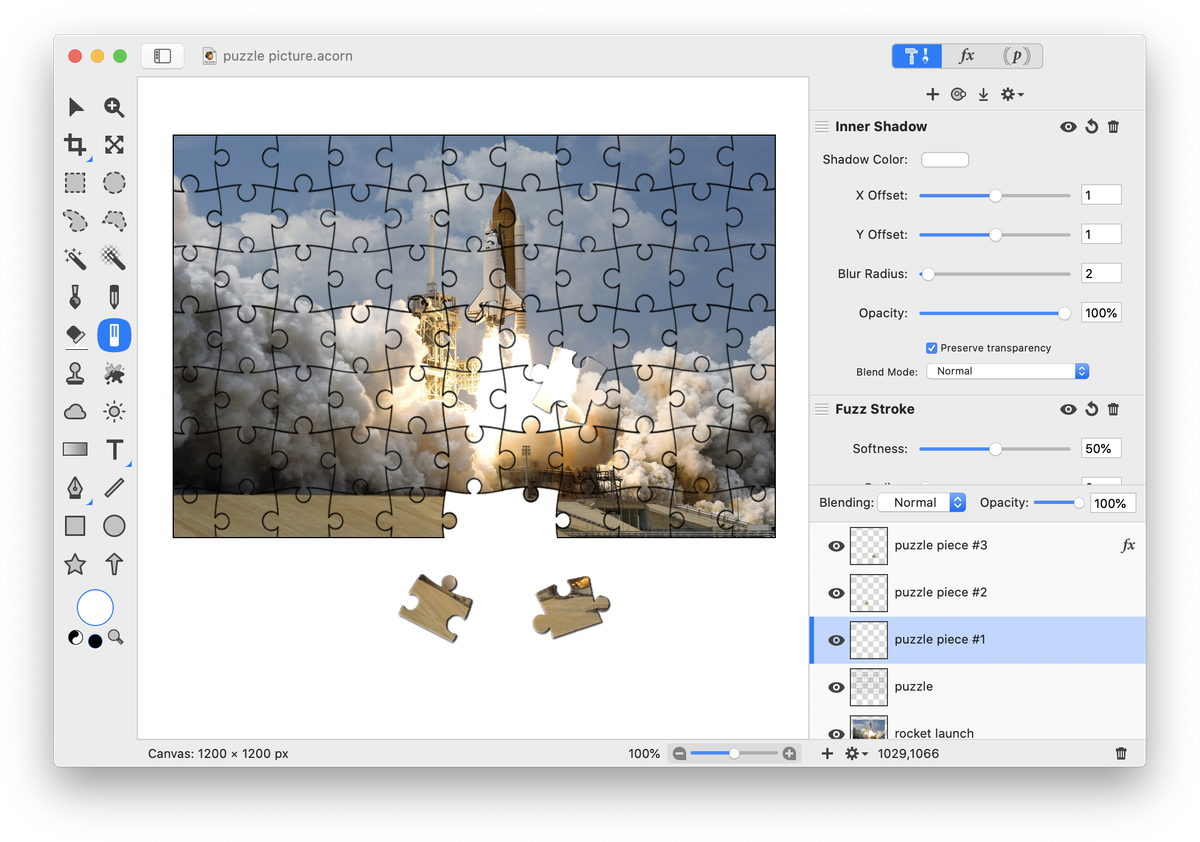
Click on the action menu towards the top right of the filters palette and choose 'Save Filter Preset'. Make up a name and click 'Save'. This will allow you to use the settings and filter combination you just created easily on the other puzzle pieces.
Now click on a different puzzle piece layer and click on the 'fx' button located towards the top right corner of the canvas. Click on 'Presets' and choose the preset you just saved. Repeat this process for any other puzzle piece layers.
 Select your main image layer (‘rocket’) and apply a drop shadow.
Now choose your puzzle template layer and go to Filter ▸ Stylize ▸ Drop Shadow. Click on the '+' button towards the top left of the filters window and add Stylize ▸ Inner Shadow.
 Play around with decreasing the opacity of the puzzle template layer.
 Photo Credits
Puzzle Template © Flying Meat Inc