City Skyline Outline
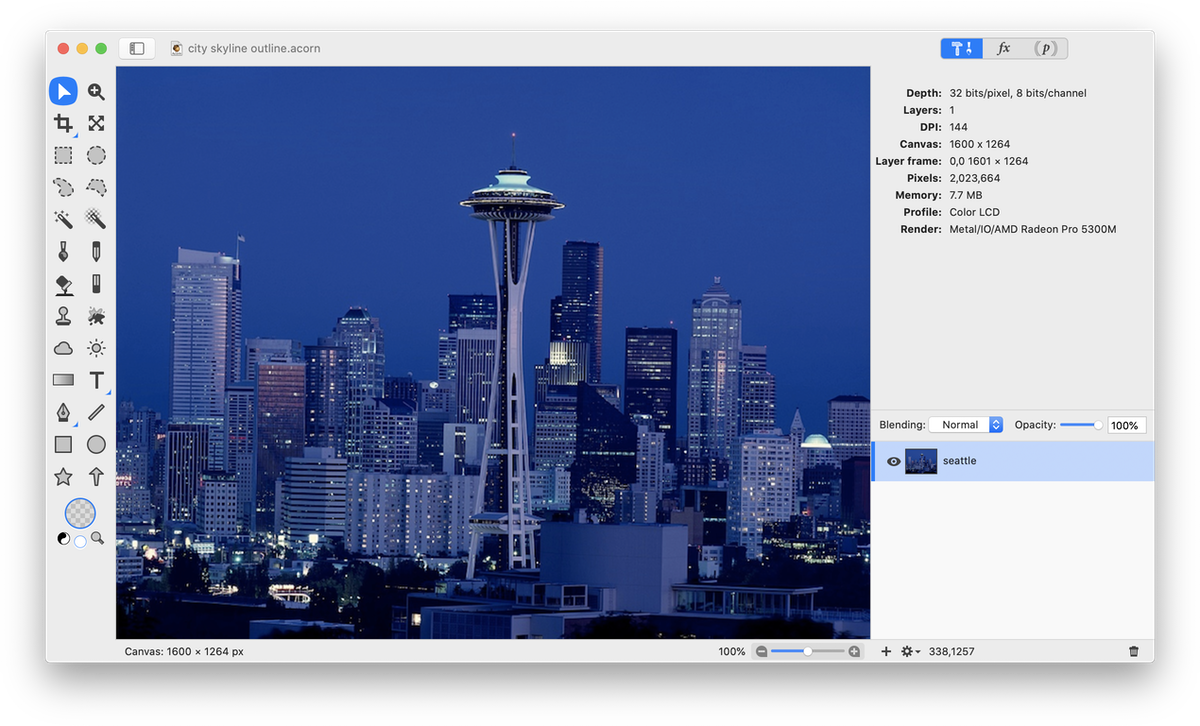
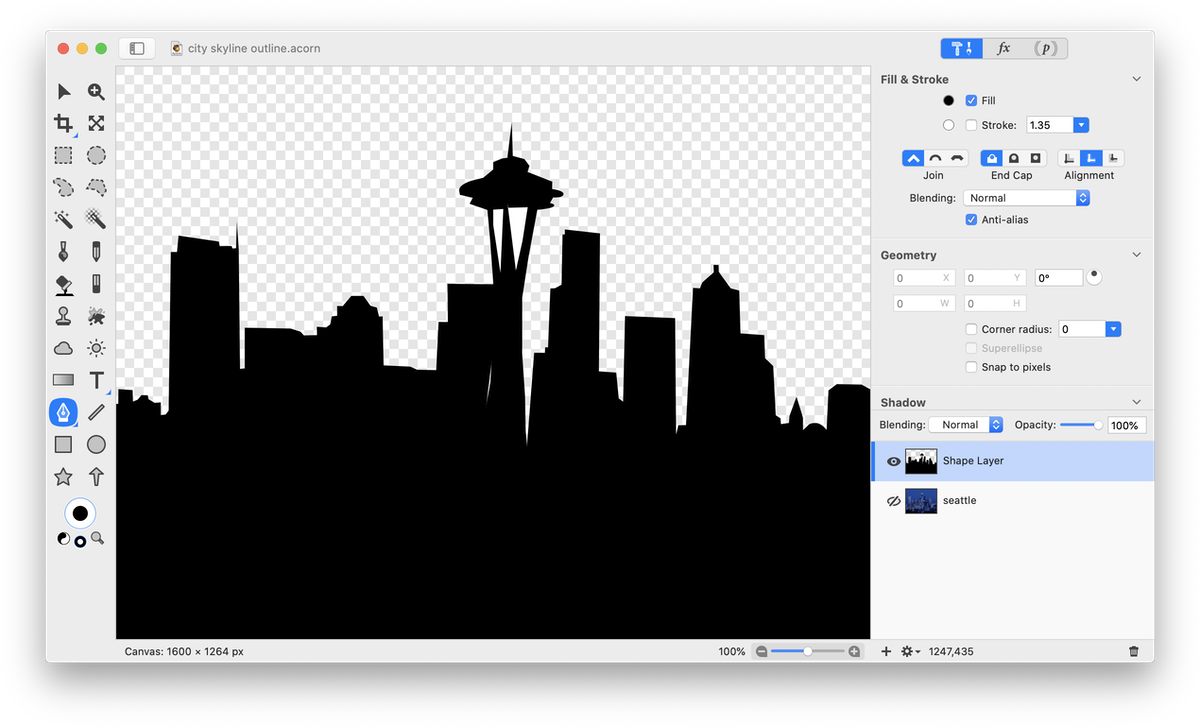
 This tutorial will guide you on how to create the outline of the Seattle city skyline and incorporate it into a guitar outline. First, open your skyline image.
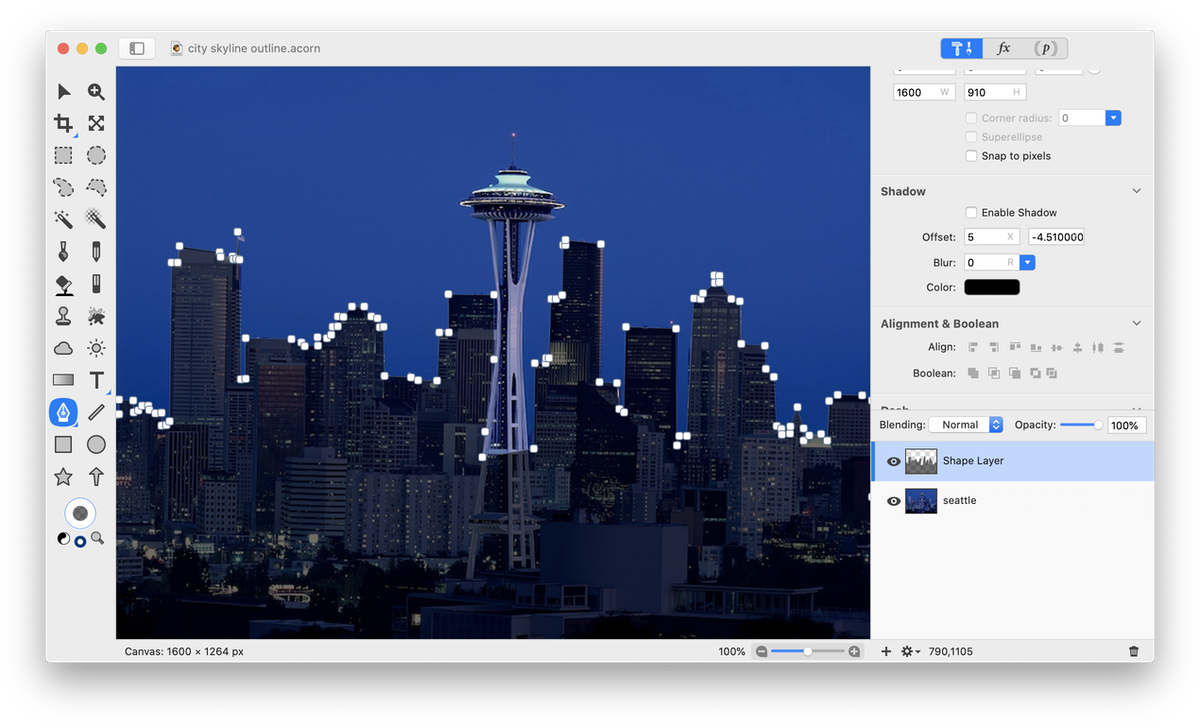
 Select the Bézier pen tool. Outline the city skyline except for the space needle with the Bézier pen using a fill but no stroke. It’s helpful to zoom in our your image to obtain a precise outline. Also, slightly decrease the opacity of the shape layer to see the buildings you are outlining more easily. Double click to end editing when you are done.
 For more instruction on how to use the Bézier pen tool, check out these tutorials: Bézier Curves, Bézier Curve Tool Basics Part 1, Bézier Curve Tool Basics Part 2.
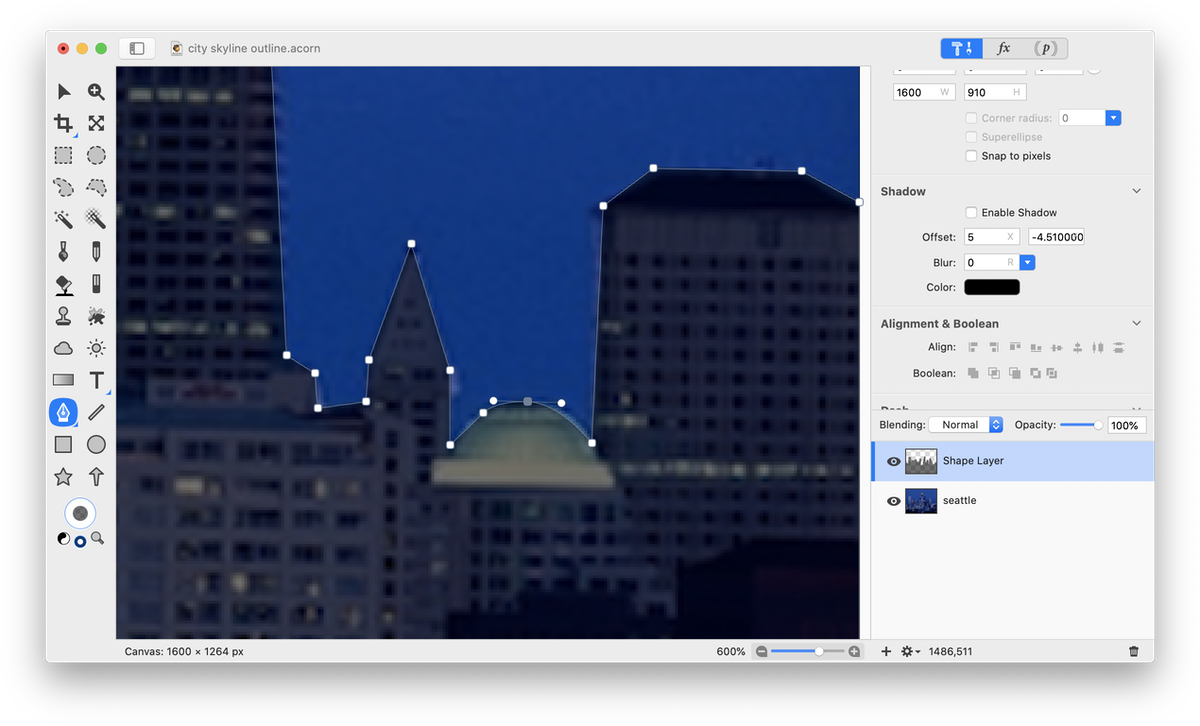
Go back and adjust your anchor point positions as needed. If you haven’t already, curve the anchor points around any curved areas of buildings.
 Now, outline the space needle with the Bézier tool. Double click to end editing when you are done.
 Use the Bézier pen tool to outline the gaps in the space needle. Change the fill color to white.
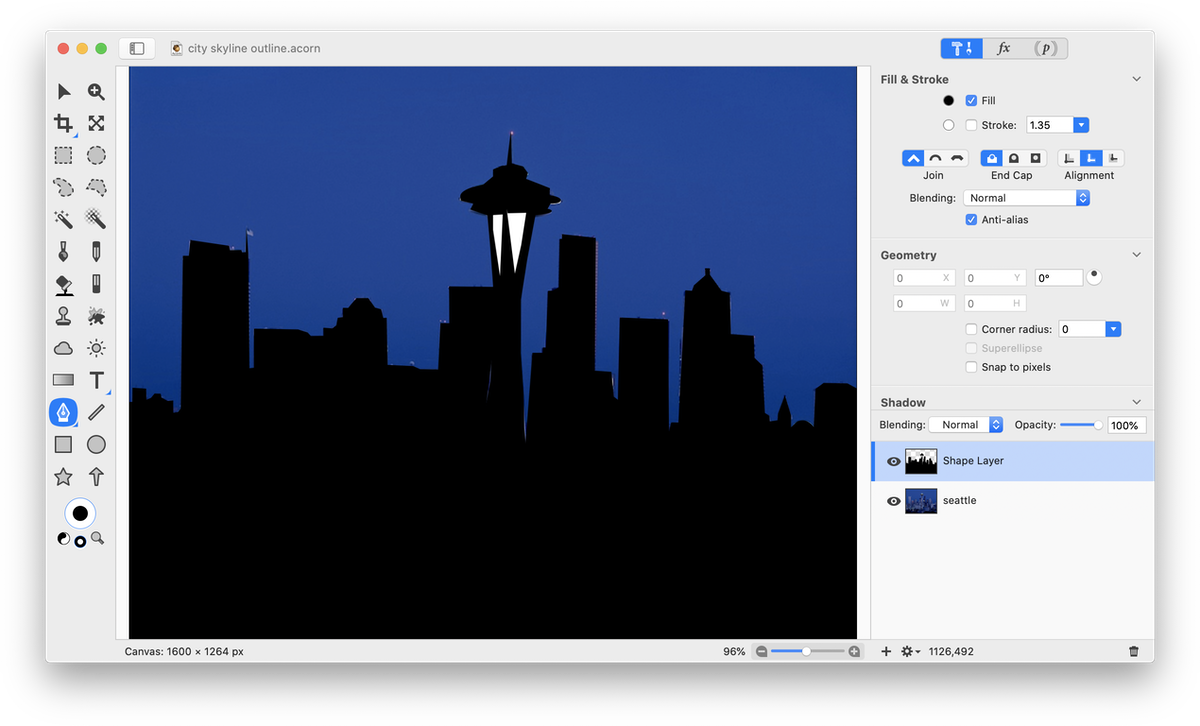 Hide the visibility of your original skyline image layer. You should have a nice looking skyline on your hands! Choose File ▸ Save As and rename your file. Choose the Acorn file format.
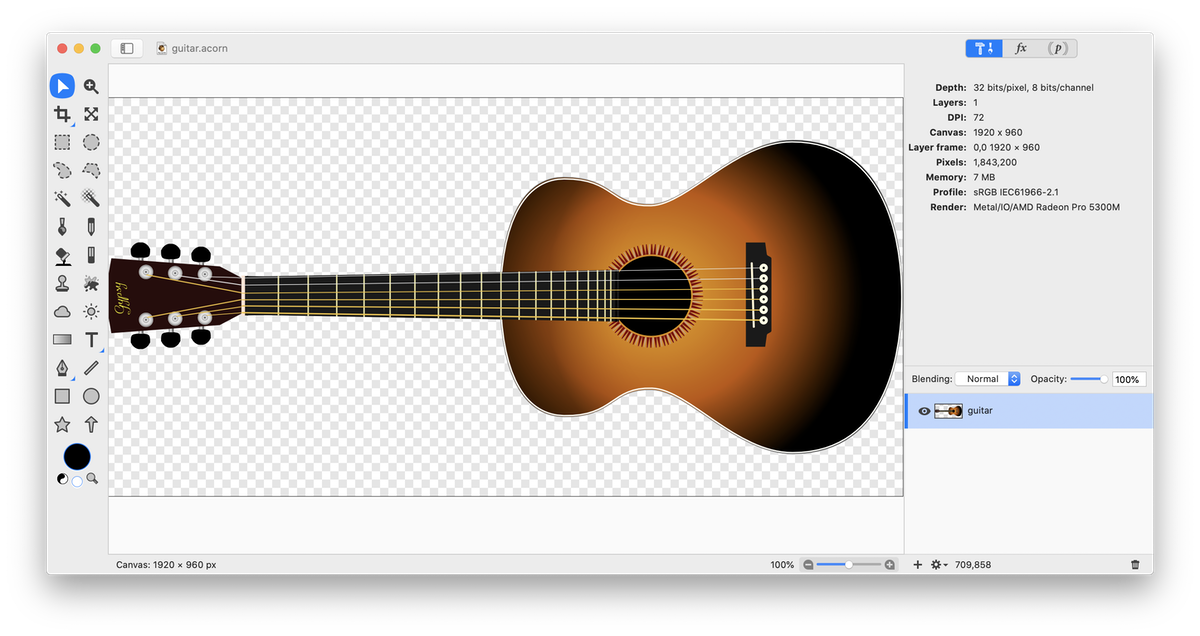
 Open an image of a guitar.
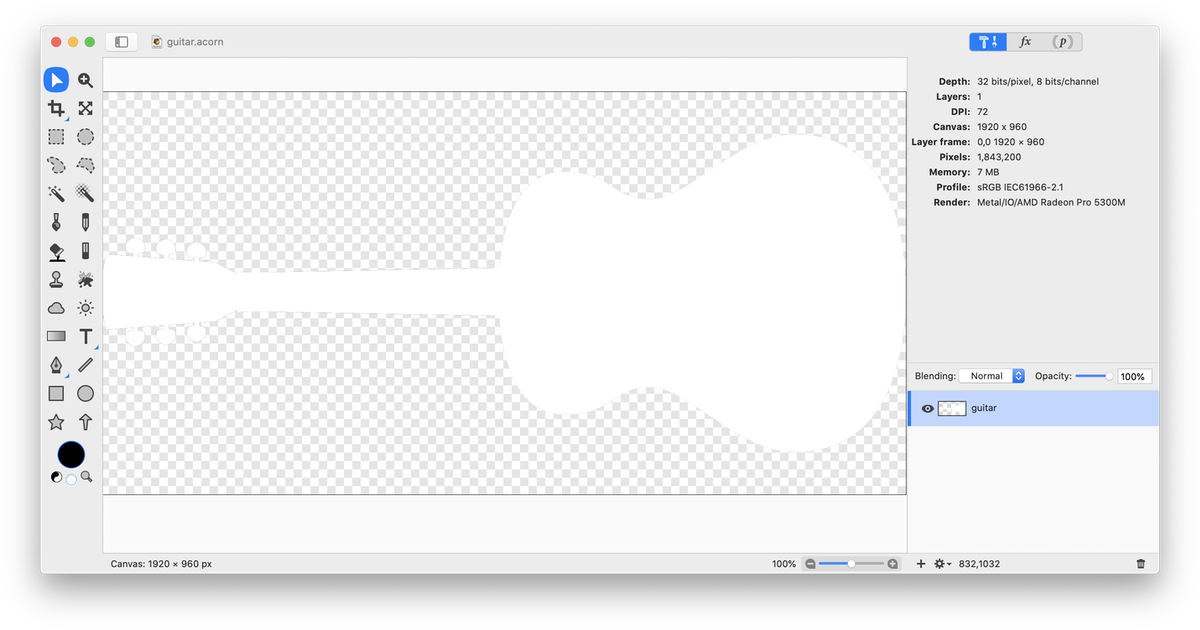
 Since this particular image has no background, use Select ▸ Make Selection from Layer. Then choose, Edit ▸ Fill and select white. Deselect ⌘D.
 Add a new layer to the layers list by clicking the ‘+’ button in the lower left hand corner of the inspector palette. Drag the new layer to the bottom of the list. Using the flood fill tool, fill the layer with green.
 Drag and drop your skyline outline image file into your guitar image.
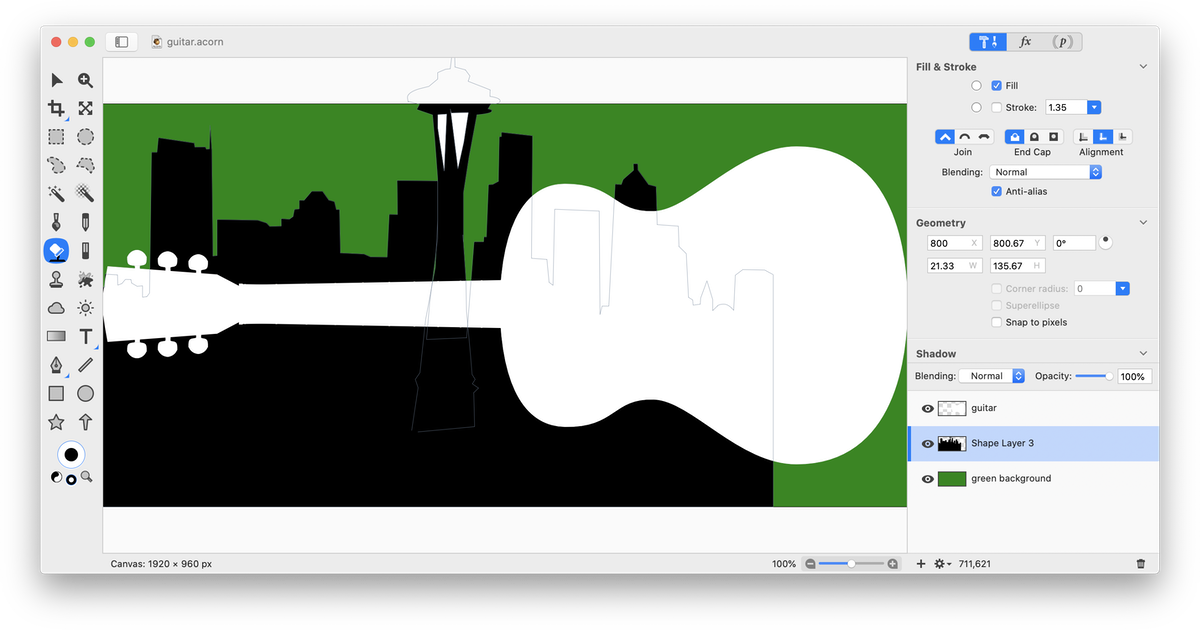 Click on your skyline outline layer, and move it to the top of the layers list. Go to Select ▸ Select All. Using the move tool, adjust the positioning and scale of the skyline as needed. Hold down the shift key while resizing to maintain the aspect ratio.
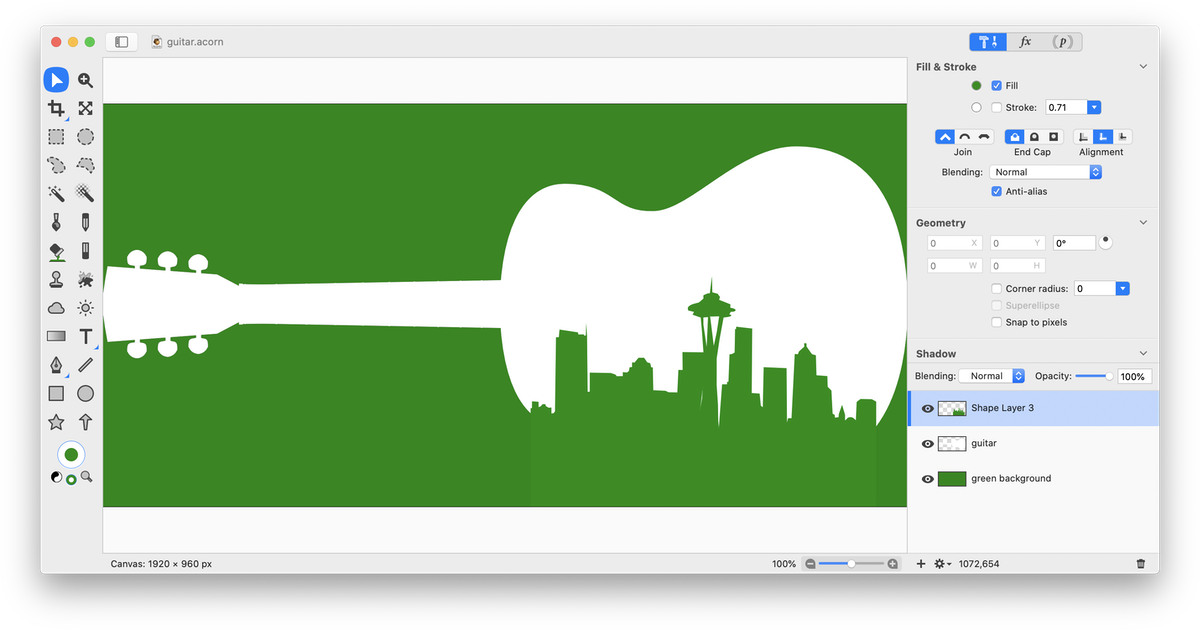
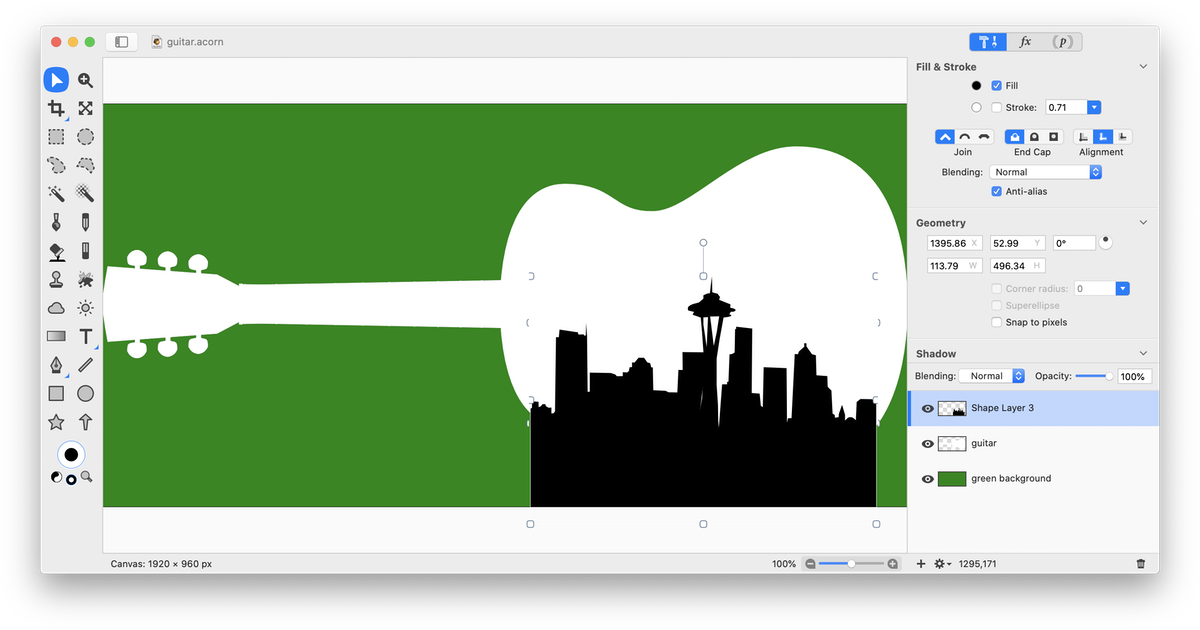 Select the skyline outline and space needle shapes, but not the shapes that create the gaps in the needle. Change the fill color of the skyline outline to match the background color.
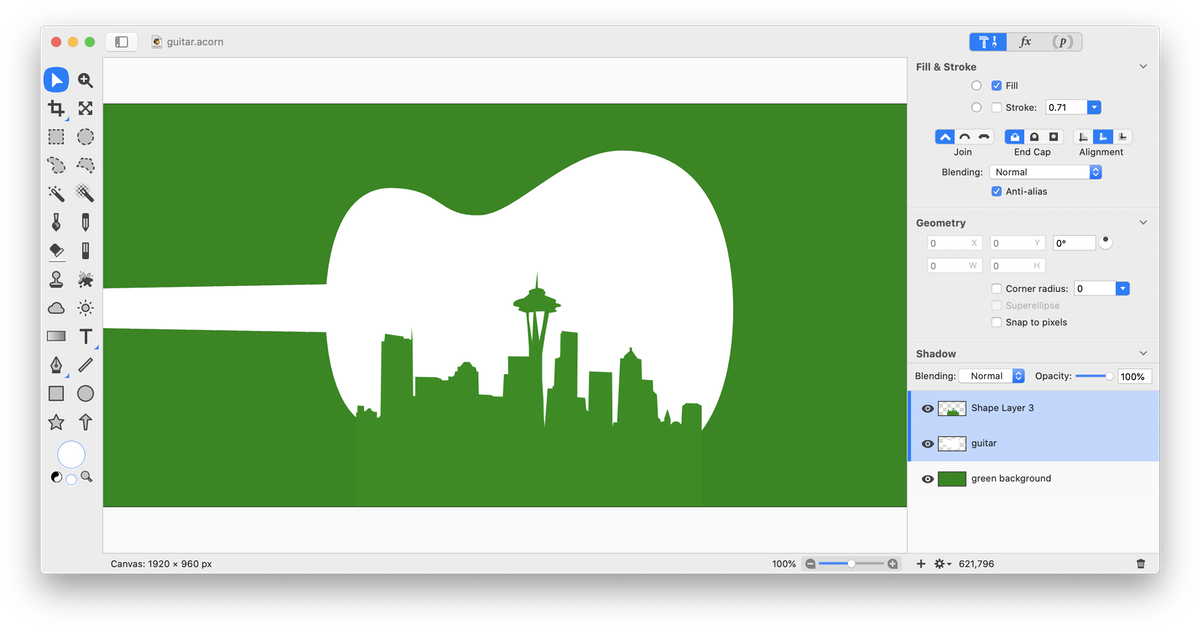
 If desired, select the space needle and white gap shapes. Position or enlarge them slightly to give a more prominent appearance. In the layers list, select the guitar layer and the skyline outline layers. Using the move tool, move both layers to the left.
 Add text to your image. The font size and family can be seen in the image below. Using the oval shape tool, add circles on either end of your text.
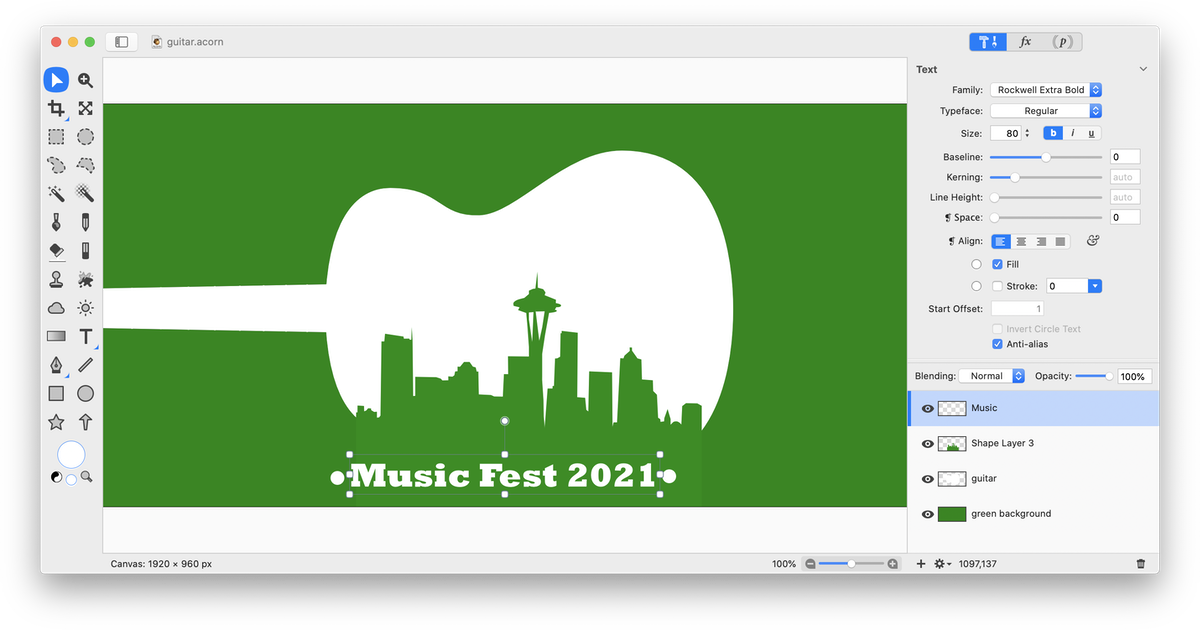 Use the crop tool to remove any extra areas of the image. In the image below the skyline was moved further left, and some Bézier anchor points were removed to create smoother lines around the buildings.
And you’re done!
