Pop Art Effect
 This tutorial will outline how to create the look of pop art with your image. Open your image in Acorn, File ▸ Open. The image used here can be found in the credits below. Now remove the background of your image.
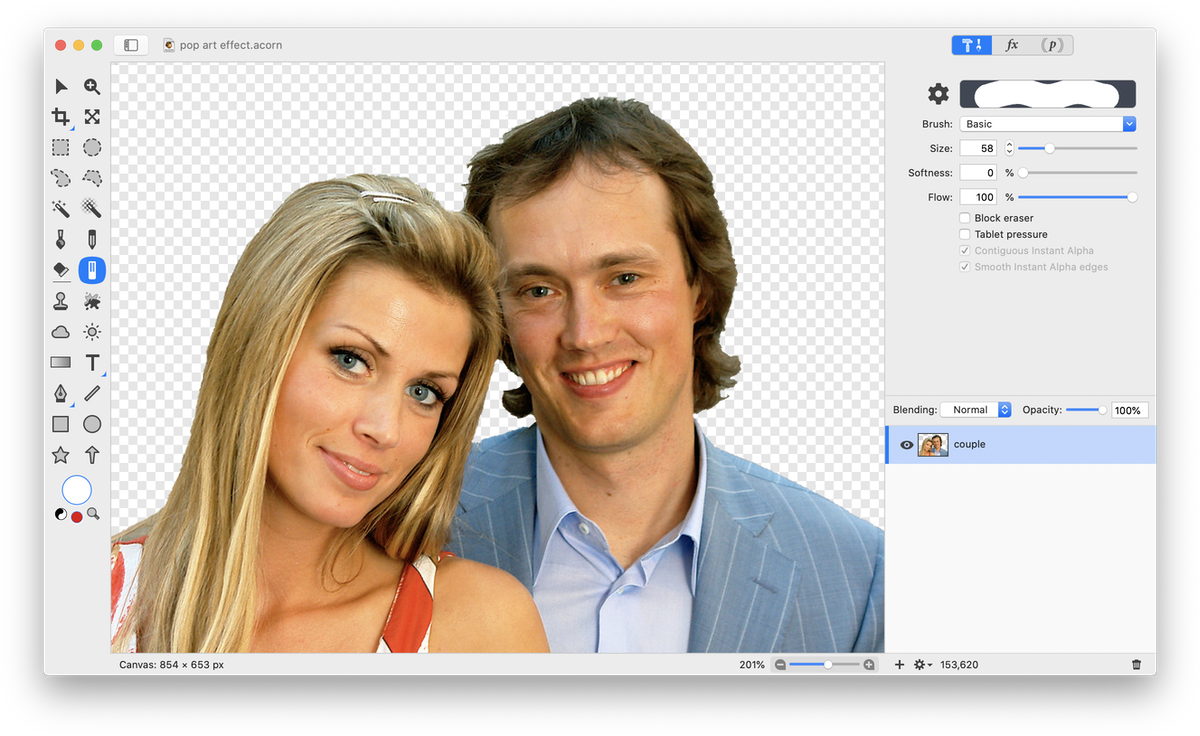 Add a new layer (⇧⌘N). Using the flood fill tool, fill the new layer with white and move it directly below your layer with its background removed in the layers list.
.
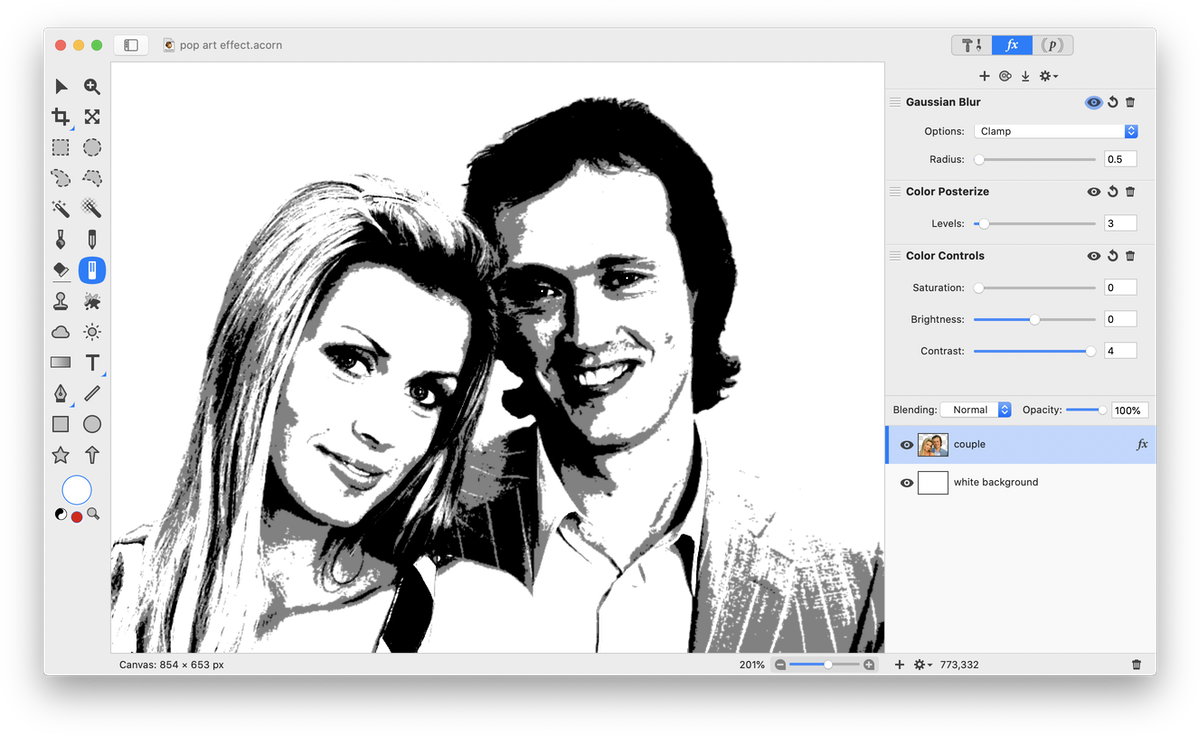
 Click on the layer with the couple in it. Go to Filter ▸ Color Adjustment ▸ Color Controls. Drop the saturation down to '0' and increase the contrast a lot. Click on the '+' on the top left hand corner of the filter window and choose Color Effect ▸ Color Posterize. Adjust the sliding scale until you have just a tiny hint of gray in addition to the black and white. Click on the '+' again and choose Blur ▸ Gaussian Blur. Keep the blur very low, between .5 and 1.0.
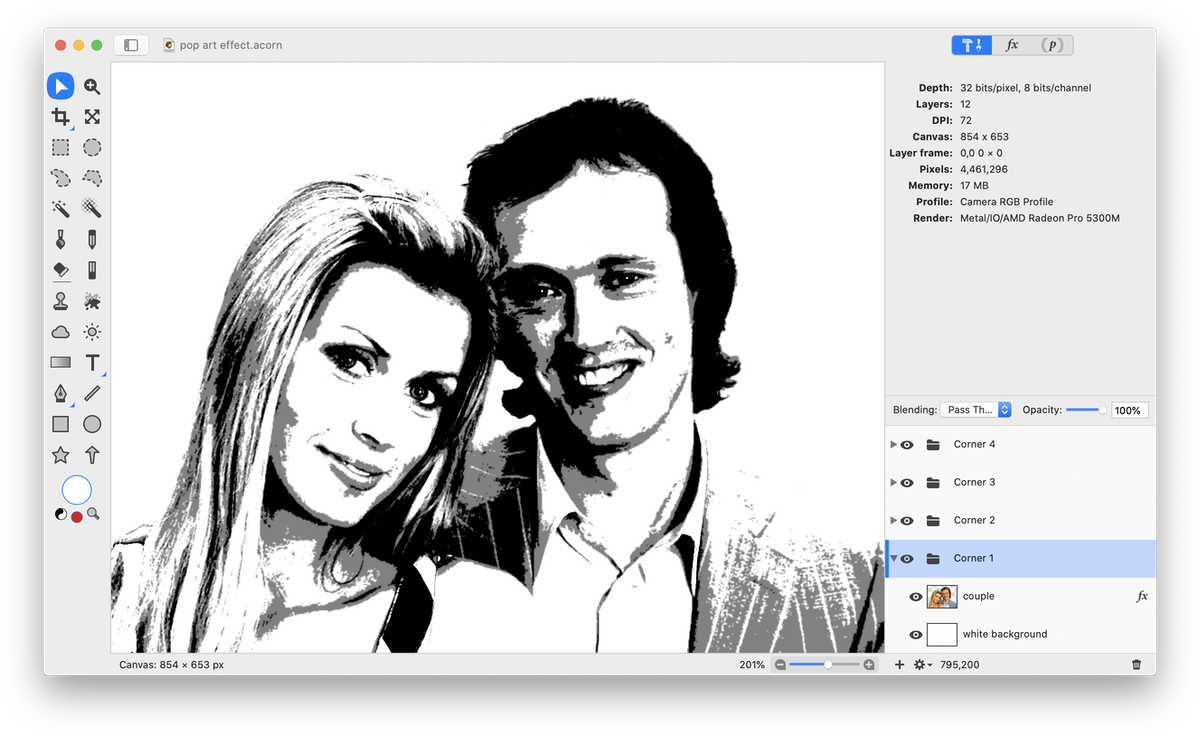
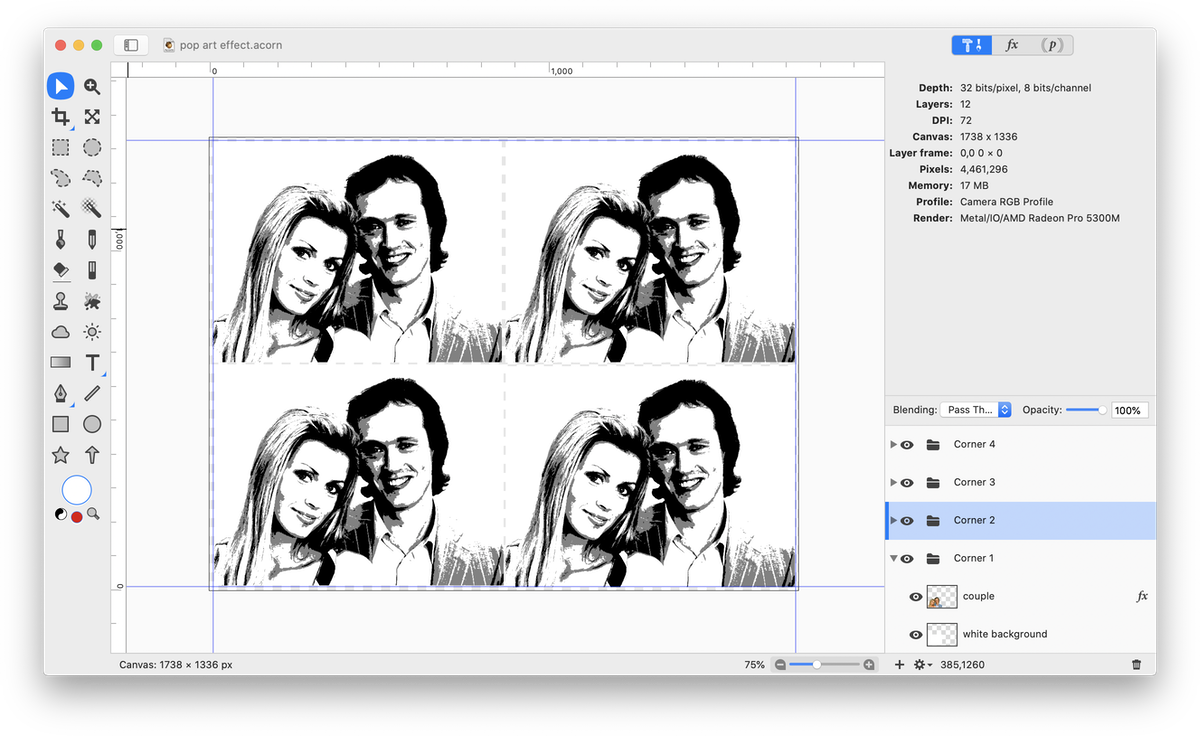
 Create a group layer, Layer ▸ New Group Layer. Drag and drop your white background and couple layers into the group. Make sure the couple layer is still above the white background within the group. Duplicate the group layer 3 times. Name each group as you wish — here they will be called 'Corner 1', 'Corner 2', etc.
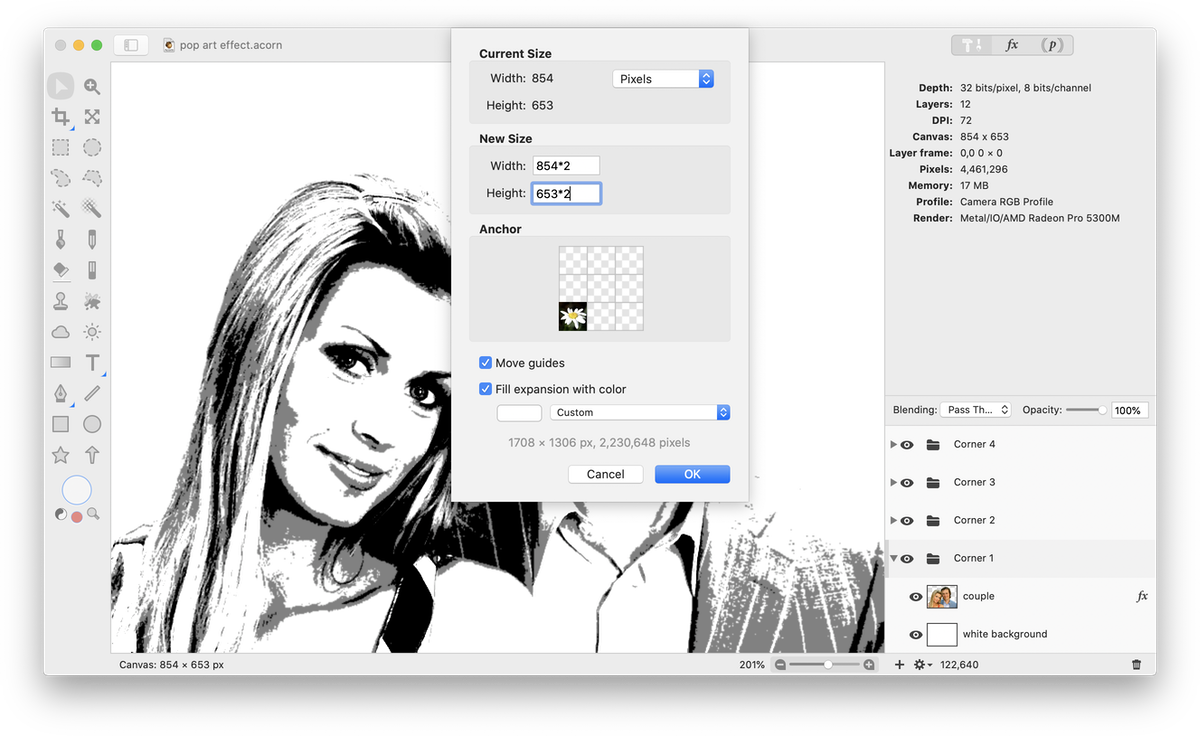
 Select Image ▸ Resize Canvas. It will be helpful to write down your current image dimensions for the next few steps. Resize the canvas so that it is double the width and height of your current image + 30 pixels in each direction (the extra pixels is the spacing between the images, you may need to modify this number depending on the dimensions of your specific image or skip altogether if you don't want spacing).
 Now choose View ▸ Show Rulers. Go to View ▸ Guides and Grids and check ‘Snap to Guides’. Make sure you have the move tool selected in the tools palette. Click on a ruler and drag out to create a guide. Place two horizontal and two vertical guides to line up your groups where you want them. For more information read Rulers and Guides. Hide the guides and rulers when you are done.
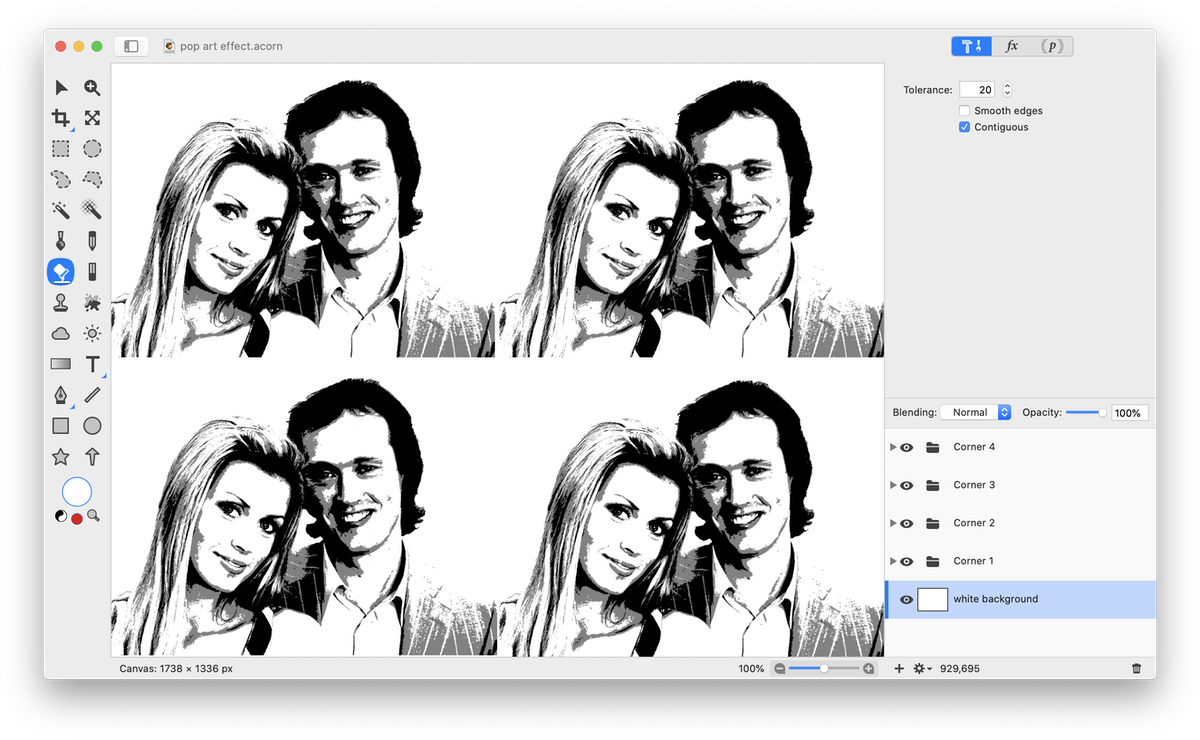
 Create a new layer (⇧⌘N). Using the flood fill tool, fill it with white. Place it below all of your 'Corner' groups.
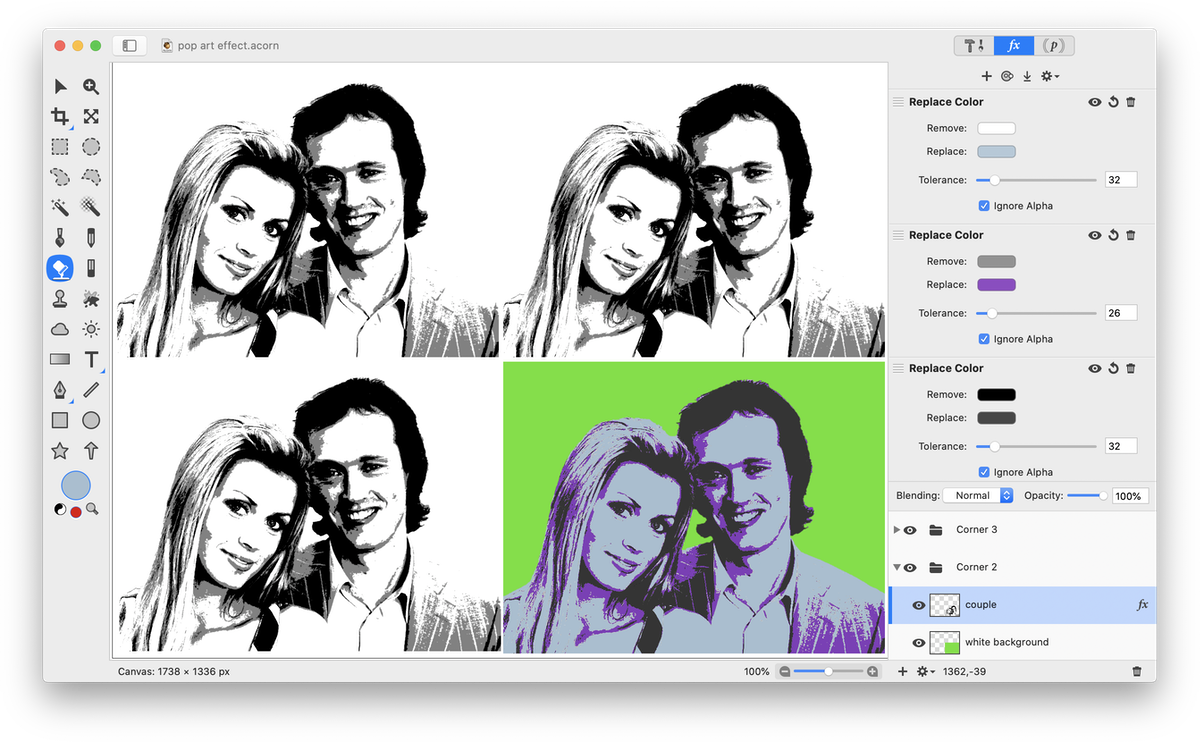
 Now for the fun part, adding color! Click on one of the ‘couple’ layers within a group in your layers list. Flatten the current filters present by clicking the ‘Flatten’ button. Choose Filter ▸ Color Adjustment ▸ Replace Color. Click on the 'Color to Remove' color well and choose white. Click on the 'Color to Replace' color well and pick your color from the colors palette. Play around with the tolerance slider. Click on the '+' in the filter window and choose Color Adjustment ▸ Replace Color again. 'Remove' black and 'Replace' it with the color of your choice.
Click on the white background layer in that corner group and use the flood fill tool to fill it with the color of your liking.
 Repeat the last two steps for each corner group.

Photo Credit
Couple by rolands.lakis on Flickr