Restoring and Coloring Old Photos
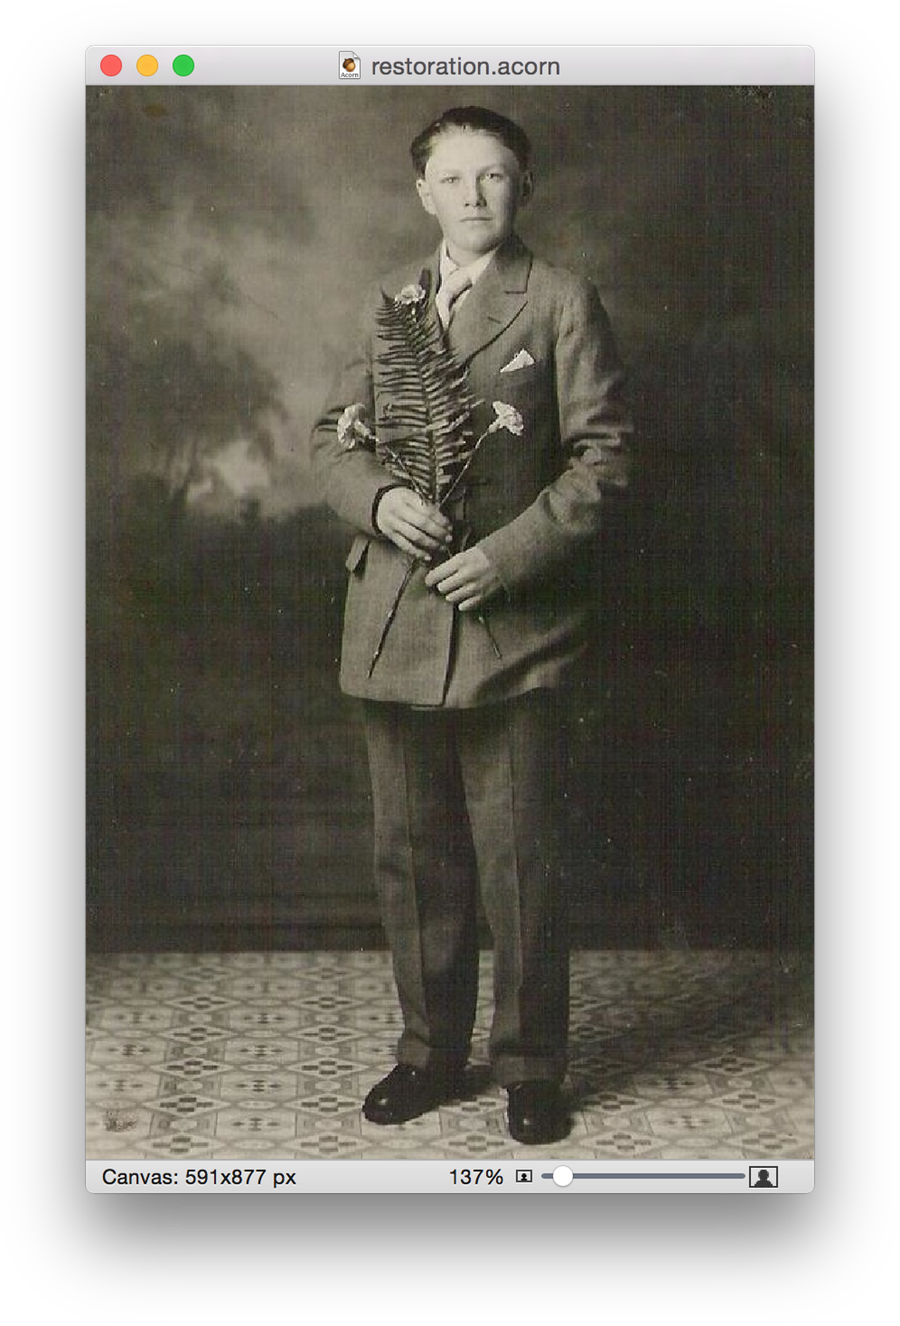
Here is the original old timey photograph.
 Start by adjusting the levels, Filter ▸ Color Adjustment ▸ Levels and clicking the auto levels button (keyboard shortcut ⇧⌘L). Then, go to Filter ▸ Color Adjustment ▸ Color Controls and adjust the Saturation (down to 0 for a complete black and white), the Contrast, and the Brightness to your liking.
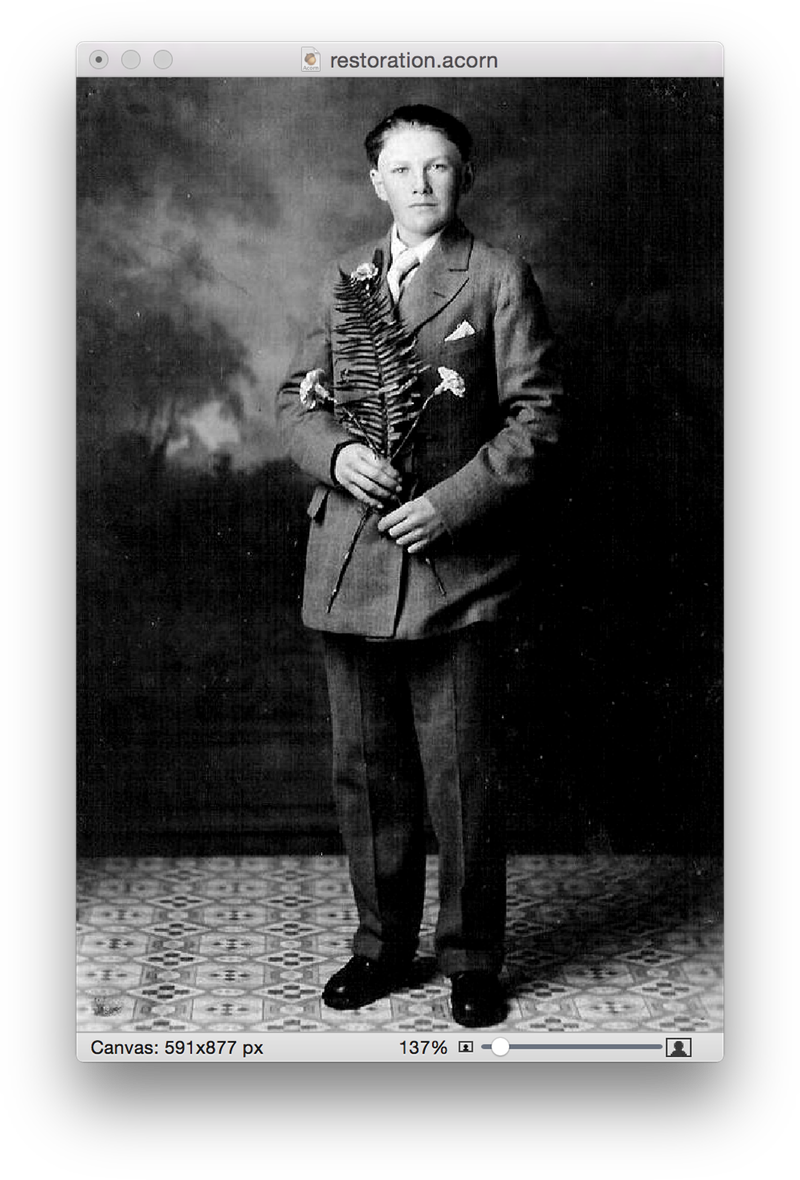 Then, go to Filter ▸ Blur ▸ Noise Reduction to eliminate most of the grain and fine lines in the photograph.Now, using the Clone Tool, remove all the dust spots and other flaws in your image.
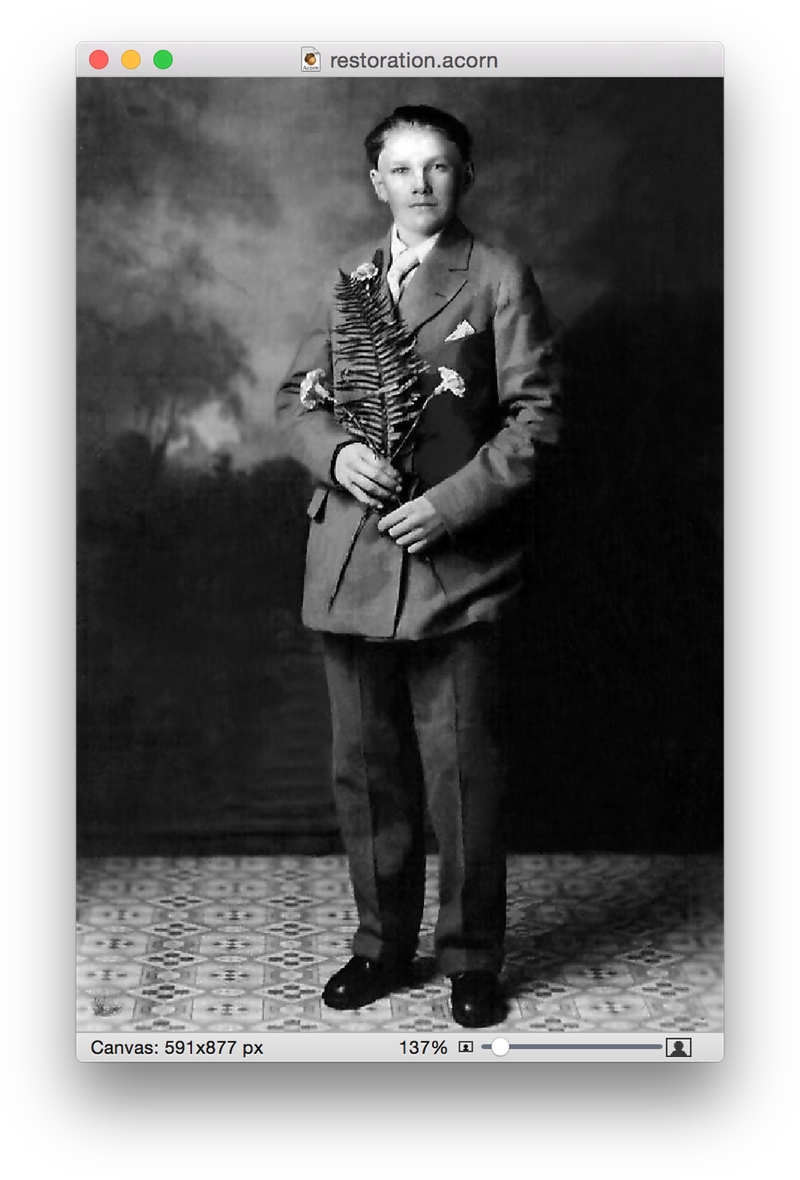
 Using the Burn Tool set to Midtones and an exposure setting of 8%, go over his face, as it is very light. For darker areas you will want to use the Dodge tool. Read here for more information about the touch-up tools.
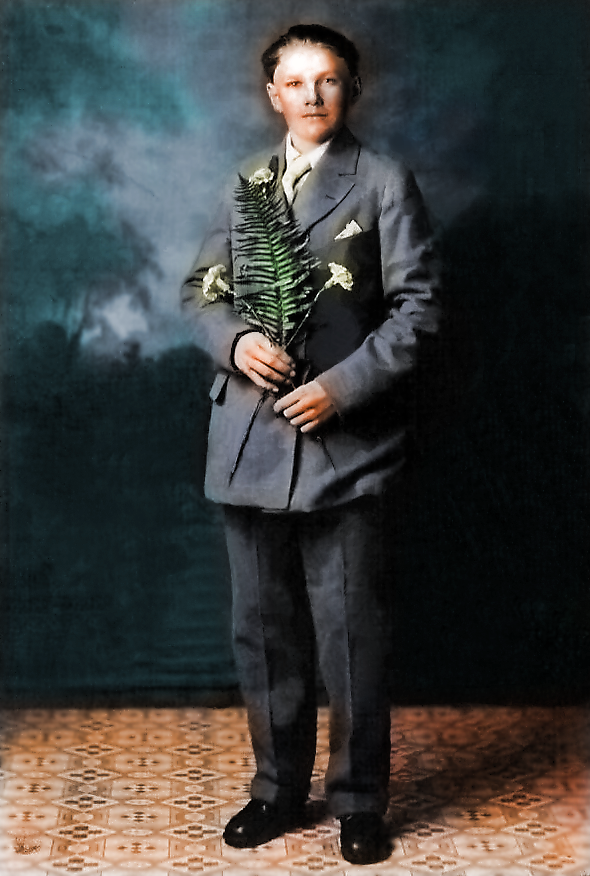
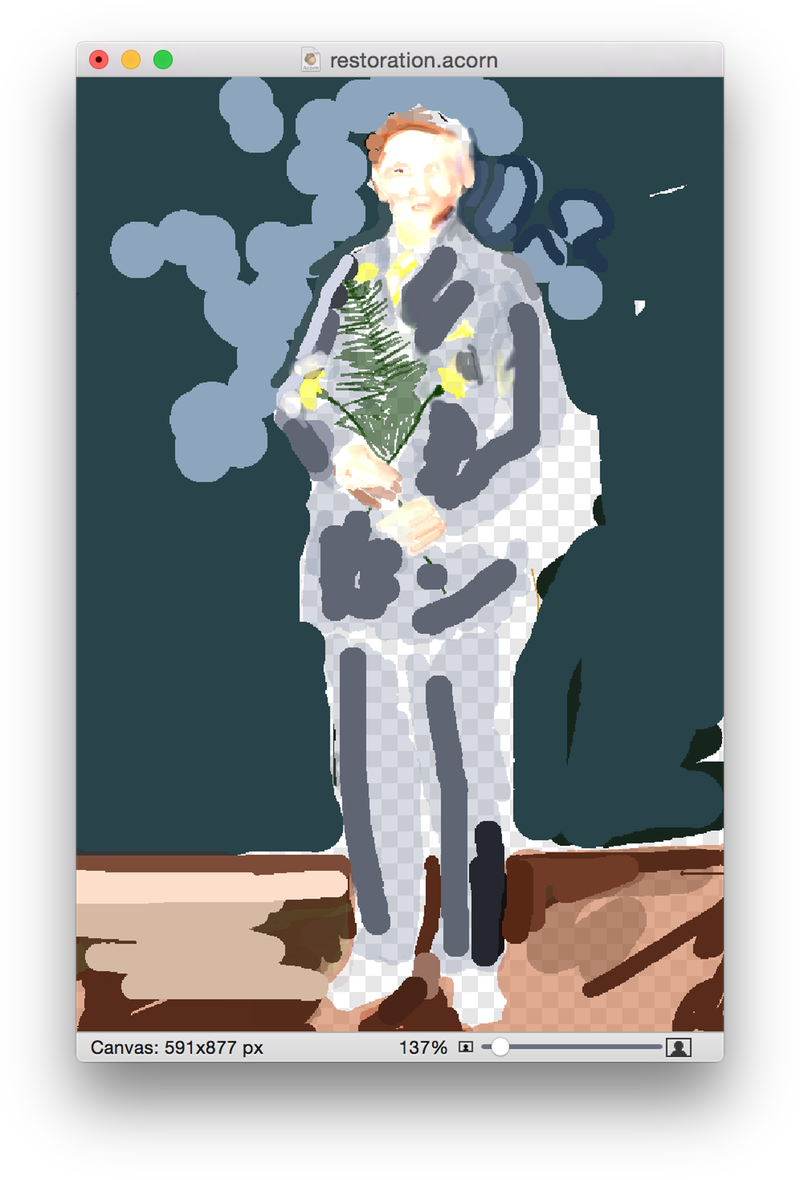
 Now that the photo is restored, it is ready to color. Create a new layer over your restored image. Set the blending mode of this layer to "Color". Pick your colors in the colors palette and using the paint tool, paint over the photo. You can adjust the amount of color that is applied by changing the opacity of the brush. Remember to choose colors to match the colors that would be found naturally in the photo. The higher the saturation of the color, the brighter the color will appear on the photo.
This is what the color layer looks like with the photo layer turned off. Not too pretty and kind of scary!
 Go to Filter ▸ Blur ▸ Gaussian Blur and play around with the radius of the blur to make the color look natural.