Acorn Acorn 7

Lighten or Darken Specific Areas  


The curves window can help you lighten and darken higlights, shadows, and midtones in your image.  If you want to make image corrections that apply to all the highlights, shadows, or mid-tones of your image, then read the 'curves' tutorial to learn more.  This tutorial will outline how you can lighten or darken specific areas of your image.


Using Blending Modes and Layer Masks.  


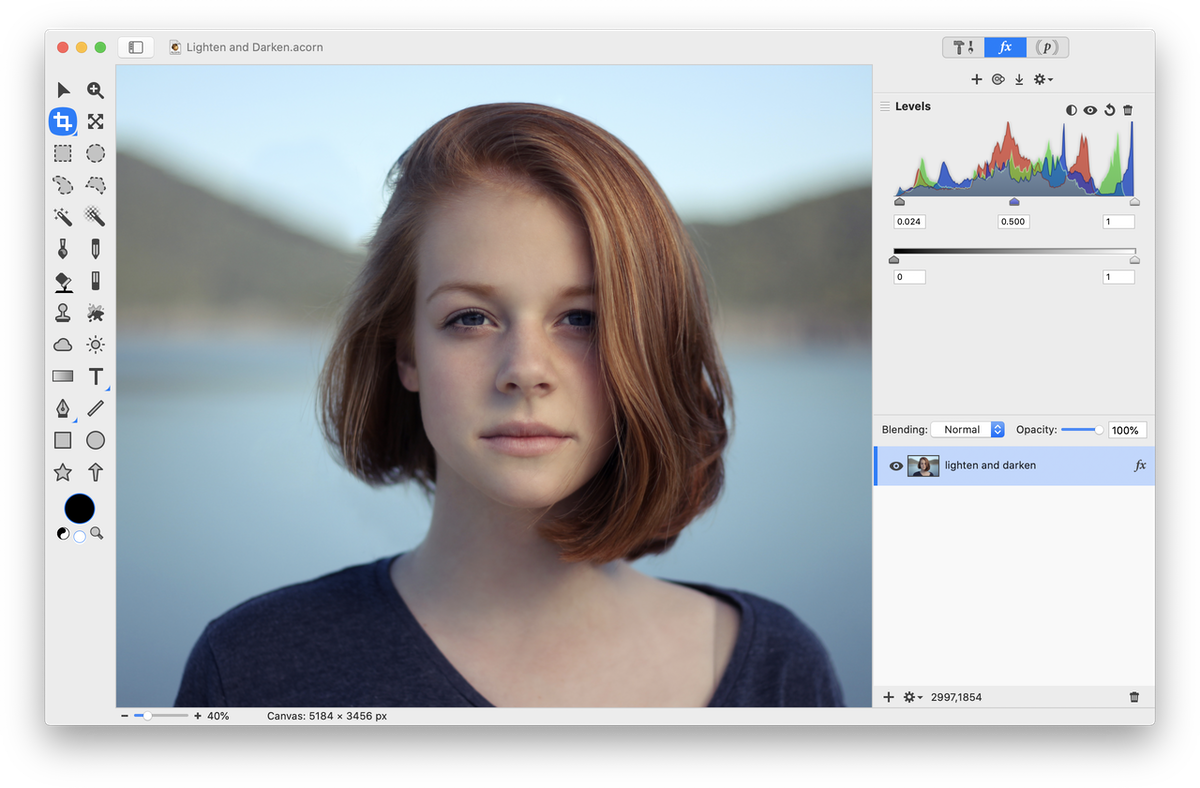
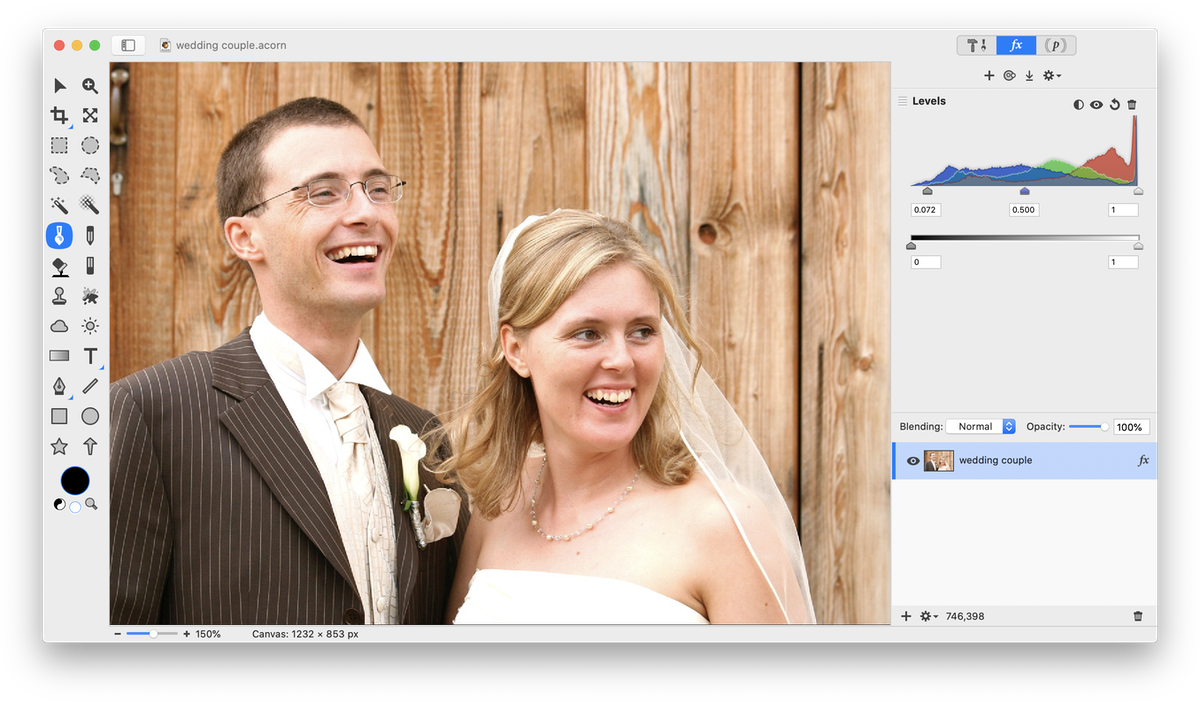
Open your image in Acorn, File ▸ Open.  Start by adjusting the levels of your image,  Filter ▸ Color Adjustment ▸ Levels.  Bring the sliders just below the histogram inwards until they are just underneath where the curve starts to develop.  You can use Auto Levels as well, but for the purposes of learning, try adjusting them yourself.  


Screen Shot 2021-01-29 at 12.13.17 PM.png

Duplicate your original layer twice, Layer ▸ Duplicate Layer (⇧⌘D).  On one of the duplicated layers, change the blending mode to 'Color Dodge'.  Rename this layer 'dodge'.  On the other duplicated layer, change the blending mode to 'Color Burn'.  Rename this layer 'burn'.


Screen Shot 2021-01-29 at 12.15.26 PM.png


Add a layer mask to the Dodge layer by clicking on the cogwheel towards the bottom left of the inspector palette and selecting 'Add Layer Mask'.  Then go to Filter ▸ Color Effect ▸ Color Invert.  Repeat those steps on the Burn layer.


Screen Shot 2021-01-29 at 12.16.33 PM.png

The dodge layer mask is where you can lighten areas of the image, and the burn layer mask is where you can darken areas of the image.  Choose the paint tool and select a brush.  Set the color of the brush to a light gray.   


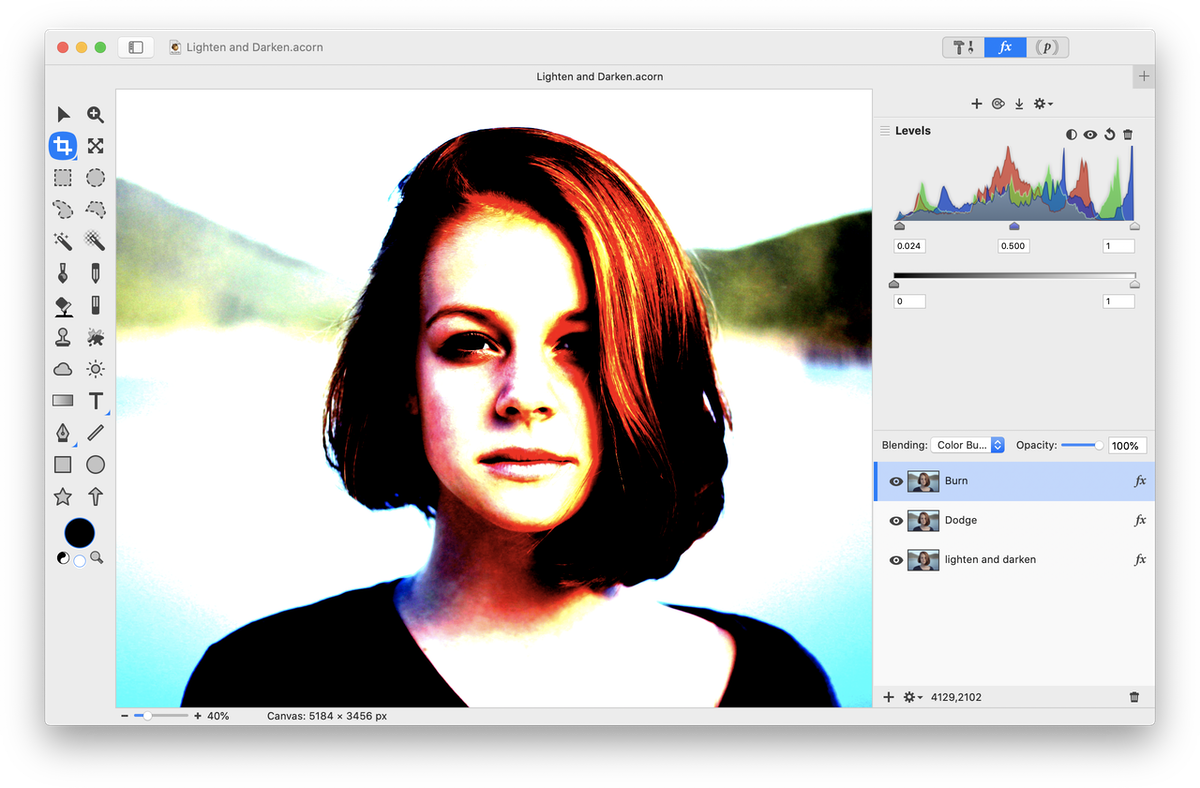
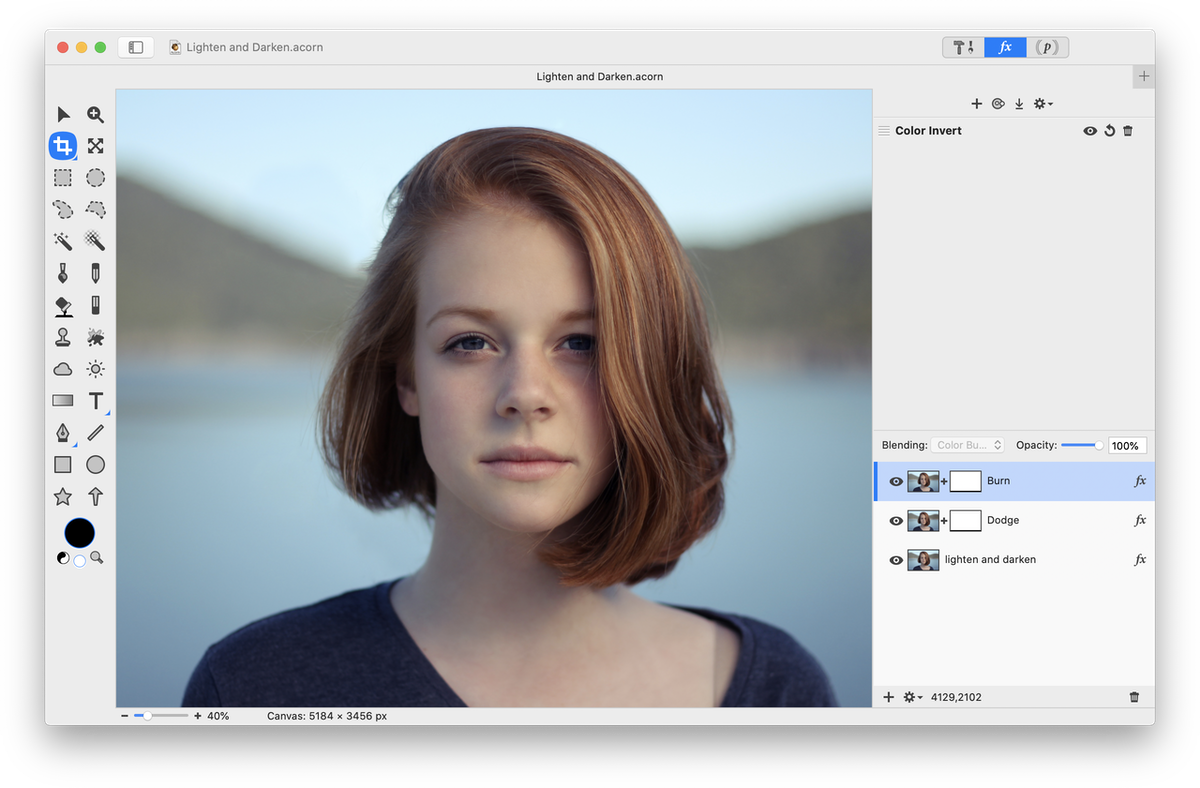
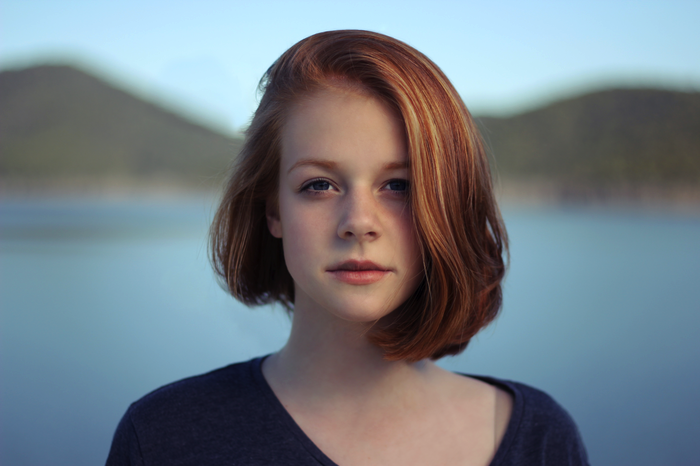
The woman’s hair, eyebrows, and eyes have been lightened by brushing in the Dodge layer.  The brush settings can be seen below.
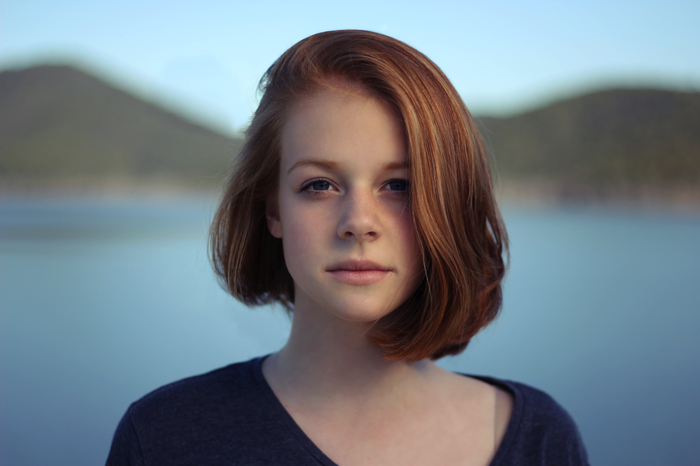
Screen Shot 2021-01-29 at 12.20.40 PM.png

To darken areas, switch to the Burn layer.  Her lips have been darkened.


Screen Shot 2021-01-29 at 12.23.28 PM.png


If you make any mistakes, you can change your brush color to white with 100% opacity, and just paint over the mistake in the layer mask. You can also use the eraser tool to erase any mistakes.


Lighten and Darken_original.acorn   Lighten and Darken_final.acorn

Before                                                                                         After


Using Blending Modes and the Brush Tool


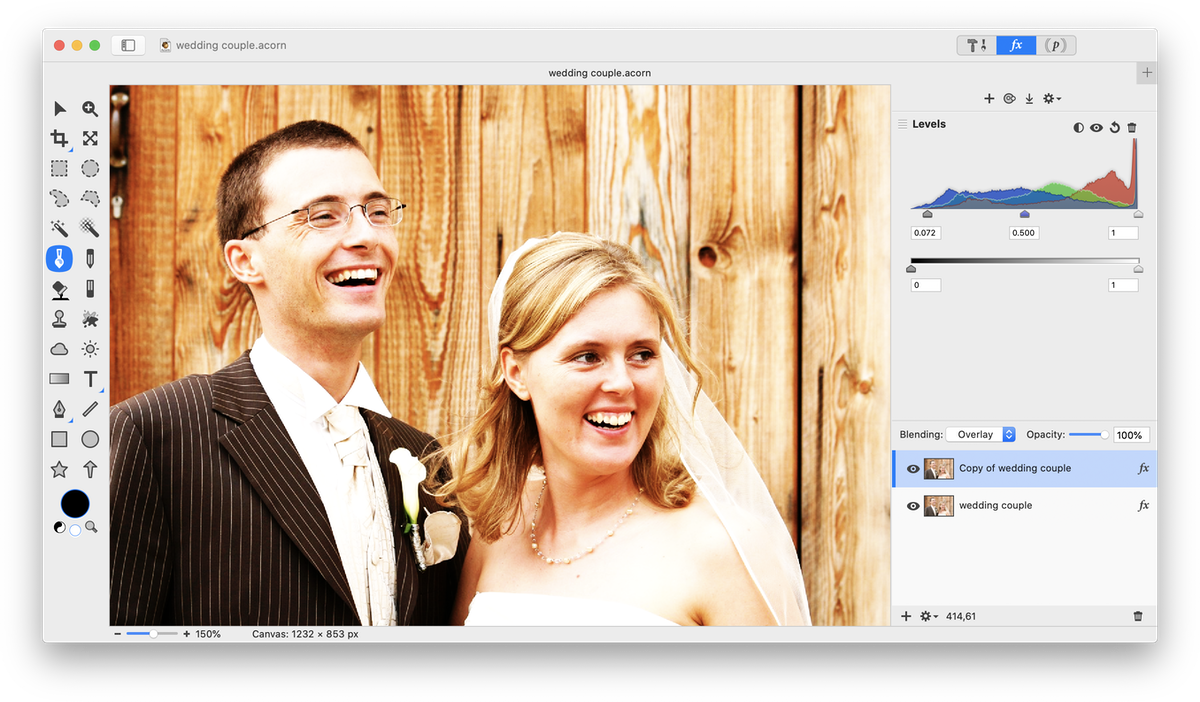
An additional method of lightening and darkening specific areas of your image is to use the 'overlay' blending mode and the paint tool.  Remember to always work on a copy of your image to avoid accidentally making permanent changes to your original.


Open your image in Acorn, File ▸ Open. Following the instructions in the previous example, adjust the levels of your image.


Screen Shot 2021-01-29 at 12.26.47 PM.png


Then, duplicate the layer by selecting Layer ▸ Duplicate Layer (⇧⌘D).  Change the blending mode of the duplicated layer to 'overlay'.  Your image should now look similar to this:


Screen Shot 2021-01-29 at 12.27.45 PM.png


It is likely that your image looks too dark now.  Decrease the opacity of the top layer.  This example uses an opacity of around 35%.  


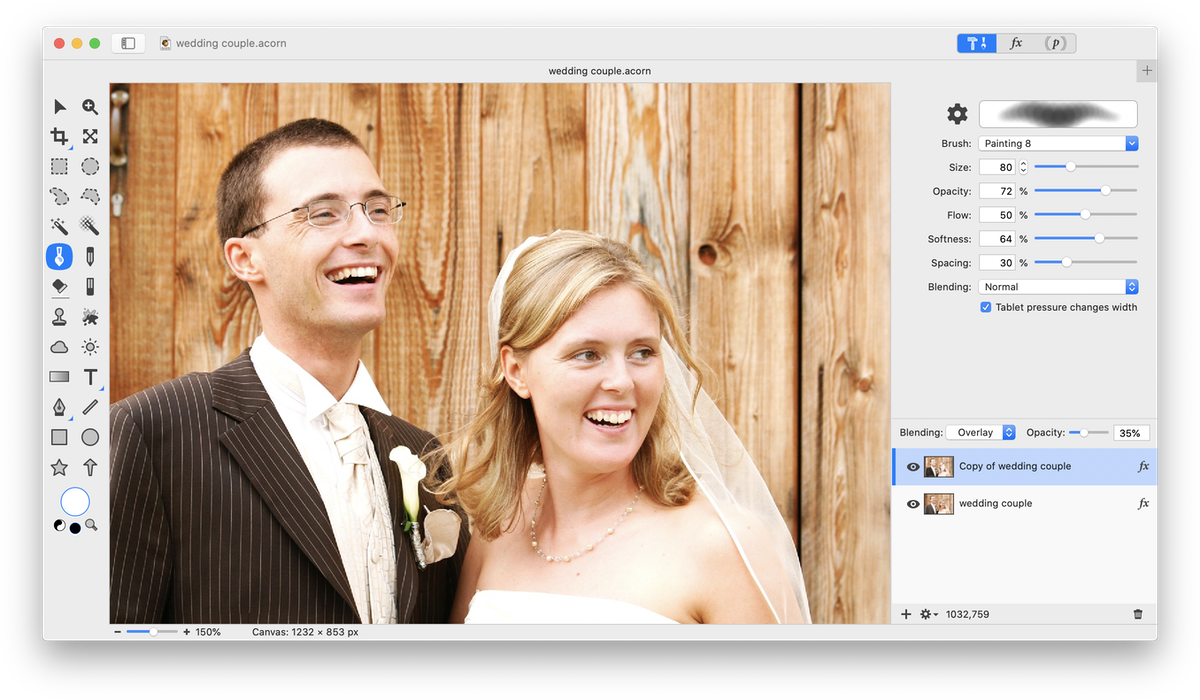
Now, select the paint tool and set the color to white.  Choose a soft brush such as 'painting 8'.  On the top layer, brush over any areas you want lightened with the white brush.  You may need to lower the opacity of the brush if the results are too strong.  Brush over the bride and groom's face, chest, shirt, and a few areas of her hair.  Also brush over the wood on the far left side of the image.
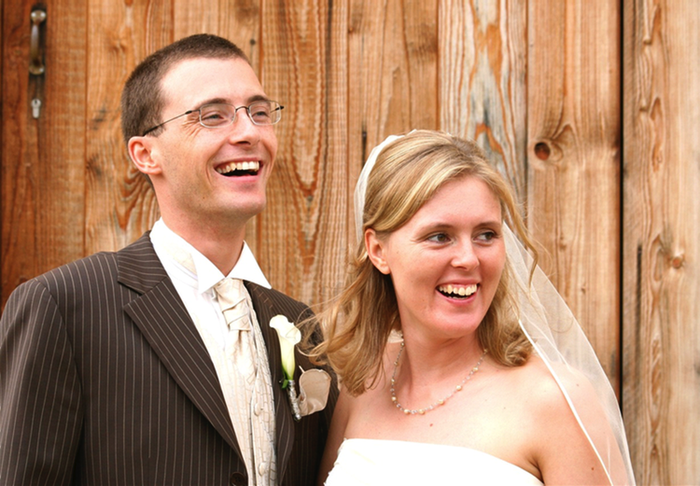
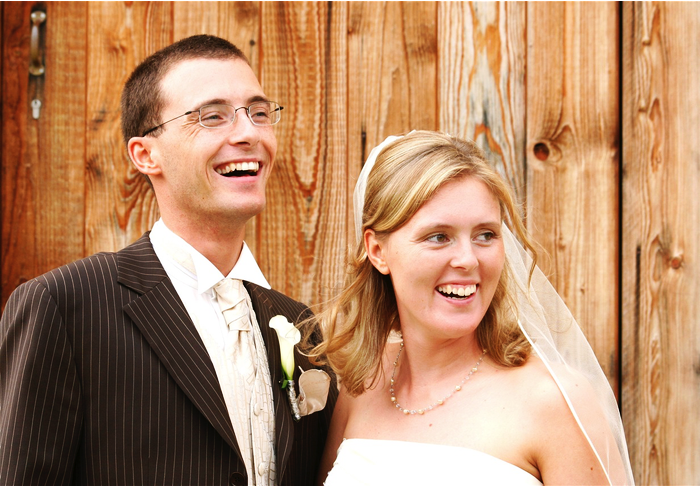

Screen Shot 2021-01-29 at 12.32.04 PM.png


Change the color of the brush to black.  On the duplicated layer, brush over any areas you want darkened with the black brush.  Brush over the groom's jacket, areas of his hair, and some of the wood towards the right of the image.  


overlay method original.acorn  wedding couple_final2.acorn


Before                                                                                    After


Photo Credits

Wedding Couple  © Thomas Wanhoff