Red Eye Removal
This tutorial will outline a couple of simple techniques for removing red eye. To start, open your image in Acorn, File ▸ Open.

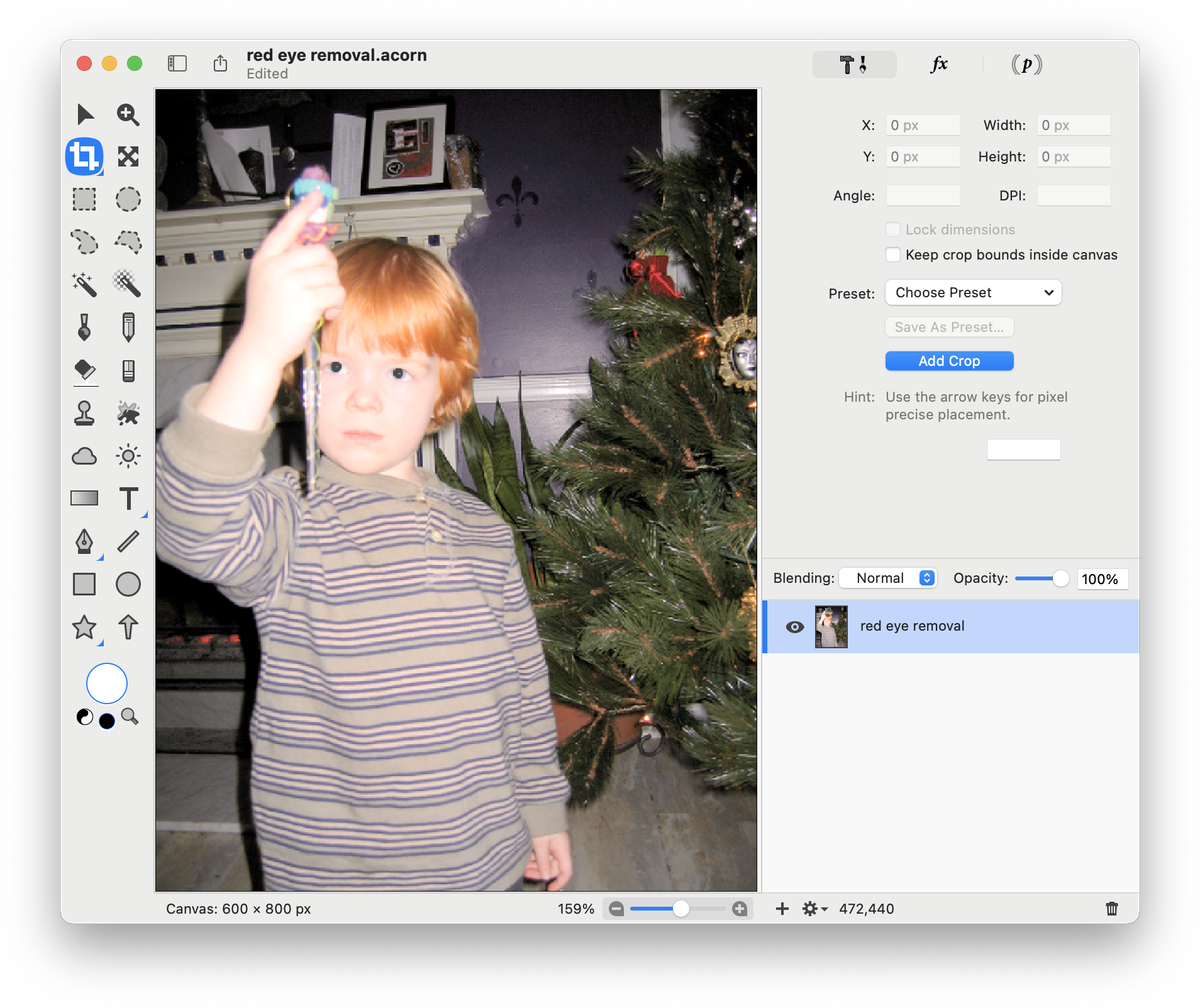
The easiest way to remove red eye is to go to Layer ▸ Auto Enhance. This action will improve skin tones, saturation, contrast, shadows and repair red-eyes or LED-eyes. As you can see below, the red eyes are gone and the image appears warmer.
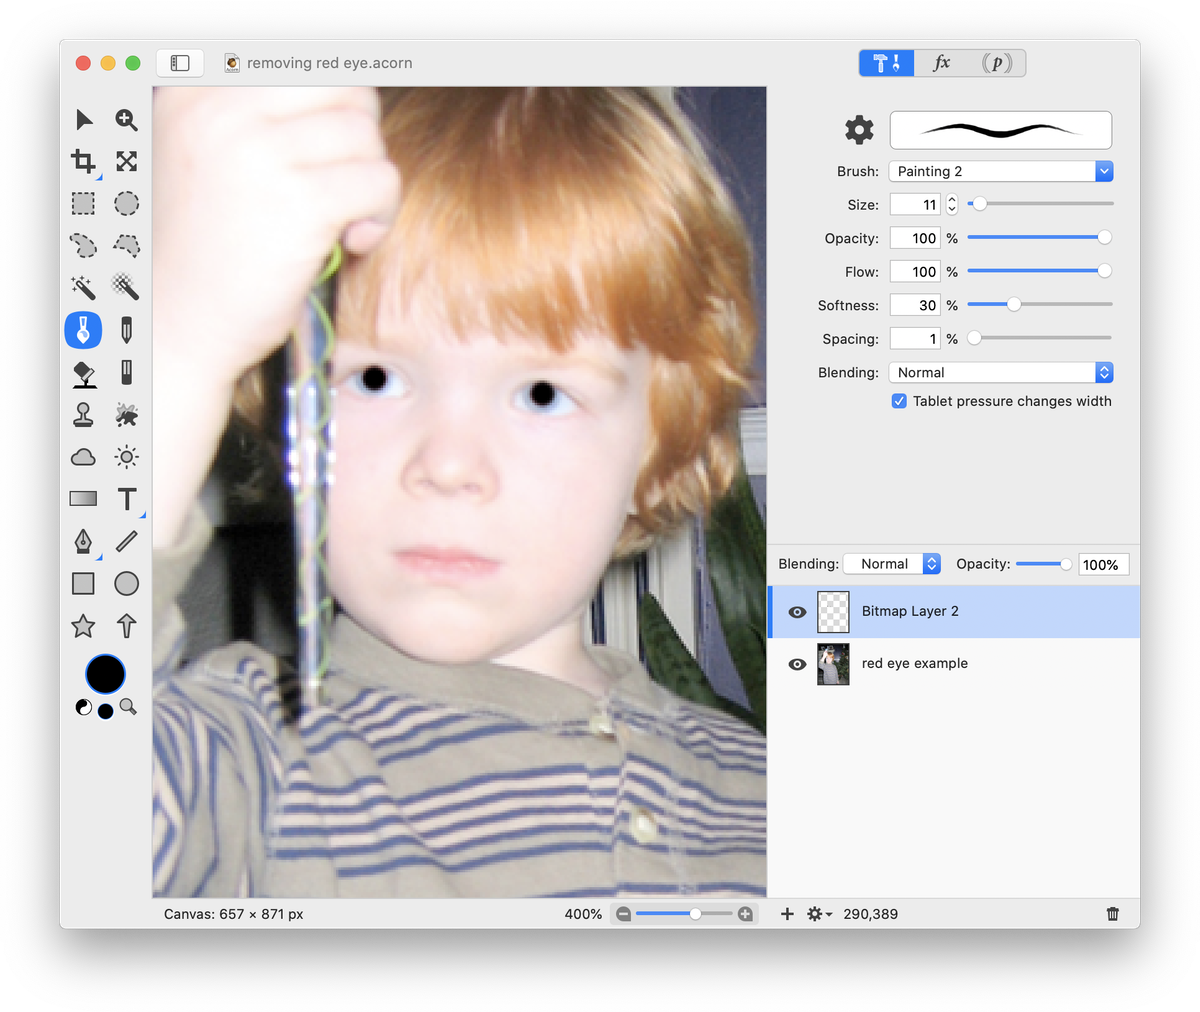
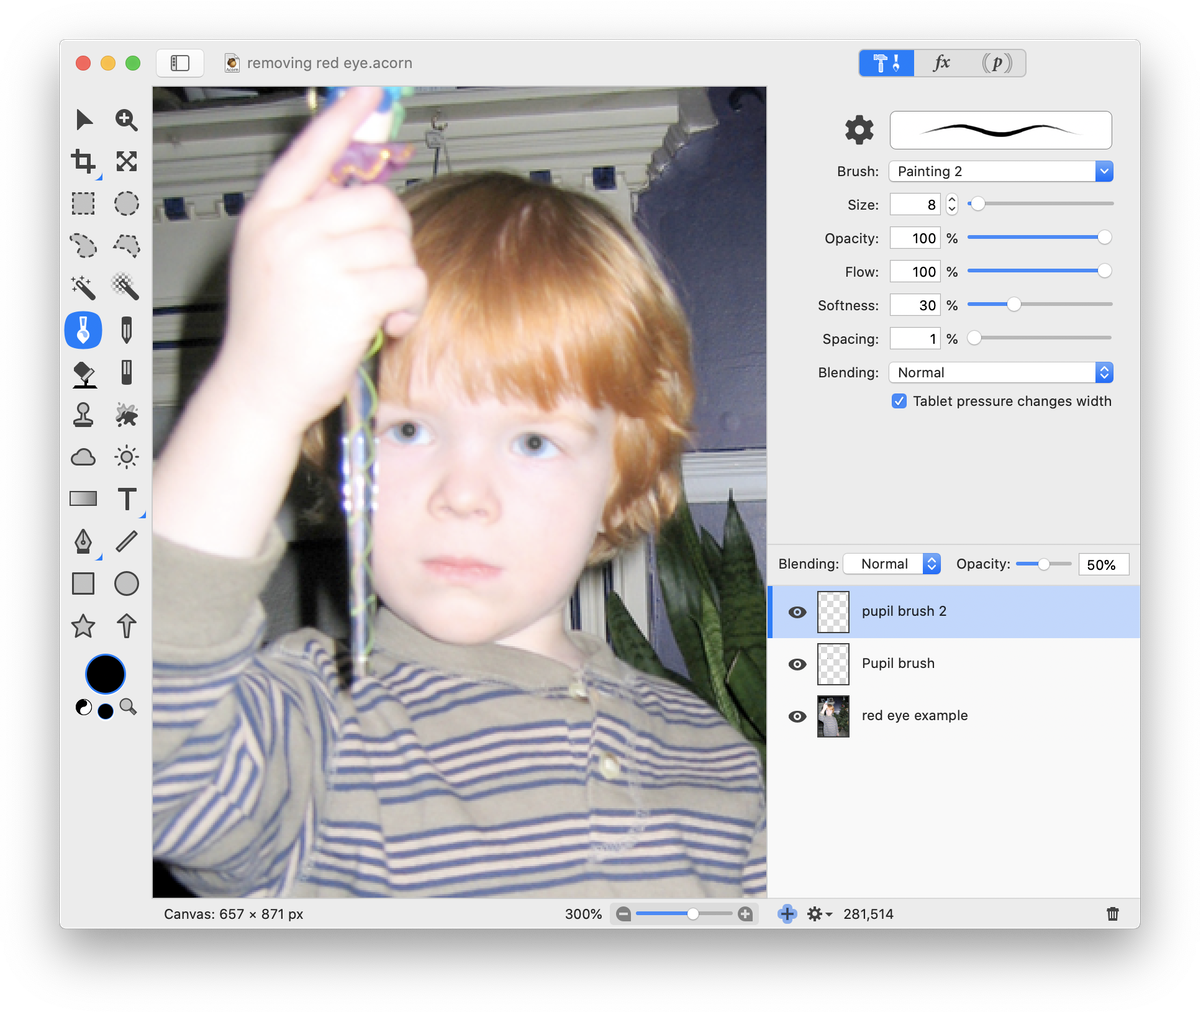
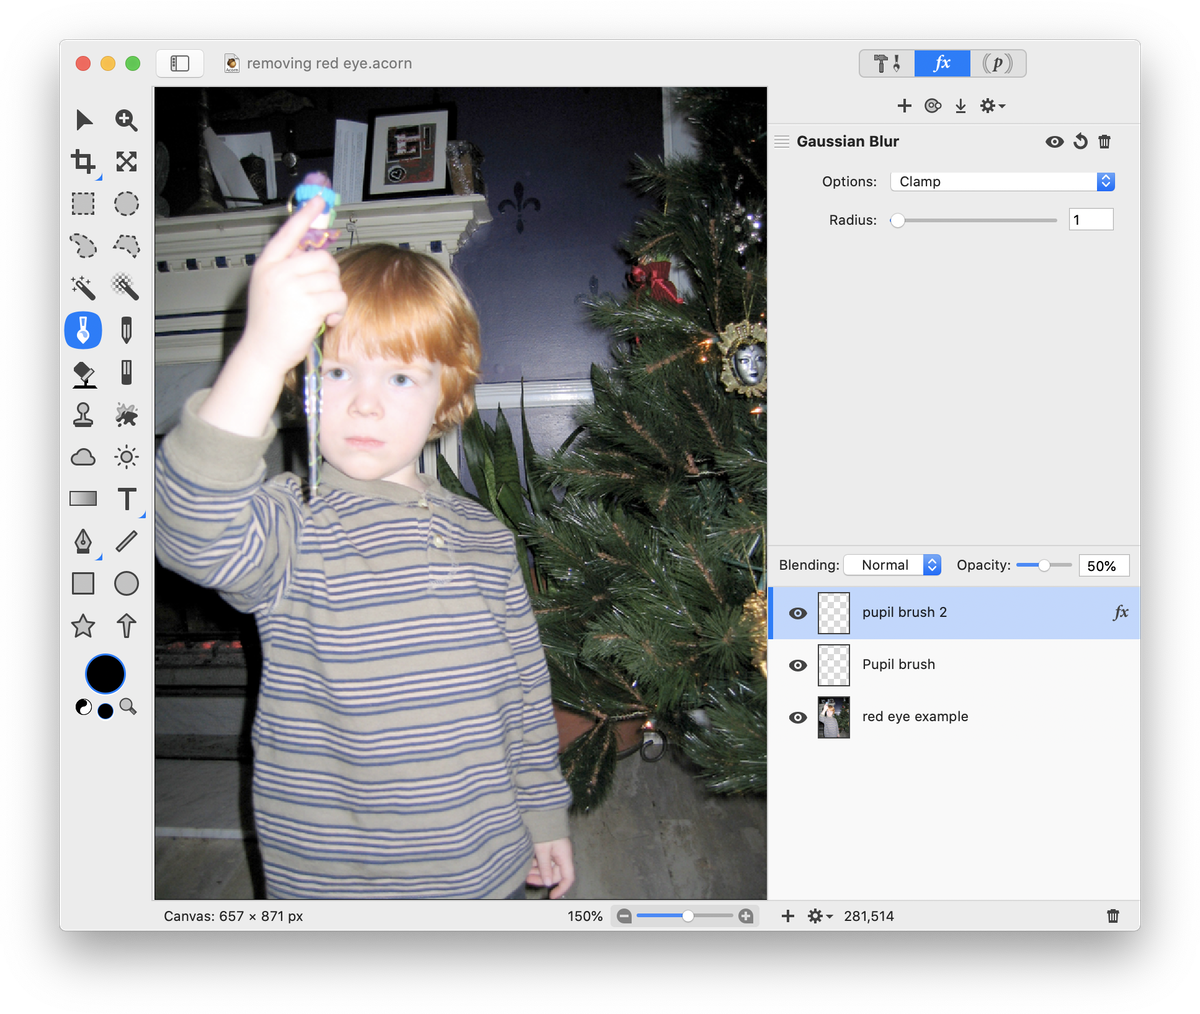
A different technique involves a few more steps. Remove the Auto Enhance effect (Edit ▸ Undo) if you performed the previous operation. Create a new layer, Layer ▸ New Layer (⇧⌘N). Then, select the paint tool and select black as your color in the tools palette color well. Adjust the size of the brush to fit over the subject's pupils. You can do this easily by placing the brush over the subject's pupils and pressing the left bracket ( [ ) to make the brush smaller or the right bracket ( ] ) to make it larger. Draw a dot over each pupil on the new layer. You will likely want to zoom in on the pupils to accurately perform this step.