Color Correction using Curves and Levels
Is your image too dark? Too light? Slightly blurry? Learn how to fix it using levels, curves, and other filters. Every image is different and there is no one size fits all with color correction. Once you have an understanding of the basics, play around with your images to hone your technique. This tutorial assumes you have read the 'Levels', 'Curves', and 'Filters' tutorials.
Be sure to also check out the Color Controls and Exposure Adjust filters if you wish to modify the saturation, brightness, contrast, or exposure in your image.
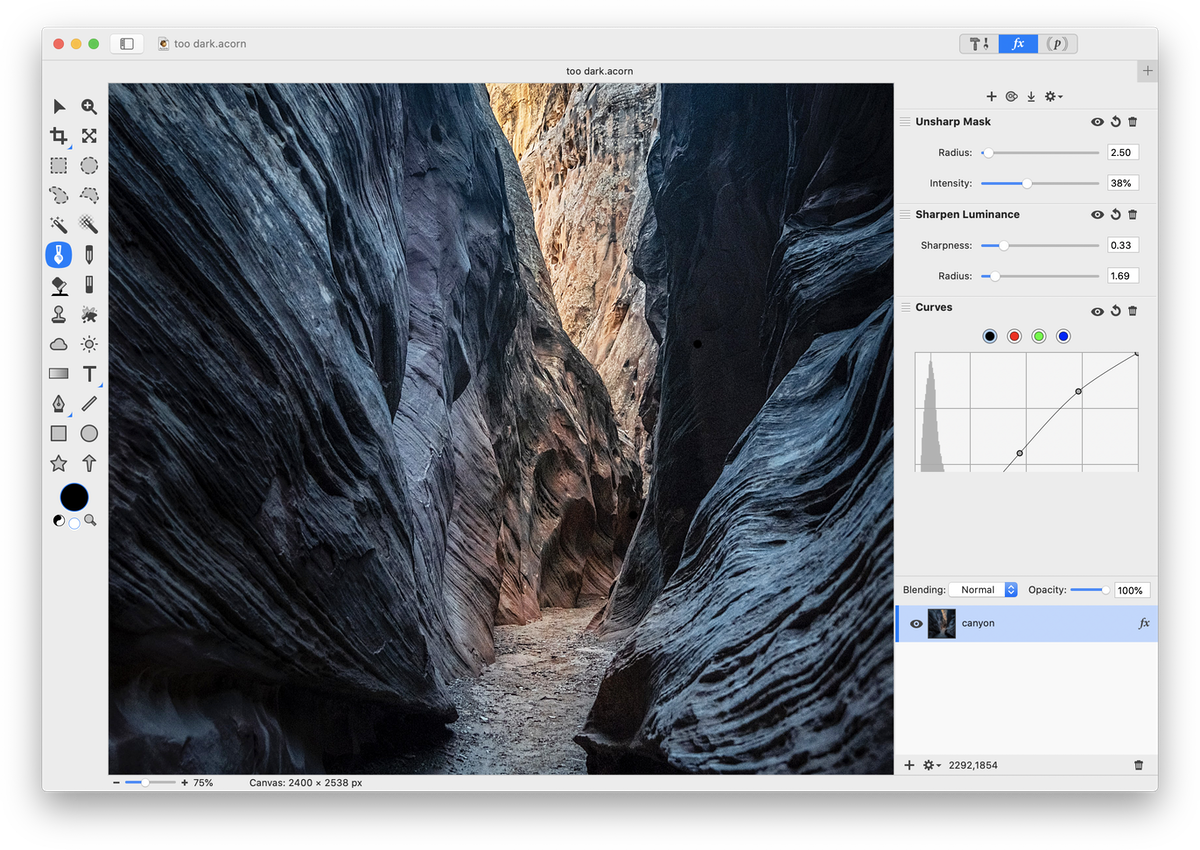
Dark and Blurry
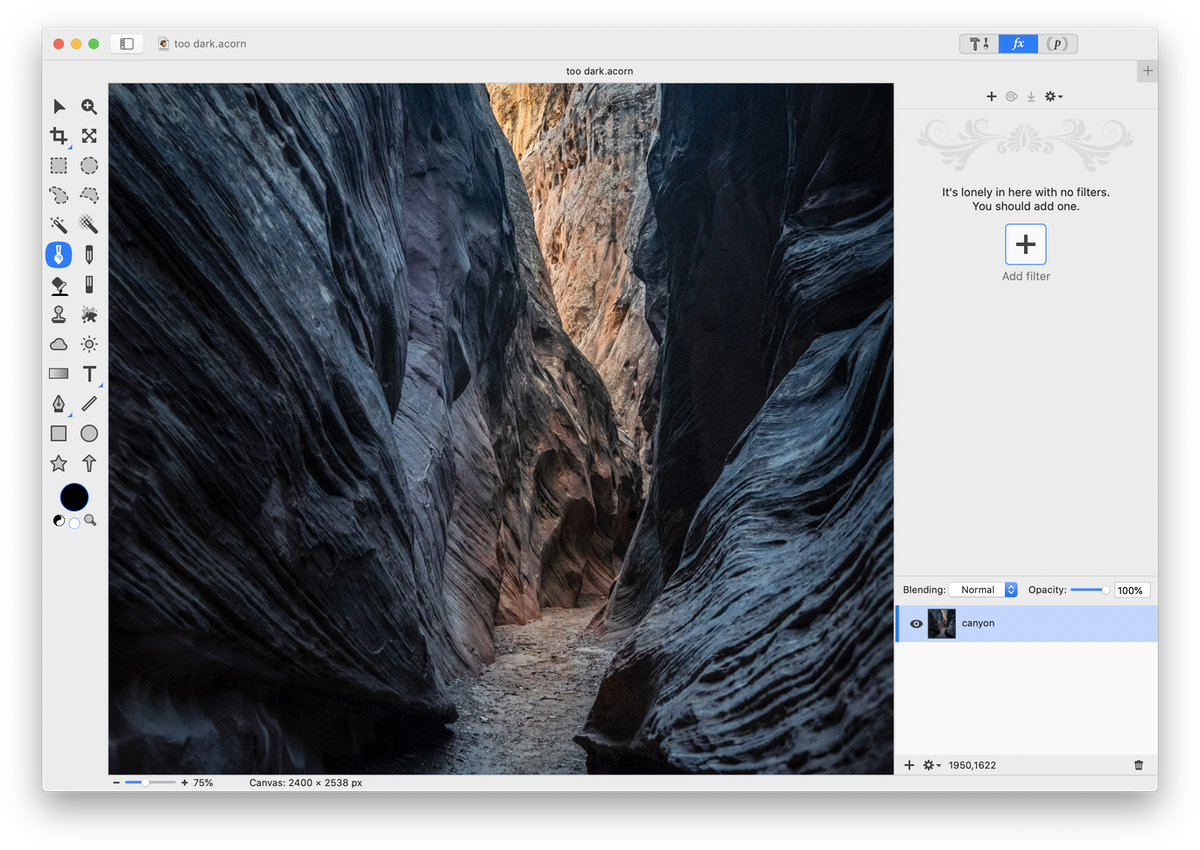 Start by adjusting the levels, Filter ▸ Color Adjustment ▸ Levels and clicking the auto levels button
  (keyboard shortcut ⇧⌘L). Then go to Filter ▸ Color Adjustment ▸ Curves (⇧⌘M). The midtones in this image have been lightened and the highlights also lightened.
 You can stop here, or you can continue on and give the rock a little more definition. Add the following filters: Sharpen ▸ Unsharp Mask, and Sharpen ▸ Luminance. Adjust the values as needed.
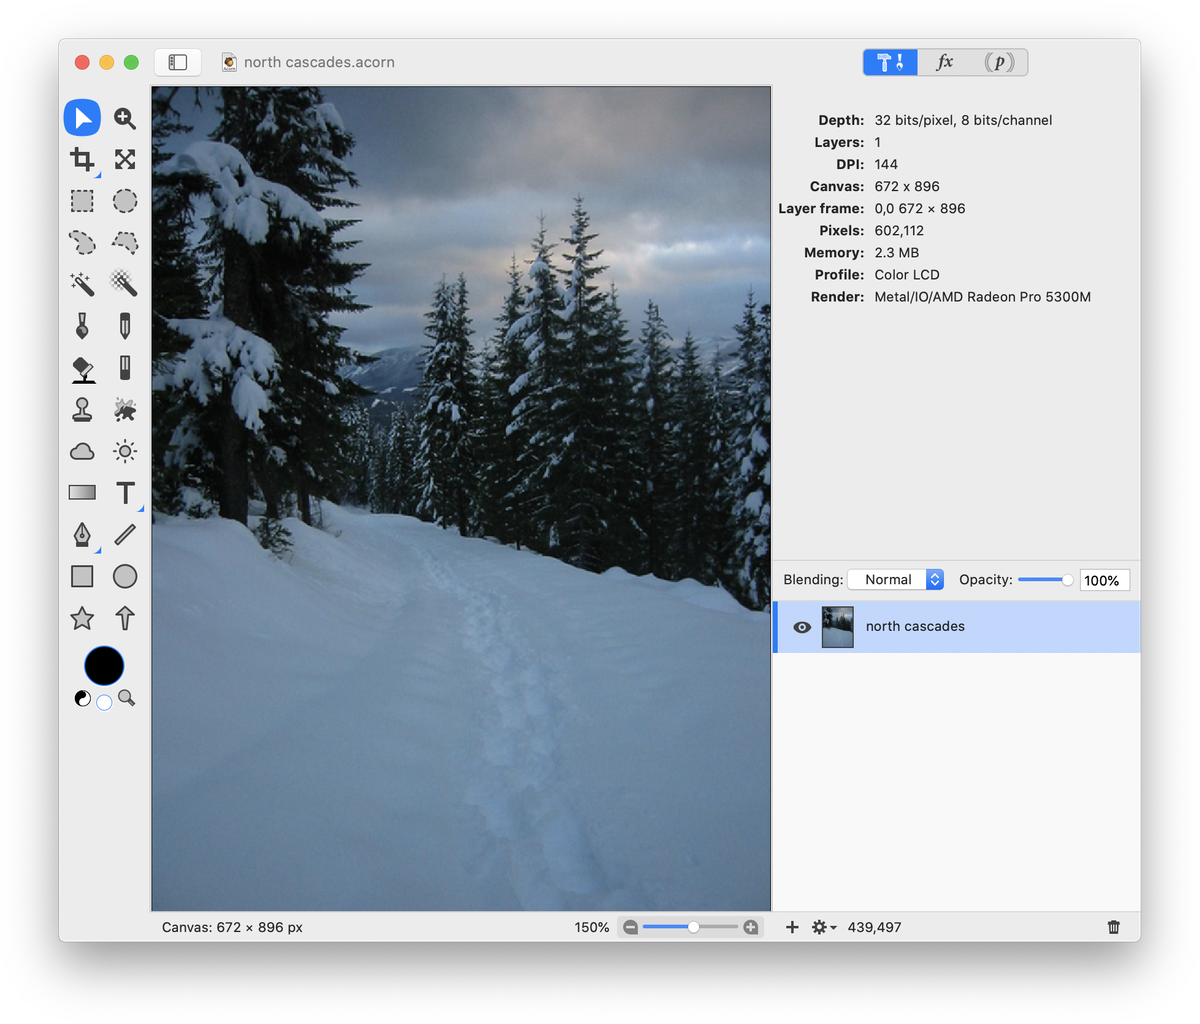
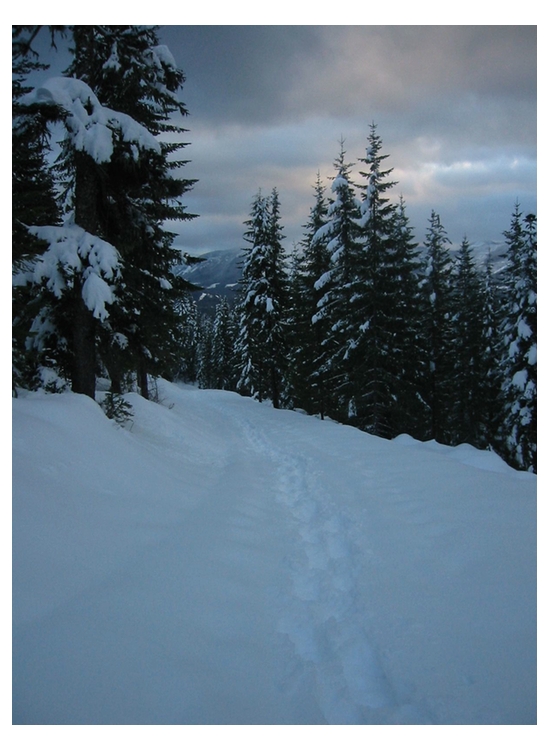
Too Dark and Blue
This image of snowshoeing in the North Cascades could use a little help.
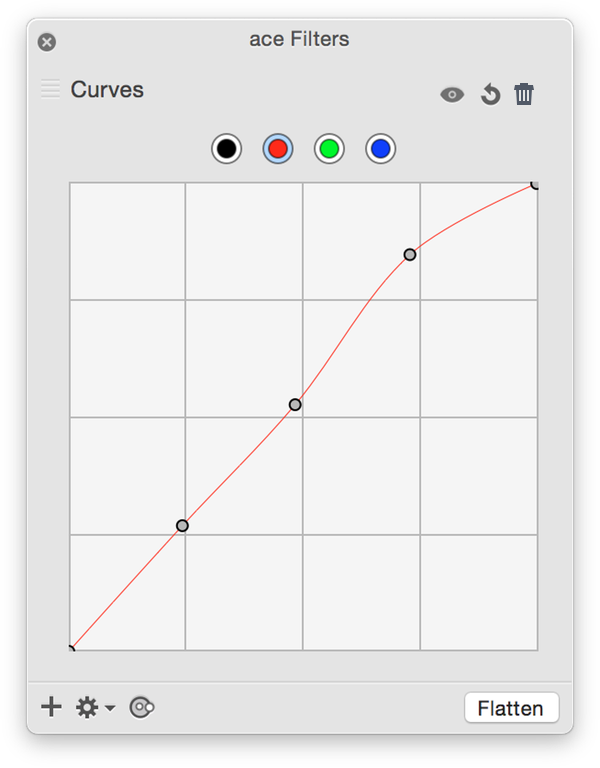
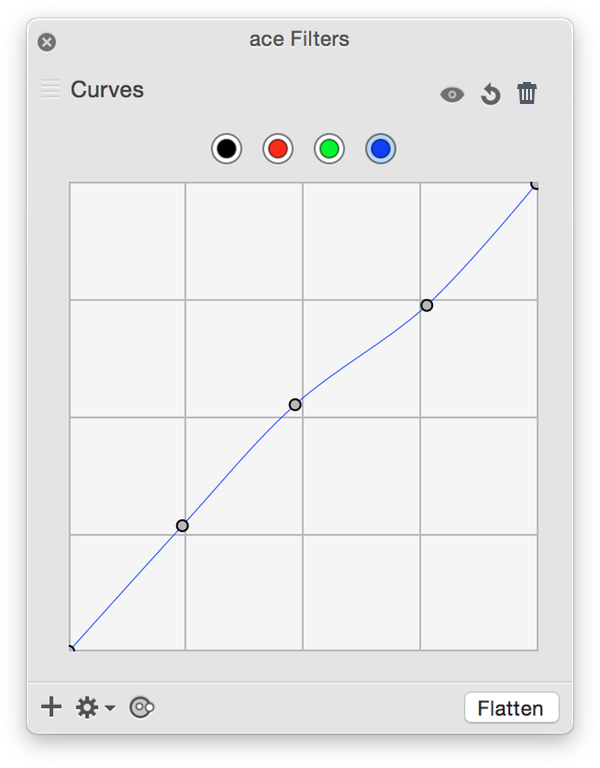
 To start, adjust the levels, Filter ▸ Color Adjustment ▸ Levels (⌘L) . Then choose Filter ▸ Color Adjustment ▸Curves (⇧⌘M). Play around with lightening the midtones, shadows, and highlights in the RBG curve.
 You can also experiment with the red, green, and blue curves. The red highlights have been increased slightly to draw out the warm colors in the clouds. The blue highlights have been decreased slightly to take some of the blue out of the snow.
 Now navigate to Filter ▸ Sharpen ▸ Unsharp Mask . Click on the '+' in the filter window and add Sharpen ▸ Sharpen Luminance. Adjust the values as needed.
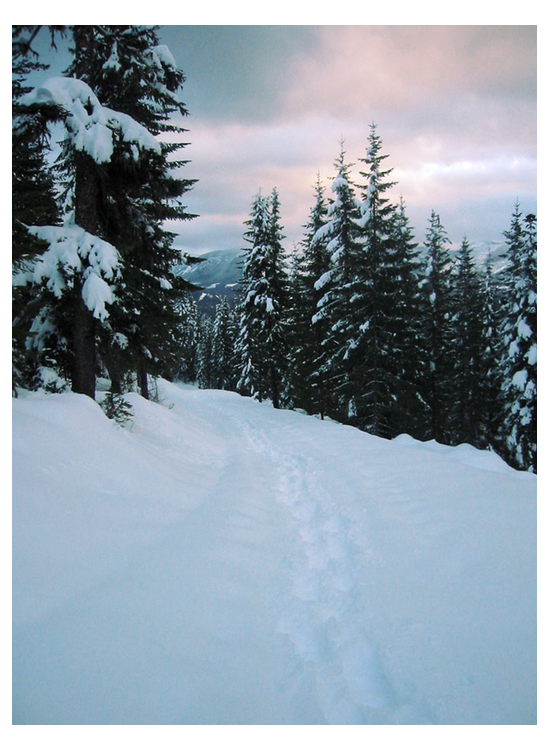
Before and after images.
Too Green and Poor Contrast
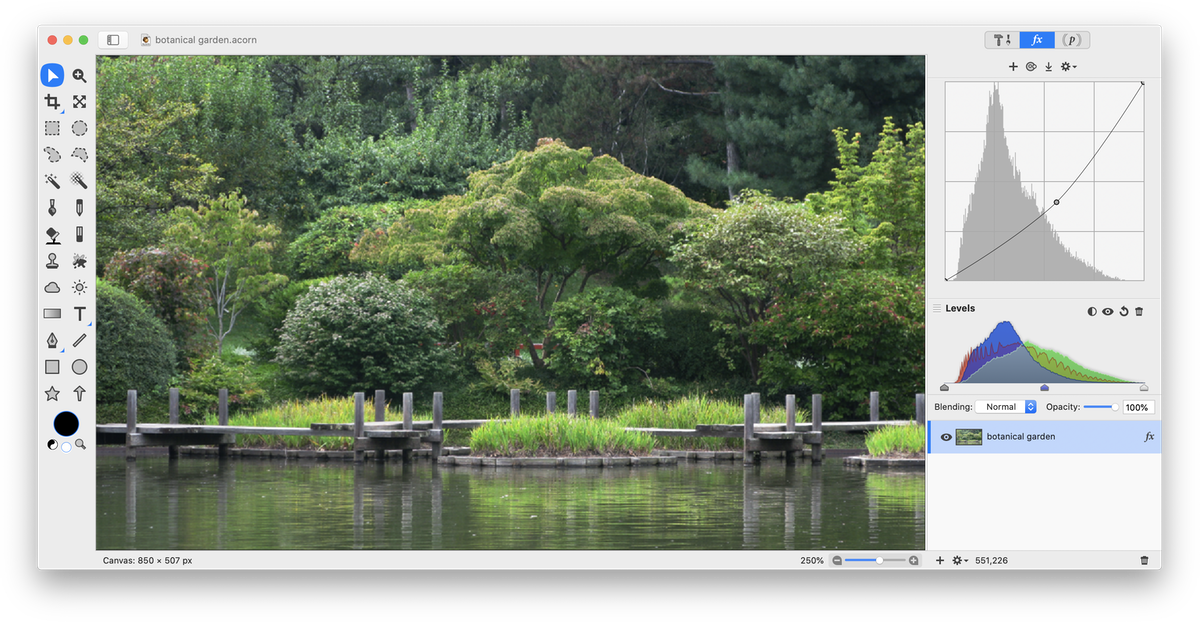
This example is of a very green image of the Japanese Garden at the Missouri Botanical Gardens.
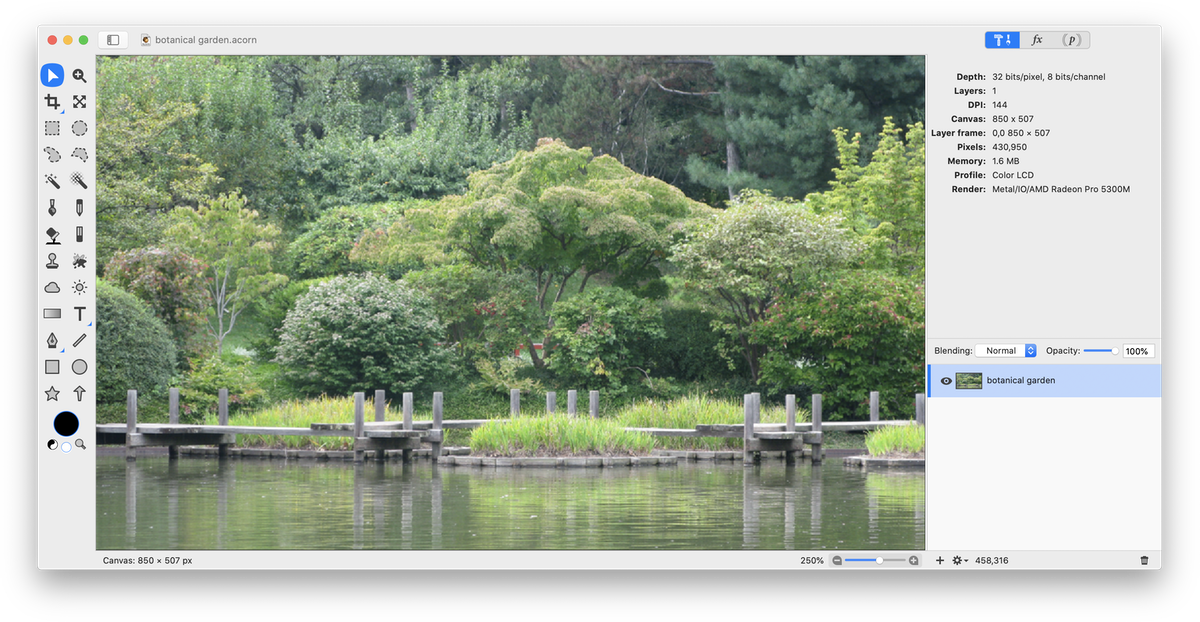 Adjust the levels, Filter ▸ Color Adjustment ▸ Levels (⌘L). Go to Filter ▸ Color Adjustment ▸Curves (⇧⌘M). The histogram shows that this image has a lot of bright midtones. You can darken them slightly by dragging the middle of the RGB curve down.
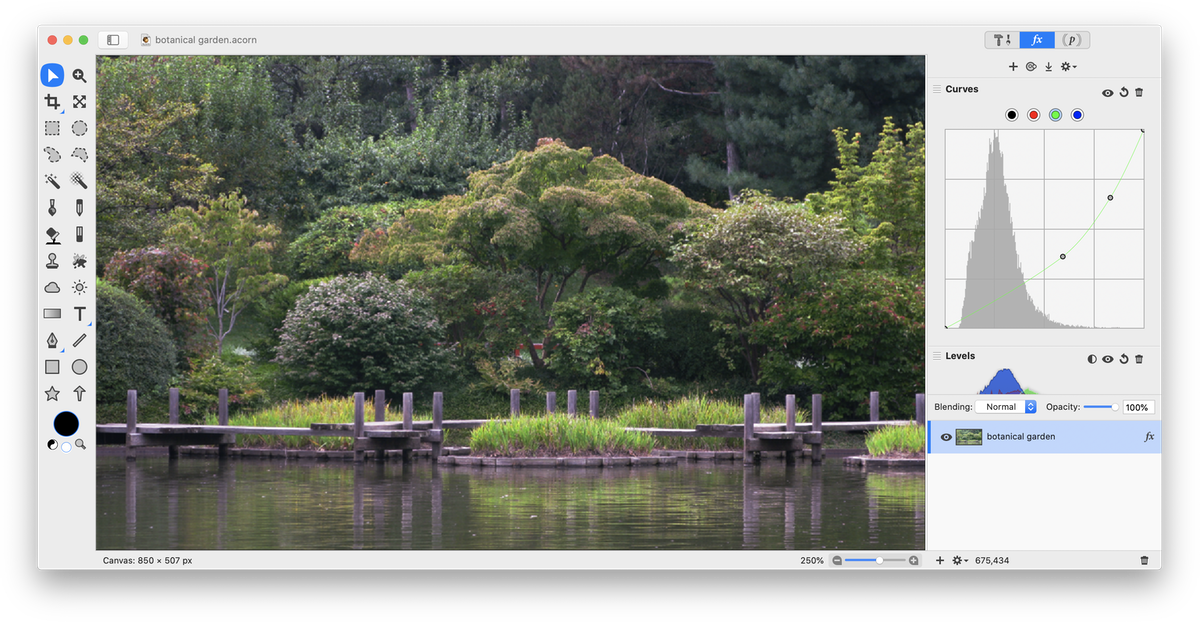
 If you're happy with the image, you can stop here. You've improved the contrast. Or you can continue on and decrease the green in this image. Click on the 'Green' button at the top of the curves histogram. Drag the green midtones area of the curve slightly downwards. You can also decrease the appearance of green highlights area by dragging that area of the curve slightly downwards.
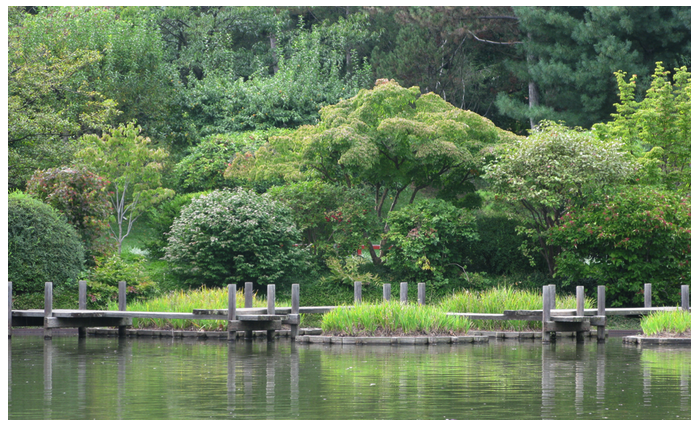
 Before and after images.
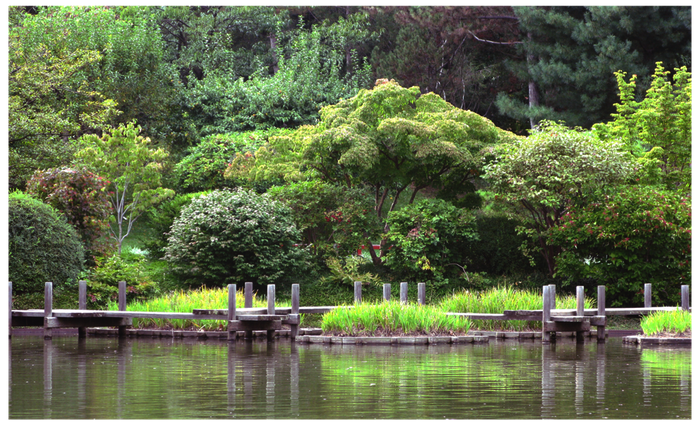