Leaves on Text
 This tutorial outlines how to make it appears as if leaves are covering text. Feel free to use other images besides leaves! To start, find at least 5 - 6 images of leaves. You will likely need to separate each leaf from its background and save it as a new file. For detailed instruction on how to perform this, read the "How to Remove a Background" tutorial.
Open a new file in Acorn, File ▸ New. This tutorial will use a white background, but you can easily incorporate a texture, gradient, or image background. The canvas size here is 1200 x 1200 pixels. Drag and drop each of your individual leaf images into the layers list, or use File ▸ Add Images...
 Write out your text using the text tool. Drag your text layer below the leaf layers but above the background layer in the layers list.
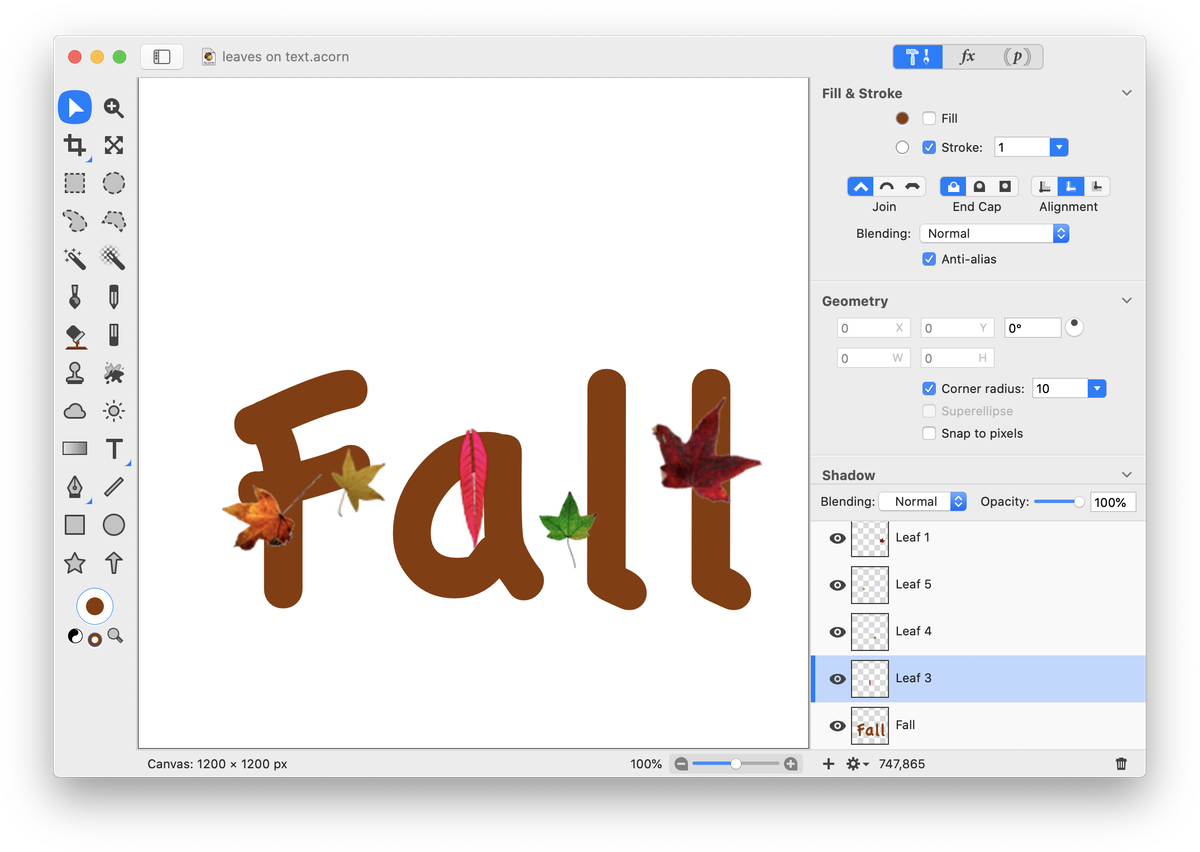 It's time to start making a lot of copies of the leaves. Click on each leaf, and create at least 4 or 5 duplicates of the layer, Layer ▸ Duplicate Layer (⇧⌘D). If you don't use keyboard shortcuts, this will take a lot longer! Try to use ⇧⌘D to create your duplicates. Once you have 4 or 5 duplicates of each leaf (for a total of 20-25 leaf layers), change the size and rotation of each leaf layer using Layer ▸ Rotate and Transform ▸ Scale and Rotate (⇧⌘T). Each of the leaves in this example were given various rotations with a scale varying between 40-60%.
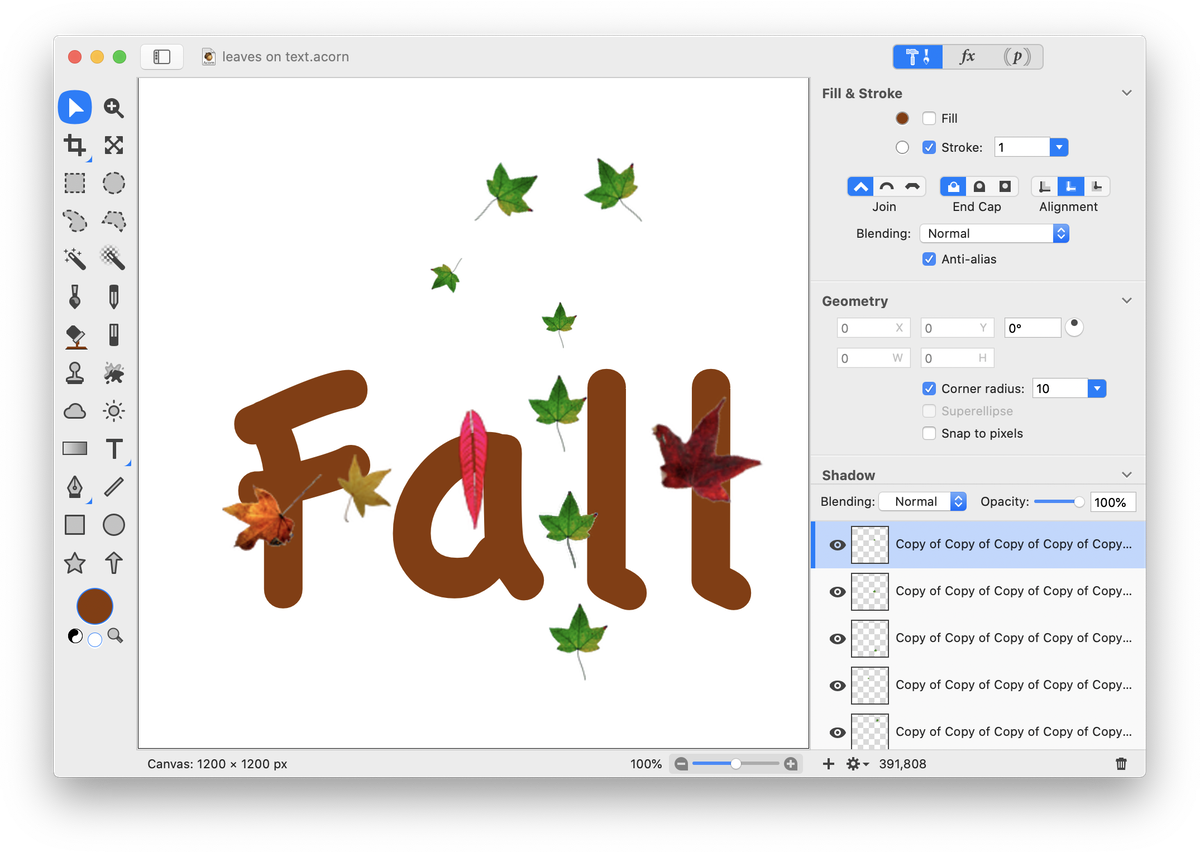 Now that you have 20+ different leaf layers with varying sizes and rotations, use the move tool to start placing your leaves over the text. You will quickly run out of leaves, but all you have to do is click on a leaf then use ⇧⌘D over and over again. Create more of each style of leaf as you go along to create a random looking layout.
 Still duplicating…
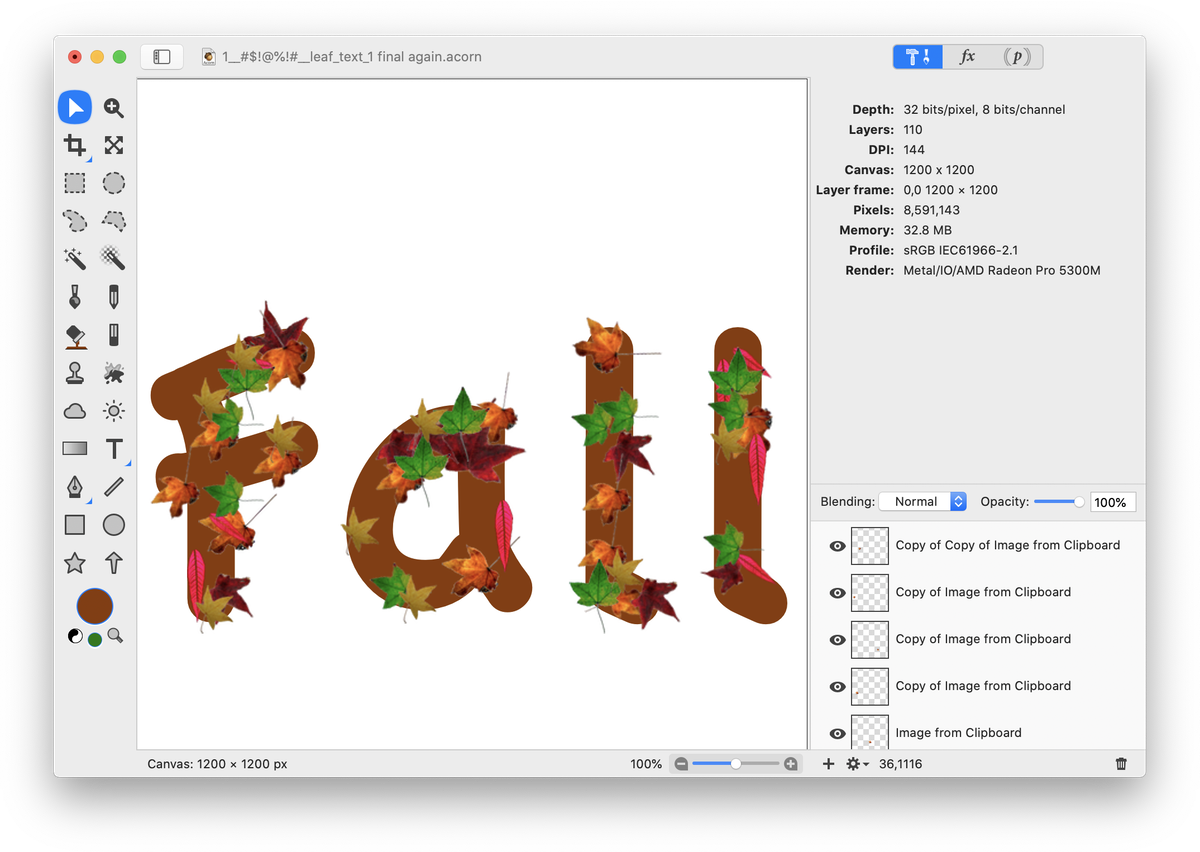
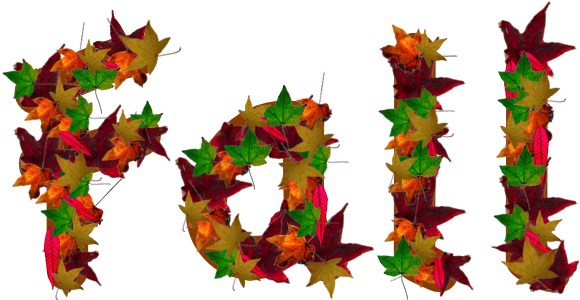
…until you fill in all the areas of the letters.
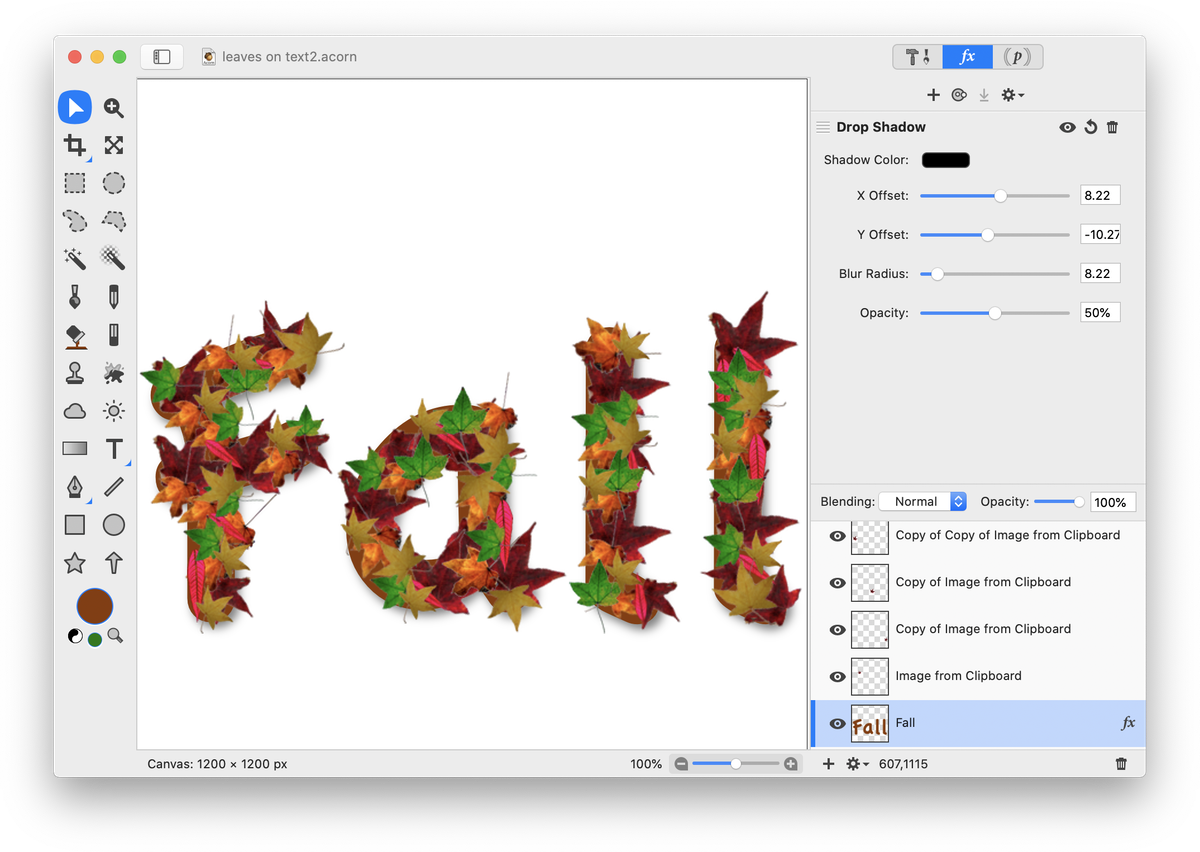
 To give the text more depth, apply a drop shadow. Make sure your text layer is selected, then choose Filter ▸ Stylize ▸ Drop Shadow. Play around with the x/y coordinates and radius to achieve your desired effect.
 To have a little more fun, duplicate a couple more leaves (⇧⌘D) and move them higher in the canvas to give the appearance of leaves falling. Apply a motion blur to each of the falling leaves by clicking on the leaf, then selecting Filter ▸ Blur ▸ Motion Blur. Keep the radius of the blur fairly small (around 1) so they appear realistic. You can also use perspective transform to give the falling leaves more of an angle. Click on a falling leaf, then select Layer ▸ Rotate and Transform ▸ Perspective Transform.
 Photo Credits
Leaf © Siddy Lam; Leaf © Brenda Starr
Photo Credits
Leaf © Siddy Lam; Leaf © Brenda Starr