Giving Text Shadows and a Reflection
 Shadows and a reflection can really make text pop in an image. Start by creating a new image in Acorn, File ▸ New. This tutorial will use a white background, but feel free to use gradients or other color backgrounds as you follow along.
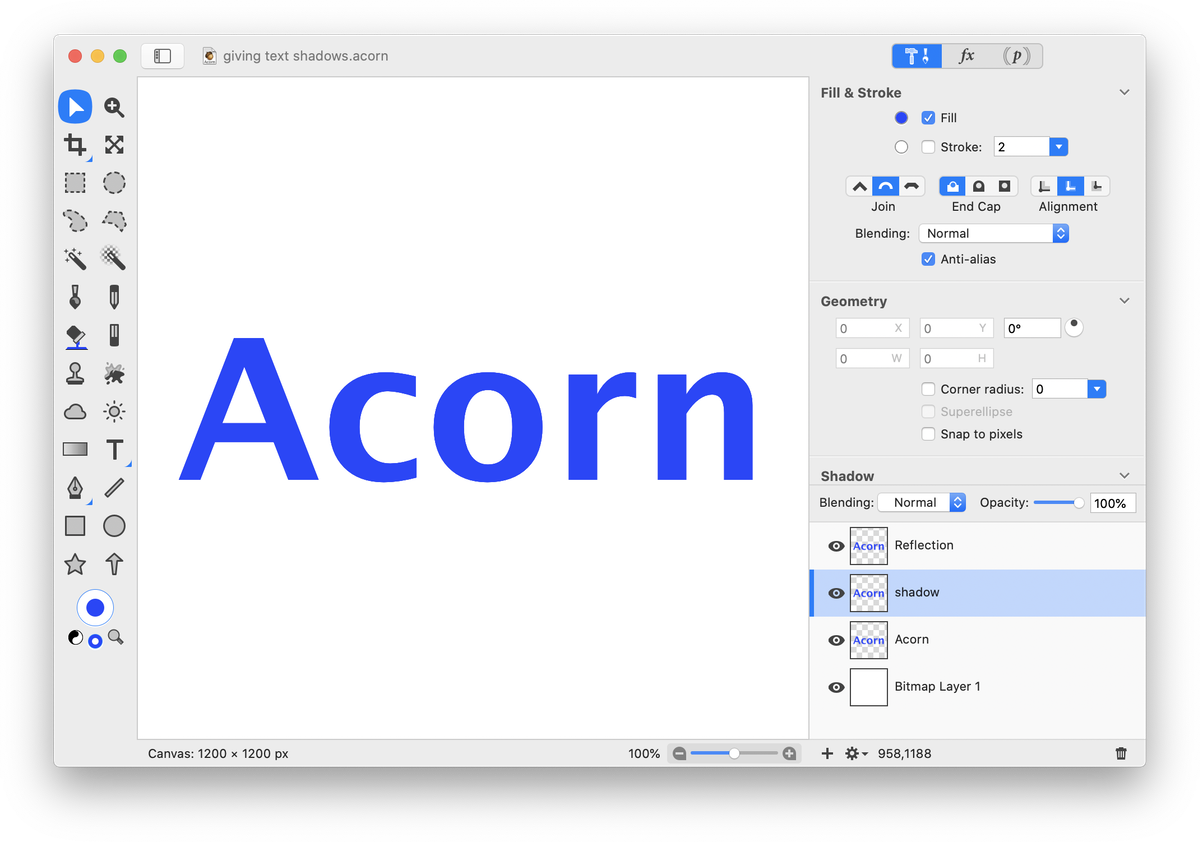
Type out some text using the text tool. Choose the text size, font, and color. Once you have everything looking good make 2 copies of the text layer Layer ▸ Duplicate Layer (⇧⌘D) . Name the first copy "reflection" and the second copy "shadow". You should have four layers in your layers list.
 For now, hide the shadow layer by clicking on the visibility icon on the left side of its layer in the layers list. Click on the reflection layer and go to Layer ▸ Rasterize Shape Layer. Now go to Layer ▸ Rotate and Transform ▸ Flip Layer Vertical. Using the move tool, position this layer so that it lines up appropriately under the original text.
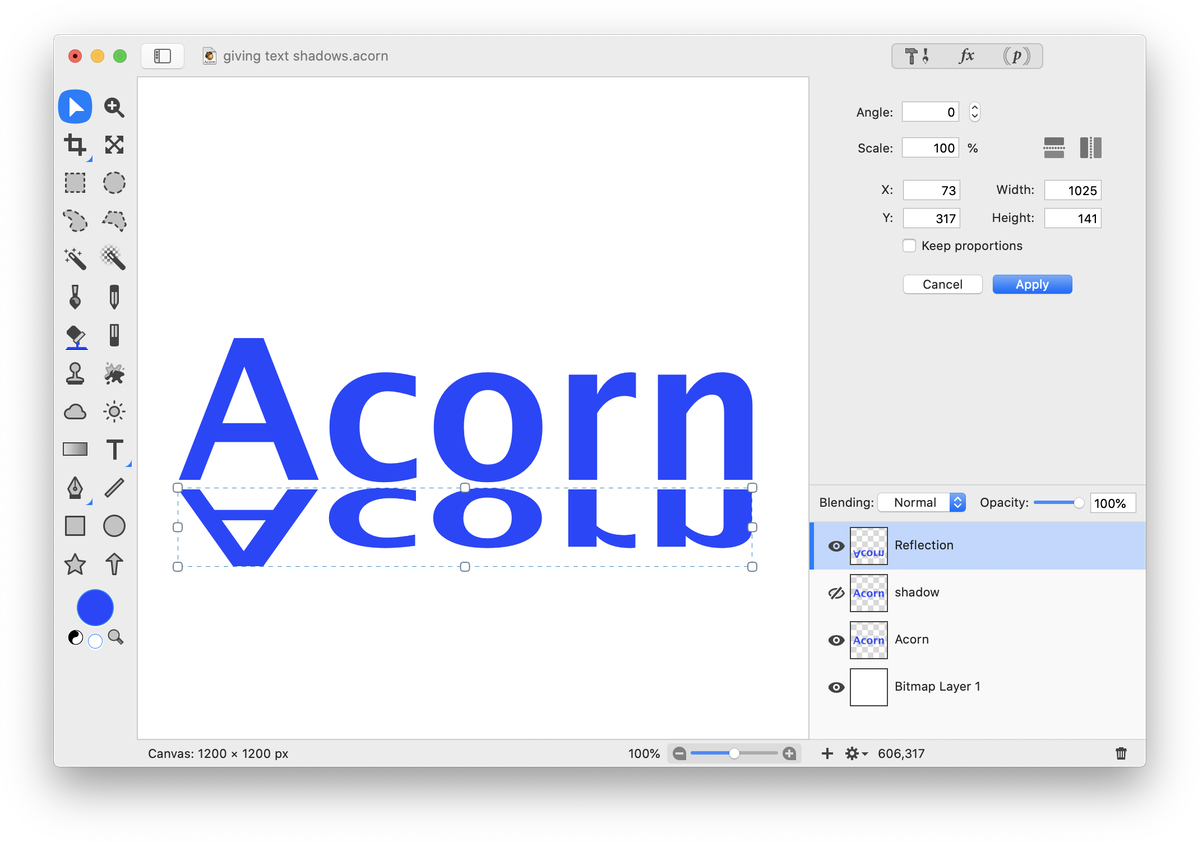
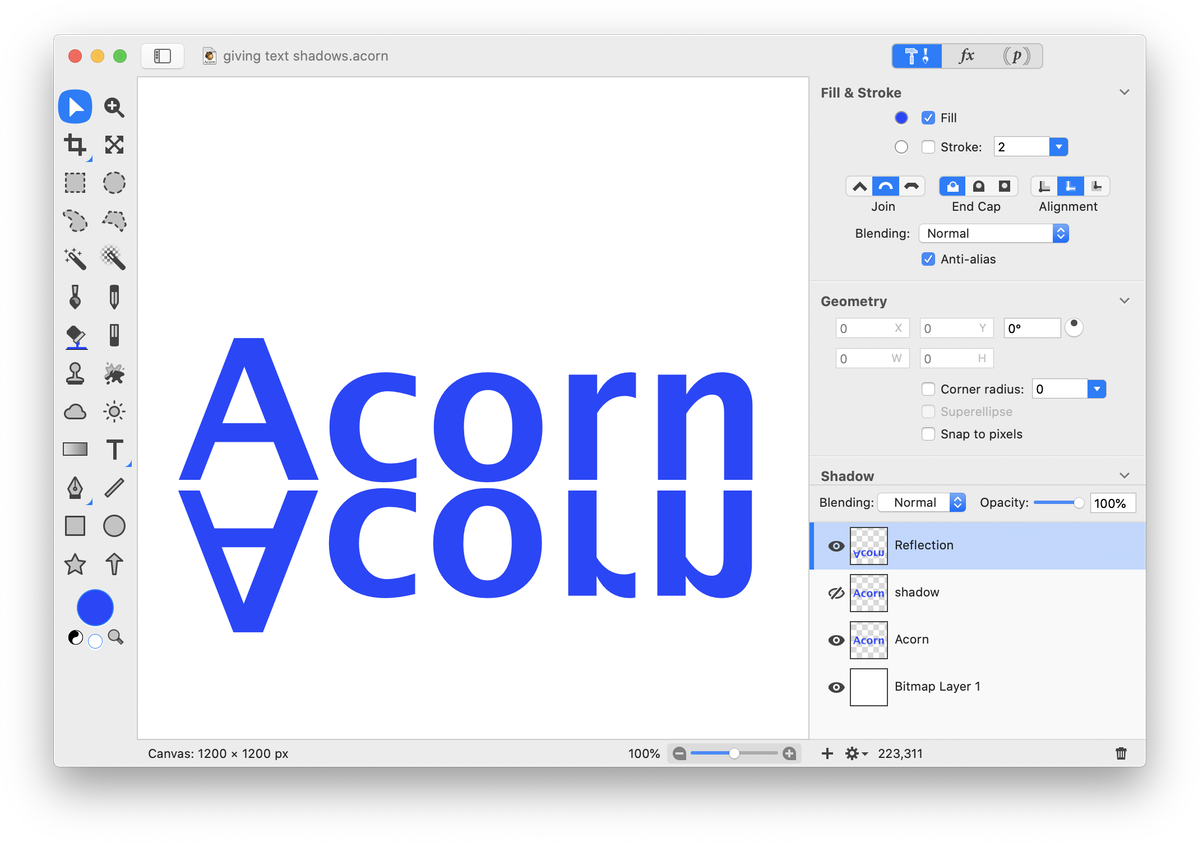 The reflection needs to be slightly smaller and softer appearing. To make it smaller choose Layer ▸ Rotate and Transform ▸ Scale & Rotate. Uncheck the ‘keep proportions’ box. Decrease its height slightly. Double click to commit the transformation.
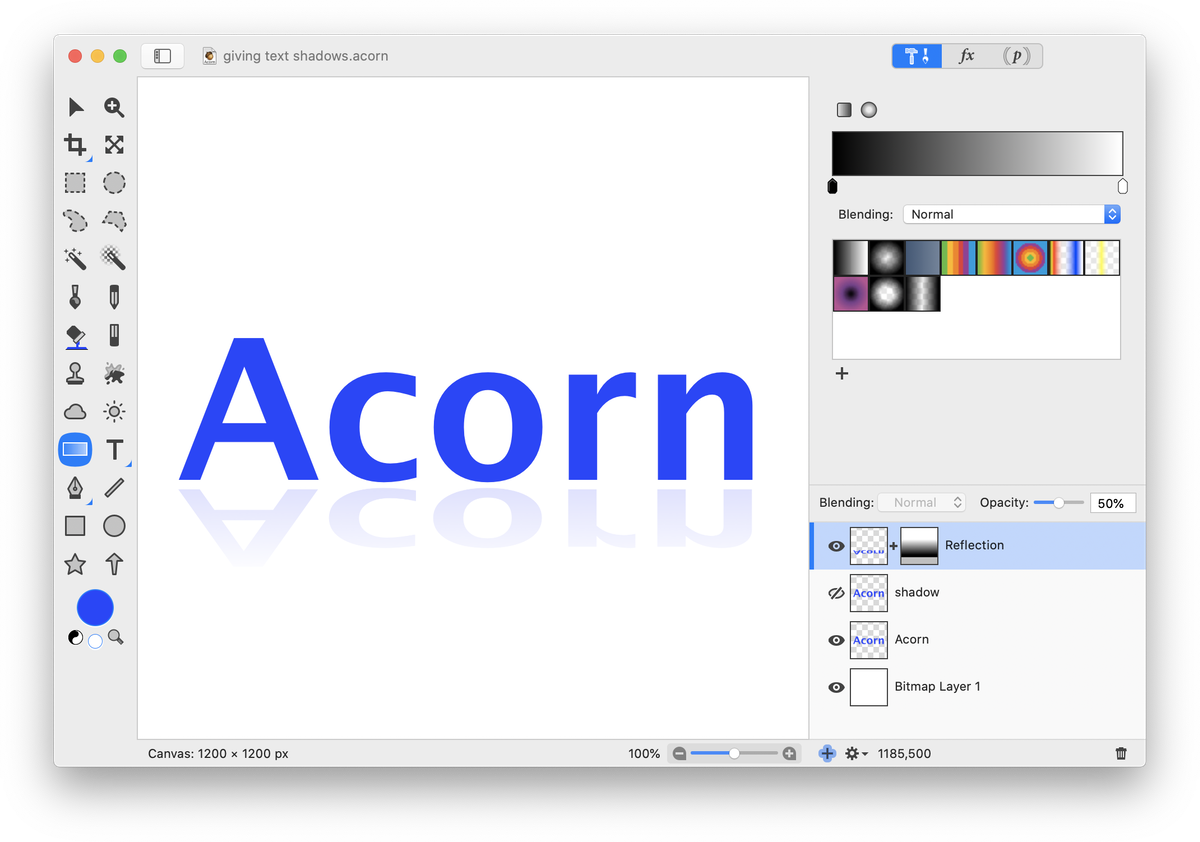
 To make the reflection appear softer, add a layer mask to the reflection layer by clicking on the action menu towards the bottom left side of the inspector palette. Click on the gradient tool in the tools palette and choose the linear black to white gradient. Draw a gradient spanning the area of text. Decrease the opacity to achieve your desired look. In the image below the opacity is set at 50%.
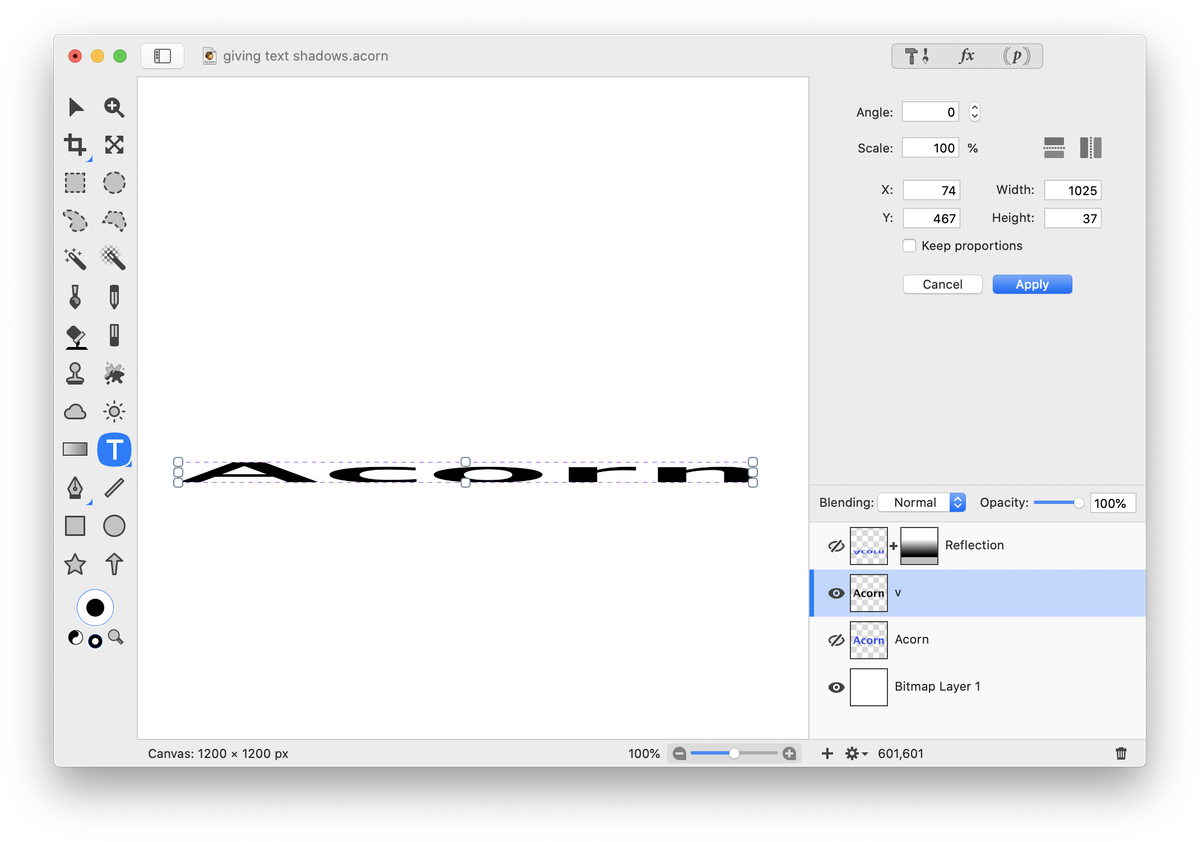
 Now that the reflection is looking good, it's time to work on the shadow. Click on the visibility icon to the left of the original text and reflection layers to hide those layers. Click on the visibility icon on the shadow layer to make it re-appear. Select the text and change its color to black. Choose Layer ▸ Rasterize Shape Layer. Decrease the size of the text substantially using Layer ▸ Rotate and Transform ▸ Scale and Rotate. Uncheck the ‘keep proportions’ box in order to keep the width intact. Double click to commit the transformation.
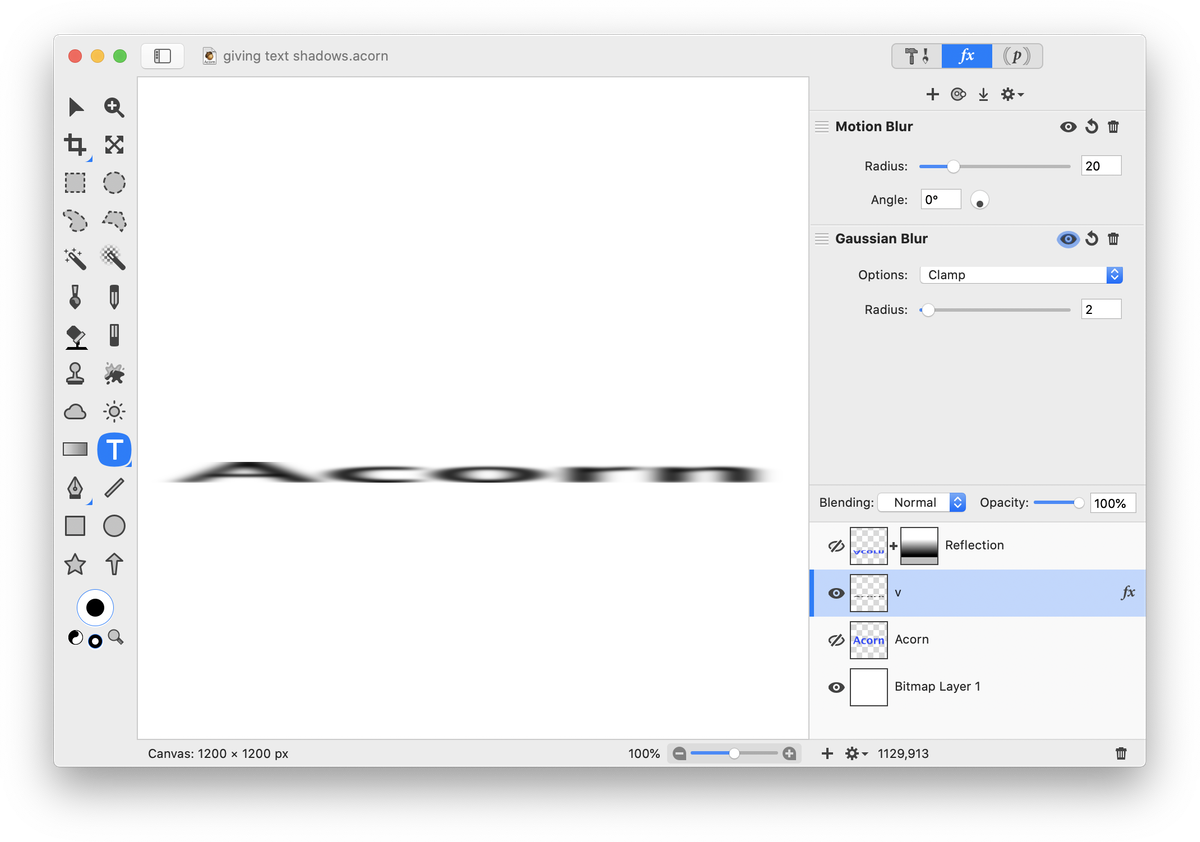
 Choose Filter ▸ Blur ▸ Gaussian Blur. Choose a radius of around 2. Click on the '+' at the bottom of the filters window and choose Blur ▸ Motion Blur. Set the radius to around 20.
 Click on the visibility icon on the original text layer and the reflection layer so they re-appear. Move the original text layer to the top of the layers list so the shadow stays behind the original text. Use the move tool to place your shadow in the correct spot. You can also play around with decreasing the opacity of the shadow layer.
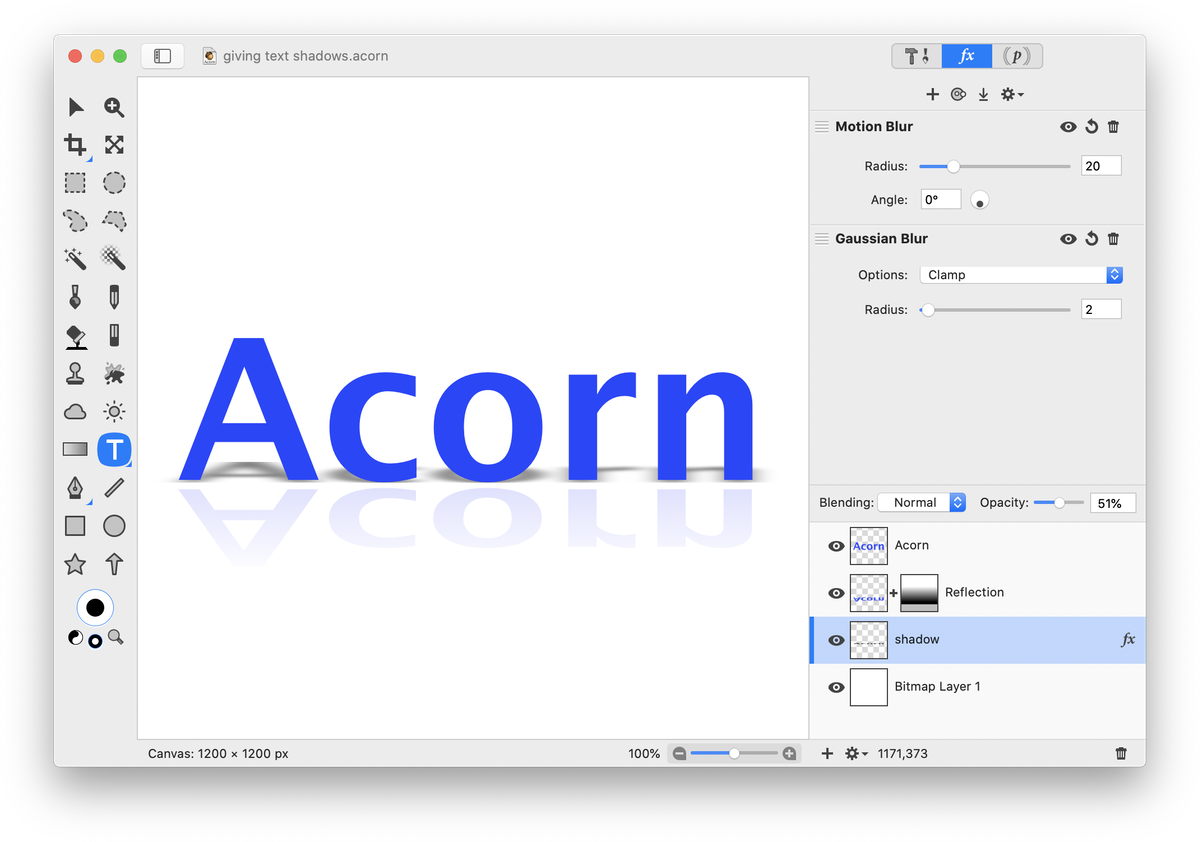 Final product:
Additional things to try: create a layer mask on the shadow layer, and apply a gradient similar to the one on the reflection layer. This will make the shadow appear to taper off. Play around with words that contain "g" or "y". The reflection will be trickier!
Final product:
Additional things to try: create a layer mask on the shadow layer, and apply a gradient similar to the one on the reflection layer. This will make the shadow appear to taper off. Play around with words that contain "g" or "y". The reflection will be trickier!