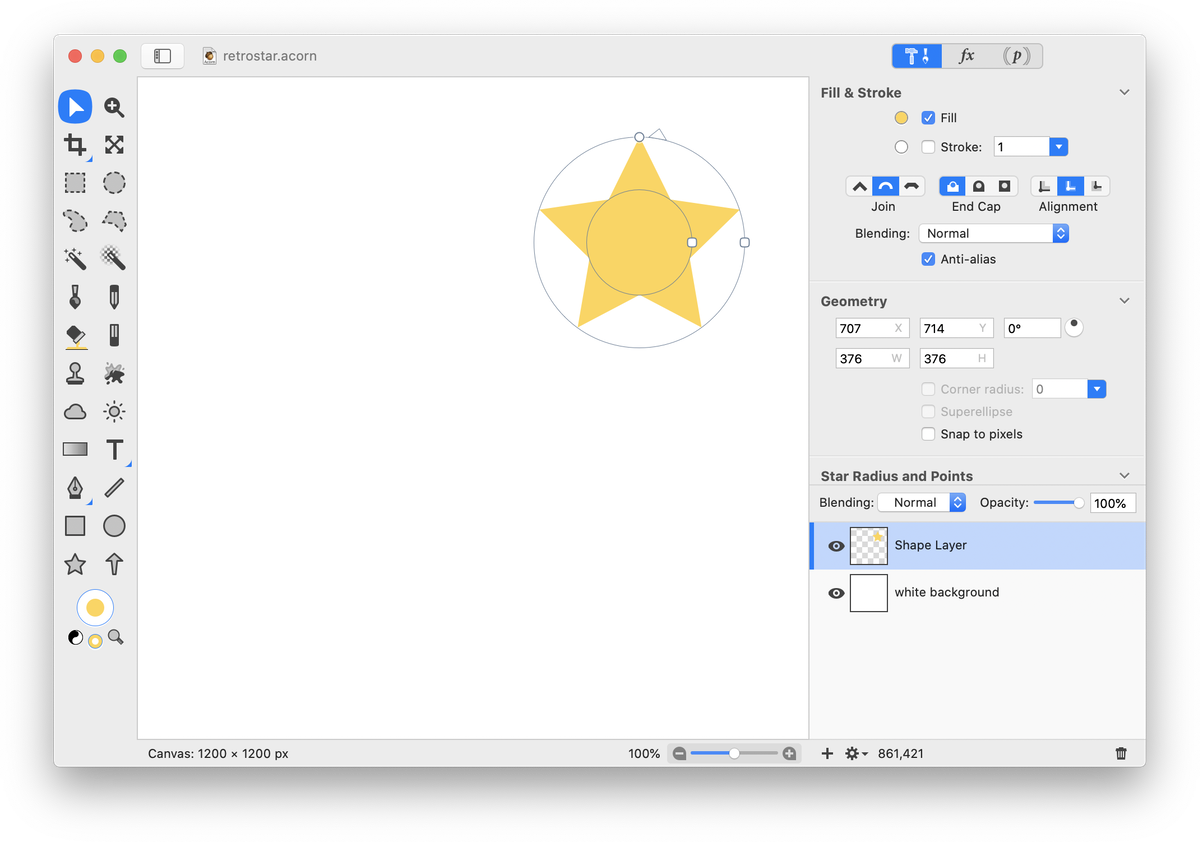
This intermediate tutorial will teach you how to create a retro style shooting star using vector shapes, gradients, and filters. To start, create a new image in Acorn, File ▸ New. The dimensions of 1200 x 1200 pixels with a white background is used here. Select the star shape tool from the tools palette and draw out a star with a fill but no stroke. Set the color you want your star to be in the fill color well.
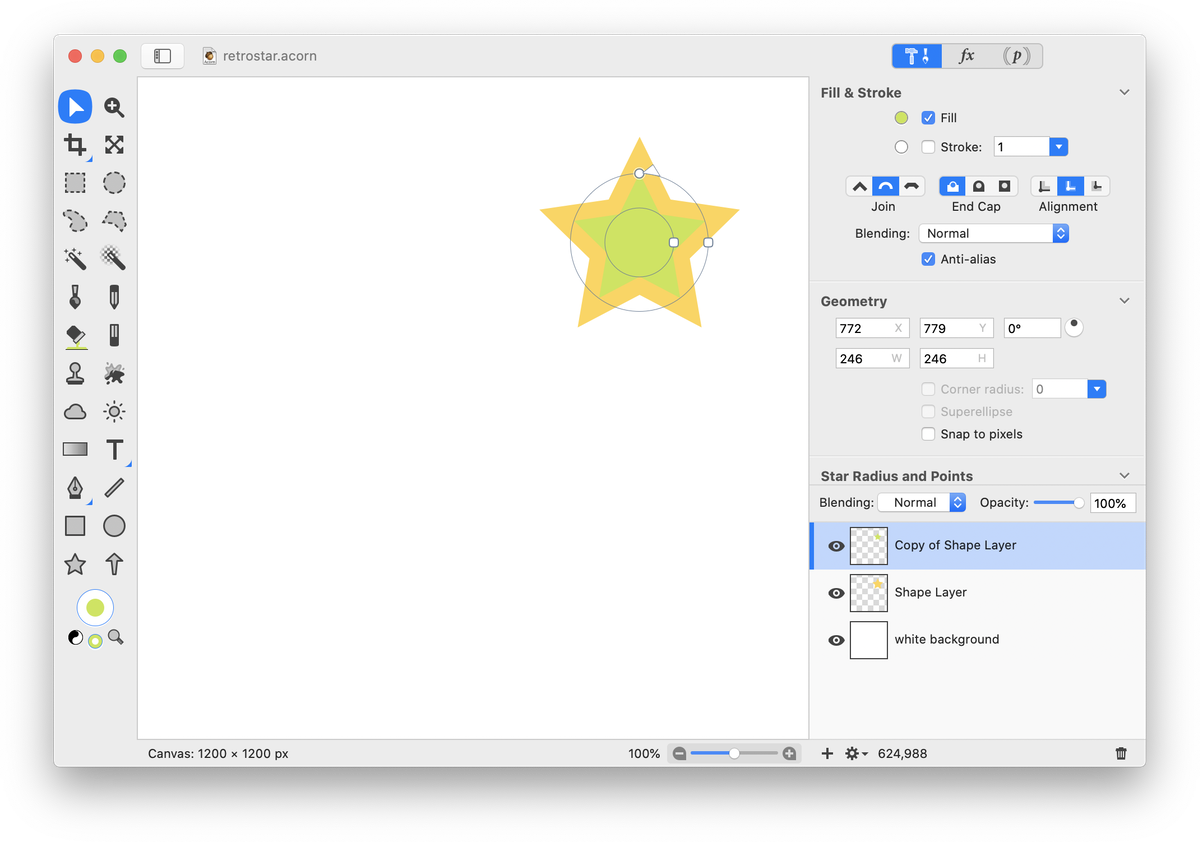
Duplicate your star layer, Layer ▸ Duplicate Layer. Change the color of the duplicated star. Hold down the shift key while slightly decreasing the size of the star to keep its aspect ratio intact. Roughly place the smaller star in the center of the larger star using the move tool.
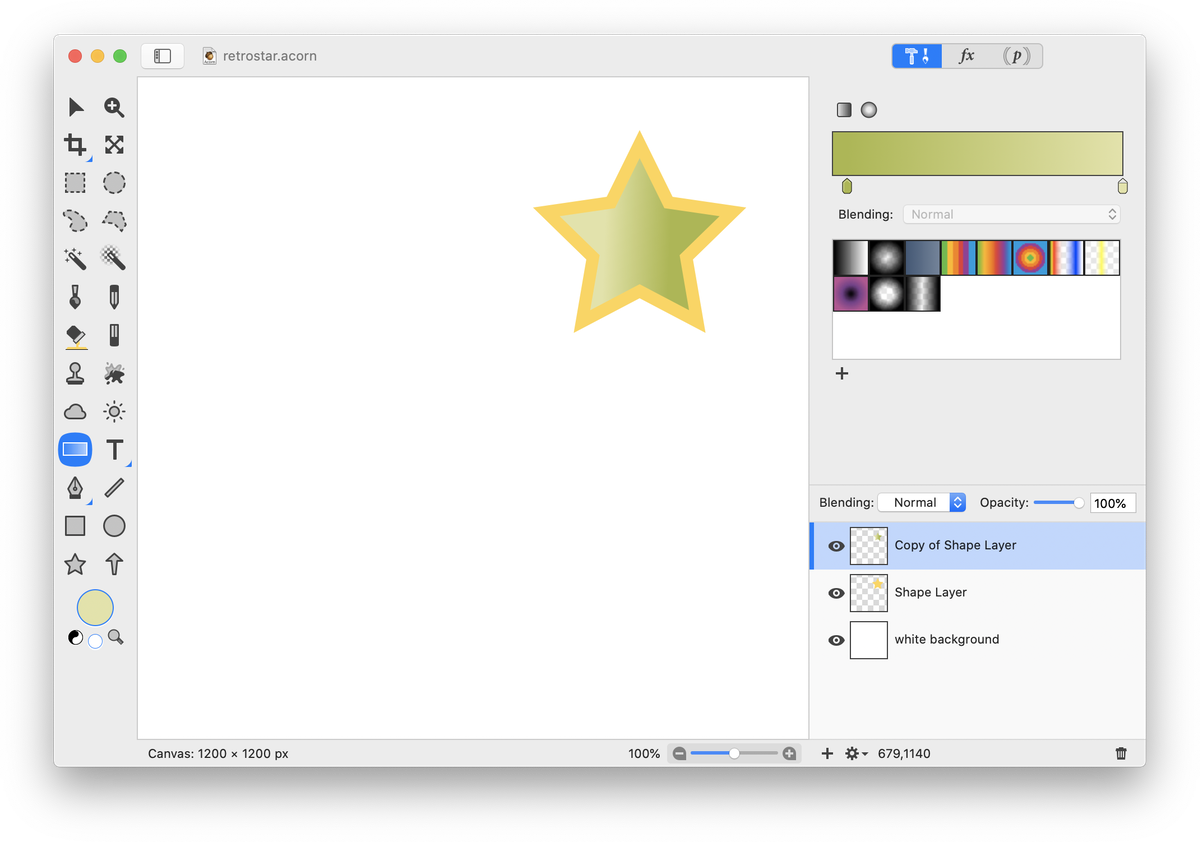
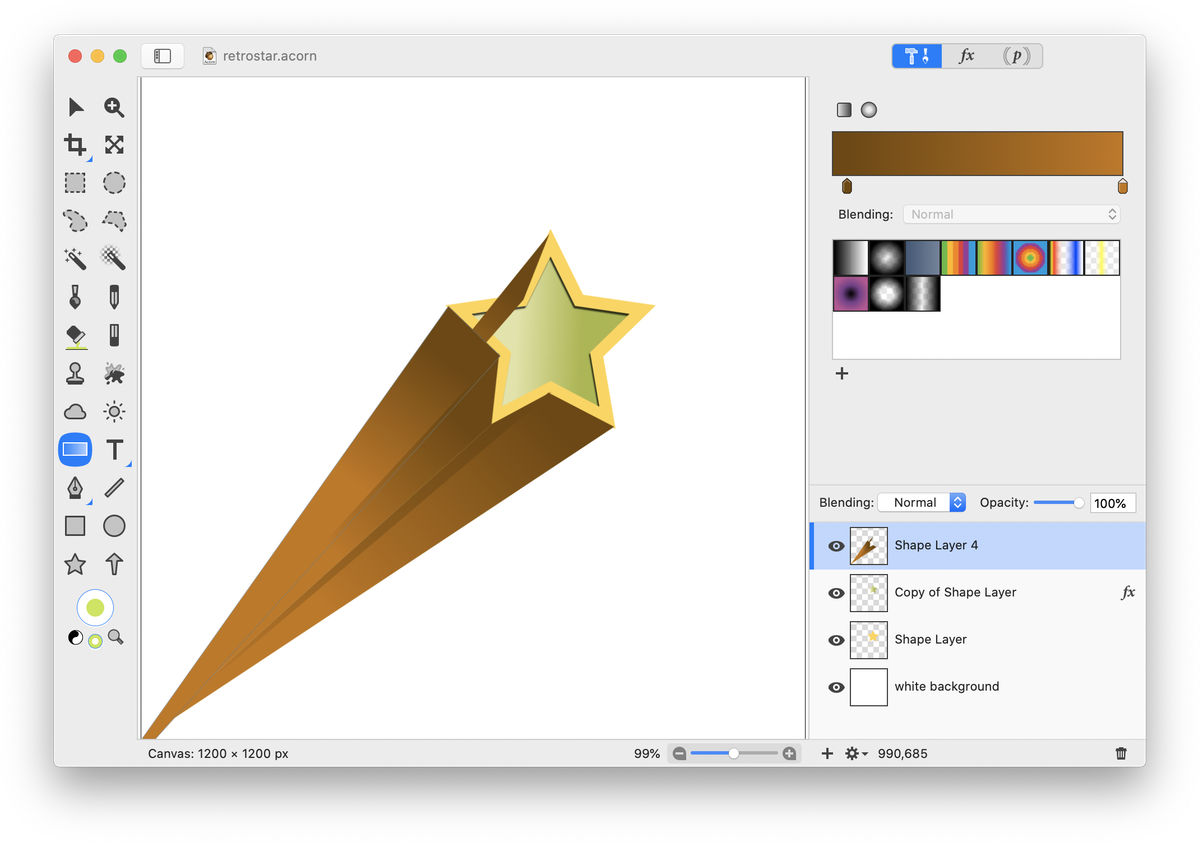
Click on the gradient tool in the tools palette. Select a two color linear gradient and click on the color tabs of the gradient to select your colors. Drag your gradient across the star.
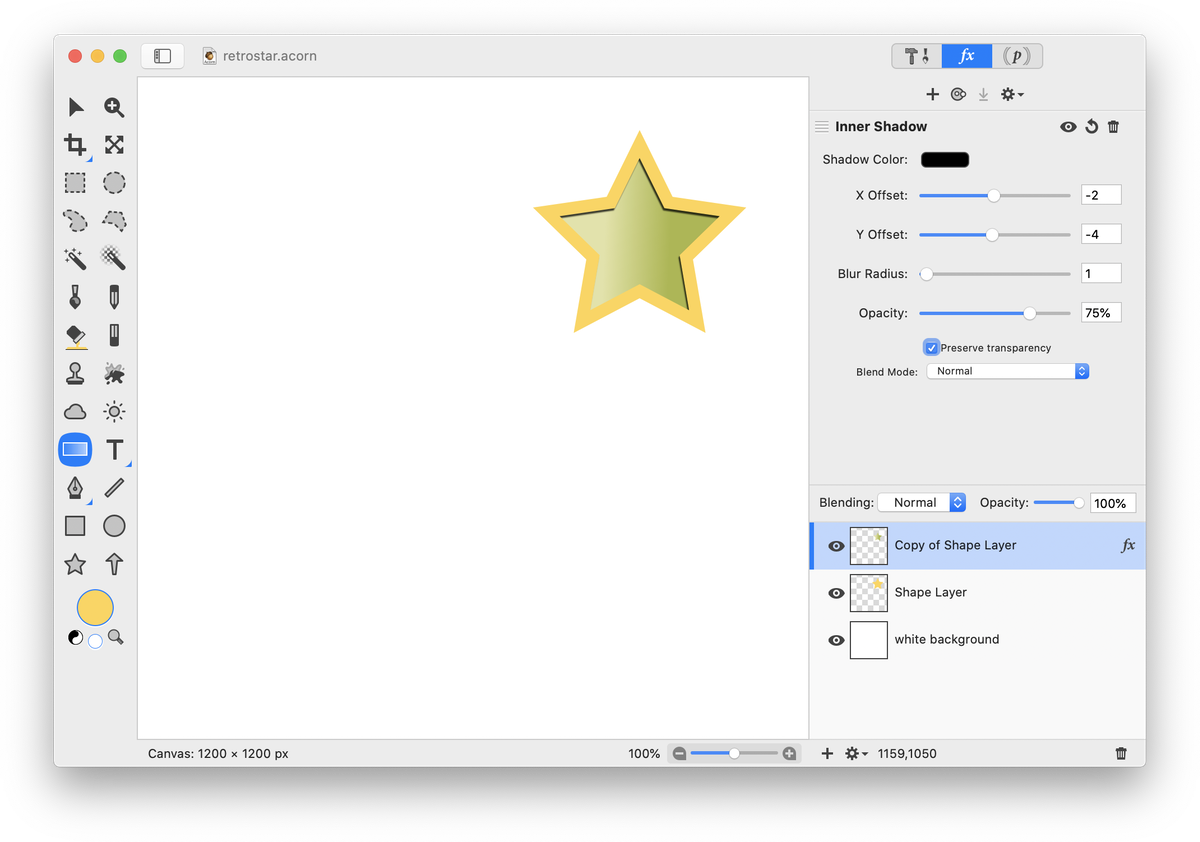
With your small star layer still selected, go to Filter ▸ Stylize ▸ Inner Shadow. The settings used here can be seen below.
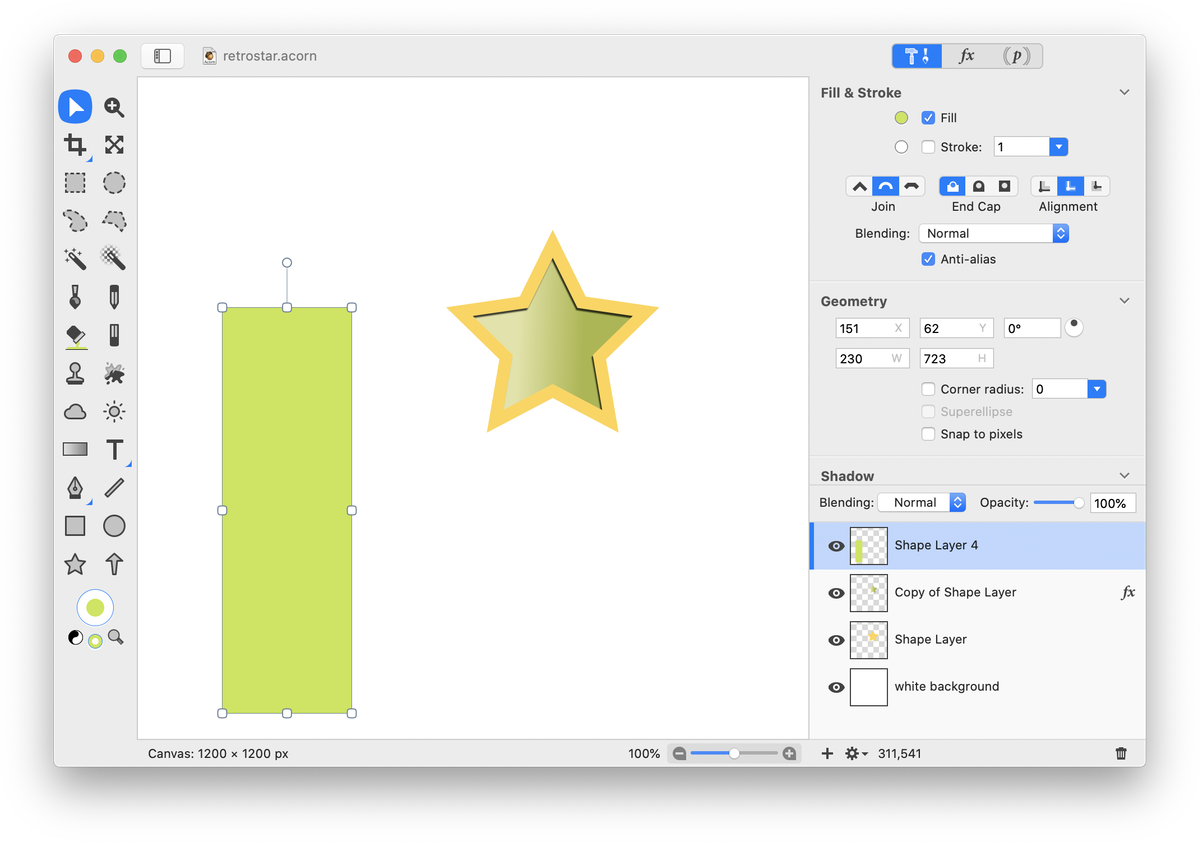
Now choose Layer ▸ New Shape Layer. Select the rectangular shape tool in the tools palette and draw out a rectangle with a fill but no stroke. The color of the rectangle doesn't currently matter since it will be changed shortly.
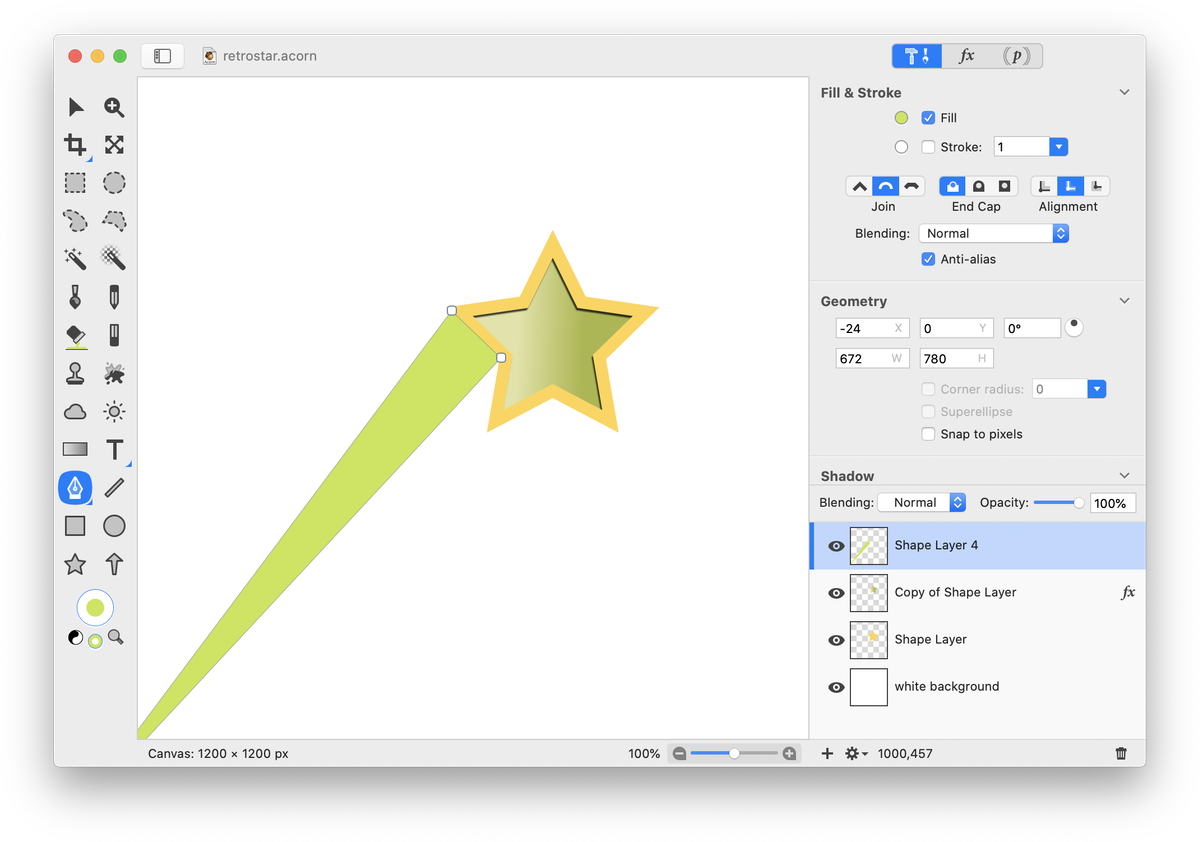
Go to Shape ▸ Bezier Stuff ▸ Convert to Bezier Shape. Click on the Bezier shape tool in the tools palette and line up the points of the rectangle with one of the left hand sides of the star. You may need to zoom in to make sure things are lined up right. Move the lower points of the rectangle towards the lower left hand corner of the canvas.
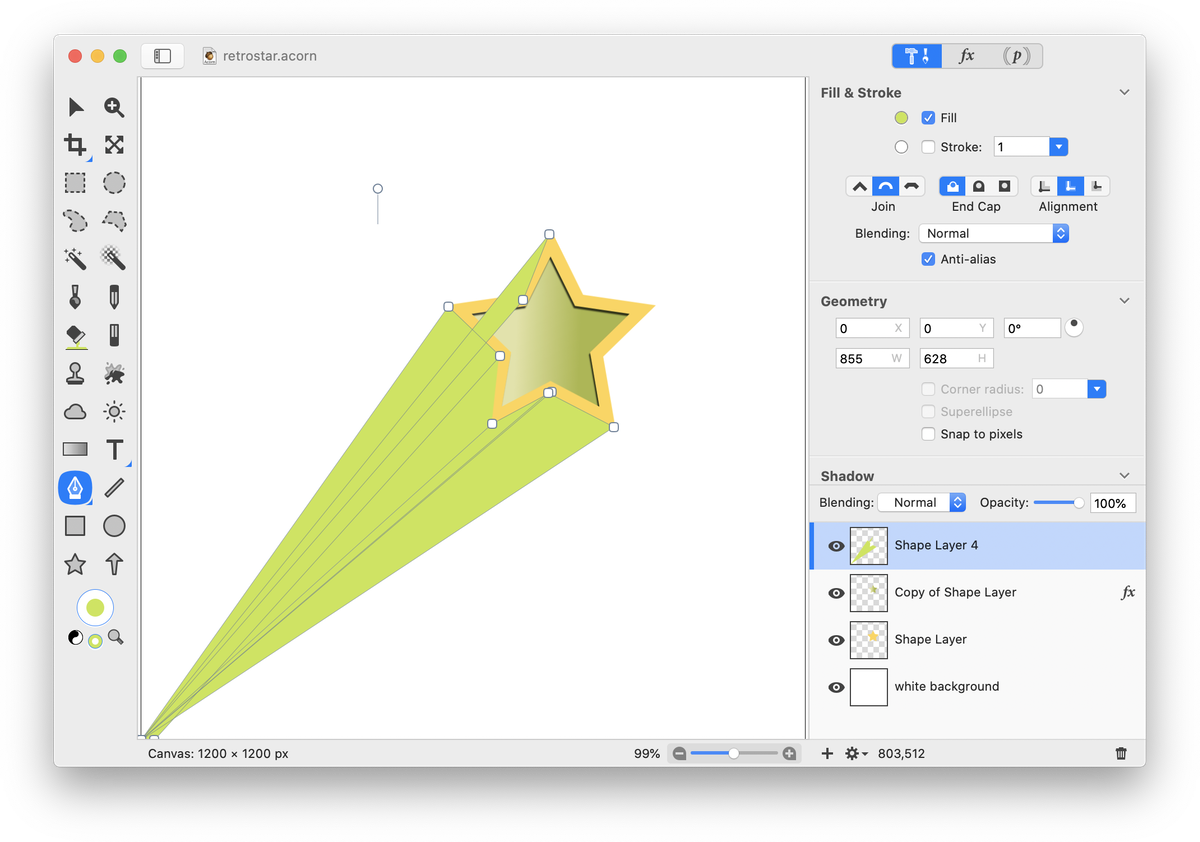
Repeat the last two steps to create 3 more "shooting" effects lining each up with a left hand side of the star. All 4 of the bezier shapes have been selected below to assist with showing their position relative to one another.
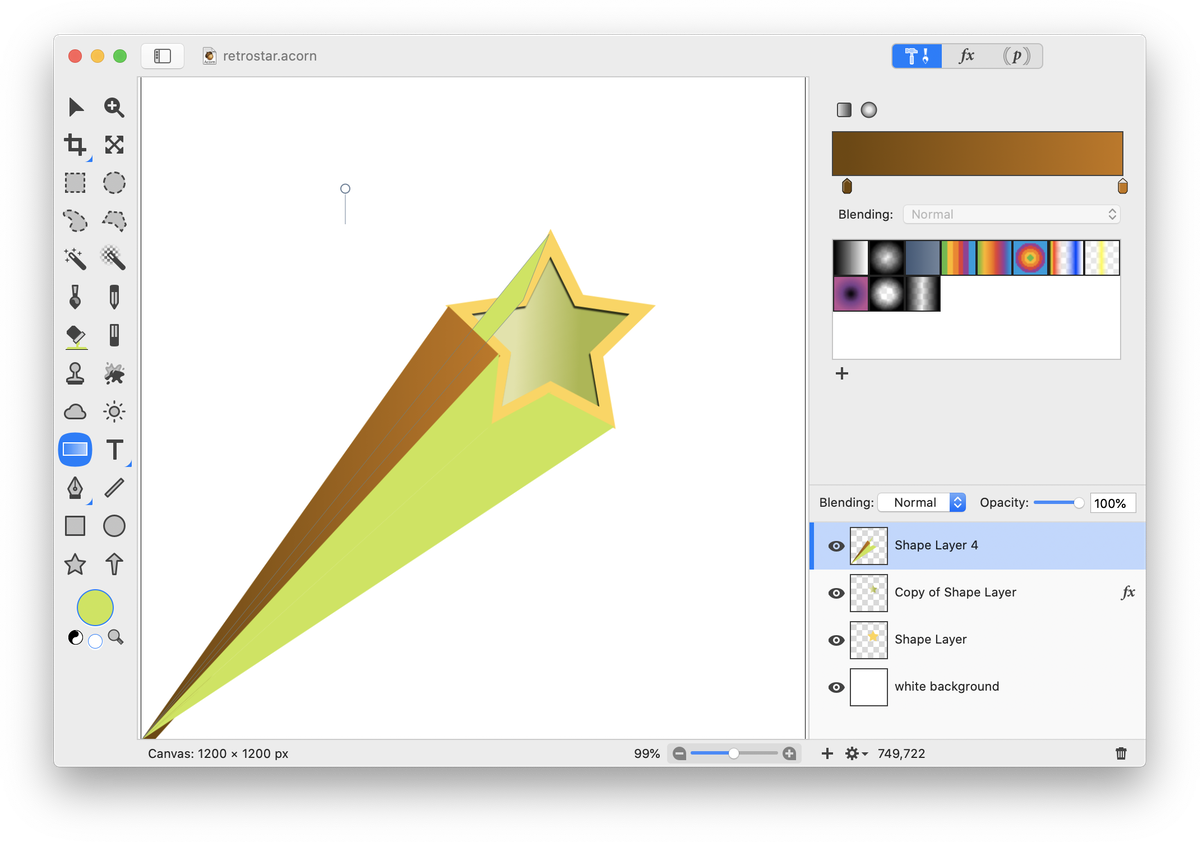
Now select one of your bezier shapes with the move tool. Click on the gradient tool and create a two color linear gradient. Drag out your gradient on the shape.
Repeat the last step to apply gradients on the 3 other bezier shapes. The darker portion of the gradient should be closer to the star.
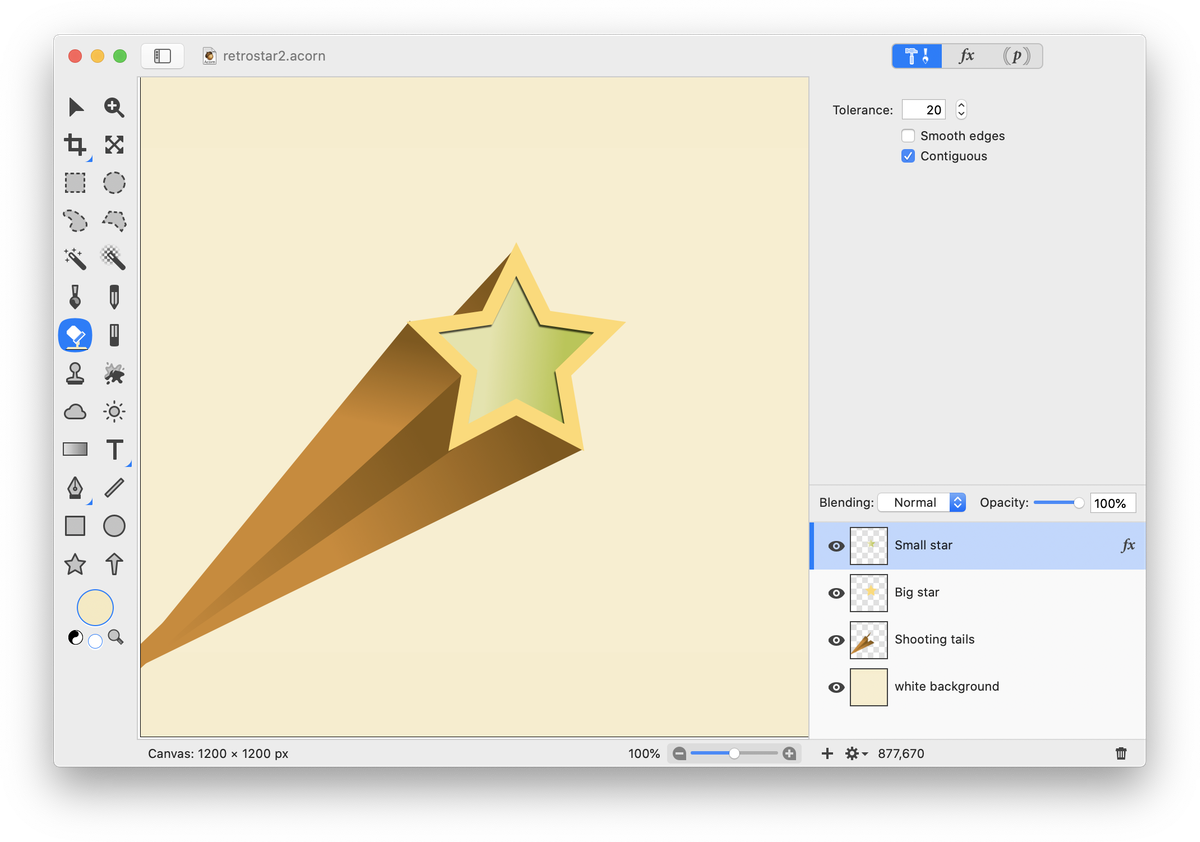
Using the move tool, select the bezier shape that comes off from the top point of the star. Choose Shape ▸ Arrange ▸ Send to Back. Move your shooting star tail shape layer below the star shape layers, but above the white background. Click on the white background layer. If desired, fill the layer with another color besides white using the flood fill tool.
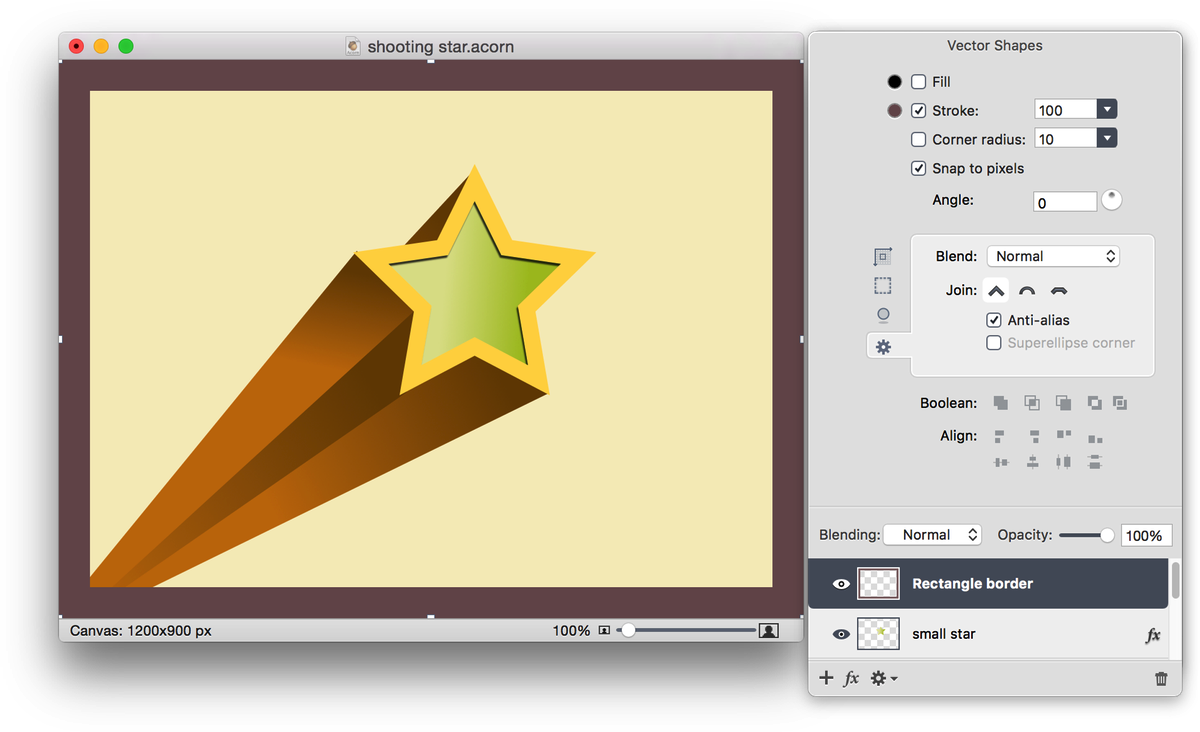
Create a new shape layer, Layer ▸ New Shape Layer. Move this layer to the top of the layers list if it isn't there already. Click on the rectangle shape tool and draw out a rectangle with a stroke but no fill. Set the color of your stroke in the stroke color well. Go to View ▸ Guides and Grids and make sure Snap To Canvas is checked. Use the move tool to drag the boundaries of the shape out until they snap to the document bounds. Adjust the stroke value if needed.
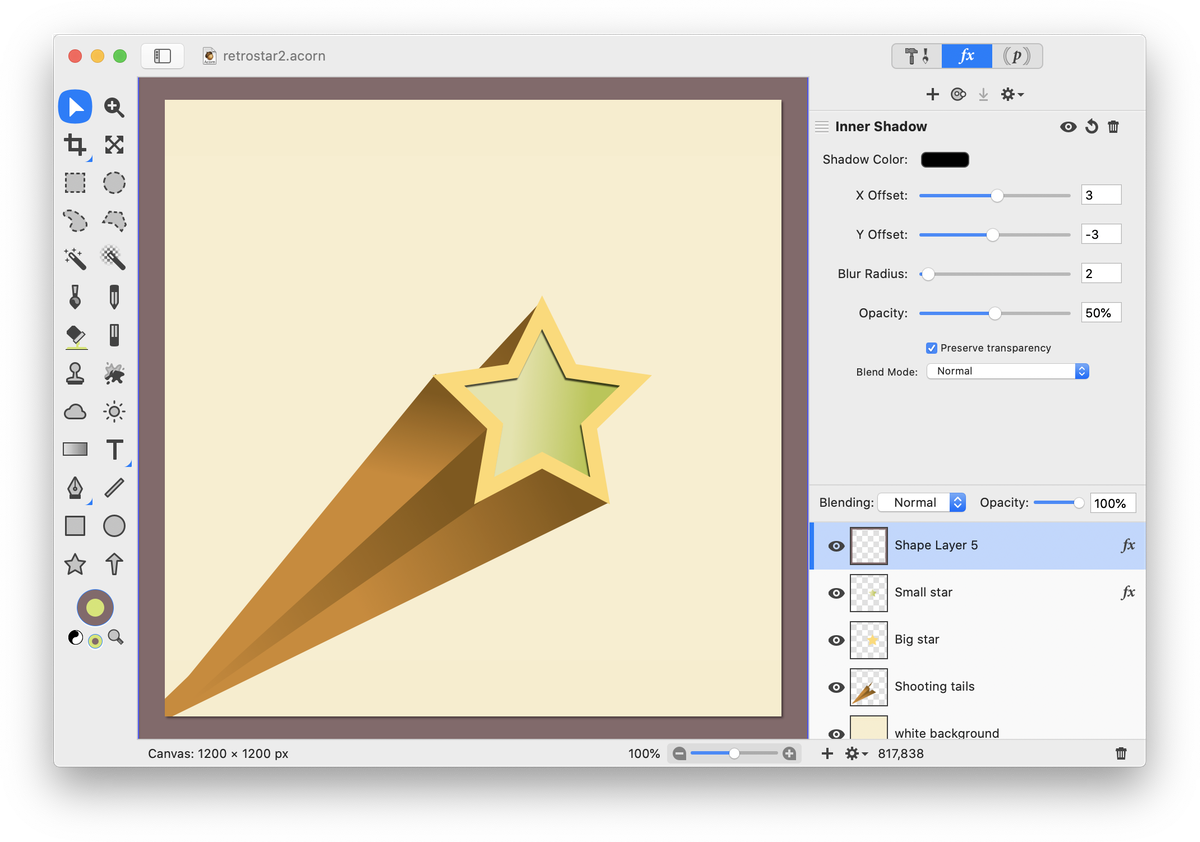
Choose Filter ▸ Stylize ▸ Inner Shadow. The settings used here can be seen below.