Making Your Own Texture
This tutorial will outline the steps for creating a couple different textures from scratch in Acorn.
Brushed Metal
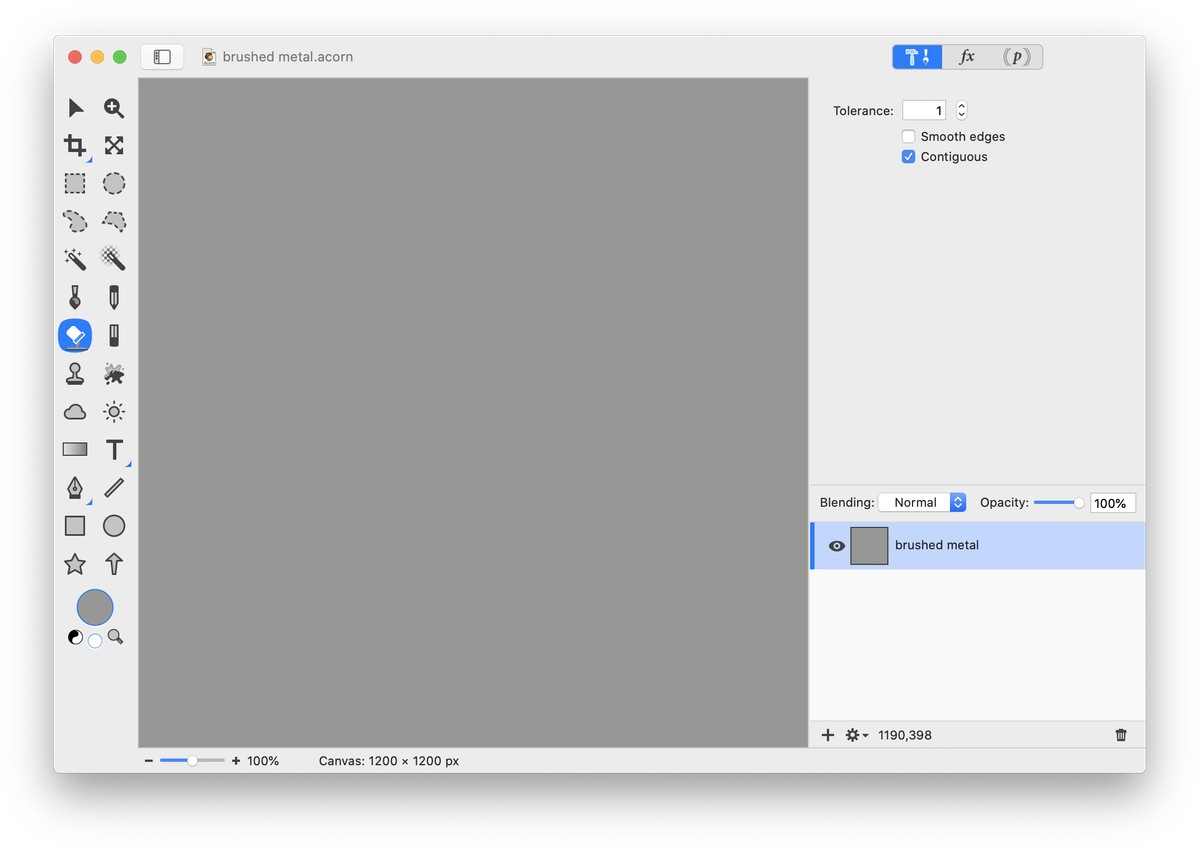
Create a new image in Acorn, File ▸ New. Select the flood fill tool. Click on the color well in the tools palette and pick a gray color. Fill the layer with gray using the flood fill tool.
 Add a new layer, Layer ▸ New Layer (⇧⌘N). Then go to Filter ▸ Generator ▸ Random Generator. Click on the '+' on the top of the filter palette. Choose Color Effect ▸ Color Monochrome. The intensity should be set to 1.0. Click '+' again, and this time choose Blur ▸ Motion Blur.
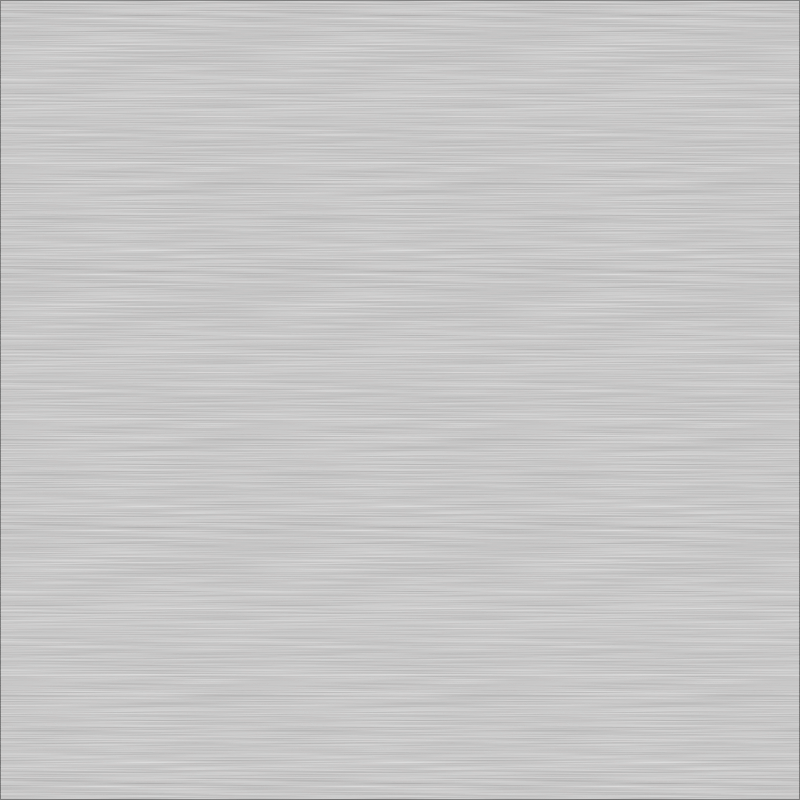
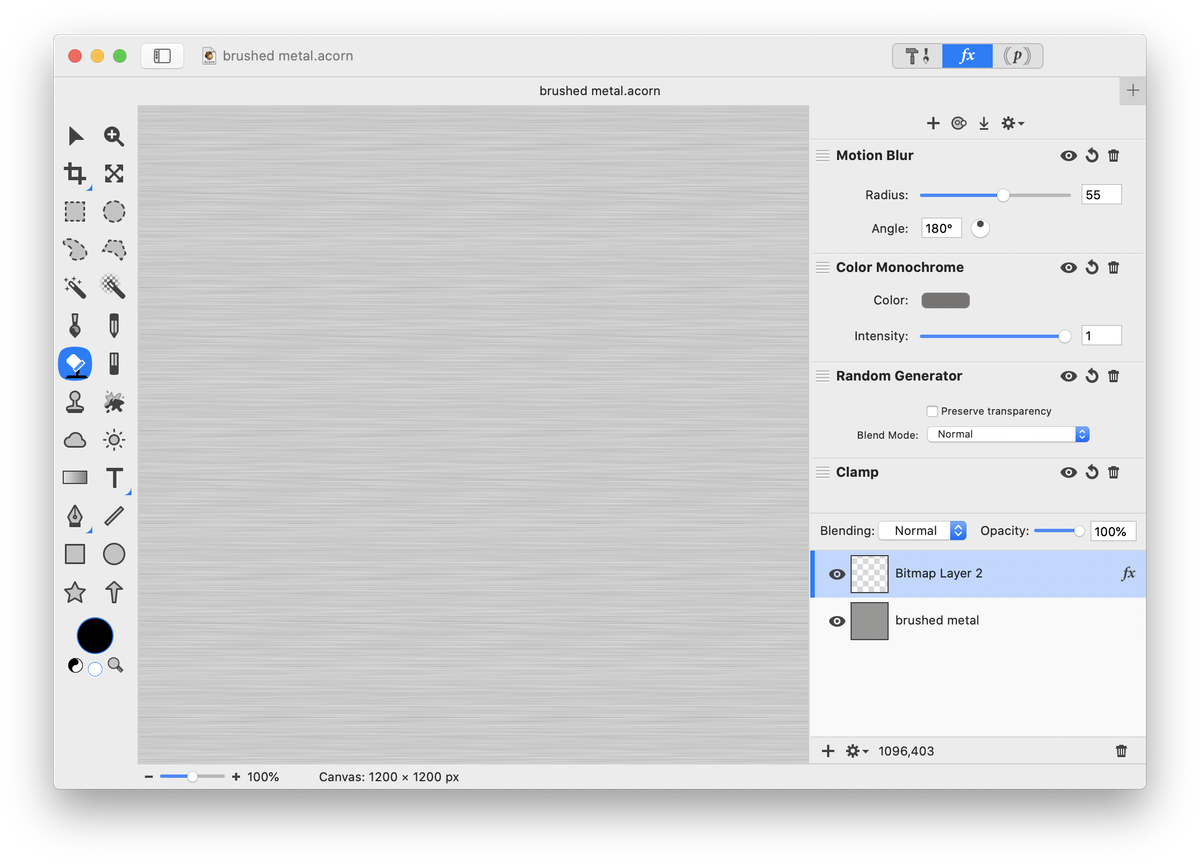 Play around with the radius of the motion blur. The effects can be seen in real time on your image.
Linen
Follow the same steps as outlined above for creating a brushed metal texture. Duplicate the filter layer, Layer ▸ Duplicate Layer. Reduce the opacity of the duplicated layer to around 50%.
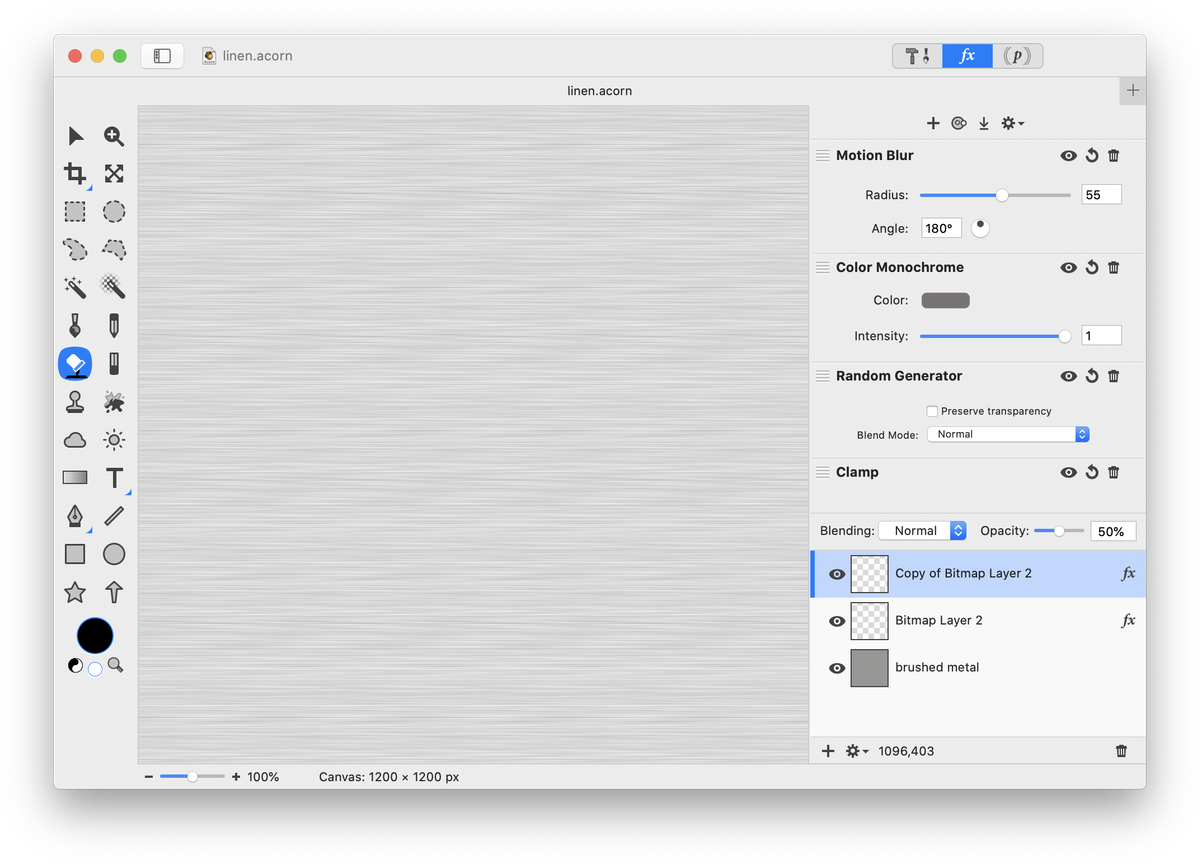 Double click on the 'fx' in the layers list of the duplicated layer and change the motion blur angle to 90 degrees.
 To change the color of the linen, add a new layer to the top of the layers list, Layer ▸ New Layer. Using the flood fill tool, fill the layer with whatever color you desire. Black is used here. Play around with decreasing the opacity of the layer or using a different blending mode. In this example the opacity is set to 80% and the blending mode is set to "Overlay".
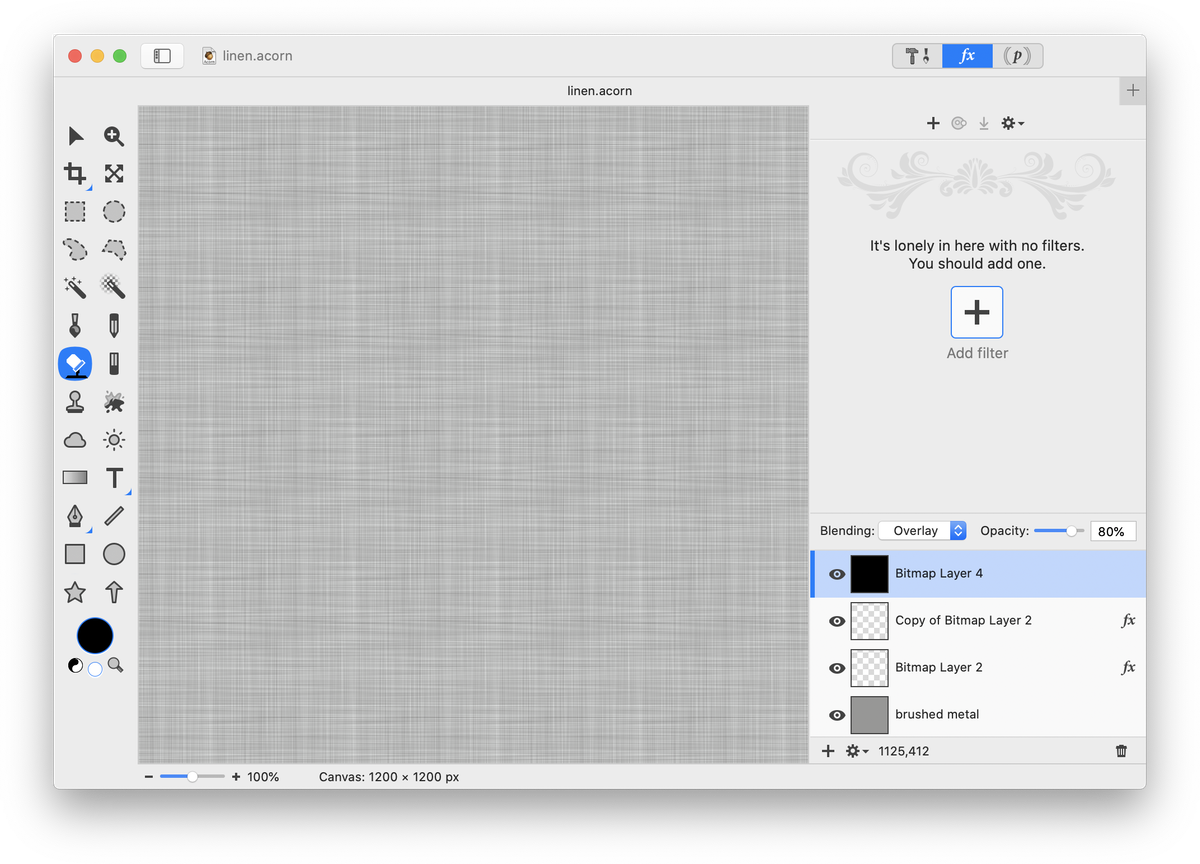 Play around with the settings of the motion blur and the color of the color monochrome to modify the appearance of the linen. The image below has a motion blur radius of 100 and the color monochrome is black.

Leather
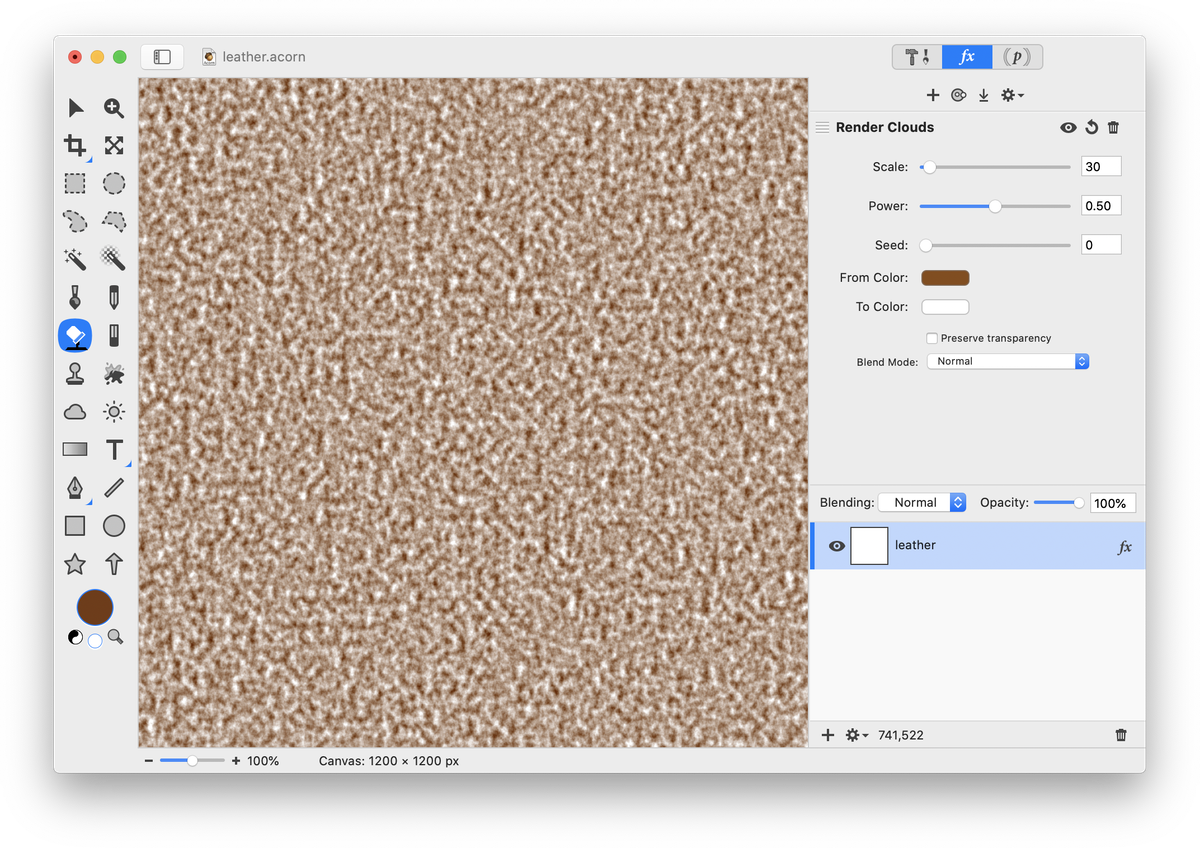
Create a new image in Acorn with a white background, File ▸ New .
Go to Filter ▸ Generator ▸ Render Clouds. Click once on the 'From Color' color well to select it. Choose a dark brown in the colors palette. Click once on the 'To Color' color well and choose white. Decrease the scale to around 30 and the power to around 0.50. Don't worry about getting things perfect right now. You can make adjustments later.
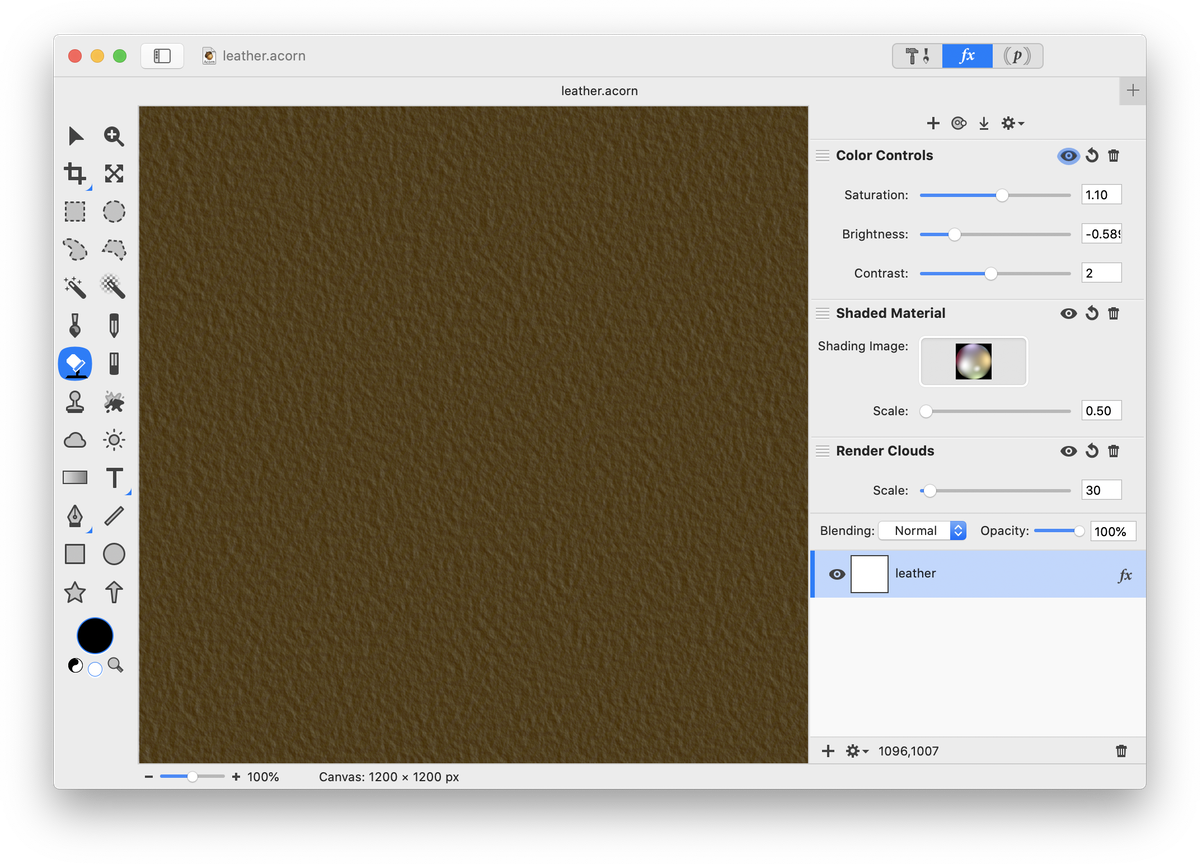
 Go to Filters and choose Stylize ▸ Shaded Material. Decrease the scale to around 0.50. Click '+' at the top of the filters palette to add another filter and select Color Adjustment ▸ Color Controls. Adjust the color controls to achieve your desired effect.
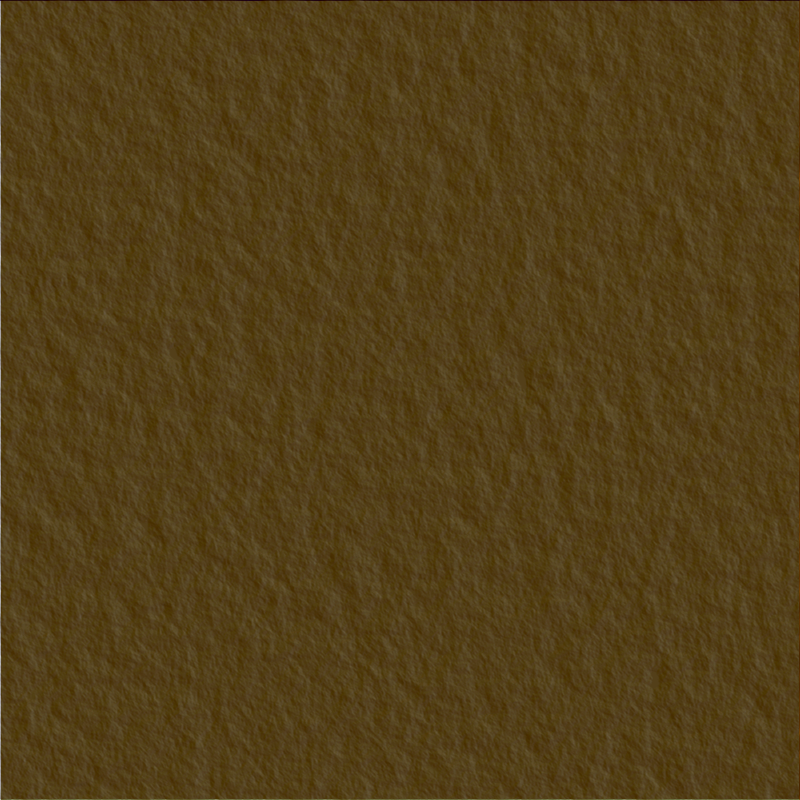
 Play around a bit to get your texture looking good!
Tutorial Credits
Brushed Metal: Special thanks to fuper for creating the steps of this tutorial.
Leather: Many thanks to Troye Hering for outlining the steps of this tutorial.