Creating a Color Highlight
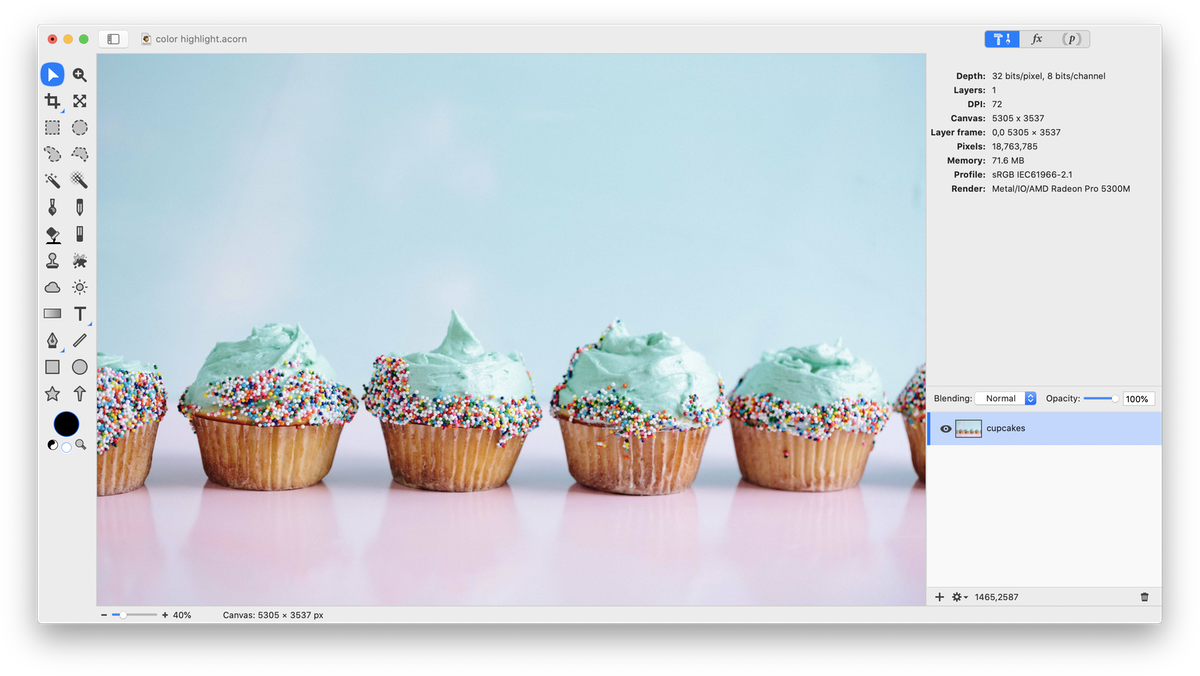
 A color highlight is great way to create a focal point and contrast in a photograph. First, open your image in Acorn, .
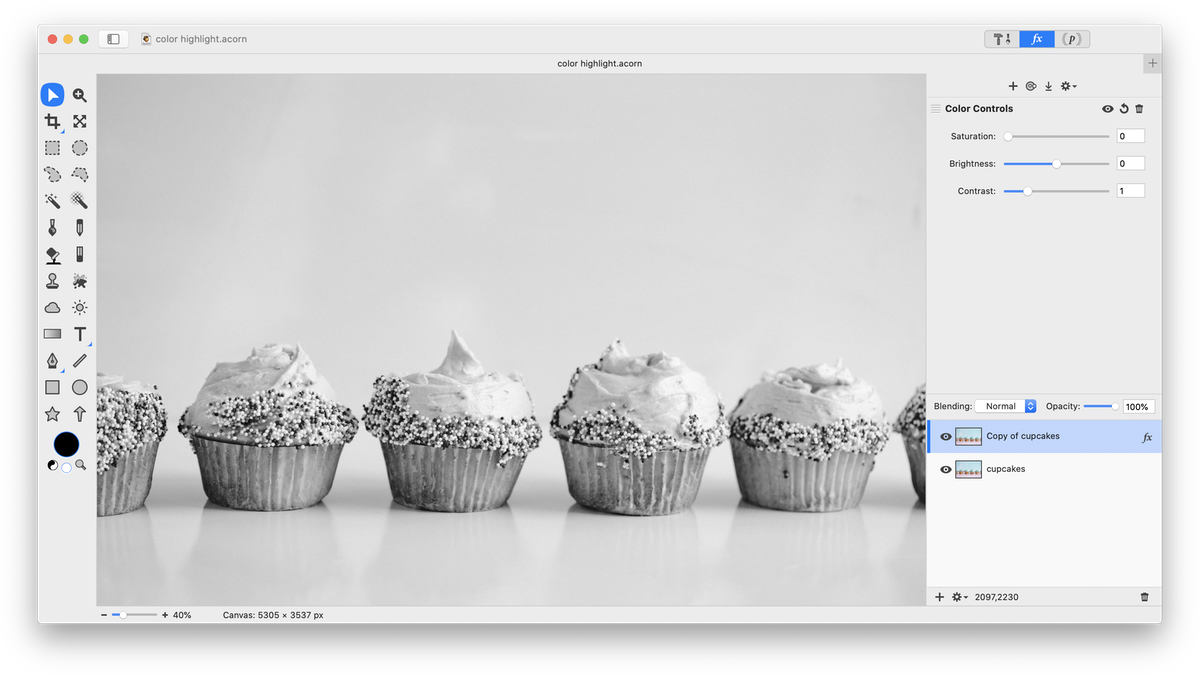
 Create a duplicate layer by right clicking on the layer in the layers list and selecting "" or using ⇧⌘D. Change the duplicated layer to black and white. To do this go to and turn the saturation all the way to 0. Make sure the black and white layer is placed on top of the color layer in the layers list.
 Now, choose . Select the paint tool from the tools palette and choose a thick brush such as 'Painting 2'. Set the color well in the tools palette to black. Brush over the areas where you want color to show through. For more detailed information on this topic, read 'Layer Masks'.
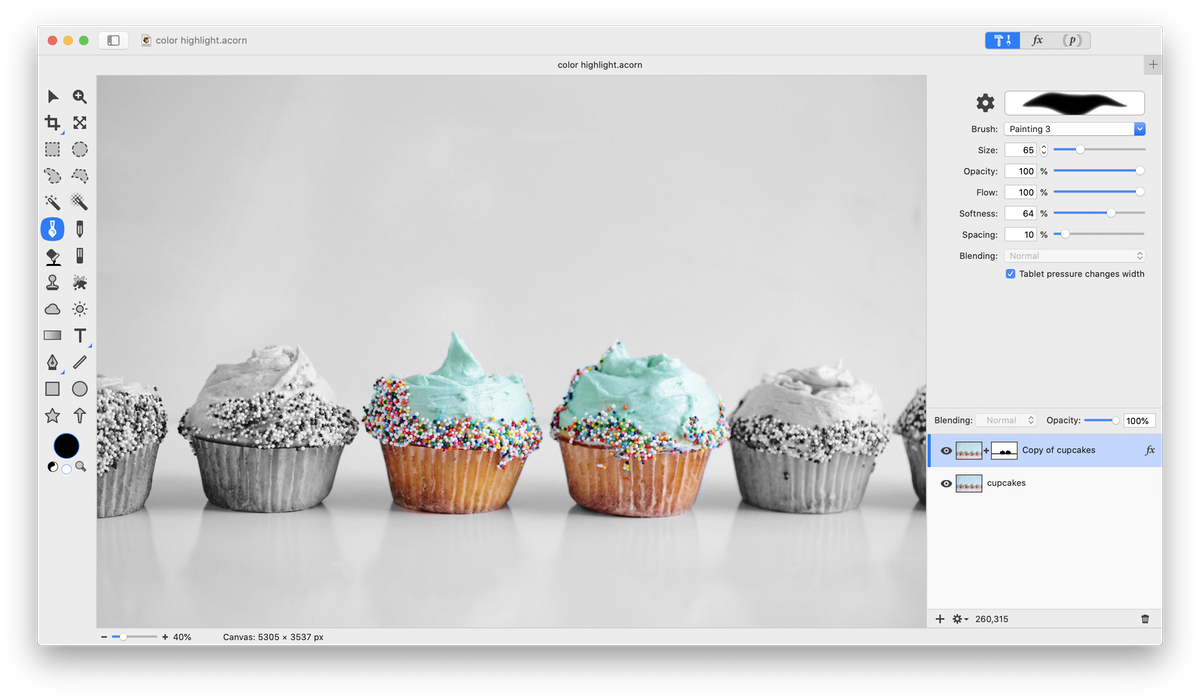 If you make a mistake, it can be easily corrected by changing the brush color to white and brushing over the area.
You can also play around with the opacity of the duplicated layer to create a different look.